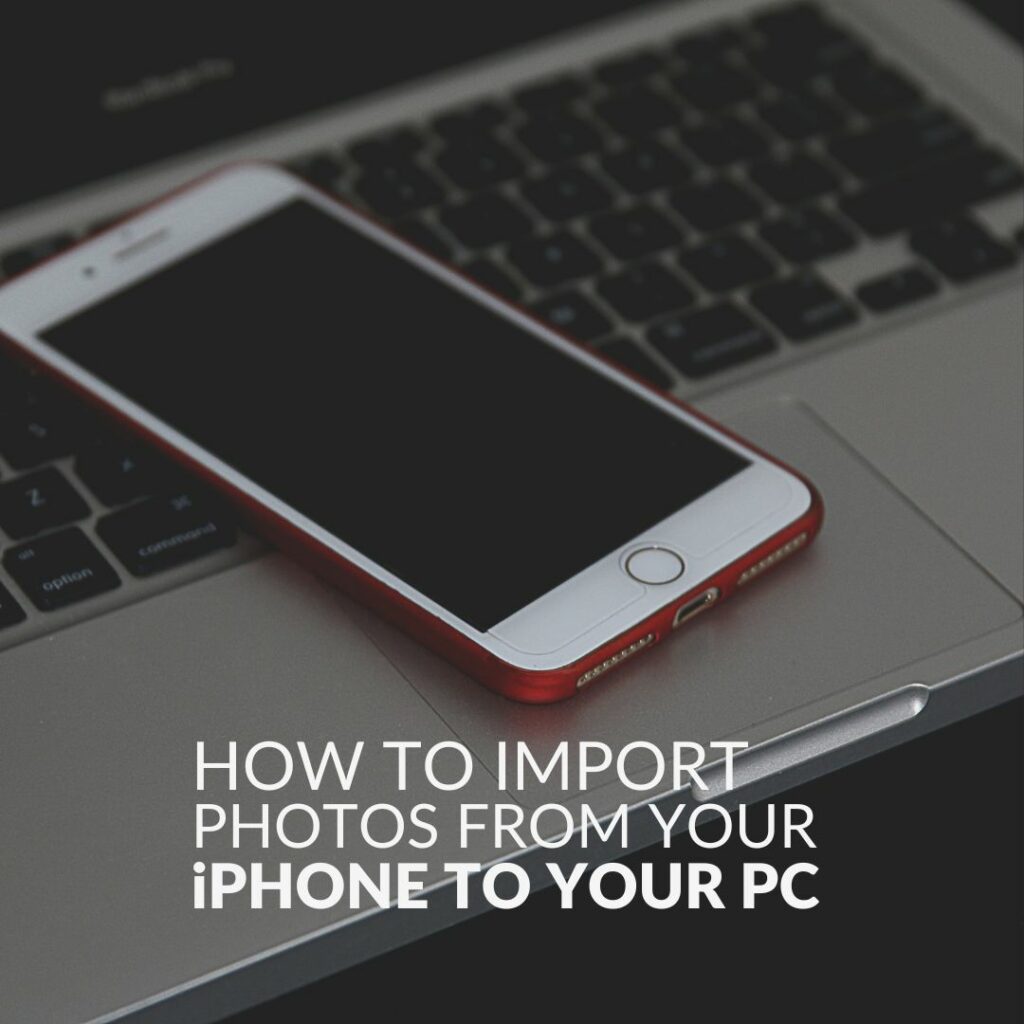
Tired of your iPhone getting cluttered with your photos and videos? Or perhaps you want to store your favourite memories somewhere safe? Knowing how to import photos from your iPhone to your PC is a useful trick.
Thankfully, if you don’t know where to start, we’ve put together this helpful guide listing a few simple ways you can import photos from your iPhone to your PC.
iCloud Photos
The iCloud is a built-in cloud service available on all Apple products which allows you to store and synchronise your files, photos, videos, and more, across all your devices.
You can set up iCloud on your PC, to automatically store, update, and protects all your data. You don’t need to manually upload anything, iCloud is always consistently updating with your recent photos and videos.
Take Advantage of Other Cloud-Based Photo Services
In addition to iCloud, you can also opt to use other online cloud-based services such as Google Photos.
With Google Photos you can manually store all your favourite photos and videos onto the cloud, allowing you to access them across any device that features Google Photos.
Connect Your iPhone to Your PC
Alternatively, you can also choose to manually import photos from your iPhone to your PC. You can do this by connecting your phone to your PC via a USB cable
There are two methods you can use to import your photos via a USB cable.
Windows Photos:
If you are utilising Windows Photos, we first recommend that you make sure you’ve updated to the latest version of iTunes on your PC, as you’ll need iTunes to import your phones.
After this, simply connect your iPhone to your PC with a USB. You should see a pop-up prompt asking if you trust this computer, you’ll need to select ‘Trust’ or ‘Allow’ to continue.
On your PC select Start > Photos > Import > From USB device > Select your phone and then follow the on-screen instructions to choose what you wish to import and where to save them.
Windows AutoPlay:
Alternatively, you can also use Windows AutoPlay.
Windows AutoPlay is a built-in feature that recognises any new media or device that you’ve plugged into your PC, scans it, and typically gives you a number of suggestions on what applications you can use with this device.
After you’ve connected your iPhone to your PC, an AutoPlay window should pop up. Simply select ‘Import Photos and Videos’. All your photos will then be imported from your iPhone and copied into the ‘Pictures’ folder on your PC.
To fully utilise Windows AutoPlay you may need to turn it on in Windows.
In Windows 11, you can do this by going into Settings > Bluetooth & Devices > AutoPlay > Turn AutoPlay on/off.
In Windows 10, click Start > Settings > Devices > AutoPlay > Turn AutoPlay on/off.
All Your Storage Needs
Keeping all your photos on your PC can take up a lot of precious storage space. Thankfully, it’s super easy to give your storage capacity that much-needed boost. You can opt for either a super-fast SSD, HDD with a hefty capacity, or simple-to-use portable external drive that you can take anywhere!
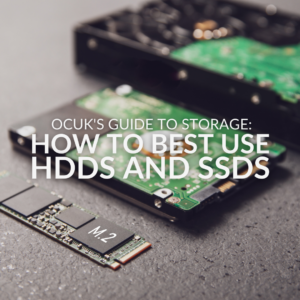
To find the storage solution that perfectly meets your needs, be sure to read through our dedicated storage guide.
WD Black SN850X 4TB M.2 2280 NVMe Solid State Drive:

- 2280
- 4TB capacity
- 7300MB/s read speed
- 6600MB/s write speed
Seagate Barracuda 6TB Internal Hard Drive:

- 6TB storage capacity
- 3.5” inches
- 5400RPM
- 185MB/s continuous data transfer rate
Seagate Expansion 5TB External Portable Drive:
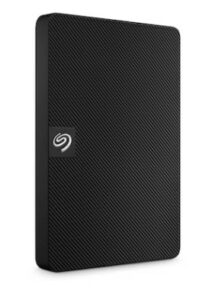
- 5TB storage capacity
- USB 3.0 connectivity
- Rescue Data Recovery service included
- 4 min read
Ruth Rowley
Author
Ruth has been with Overclockers UK for over a year and has gone on to write about everything ranging from in-depth hardware guides to monthly game releases.
Outside of writing blog posts, she can be found wrapped in a blanket with her black cat, engrossed in a book or playing life-simulation games such as The Sims, Stardew Valley, and Animal Crossing.
Read More >>