Random 3D printing chatter

Man of Honour
Joined
30 Oct 2003
Posts
13,251
Location
Essex
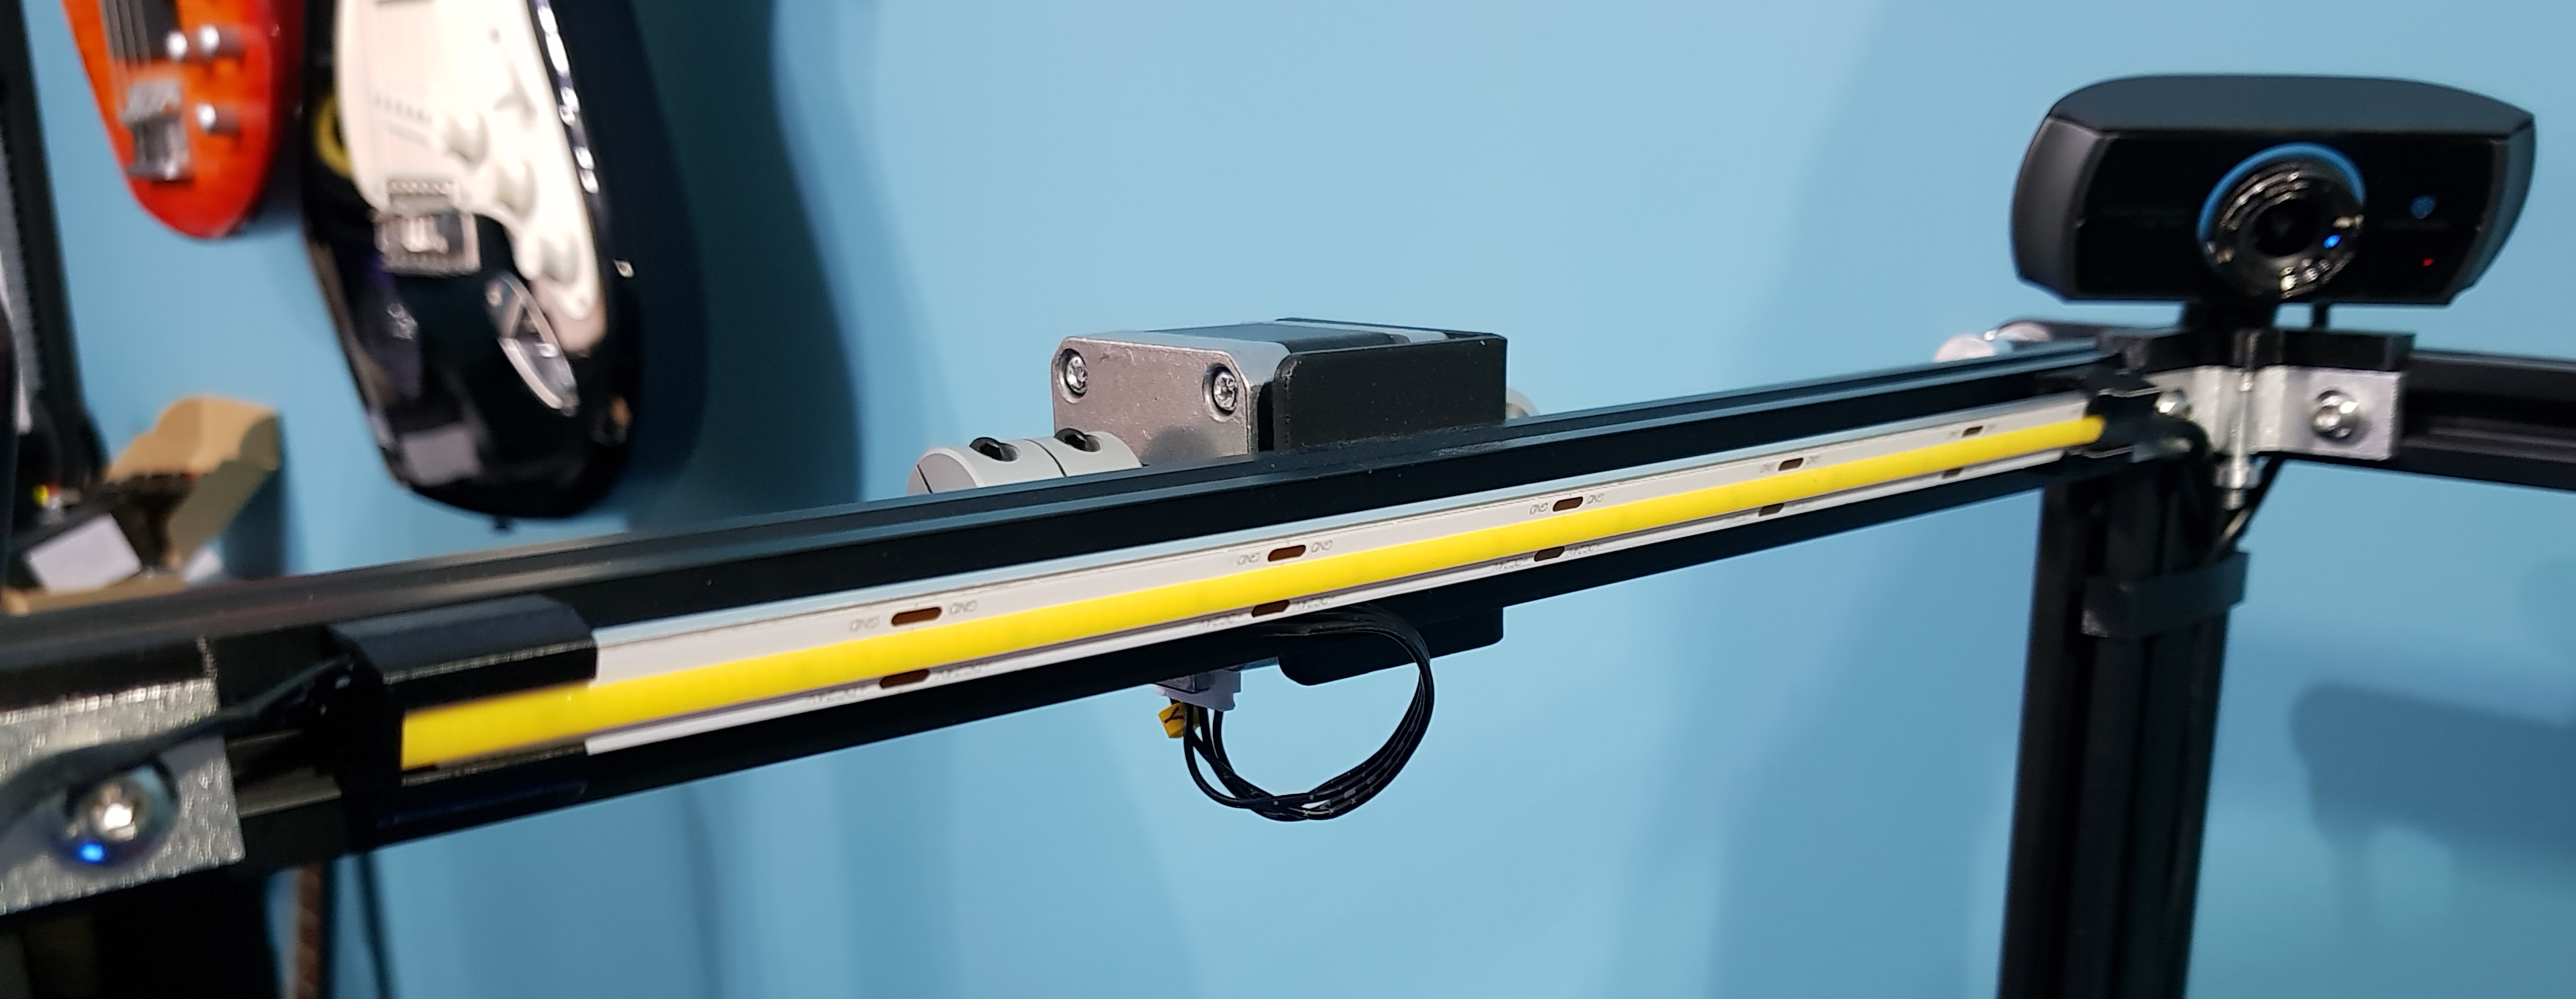
Very nice. Articulated Pi cam no less!
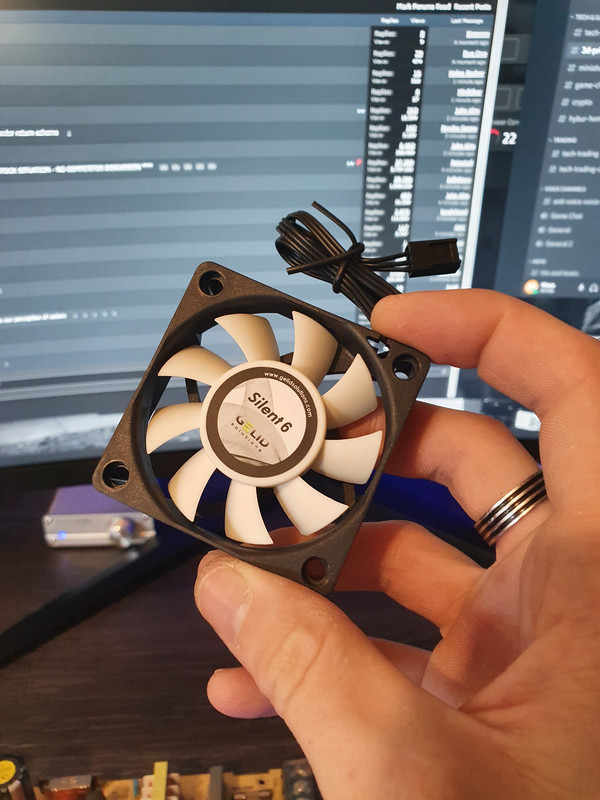
Have you never had trouble with bits of filament - like the angel hair stuff you get sometimes when it oozes in travel or priming - sucked into those fans? I've had it happen a couple of times to my hotend fan and it's a right pain as you have to shut everything down to stop the fan and pull it out with tweezers.


Nope, it likes to ooze a little because thats what titans do but it doesnt ever get stuck in fans.. or at least hasn't yet! I did print all new part cooling and have 3 new silent fans on the way so it's set to change again!

In terms of functionality it's now pretty much there although I did notice an additional relay control module for octoprint so that opens up better control of the bed to me as well. That I think also has to be on the cards.
 
Soldato
OP
Joined
4 Jun 2007
Posts
2,617
Location
Watford, UK
That cheap LED strip I made mounts for a while back slowly died on me. Some dropped out, some faded, some flickered and it all lost brightness. It was cheap tape and had failed in everything else I'd used it in too.....but it at least made proof of concept. Bought a couple of metres of 578 led/metre 24V COB tape, stuck it to an aluminium strip (11.5mm wide, from Wickes) for a bit of support and cooling and then made some new clips. Good job I printed three of them before I stuck the strip on and made none of them fit *facepalm*. New ones printed to include an endstop at one end and strain relief for the wire at the other. Resoldered the power output jack I'd previously added from 12V (buck convertor) to 24V (PSU), flicked the switch and it's beautiful. Was thinking I may have to make one for the side as well since I could only get 6 segments in the front but it's almost too bright already!
 
Man of Honour
Joined
30 Oct 2003
Posts
13,251
Location
Essex
That cheap LED strip I made mounts for a while back slowly died on me. Some dropped out, some faded, some flickered and it all lost brightness. It was cheap tape and had failed in everything else I'd used it in too.....but it at least made proof of concept. Bought a couple of metres of 578 led/metre 24V COB tape, stuck it to an aluminium strip (11.5mm wide, from Wickes) for a bit of support and cooling and then made some new clips. Good job I printed three of them before I stuck the strip on and made none of them fit *facepalm*. New ones printed to include an endstop at one end and strain relief for the wire at the other. Resoldered the power output jack I'd previously added from 12V (buck convertor) to 24V (PSU), flicked the switch and it's beautiful. Was thinking I may have to make one for the side as well since I could only get 6 segments in the front but it's almost too bright already!

Good work. I got fed up of looking at all the nice finished stuff and that miserable old power supply so did this today:


Need to fit it back up to the machine but that looks a lot better and that fan will be a ton quieter than the stock one :D
 
Associate
Joined
3 Dec 2020
Posts
8
Good work. I got fed up of looking at all the nice finished stuff and that miserable old power supply so did this today: it back up to the machine but that looks a lot better and that fan will be a ton quieter than the stock one :D

Oh yeah fan upgrade will be massive upgrade in performance too. Lookin swish!
 
Soldato
OP
Joined
4 Jun 2007
Posts
2,617
Location
Watford, UK
Nice. I was questioning the choice of colour....but just primer :D
Actually I was looking at the pics of yours regarding layout of electronics, PSUs etc. I took mine apart to swap the voltage for the LEDs and had a quick offer-up of the new board. Yeah, it's not gonna fit. Well, to be accurate, it will as long as I don't want to plug in some of the connections to it. So it might be a complete rethink :-/
 
Man of Honour
Joined
30 Oct 2003
Posts
13,251
Location
Essex
Nice. I was questioning the choice of colour....but just primer :D
Actually I was looking at the pics of yours regarding layout of electronics, PSUs etc. I took mine apart to swap the voltage for the LEDs and had a quick offer-up of the new board. Yeah, it's not gonna fit. Well, to be accurate, it will as long as I don't want to plug in some of the connections to it. So it might be a complete rethink :-/

I just sort of went with the flow and that's how it ended up. Not much else I can do, I am going to install a ac relay for the bed now I have seen there is an additional plugin available so may as well control power to that as well. There are random bits here and there relays and bucks that eventually I guess Ill make some funky covers for. :D
 
Soldato
OP
Joined
4 Jun 2007
Posts
2,617
Location
Watford, UK
My immediate thought was for a larger metal box. Mount it centrally in case I ever want a second Z stepper (and rails). Make it accessible from the top - who's damn stupid idea was it that it was only accessible if you unplug everything, unscrew it and turn it upside down?! And look at making things pluggable. Also, once slightly bigger I can spin the PSU 90° and have way more useable space. I'm thinking it's a plan things and investigate laser/vnc cutting job though. I'm bound to screw something up if I try to do it all by hand!
 
Man of Honour
Joined
30 Oct 2003
Posts
13,251
Location
Essex
My immediate thought was for a larger metal box. Mount it centrally in case I ever want a second Z stepper (and rails). Make it accessible from the top - who's damn stupid idea was it that it was only accessible if you unplug everything, unscrew it and turn it upside down?! And look at making things pluggable. Also, once slightly bigger I can spin the PSU 90° and have way more useable space. I'm thinking it's a plan things and investigate laser/vnc cutting job though. I'm bound to screw something up if I try to do it all by hand!

Print the cases and stuff. all mine is just printed and mounted :)
 
Associate
Joined
12 Jun 2005
Posts
1,762
Location
Suffolk
Anyone here deep enough into 3D printing to remembers faberdasher they had some lovely filament colours. Well I had the opportunity to get my hands on some 1.75 & 3.00mm unused samples of theirs, well look at the collection of goodies that arrived :).

Guess I need a 2.85/3.00mm filament printer now :).

 
Soldato
OP
Joined
4 Jun 2007
Posts
2,617
Location
Watford, UK
That cheap LED strip I made mounts for a while back slowly died on me. Some dropped out, some faded, some flickered and it all lost brightness. It was cheap tape and had failed in everything else I'd used it in too.....but it at least made proof of concept. Bought a couple of metres of 578 led/metre 24V COB tape, stuck it to an aluminium strip (11.5mm wide, from Wickes) for a bit of support and cooling and then made some new clips. Good job I printed three of them before I stuck the strip on and made none of them fit *facepalm*. New ones printed to include an endstop at one end and strain relief for the wire at the other. Resoldered the power output jack I'd previously added from 12V (buck convertor) to 24V (PSU), flicked the switch and it's beautiful. Was thinking I may have to make one for the side as well since I could only get 6 segments in the front but it's almost too bright already!

Finally got the time to get a picture up. Tried taking one of the setup with it off and on but either the camera compensates or you just end up with one looking either dark or overexposed. It's plenty bright enough for The Spaghetti Detective to spot problems with the room lights out....which was the main idea. Incidentally, I left it running for a while and found it was hot. Checked it and it was 41°C. Glad I backed it with an aluminium strip and didn't encase it in PLA/PETG but apparently that sort of temp is absolutely fine.

Holder on the right of the pic includes strain relief for the heatshrink'd wires. The one on the left is an endstop and they both clip into the channel on the frame. Wires coming out the left hand side are just the stepper wiring and this extrusion is the front of the machine so the light isn't in your face. Moved my stepper to the front so I could push the whole machine back far enough that all the feet would be on the table surface :D

 
Soldato
Joined
30 Jan 2007
Posts
15,434
Location
PA, USA (Orig UK)
For the record... I'll be back.. but I just got pee'd off with a lack of adhesion after buying yet another bed glue lol. The only one that actually worked for PETG was Nano Polymer glue, which is suppppper expensive. (50 dollars a bottle).
 
Soldato
OP
Joined
4 Jun 2007
Posts
2,617
Location
Watford, UK
I've got a plain borosilicate glass bed and I seem to have got away with it by bringing the bed temp up to 85 (which is actually closer to 80 according to an IR temp gun) and making the first layer really slow at around 10mm/s or slightly less(I forget exactly). Sticks well now but can lift slightly at a corner sometimes. An adhesion disc would probably sort that for parts that matter - the print succeeds, it's just slightly warped for the bottom couple of layers.
Hairspray also helps but is a pain to clean off if you can get away without it.
 
Associate
Joined
14 May 2006
Posts
1,285
I've had mixed adhesion issues since moving over to the official creality glass bed. I did try hairspray / gluestick but found that the cleanup was a massive pain that made the good adhesion not worth the post print cleanup phase. I saw some recommendation about using a sugar solution as an adhesion aid and haven't really had any issues since and cleanup is so much easier as it comes off with a little bit of warm water and a paper towel. I've finished flipped the glass bed over to the plain side and using the sugar solution, I get fairly nice smooth bases and haven't had an adhesion based failure since. Also has the benefit of being cheap as anything and always available as it only takes about 1/2 tsp sugar to do the whole bed. This is admitidly with PLA though!
 
Soldato
Joined
17 Jul 2007
Posts
24,529
Location
Solihull-Florida
For the record... I'll be back.. but I just got pee'd off with a lack of adhesion after buying yet another bed glue lol. The only one that actually worked for PETG was Nano Polymer glue, which is suppppper expensive. (50 dollars a bottle).


I always had problems when I never had a auto bed leveler.
 
Back
Top Bottom