

Soldato
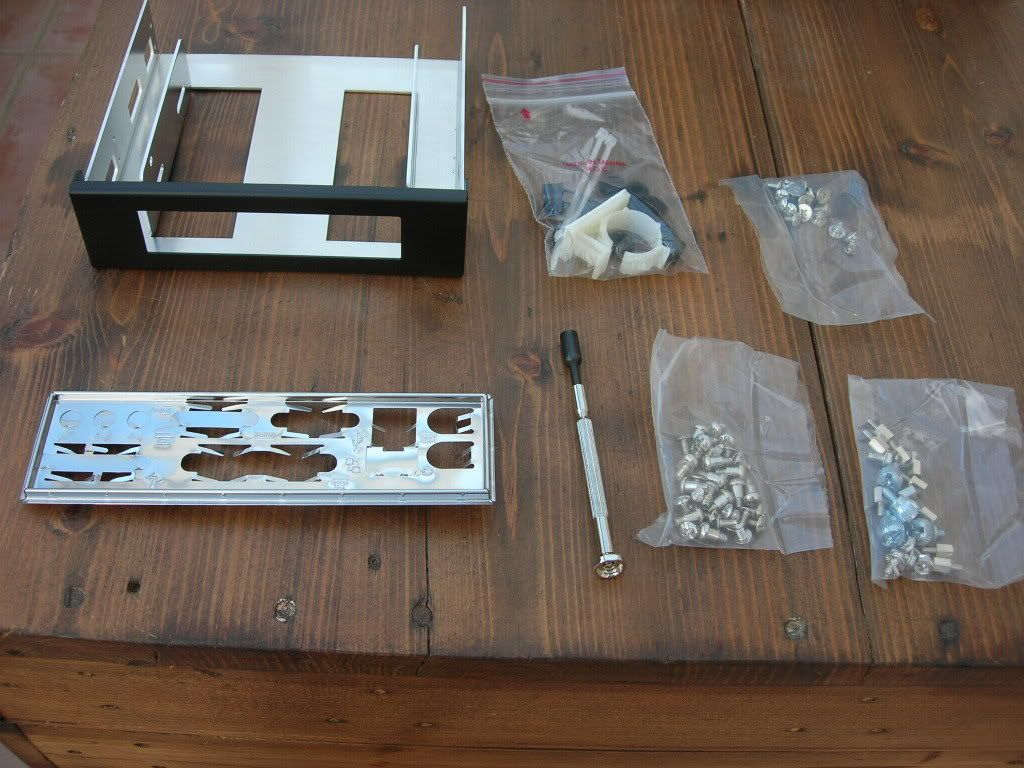
Ok then, Got back from taking my car in on Friday afternoon to find a note had been left on my doorstep 'citylink have been....'... oh noes thought i, but it turns out they delivered next door, so i instantly went over and grabbed my new toys...
This is what was waiting for me:
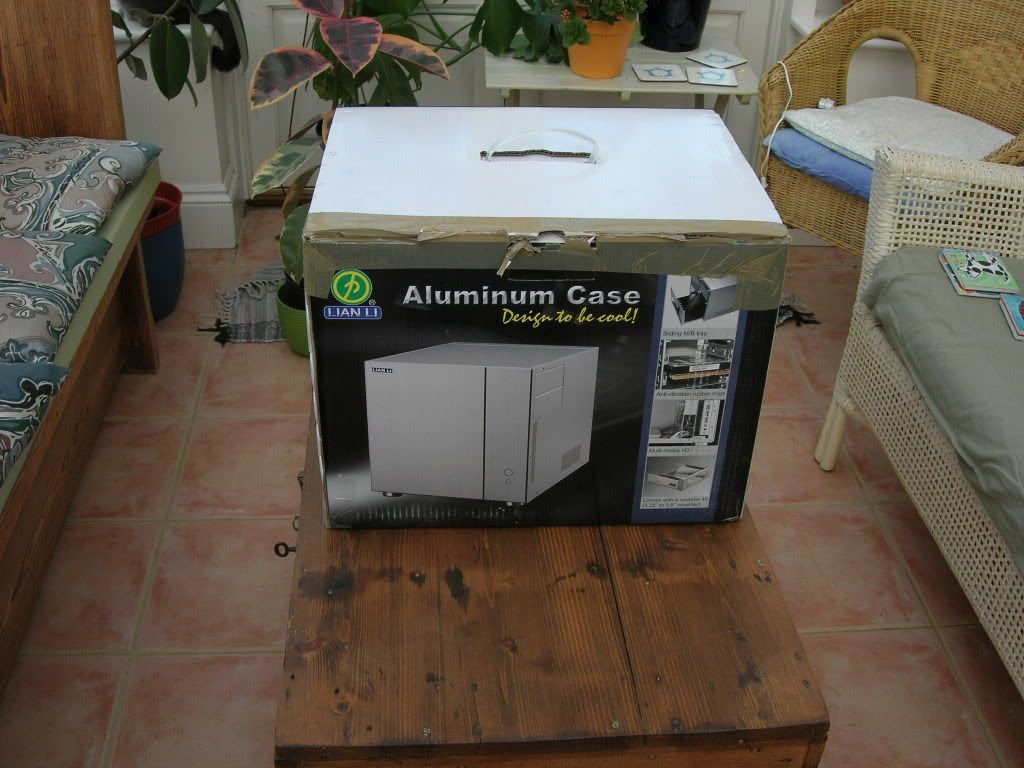
First thoughts again were 'oh noes!' as it's plastered with pics of the silver case, when, we all know black is made of win... Anyway, closer inspection saw that there were stickers all over the box saying that it was the black version, and alas, when i opened the box, it was!
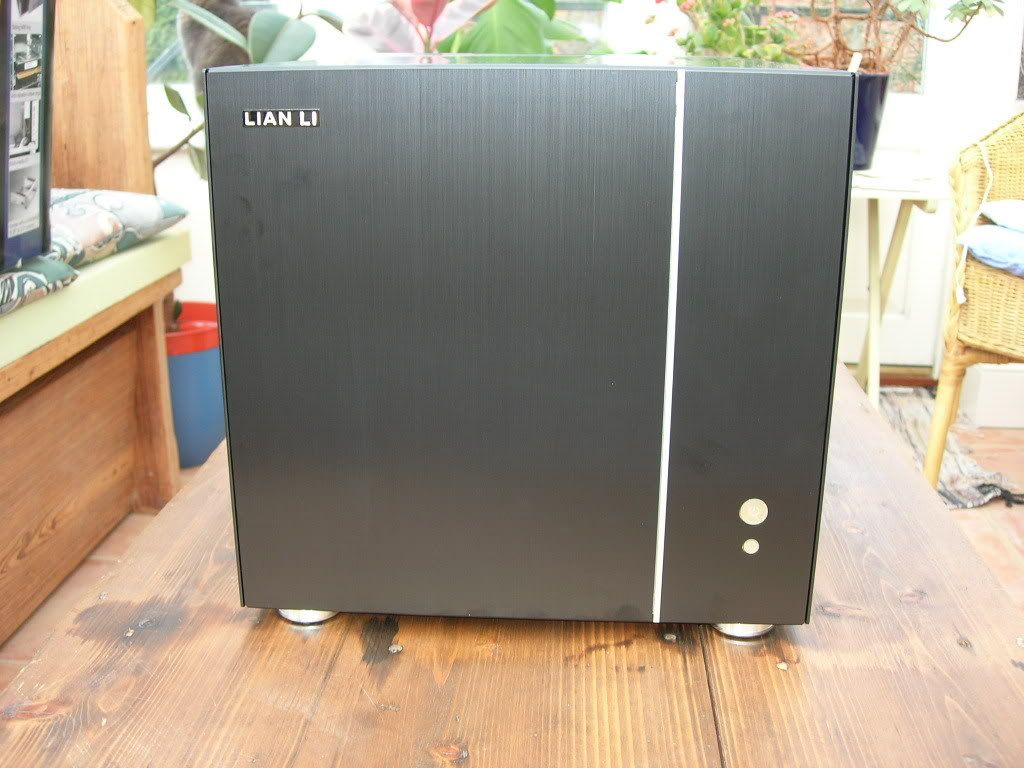
So, first things first, pics of the closed case (i apologise in advance for all of the greasy finger marks all over the case.. what can i say, i'm dirty...)
Front (mmm!):
Right hand side:
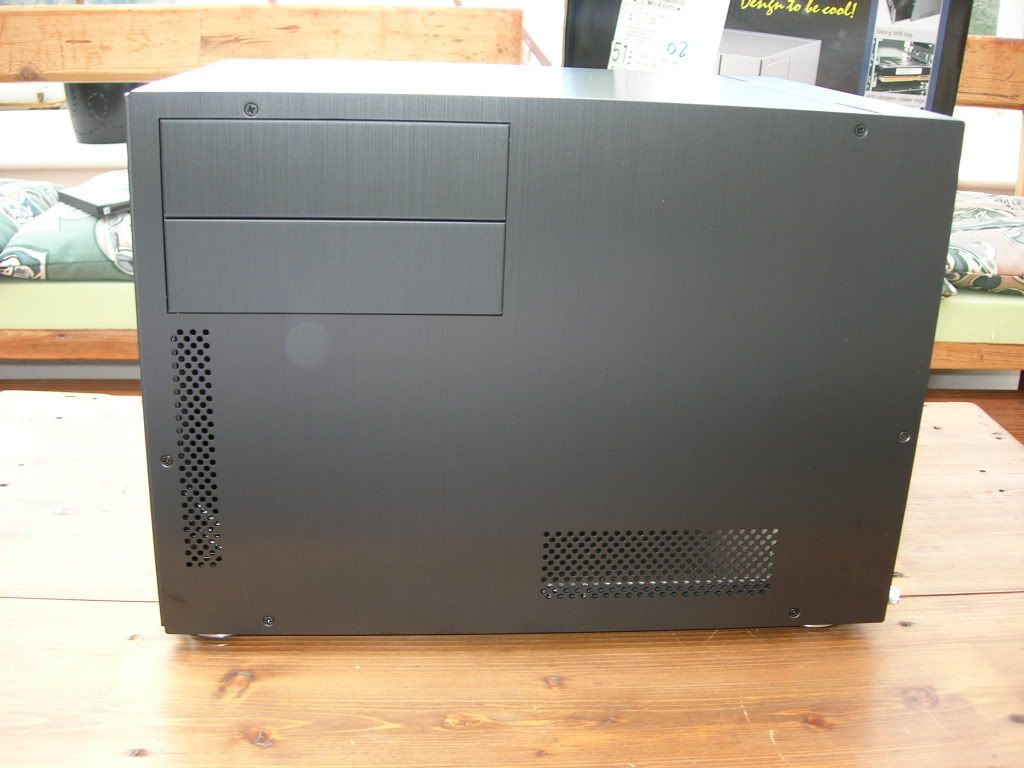
Left hand side:
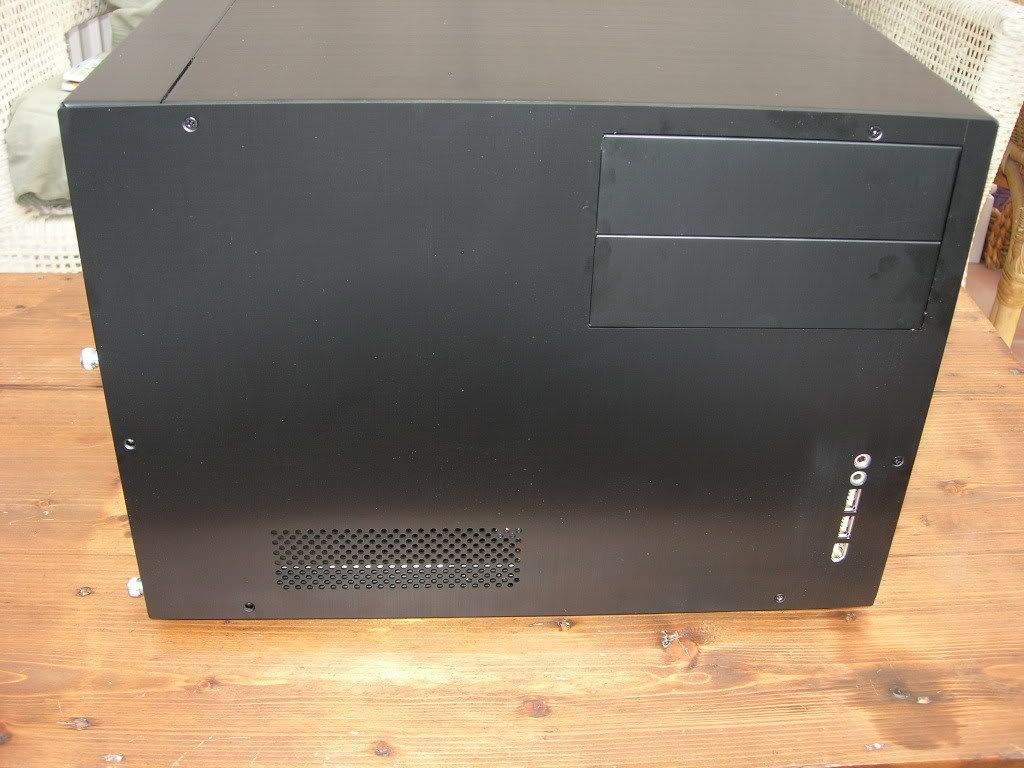
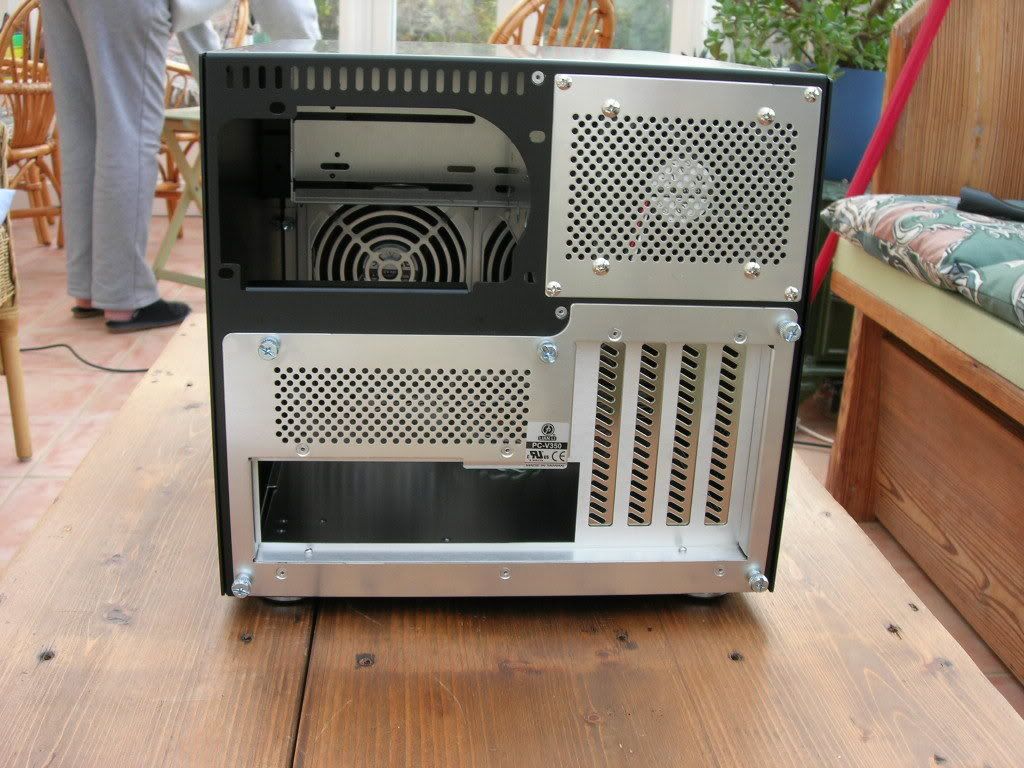
Rear:
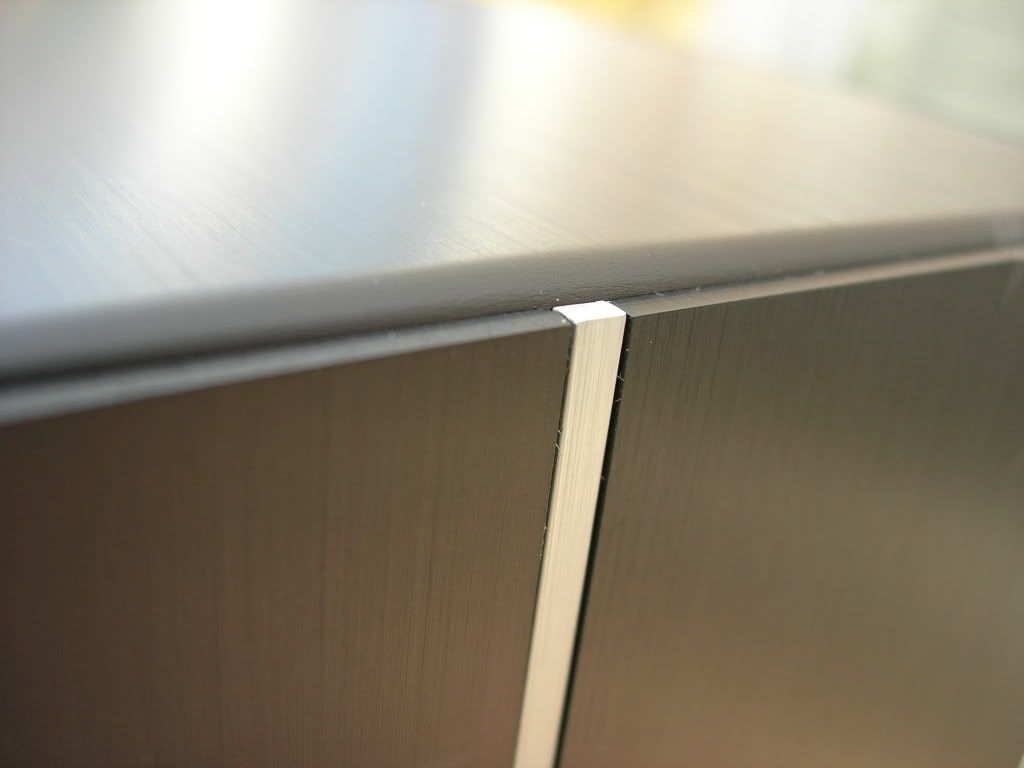
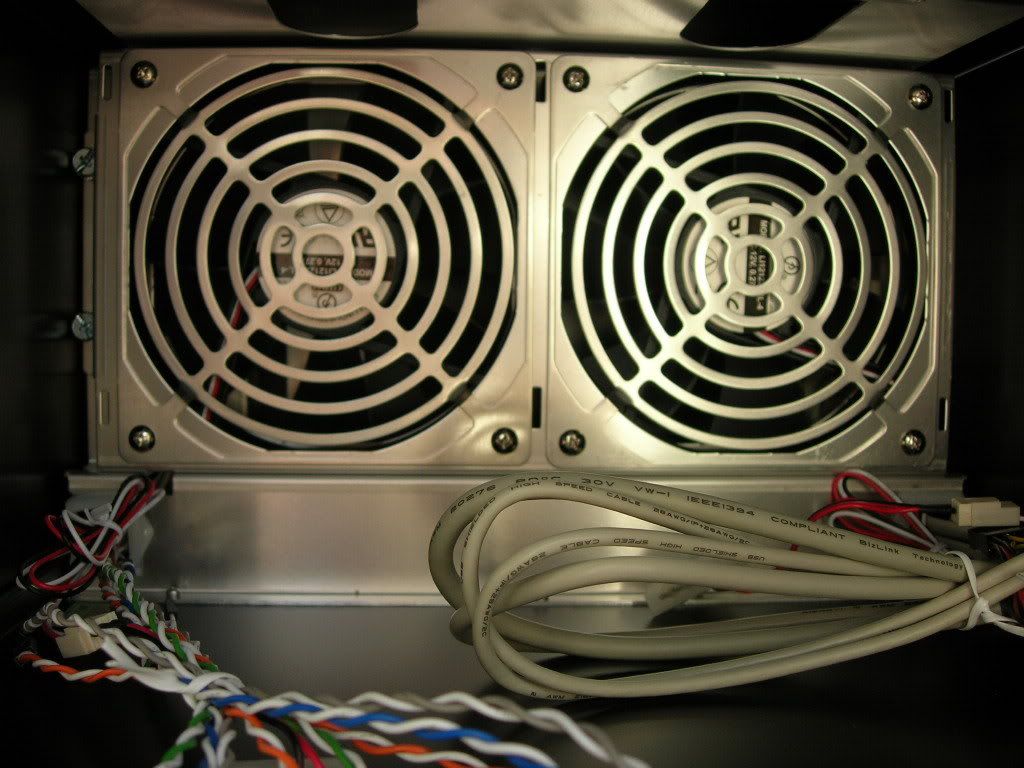
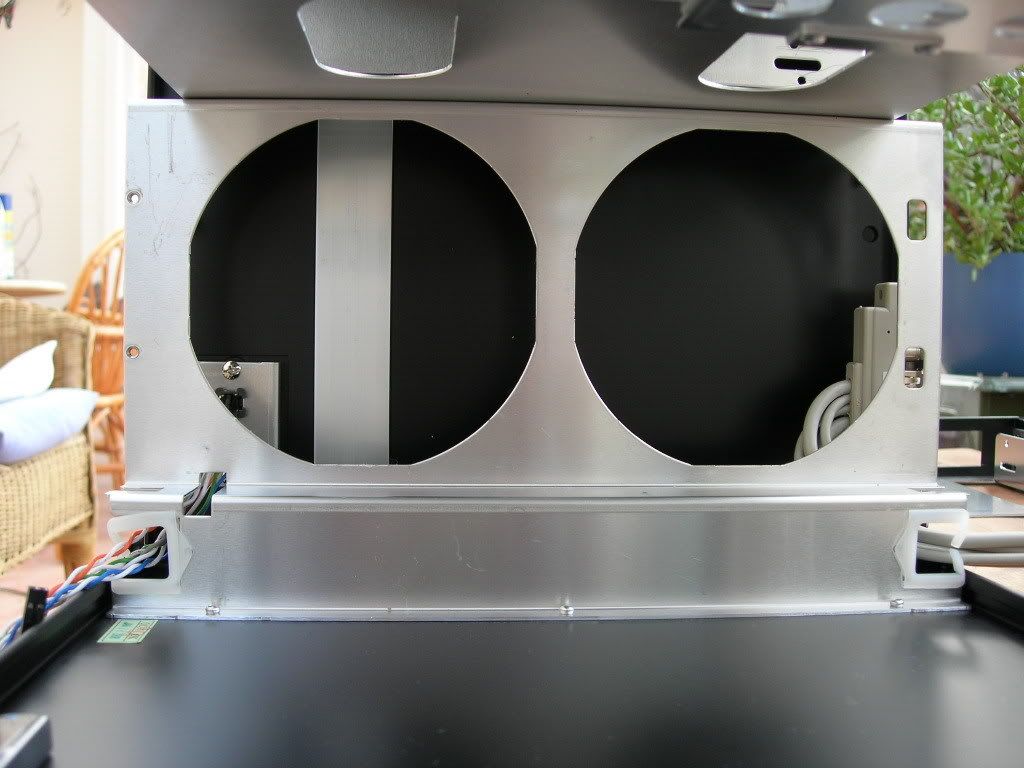
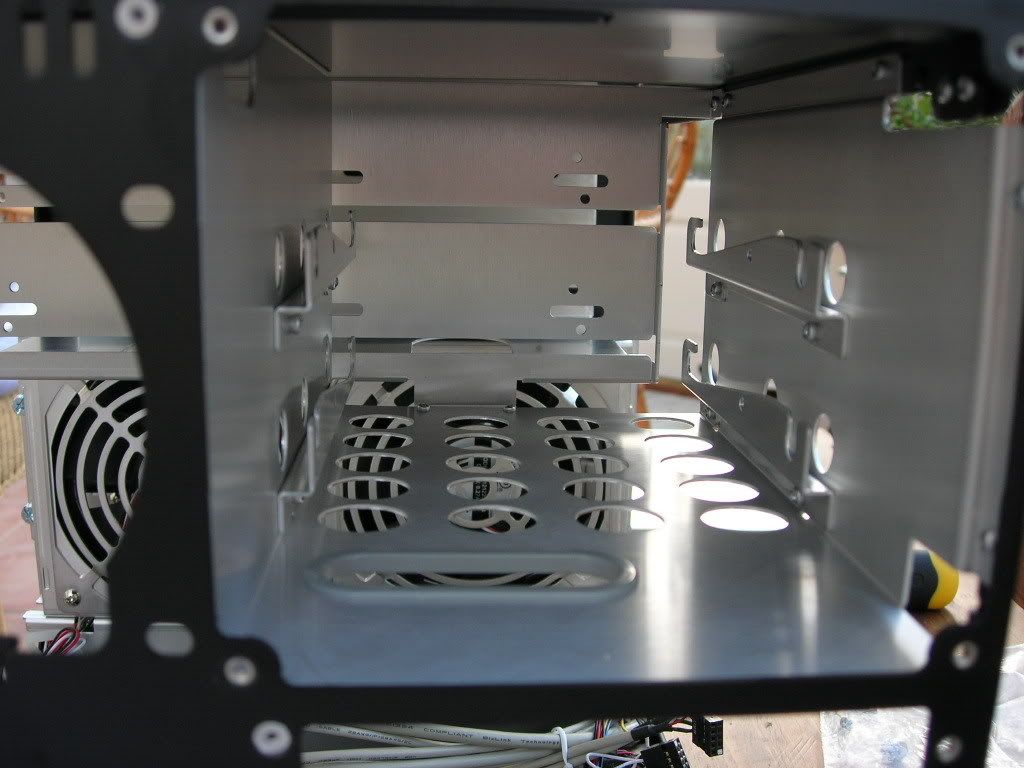
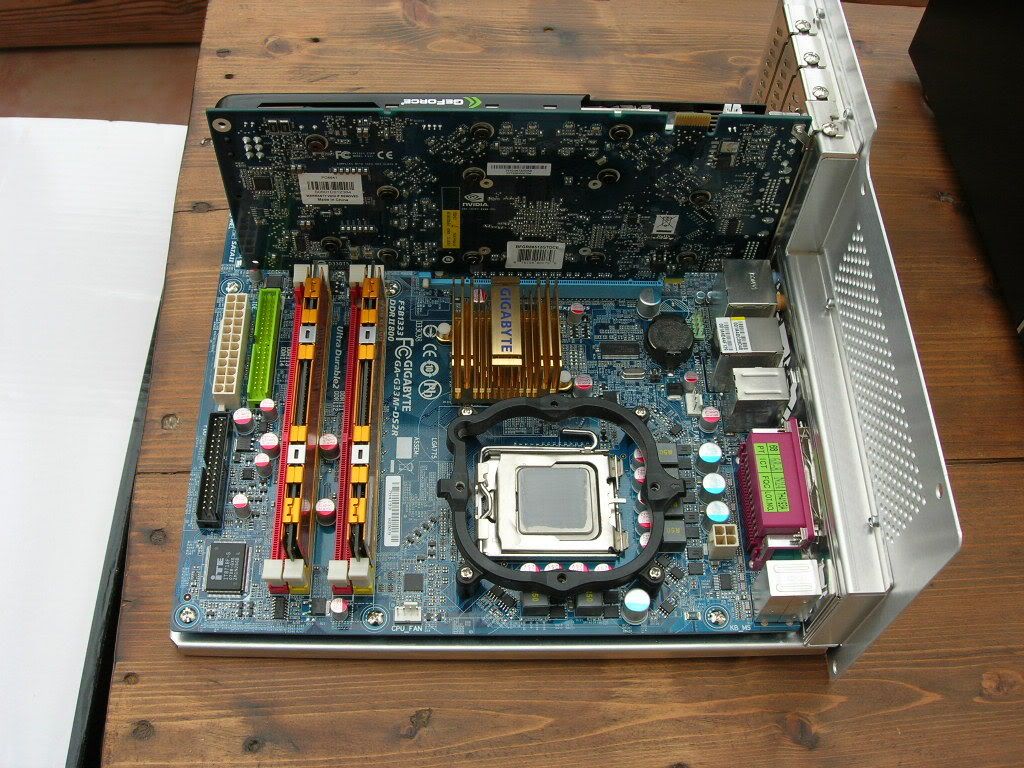
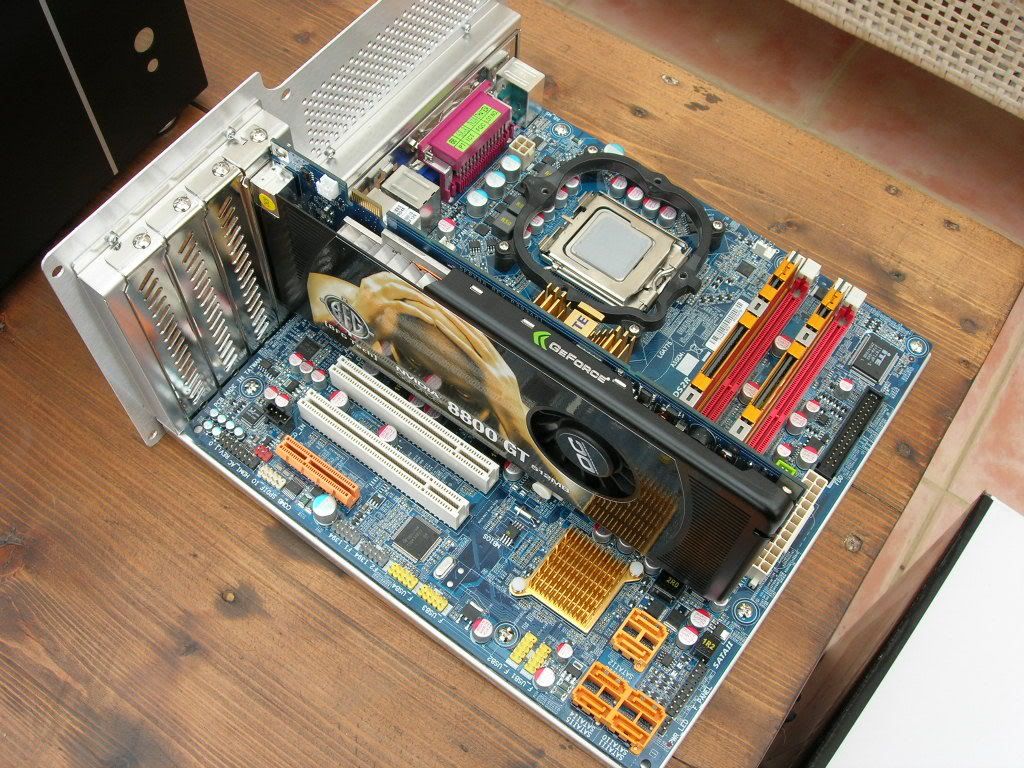
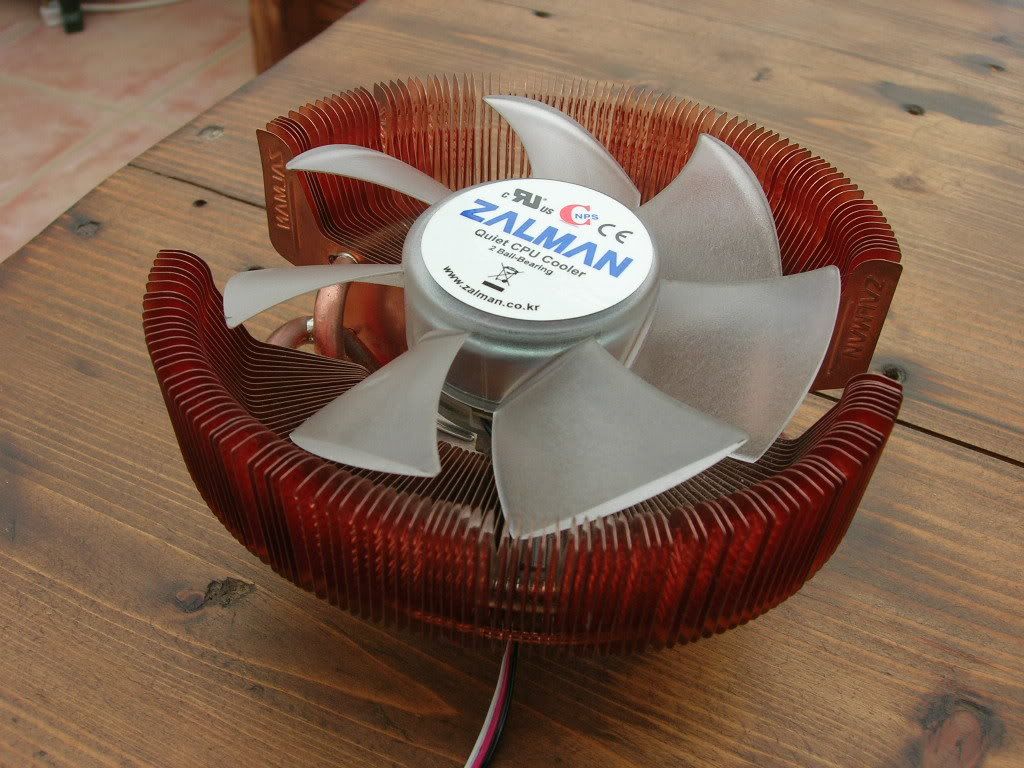
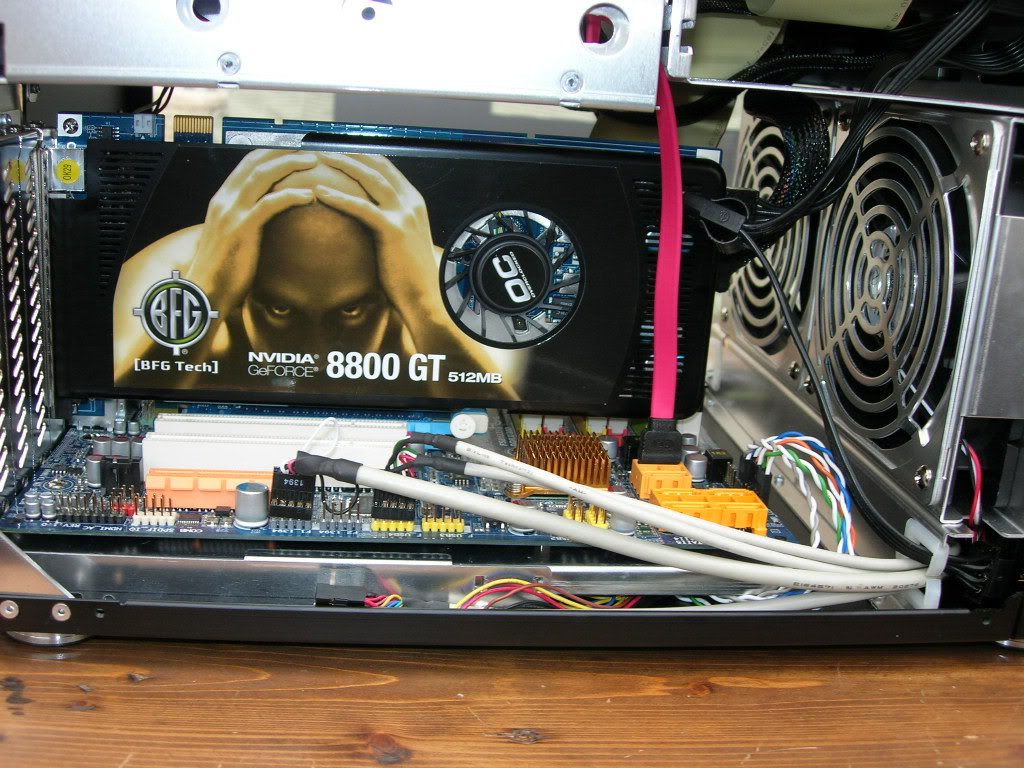
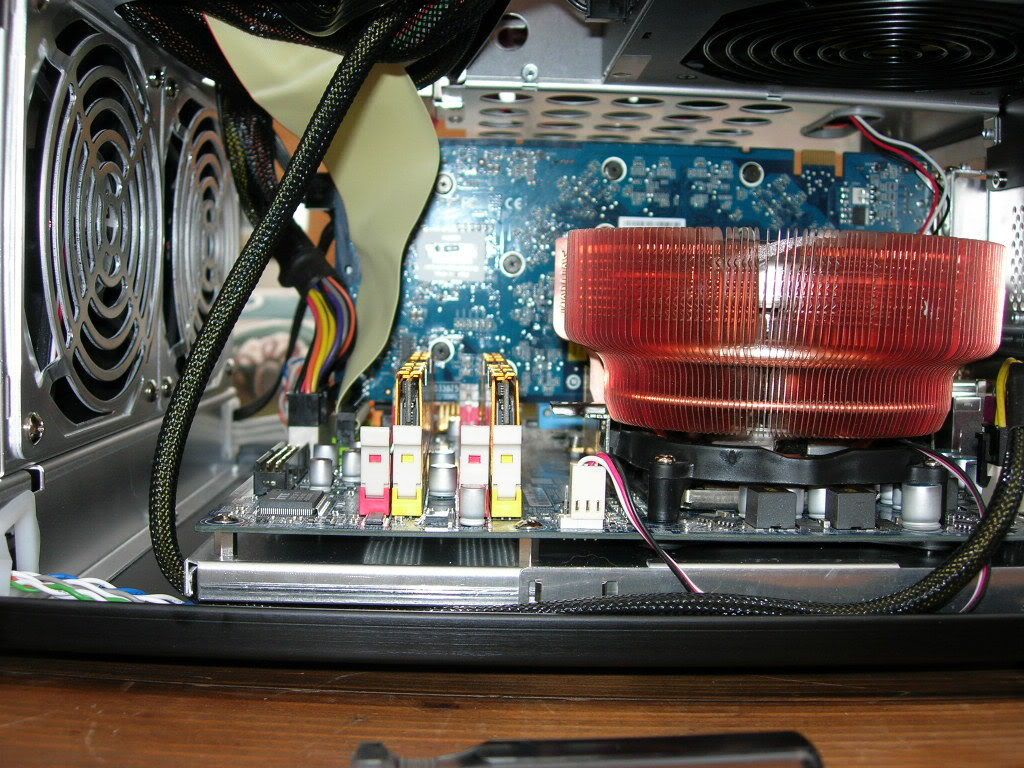
Ever since my first Lian Li case just over a year ago, i have been in love with them ever since. They just look and feel... executive... Plain without being boring, it's almost as though Lian Li cases are... sophisticated, and the v350 is no exeption. Now for some close up on some of the detail:
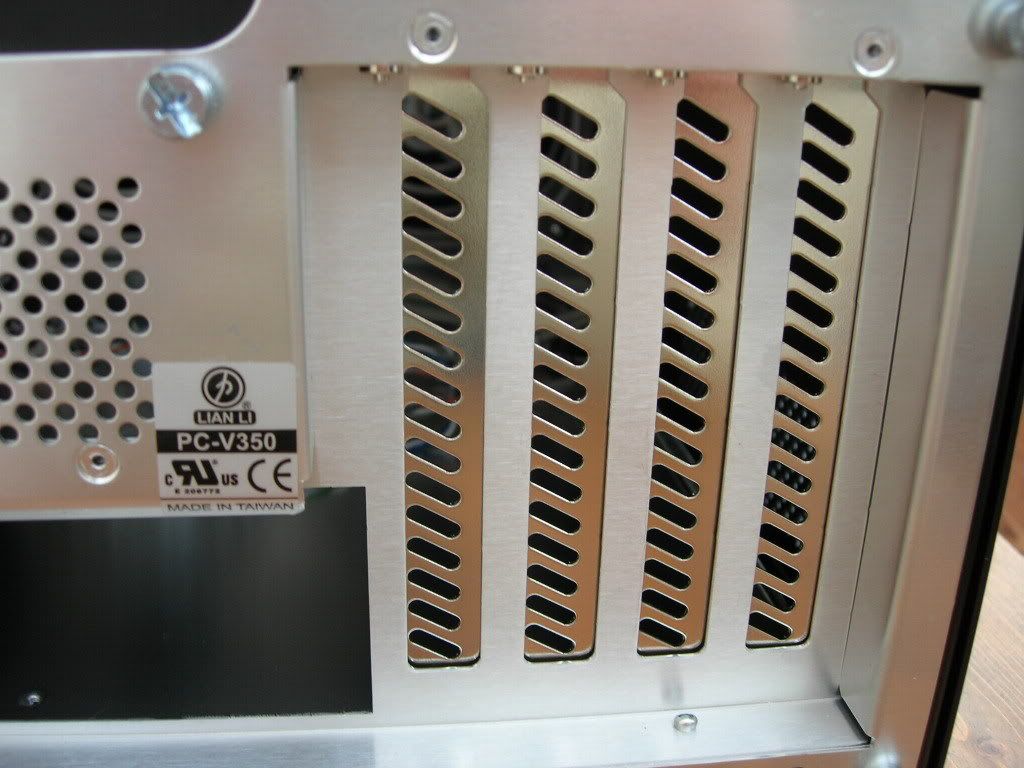
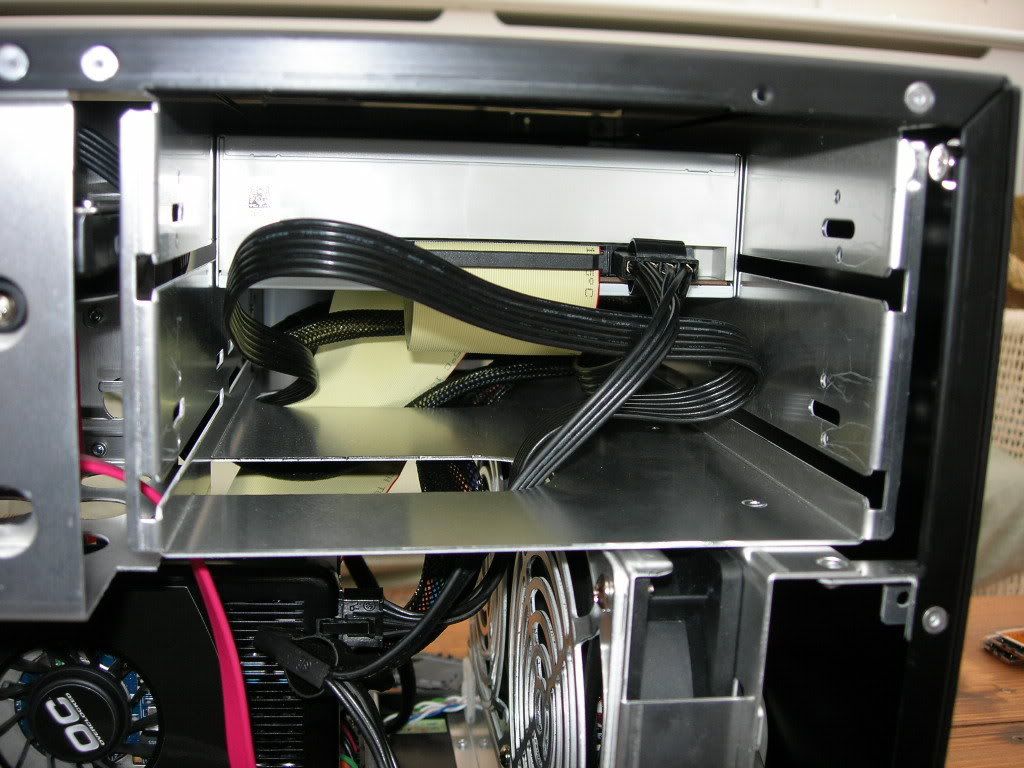
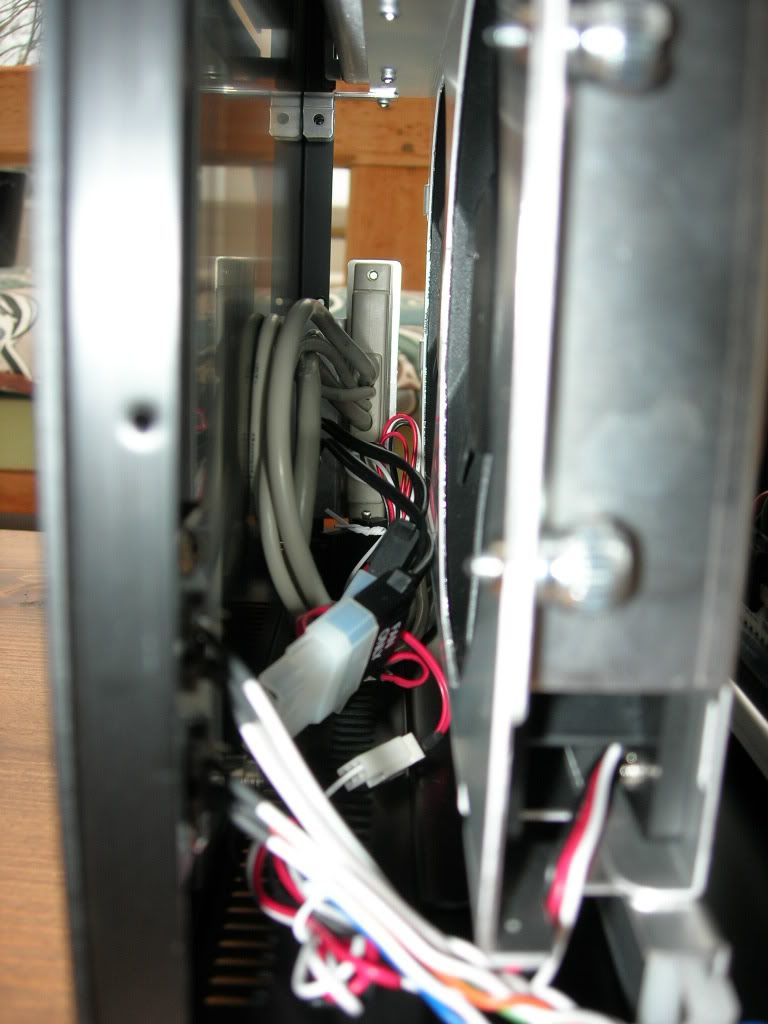
As there are 2 120mm intake fans, and the only exhaust fans will be the psu and the 80mm fan on the rear, there is going to be rather a large pressure differentional, thus, Lian Li have added vents on each side panel, above the psu, and on the PCi blanking plates:
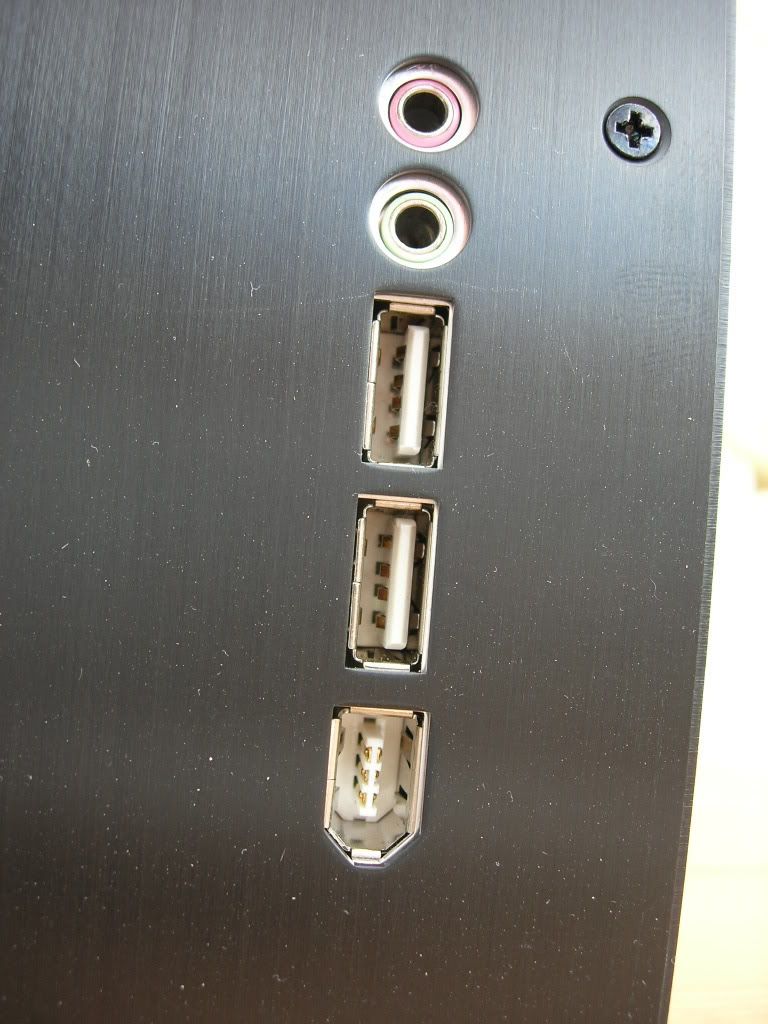
Here we have the 'front panel' albeit on the left side panel:
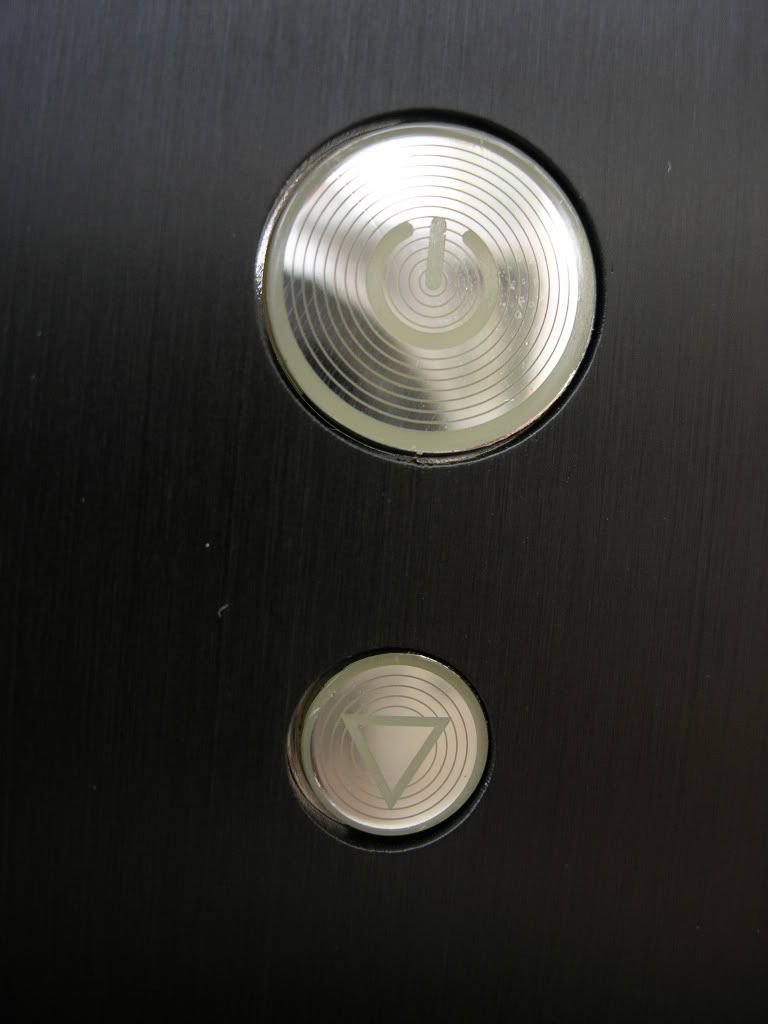
Close up of the power and reset switch:
A close up the detail stripe on the front:
And finally, the Lian Li logo:
This is what was waiting for me:
First thoughts again were 'oh noes!' as it's plastered with pics of the silver case, when, we all know black is made of win... Anyway, closer inspection saw that there were stickers all over the box saying that it was the black version, and alas, when i opened the box, it was!
So, first things first, pics of the closed case (i apologise in advance for all of the greasy finger marks all over the case.. what can i say, i'm dirty...)
Front (mmm!):
Right hand side:
Left hand side:
Rear:
Ever since my first Lian Li case just over a year ago, i have been in love with them ever since. They just look and feel... executive... Plain without being boring, it's almost as though Lian Li cases are... sophisticated, and the v350 is no exeption. Now for some close up on some of the detail:
As there are 2 120mm intake fans, and the only exhaust fans will be the psu and the 80mm fan on the rear, there is going to be rather a large pressure differentional, thus, Lian Li have added vents on each side panel, above the psu, and on the PCi blanking plates:
Here we have the 'front panel' albeit on the left side panel:
Close up of the power and reset switch:
A close up the detail stripe on the front:
And finally, the Lian Li logo:
Last edited:


")