

Associate
- Joined
- 24 Jul 2015
- Posts
- 8
Introduction
The Author
Hello, my name is Aaron, I work full time in the field of IT and have done for around 8 years now. I’m getting into Golf and Cars which hopefully will stop me from spending too much on computers however all three are amongst the most expensive hobbies, or so it seems…
The Justification
My current (now previous) computer had issues when upgrading to Windows 10, for some reason the upgrade wiped the RAID 0 configuration on my SSD’s. I thought this was weird however the drive then started to report SMART disk errors and my hard drive started to fail too. When investigating it looked as though the motherboard was causing issues as well with the SATA ports not working properly so am still not completely sure if this was a false positive or not just yet however I agreed to donate the SSD’s to my brother to allow him to benefit from the RAID 0 and for him to confirm if this was the case.
Please note, the problematic computer was over 3 years old, although still an i7 with 32GB of RAM and SSD’s all of the parts were EOL and the motherboard socket was almost impossible to buy a new replacement for.
For the above reason and the fact that my role at work involved technical sales I understand that sometimes it is cheaper to just invest in new hardware rather than keep patching and ‘duct taping’. Although it is easier said than done, I had money put aside for this just in case it happened.
The Requirements and Budget
I use my computer for a lot of virtual machine work, spinning up Windows server, Linux and all sorts as well as some gaming. At times I do tend to play games while I am waiting for stuff to process such as installing O/S or adding server roles and therefore it requires to be able to process both a high end game and a virtual machine at the same time. A tall order right?
Budget wise I anticipate spending a few thousand pounds on this, I don’t want to go crazy but I know that I can split the cost over the time I use it so in 3 years when I next upgrade it can be dissipated. When speaking with someone I put a budget of £5,000 on the build. Spread that cost over 36 months (3 years) and it works out to be around £140 a month, that makes it easier to stomach I guess…
Specifications
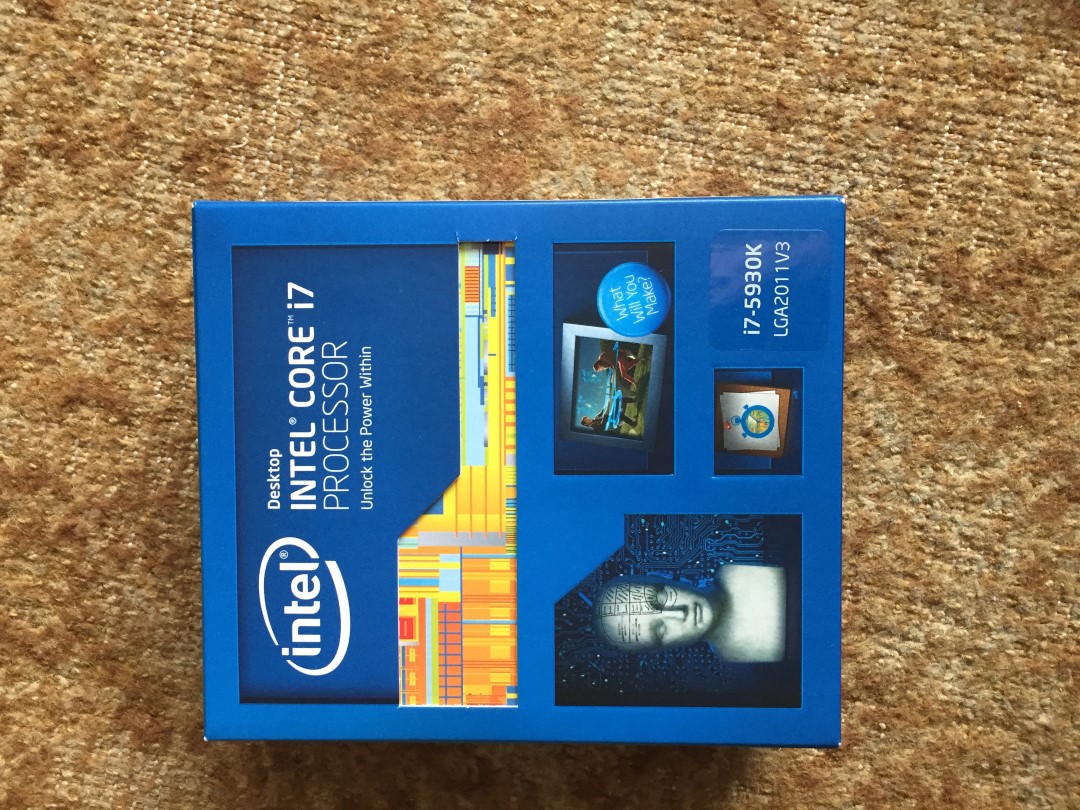
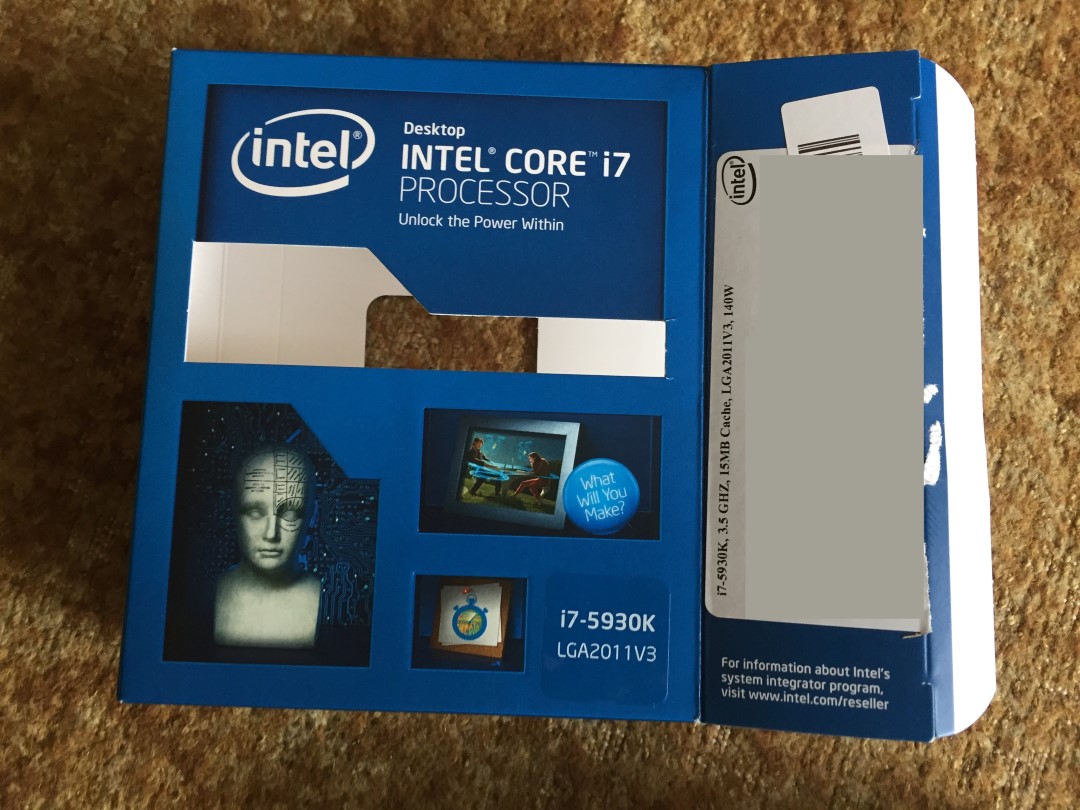
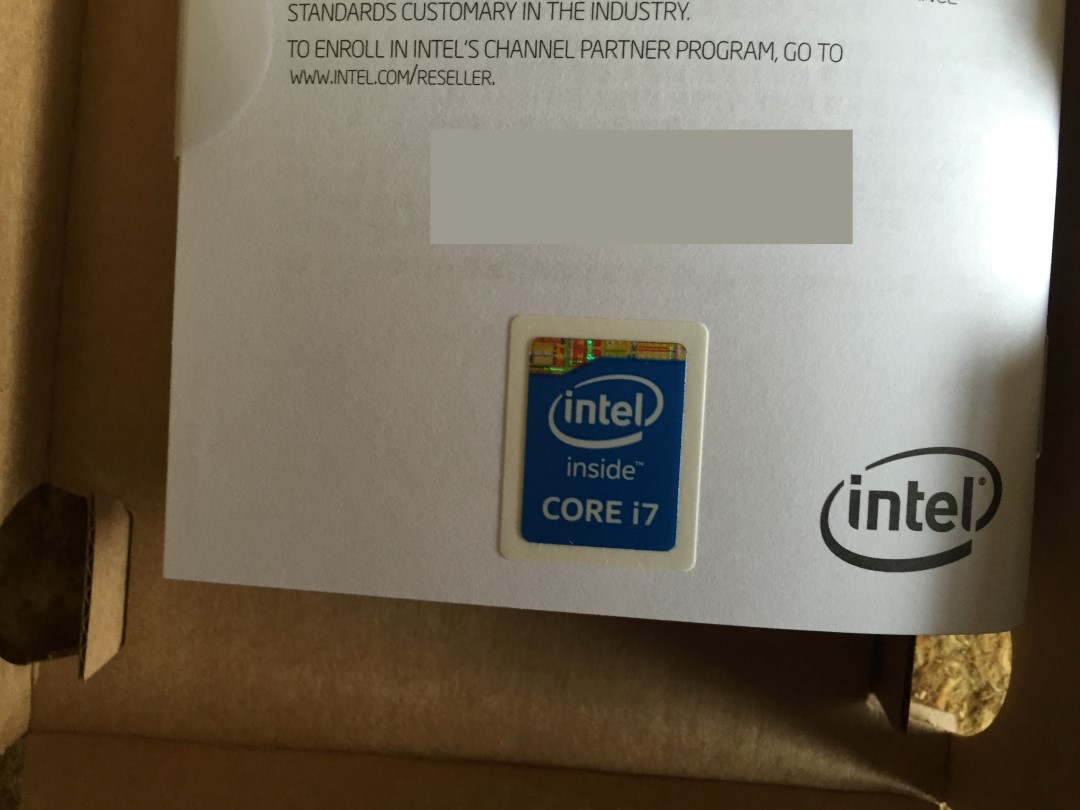
Processor: Intel i7 5930k
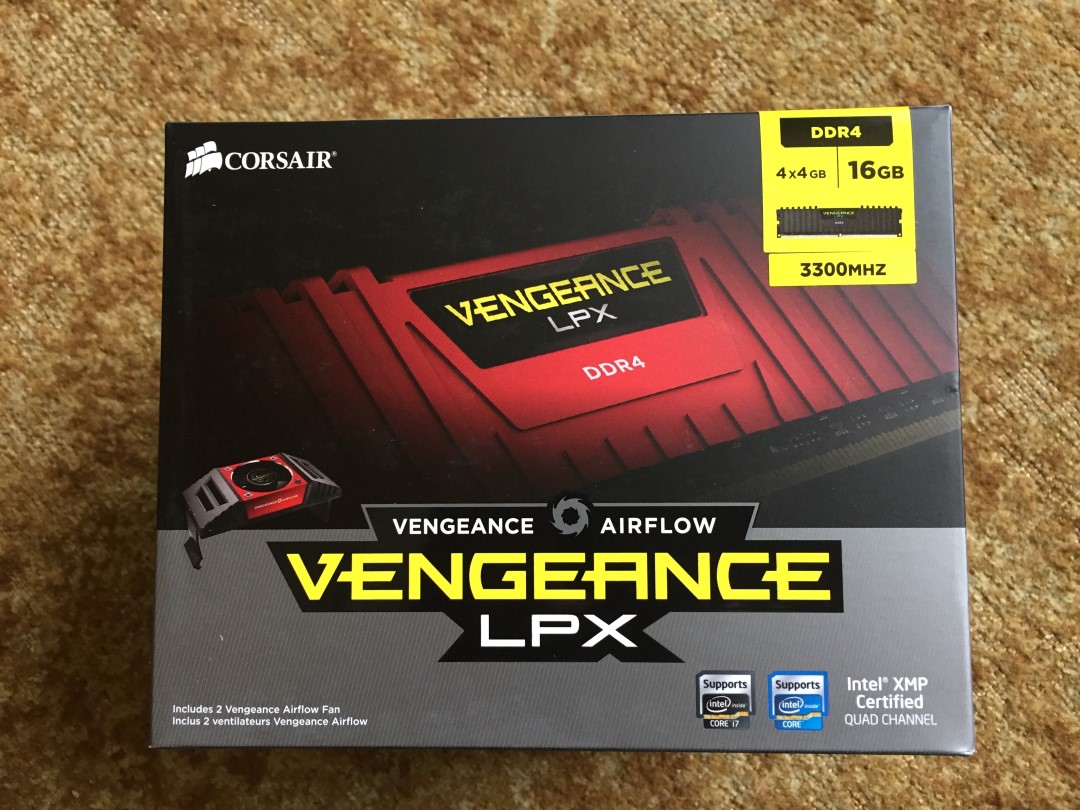
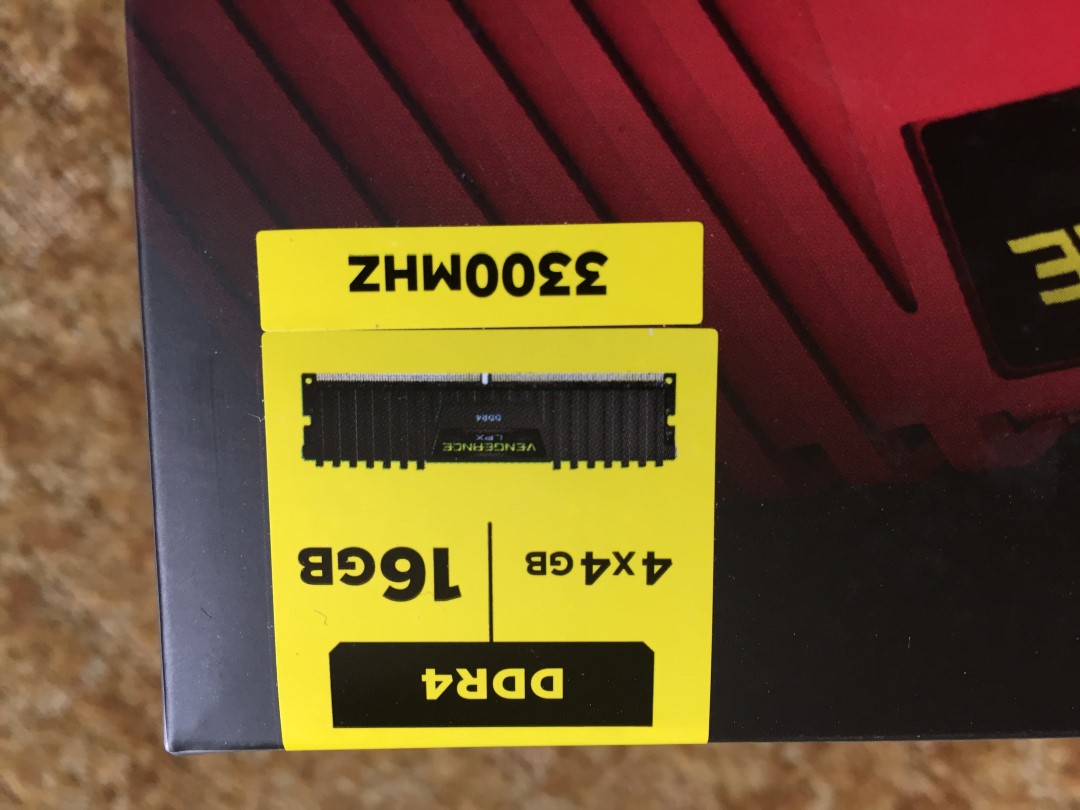
RAM: 32GB DDR4 Corsair Vengeance DDR4 @ 3300Mhz
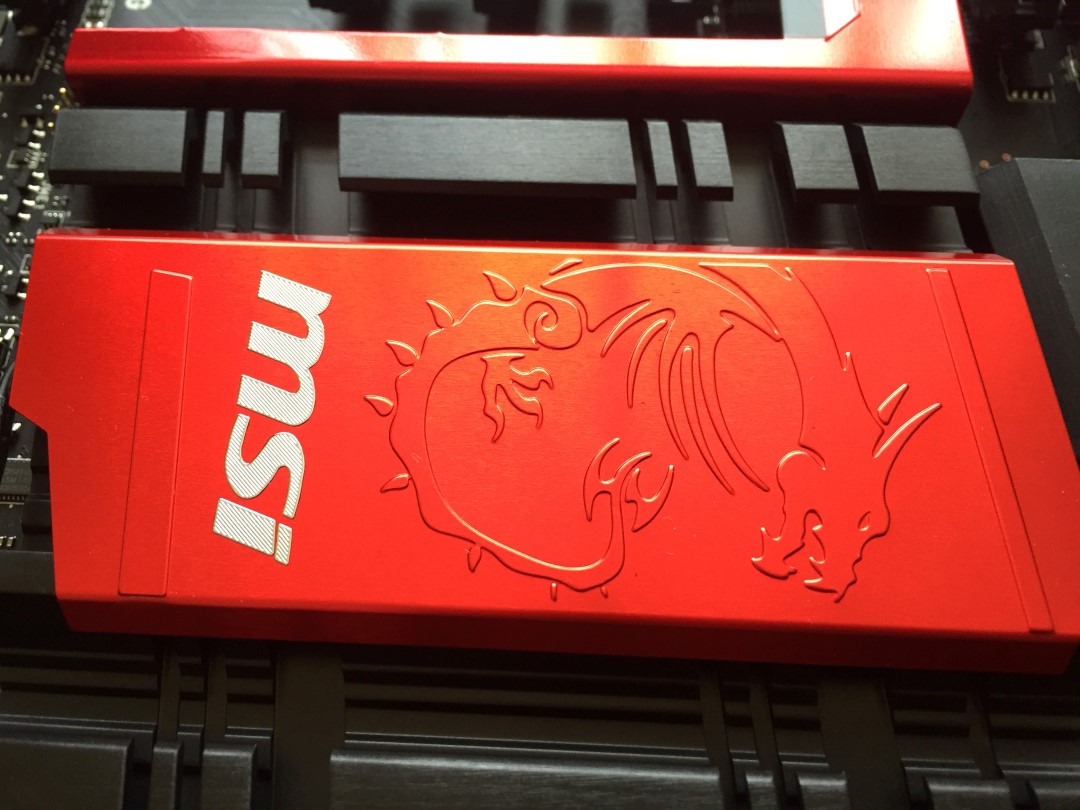
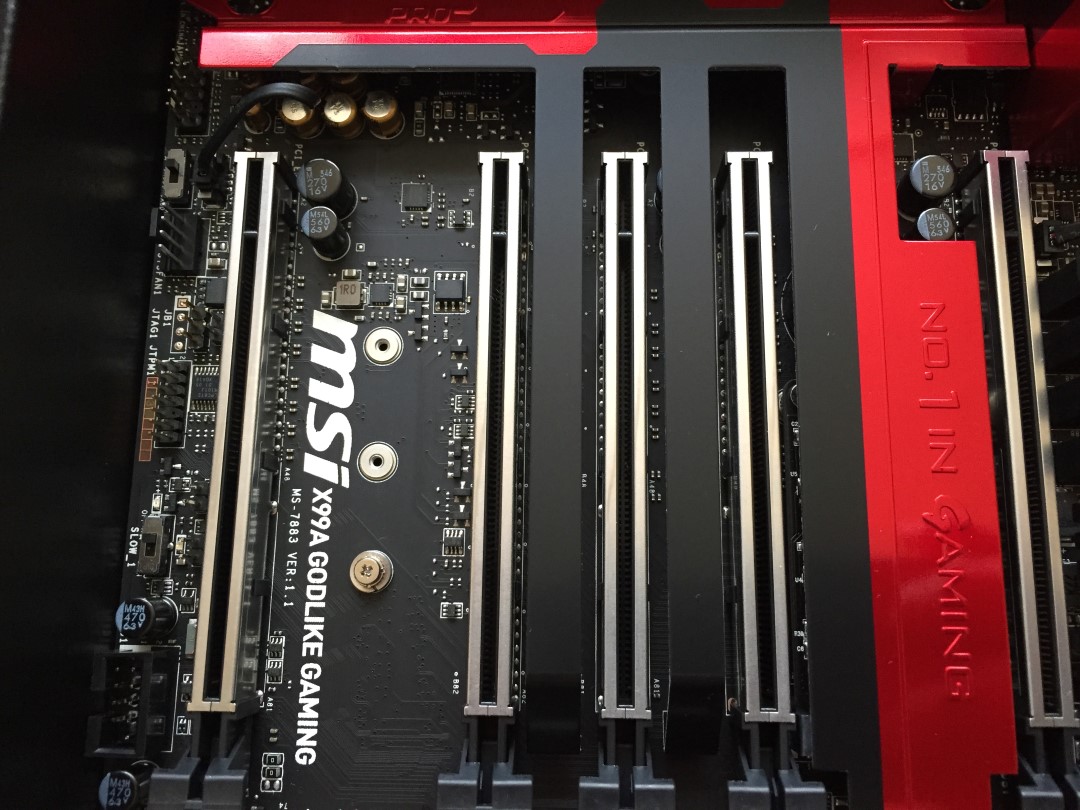
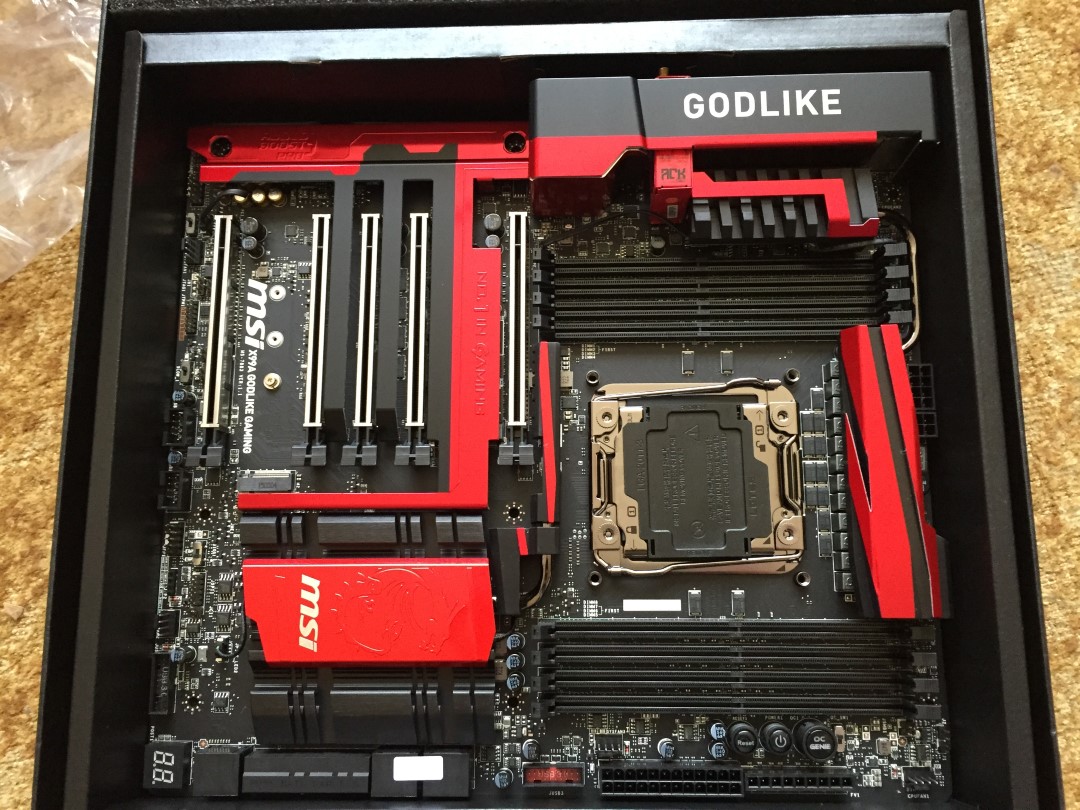
Motherboard: MSI x99a Godlike Gaming
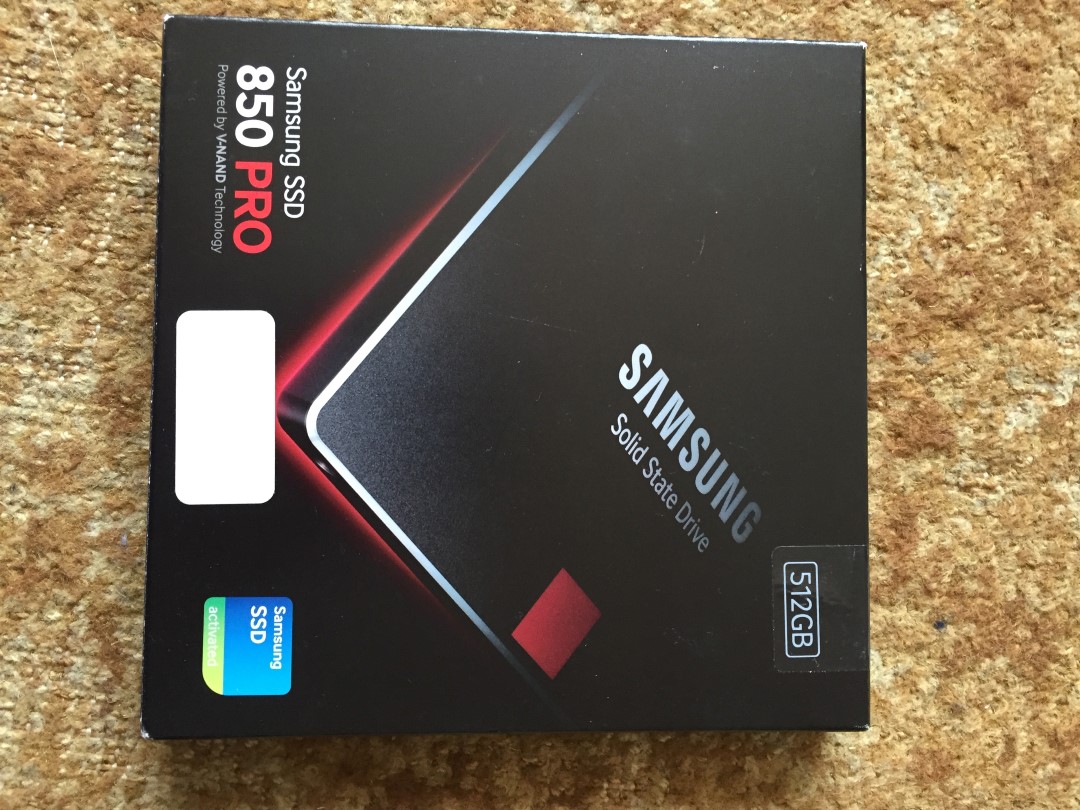
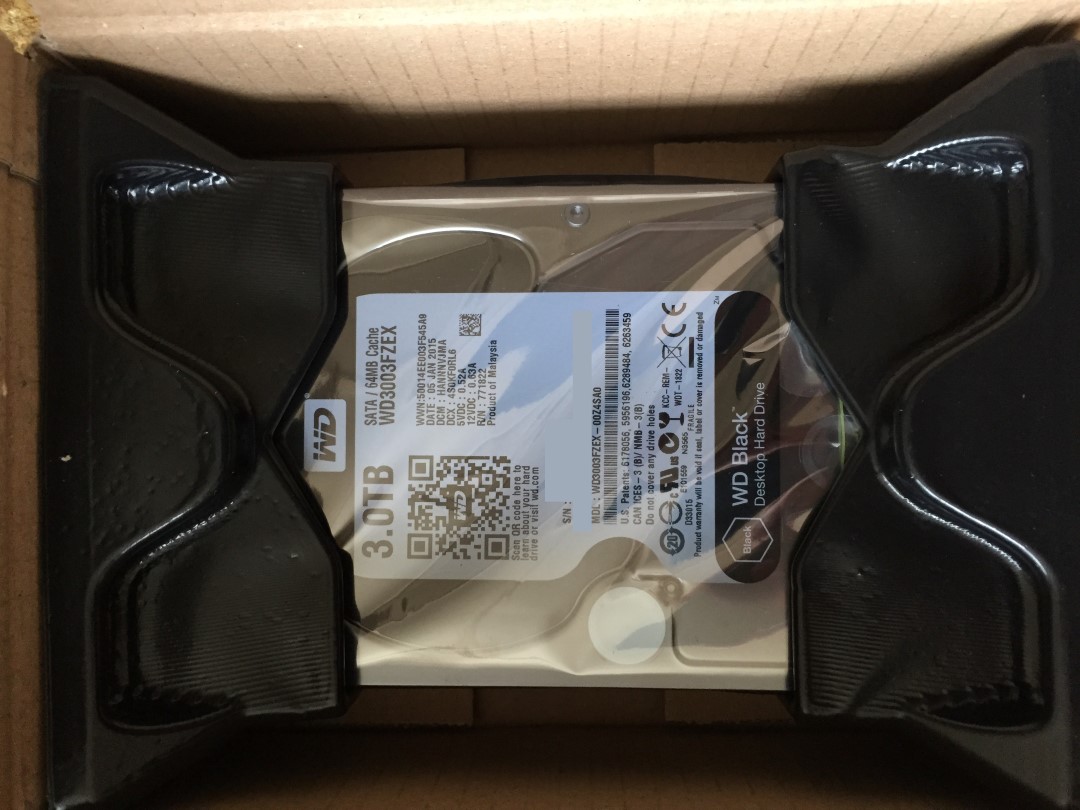
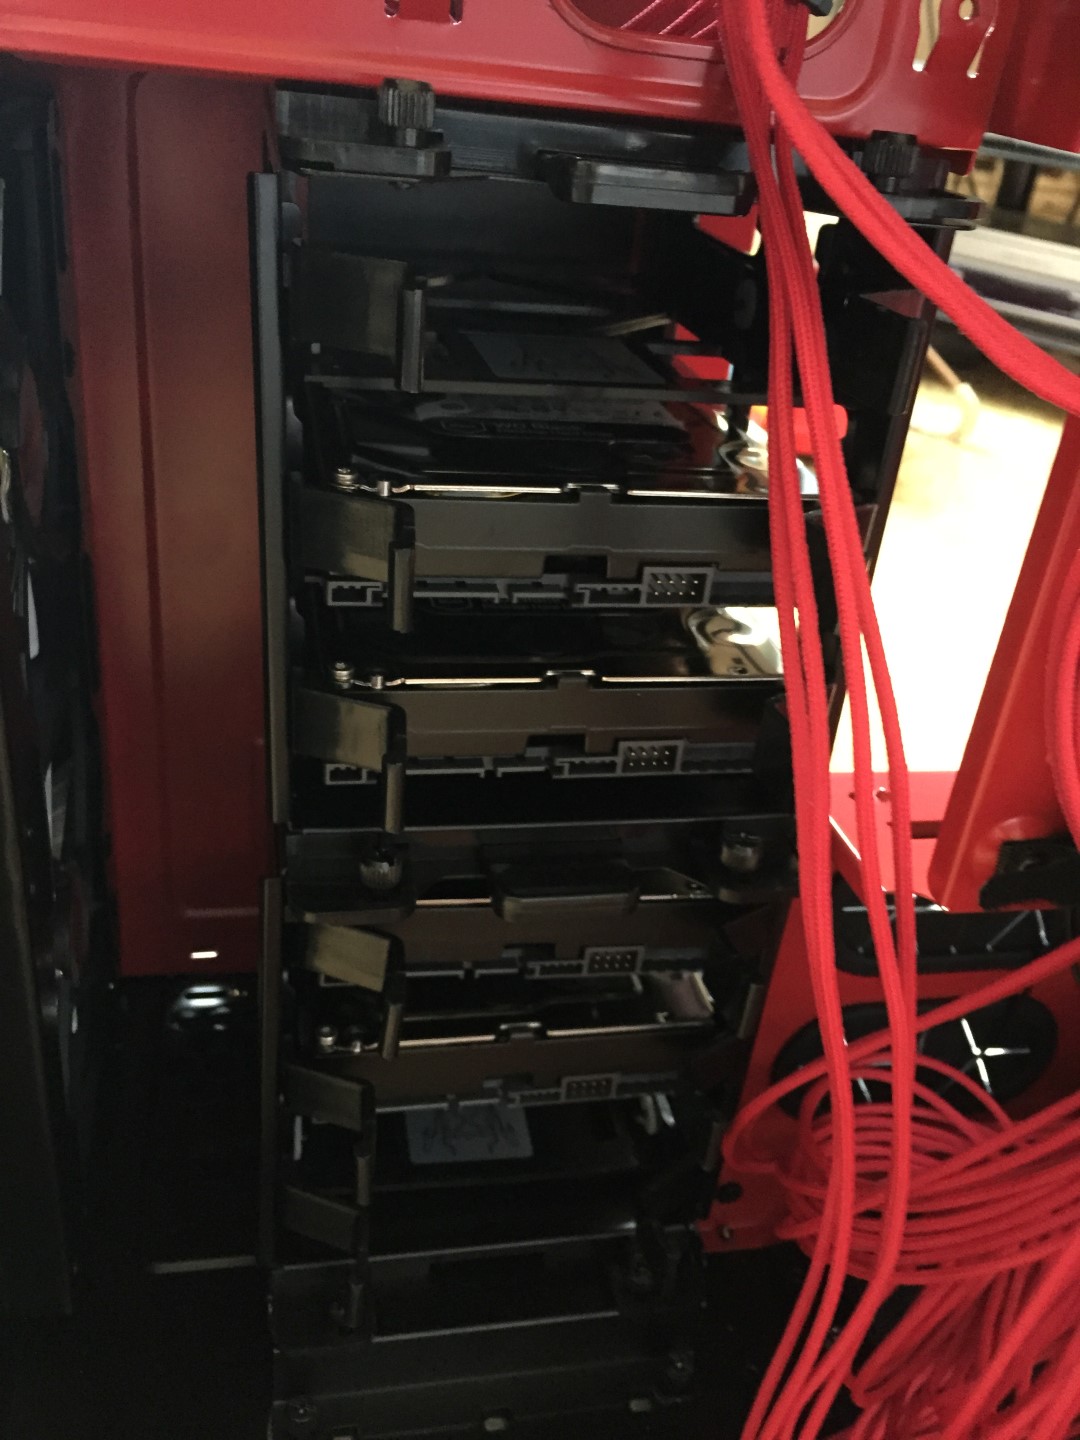
Storage: 2 x 512GB Samsung 850 Pro’s (RAID 0) and 4 x 3TB WD Caviar Black (RAID 10)
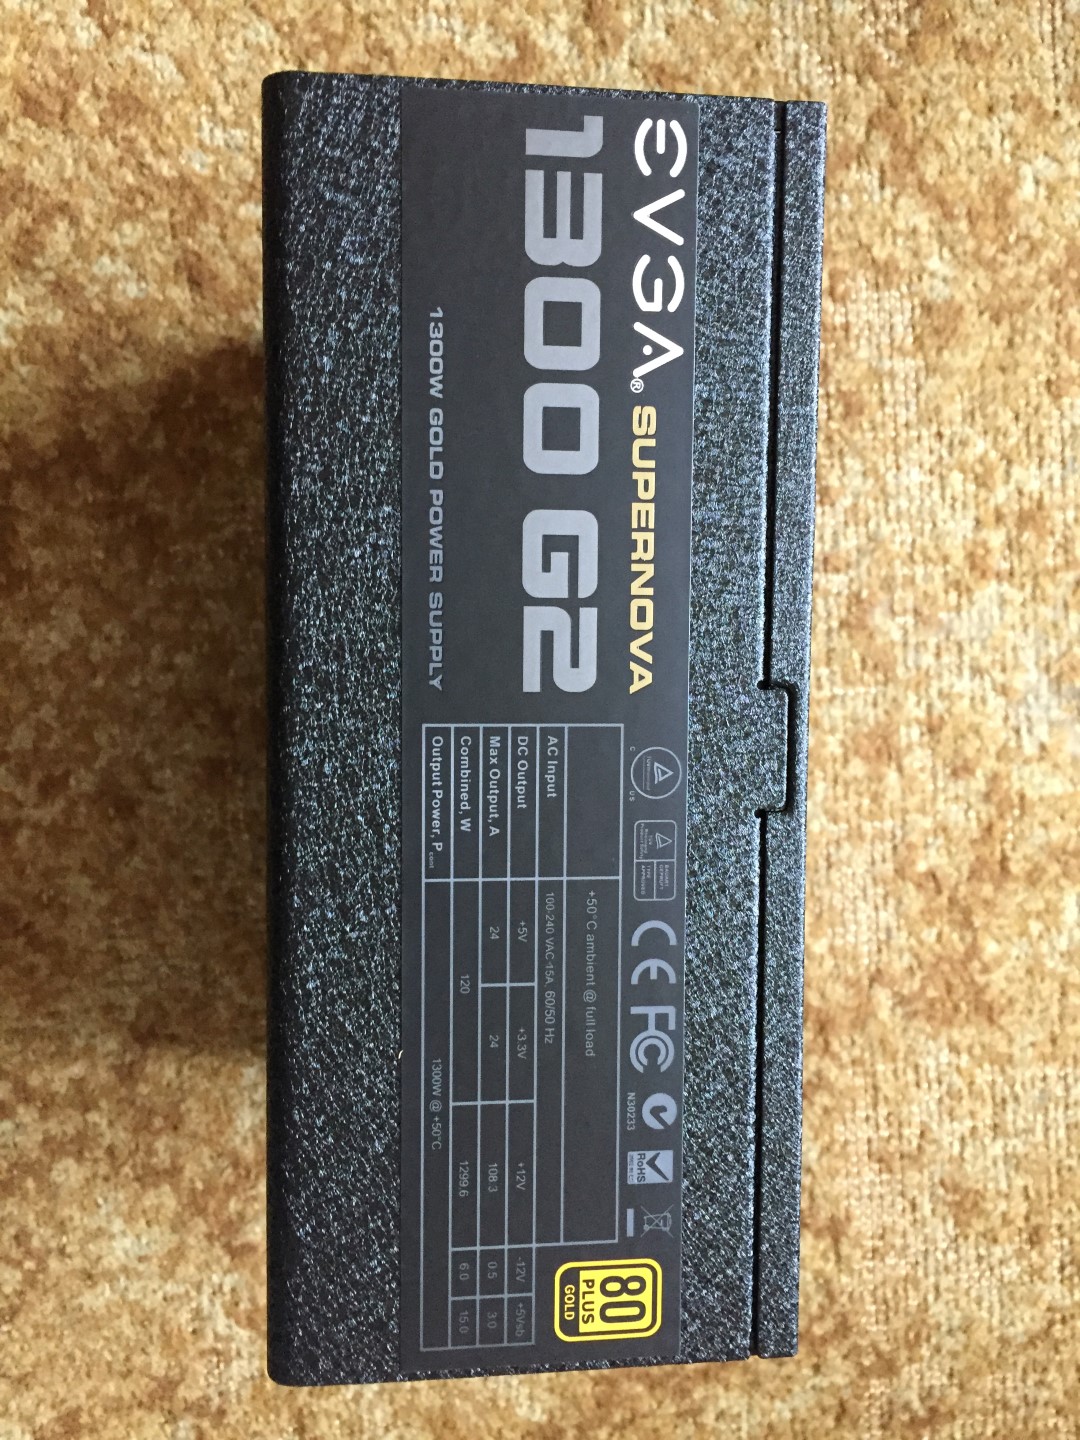
Power: EVGA 1300 G2
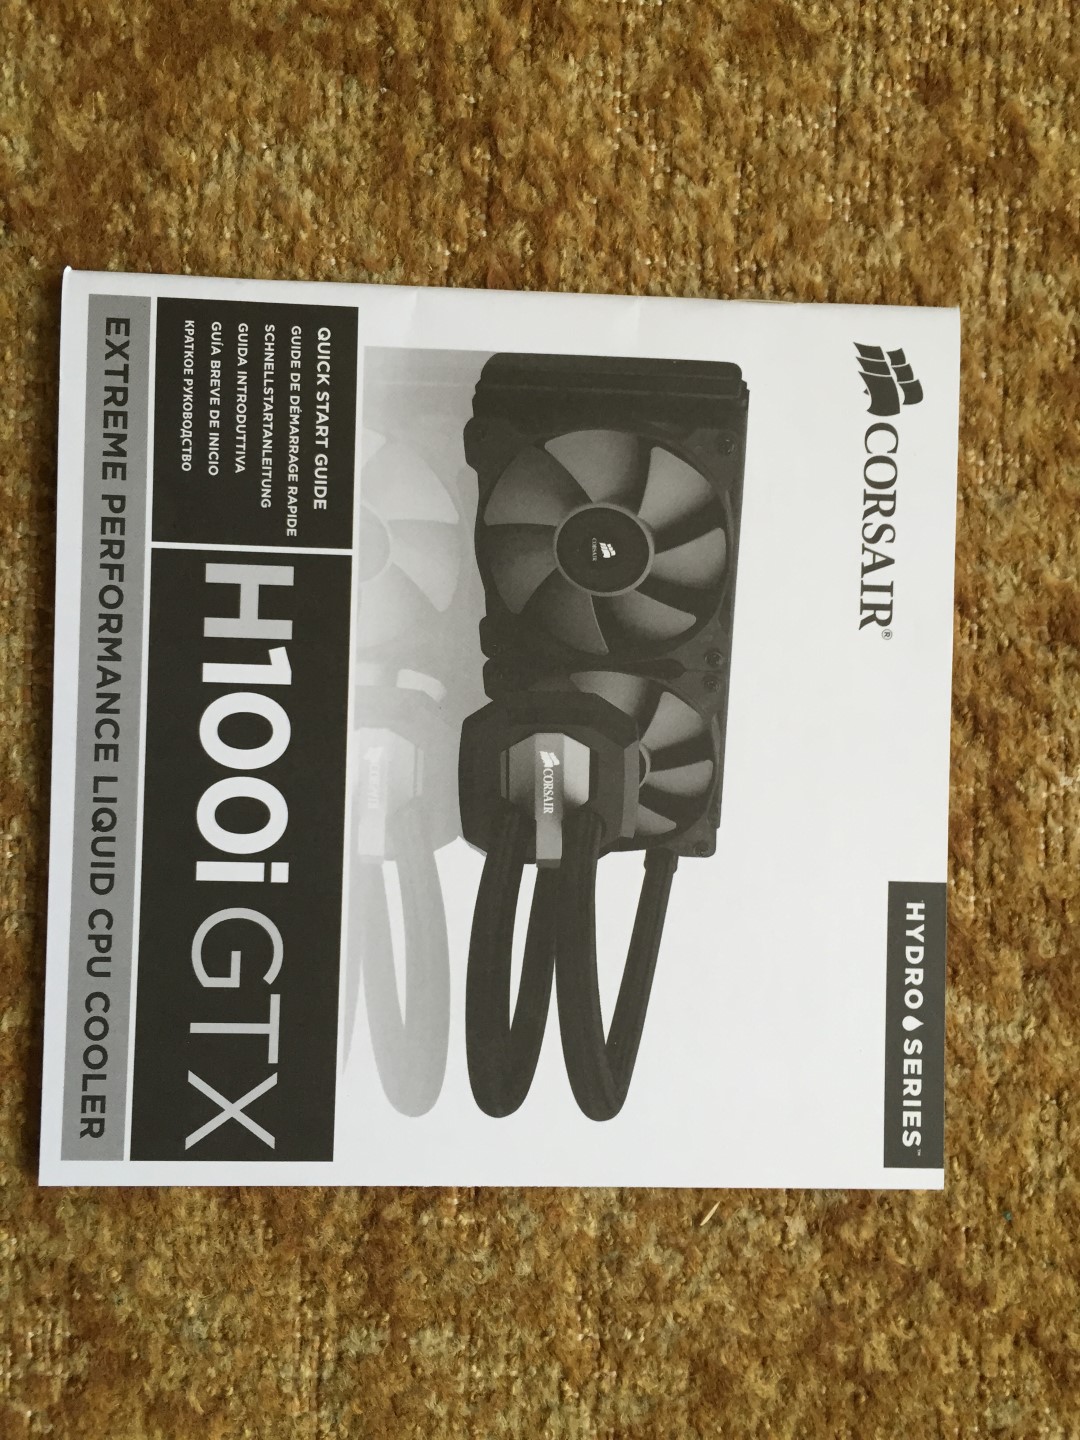
CPU Cooling: H100i GTX
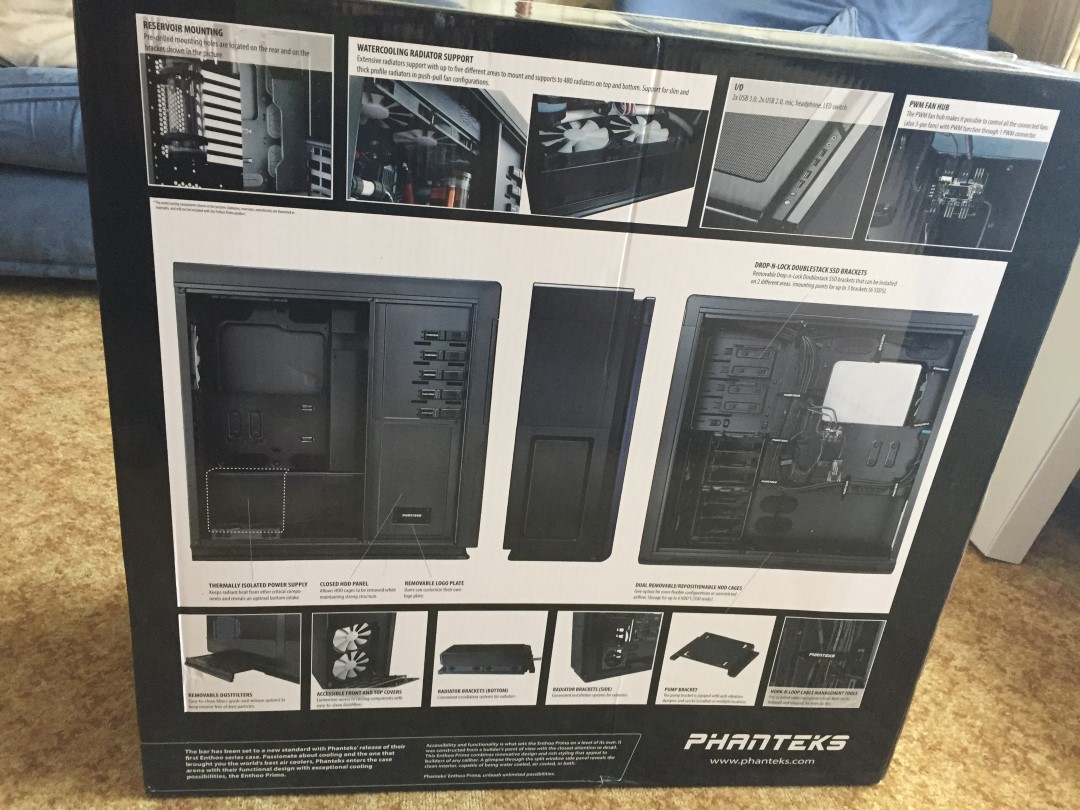
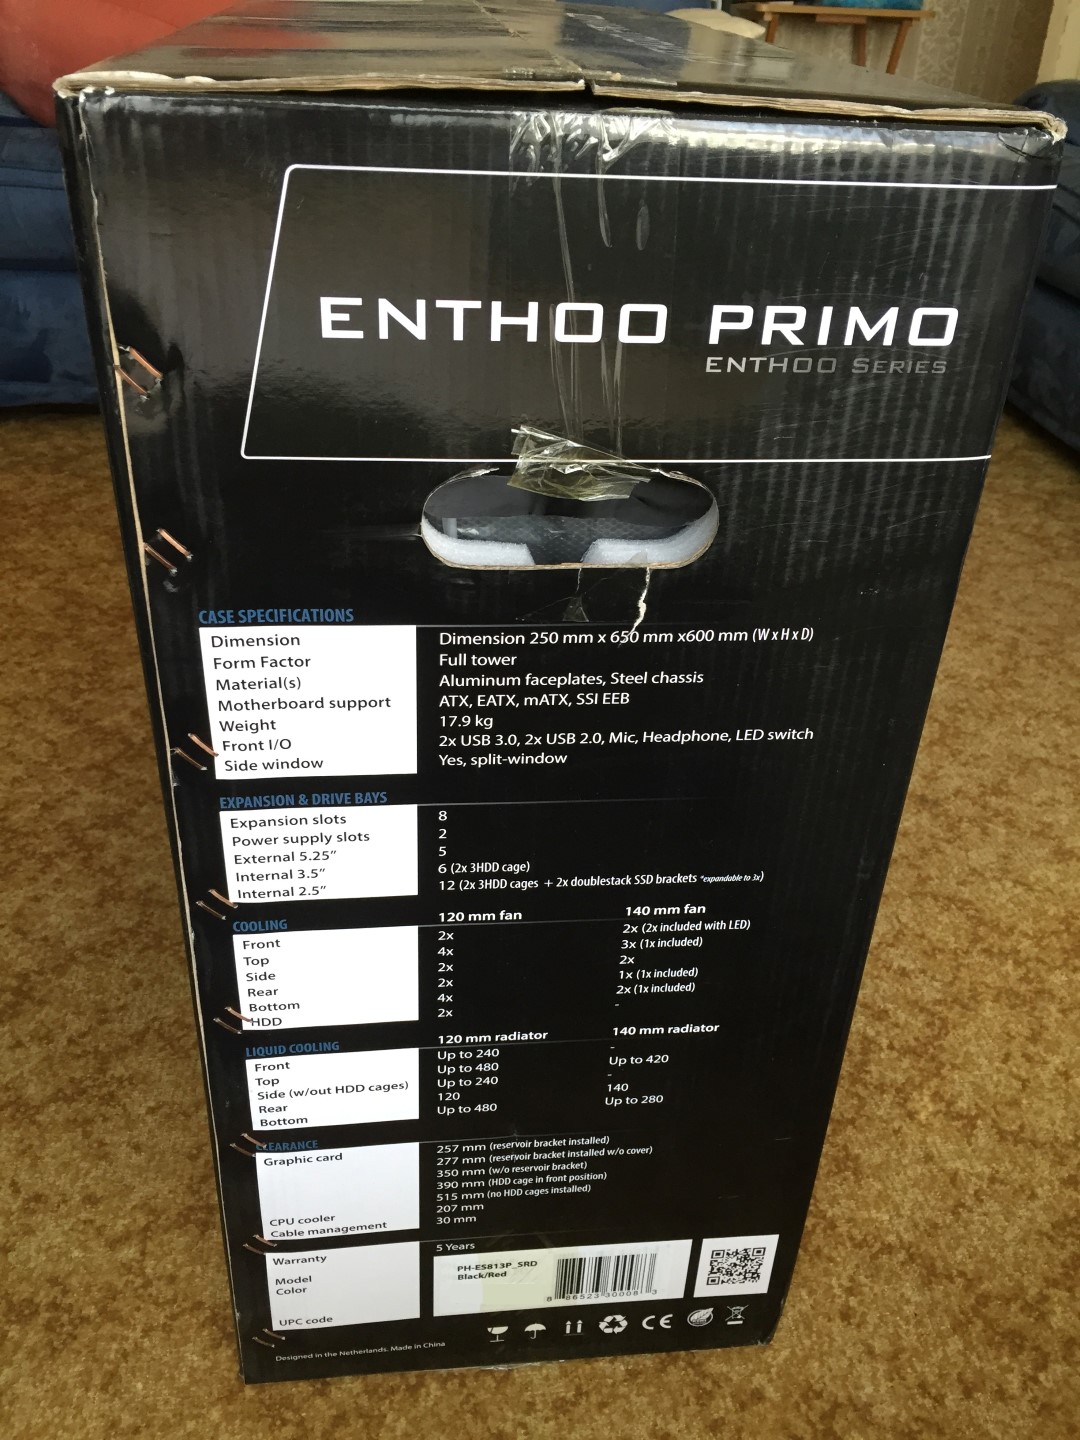
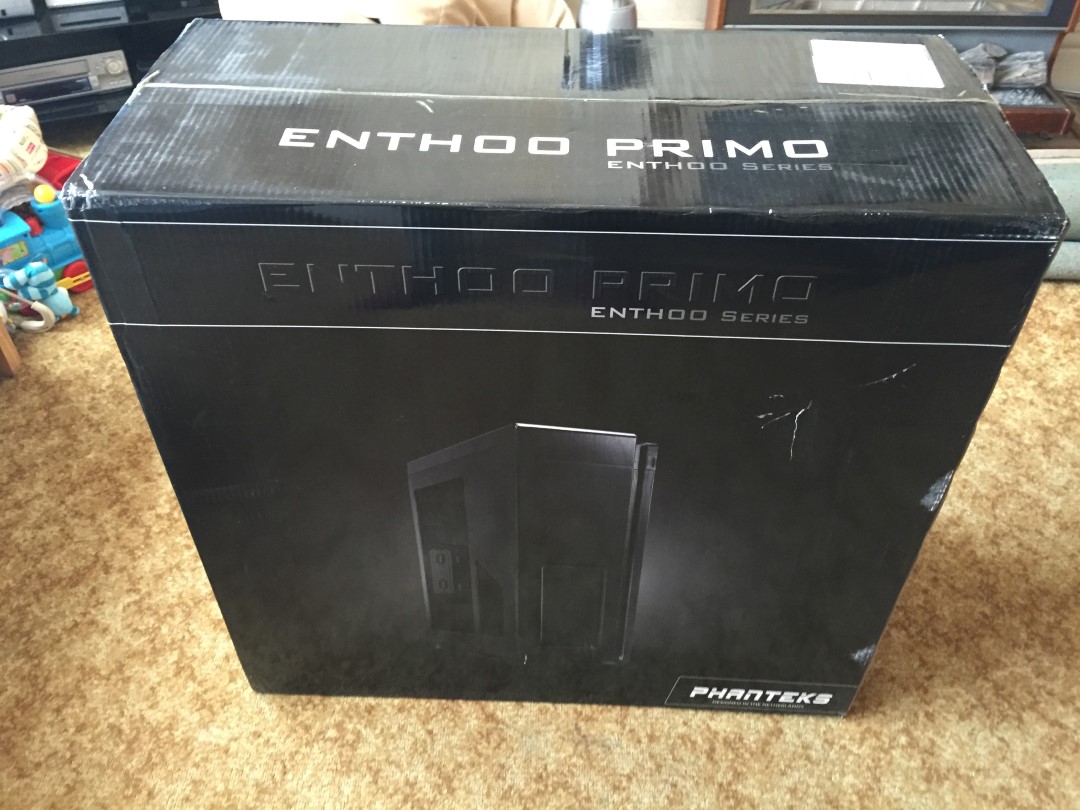
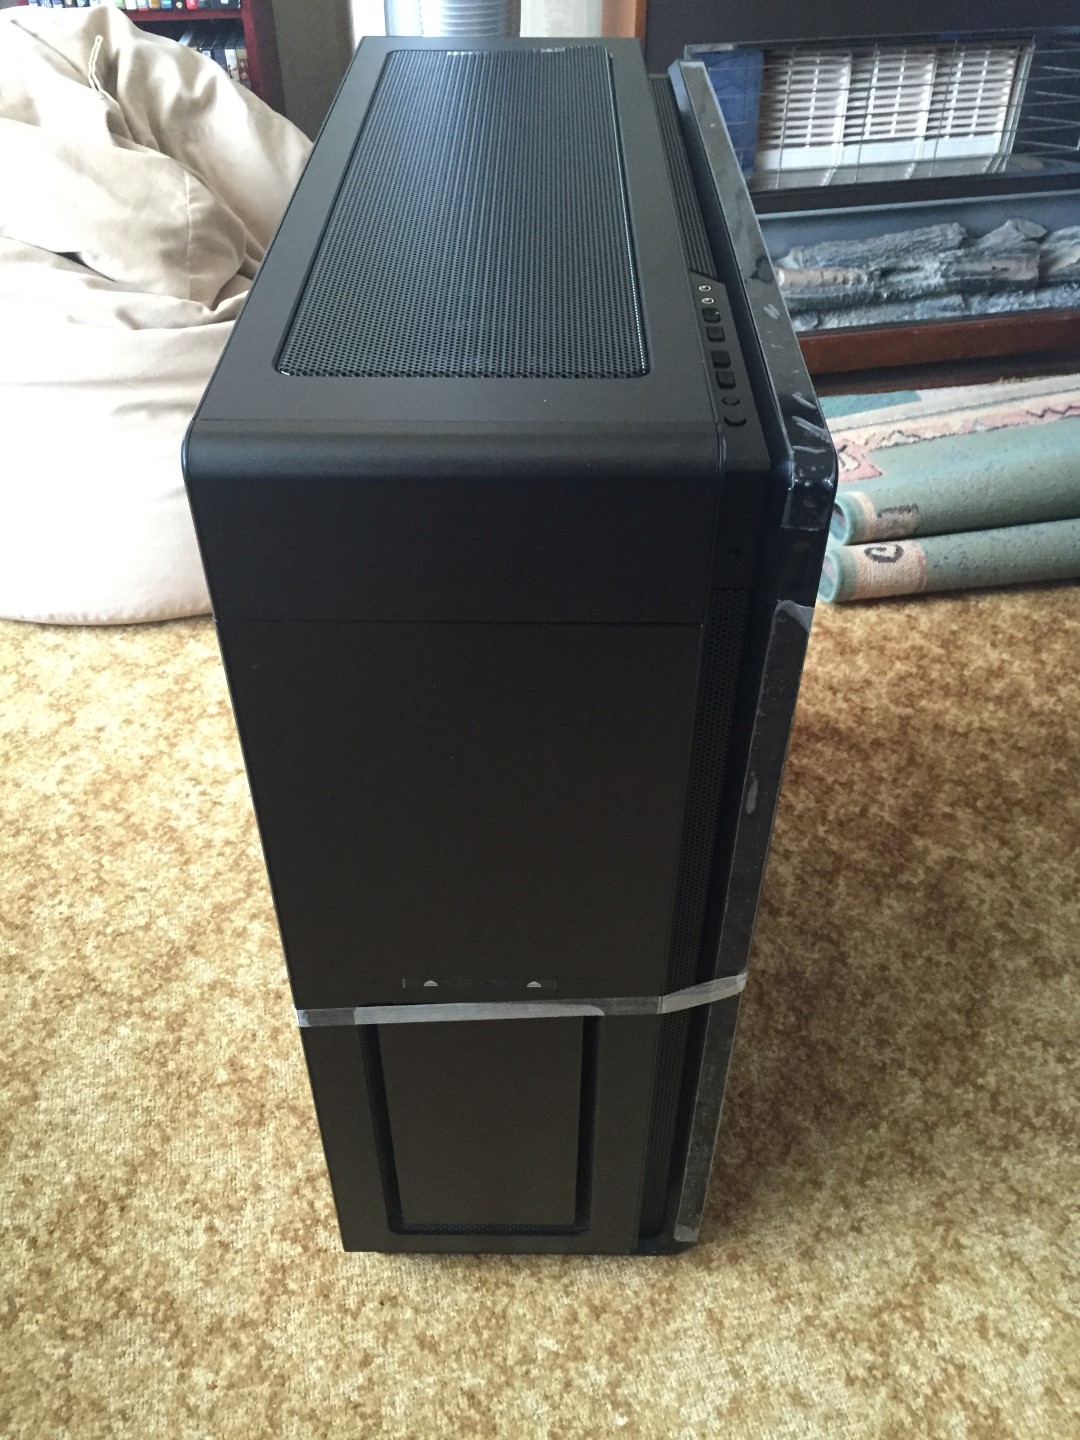
Case: Phantek Enthoo Primo (Full Size)
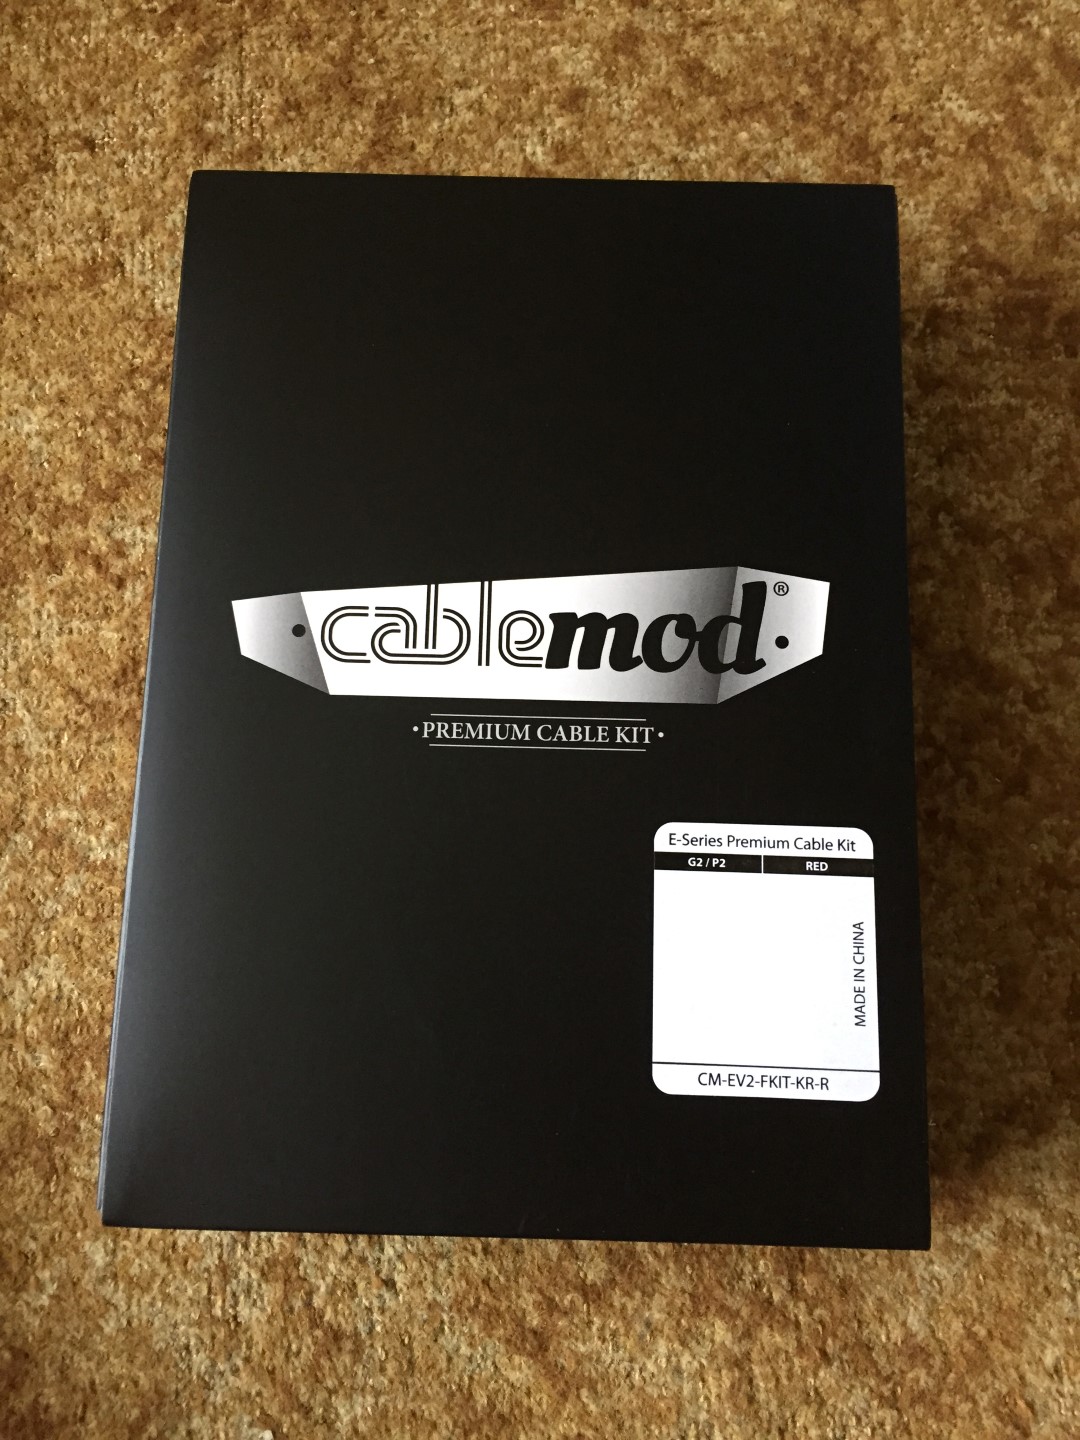
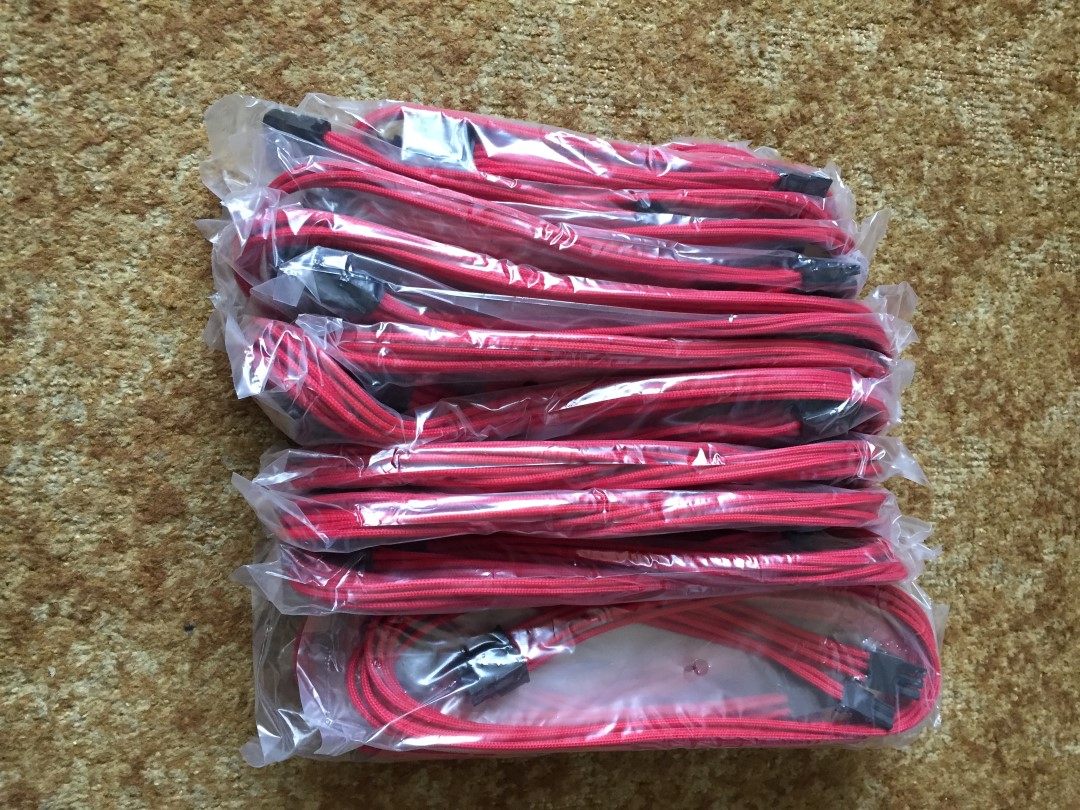
Accessories: Red CaseMod PSU Cables, Artic Silver Thermal Compound, Case Noise Dampening Kit, 3 x HDMI > Display Port Cables
The Build
I received the parts over the space of a week after a lot of issues and almost 10 phone calls to both no competitor talk please!and Overclockers (see issues and resolutions for more info) and so started with a few typical pictures for the build log
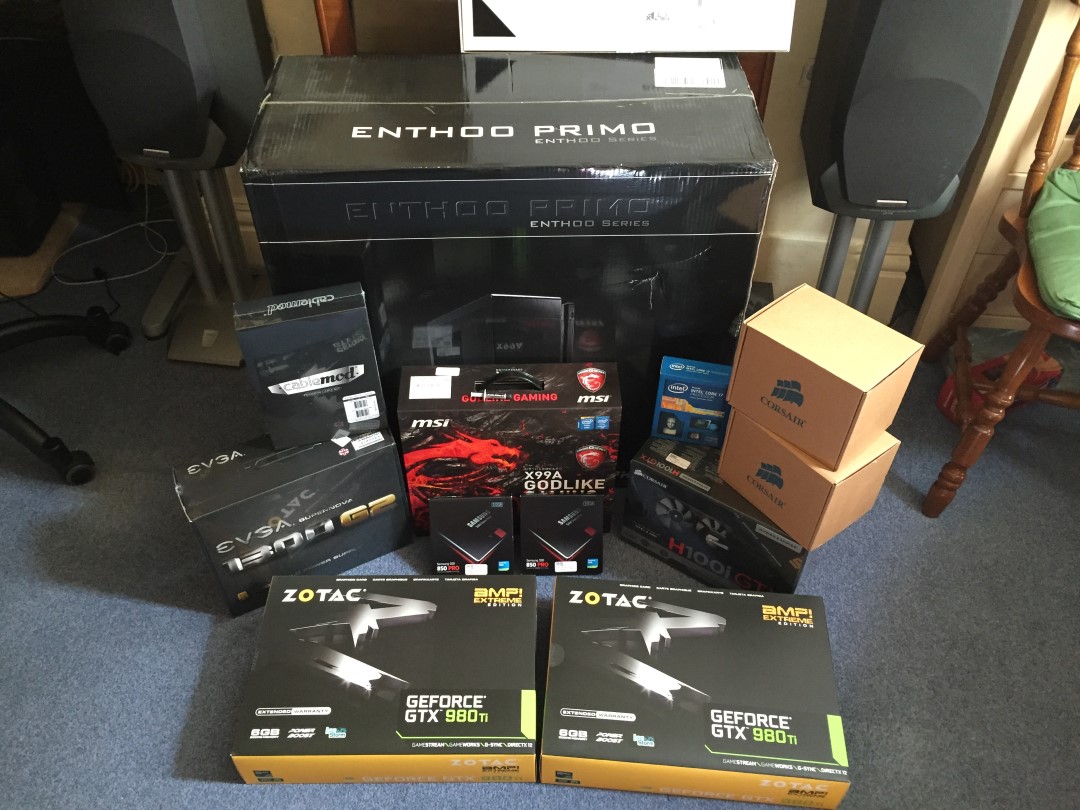
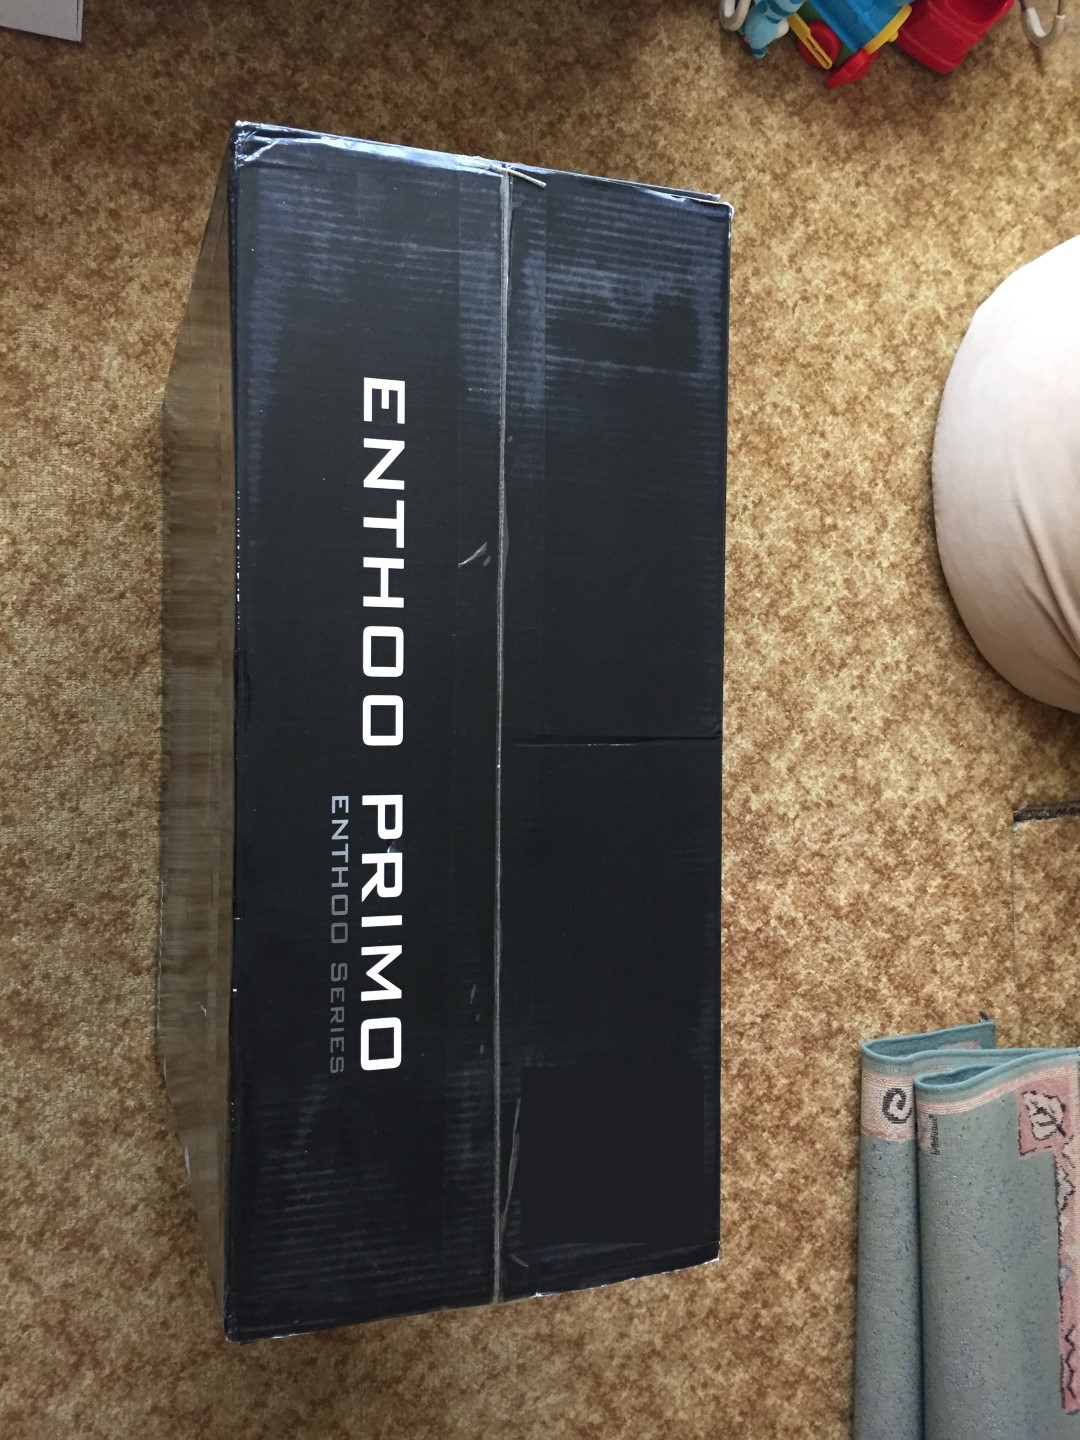
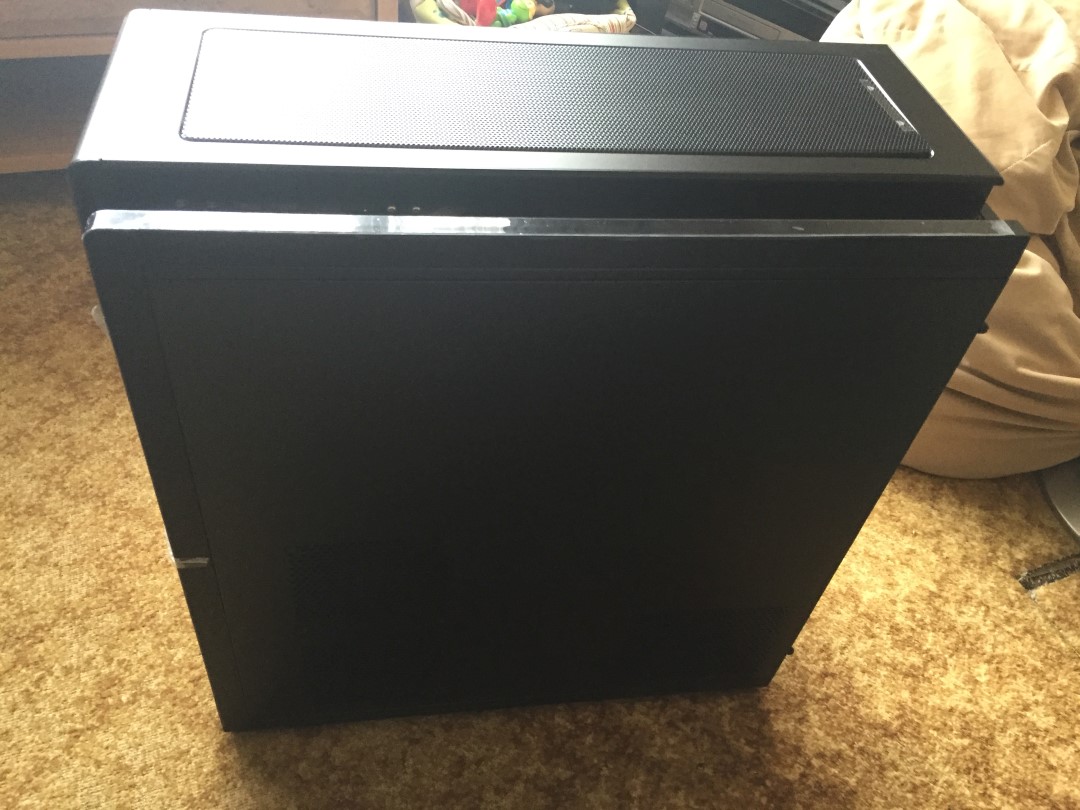
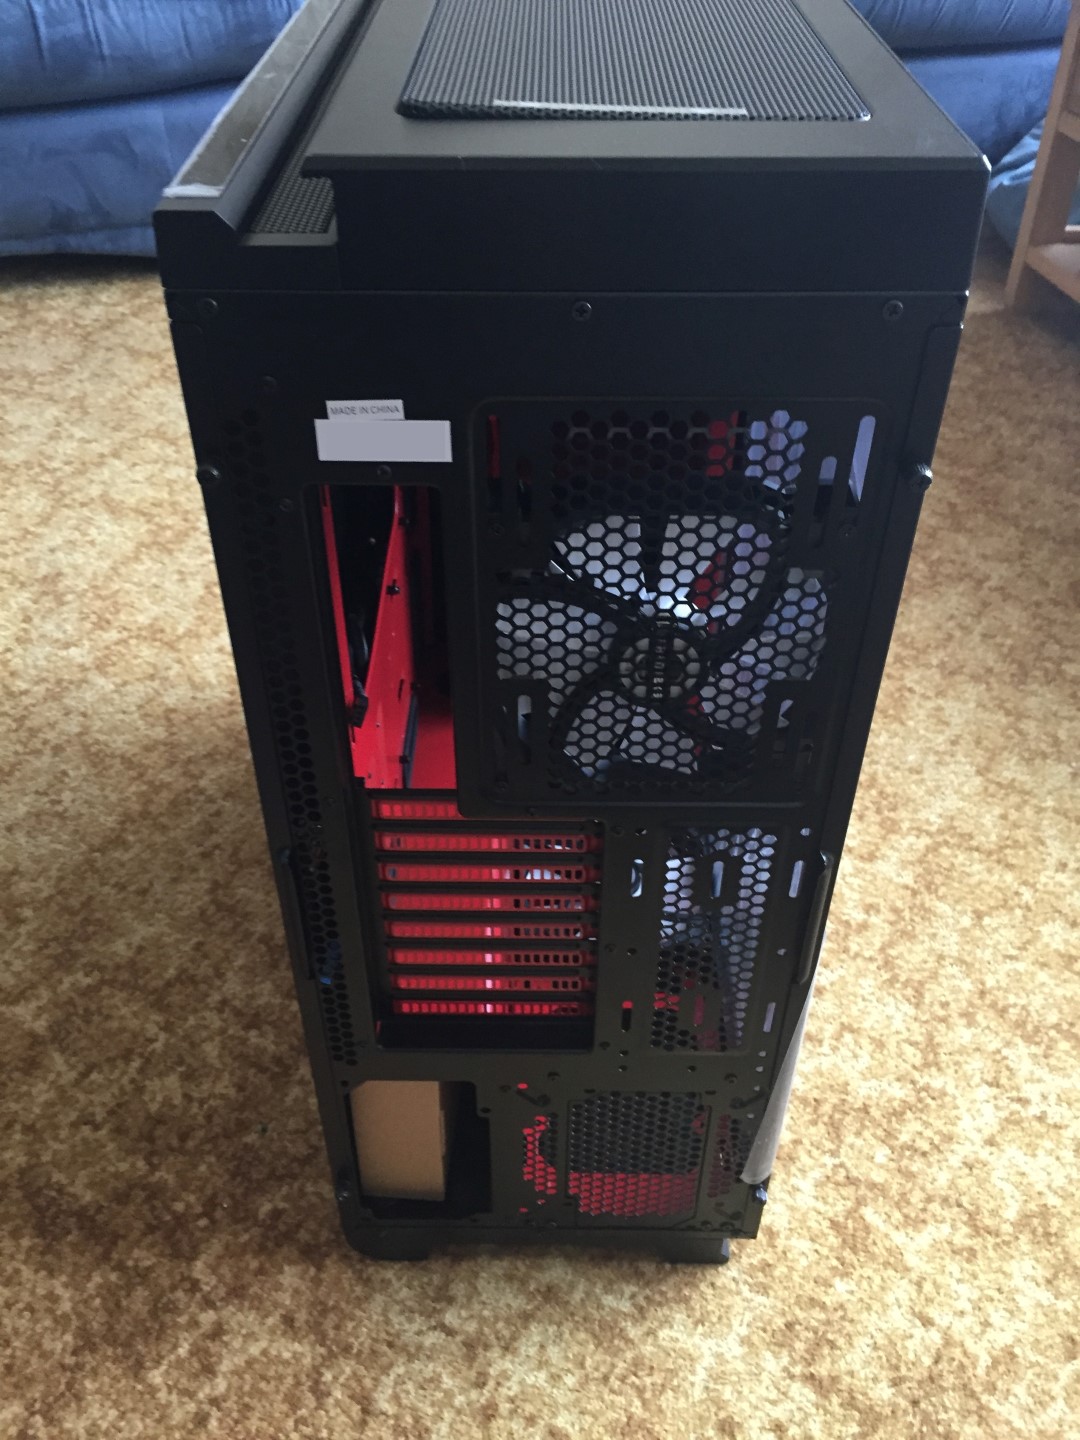
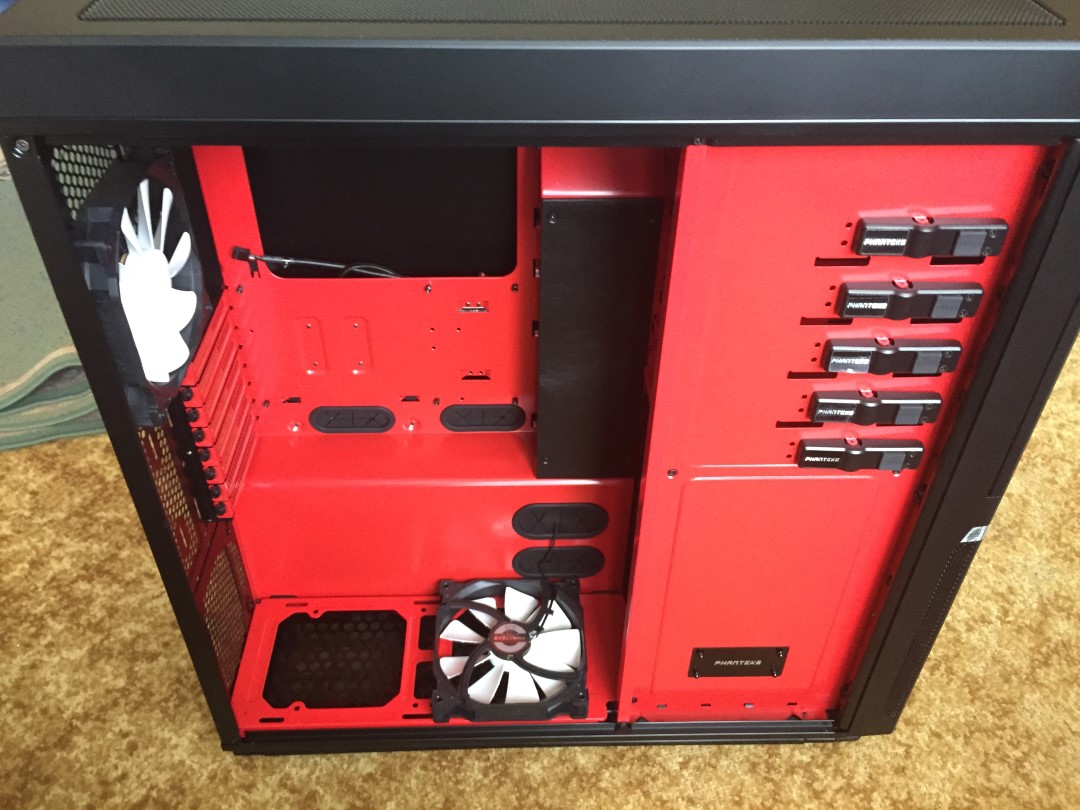
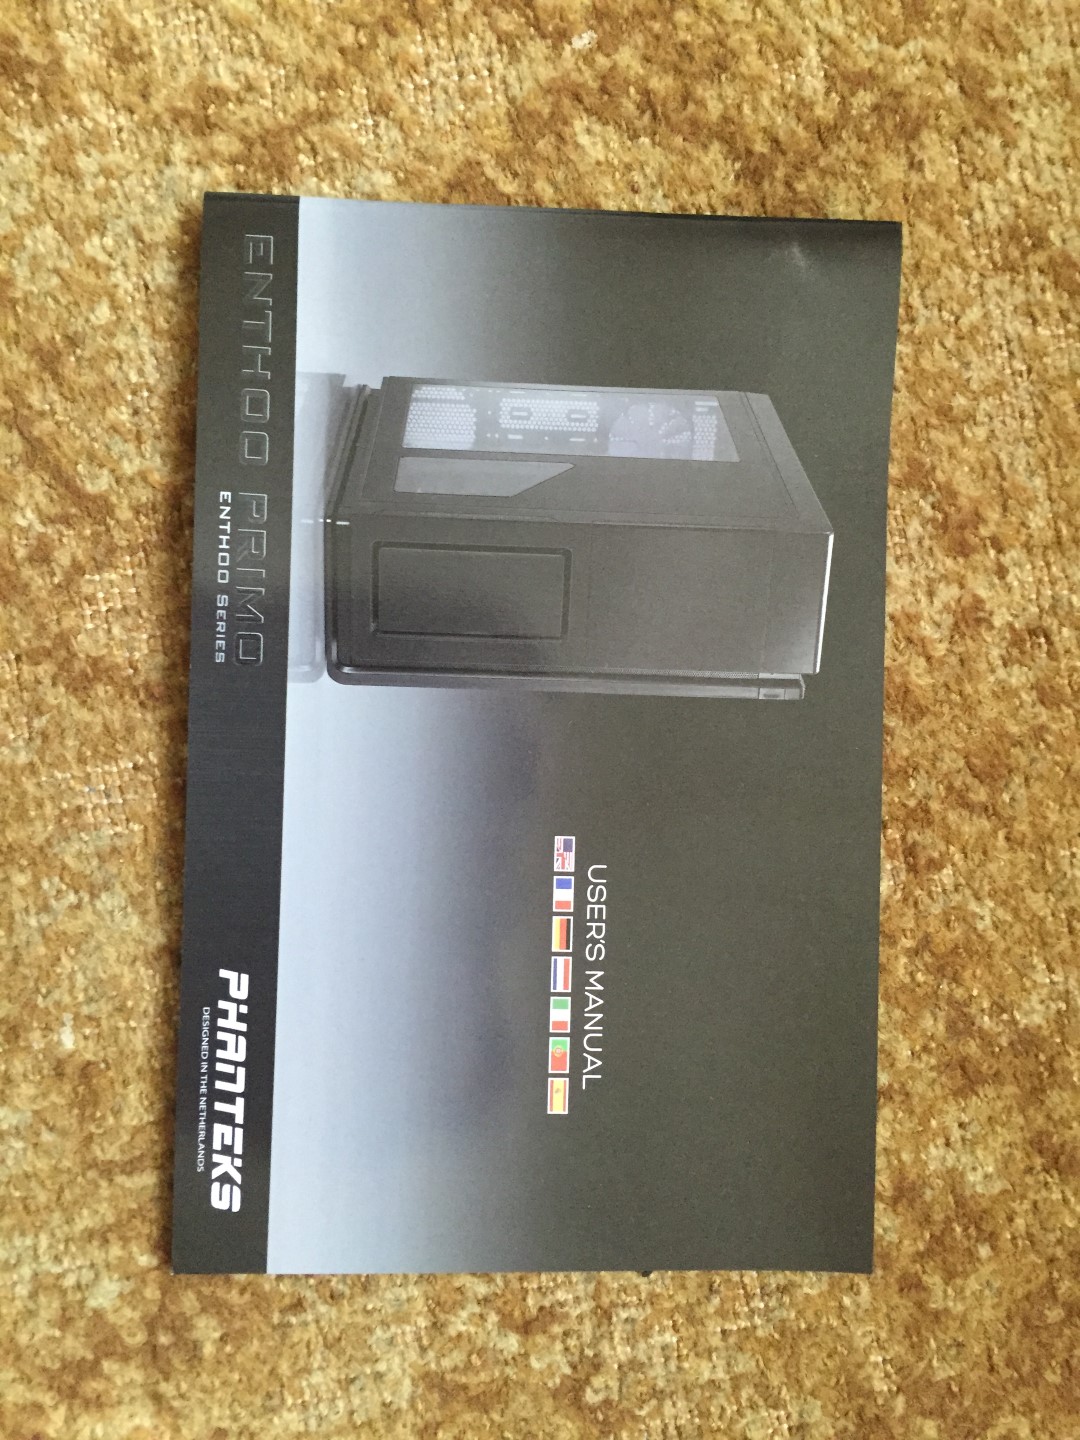
So now some pictures of the case which is where I started for the build

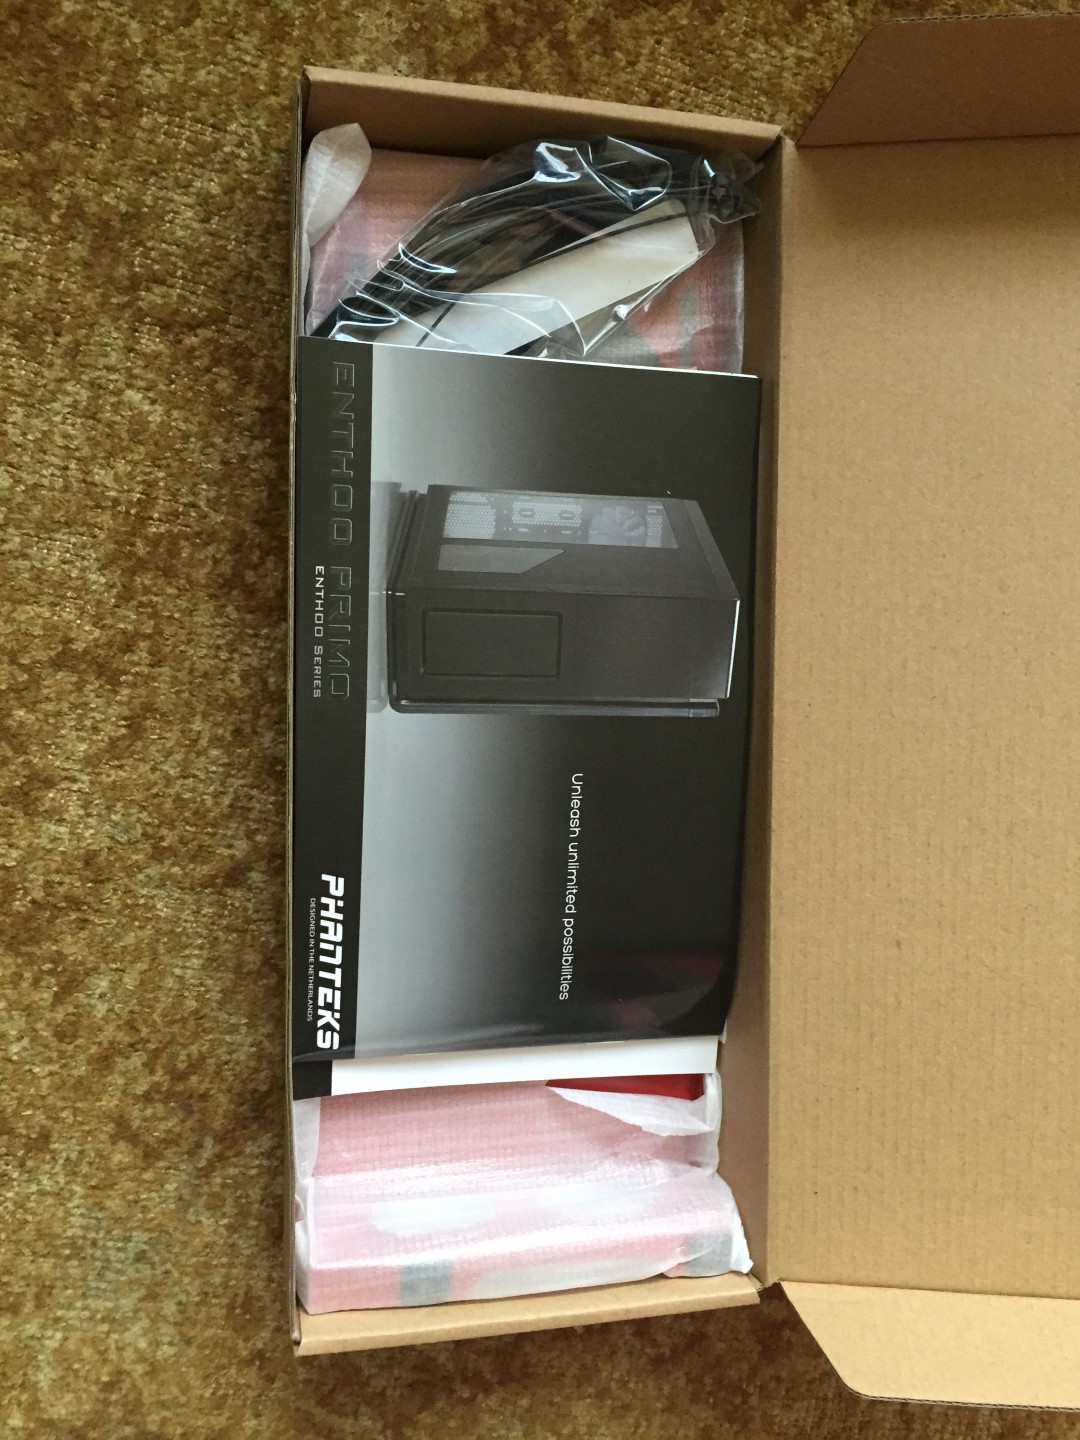
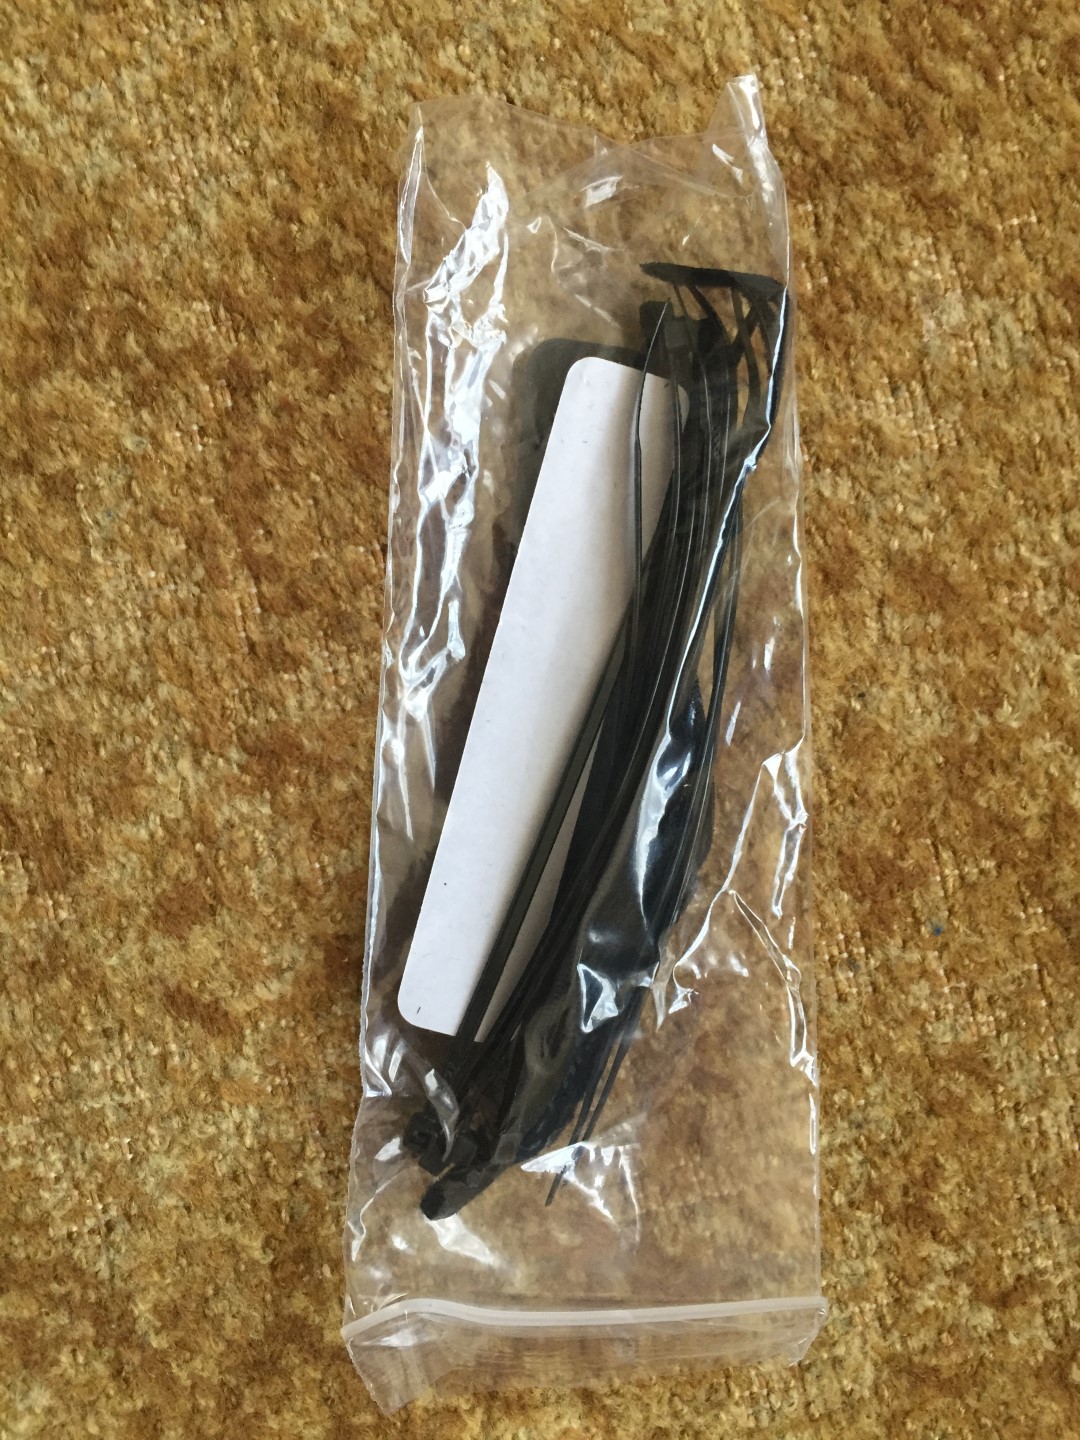
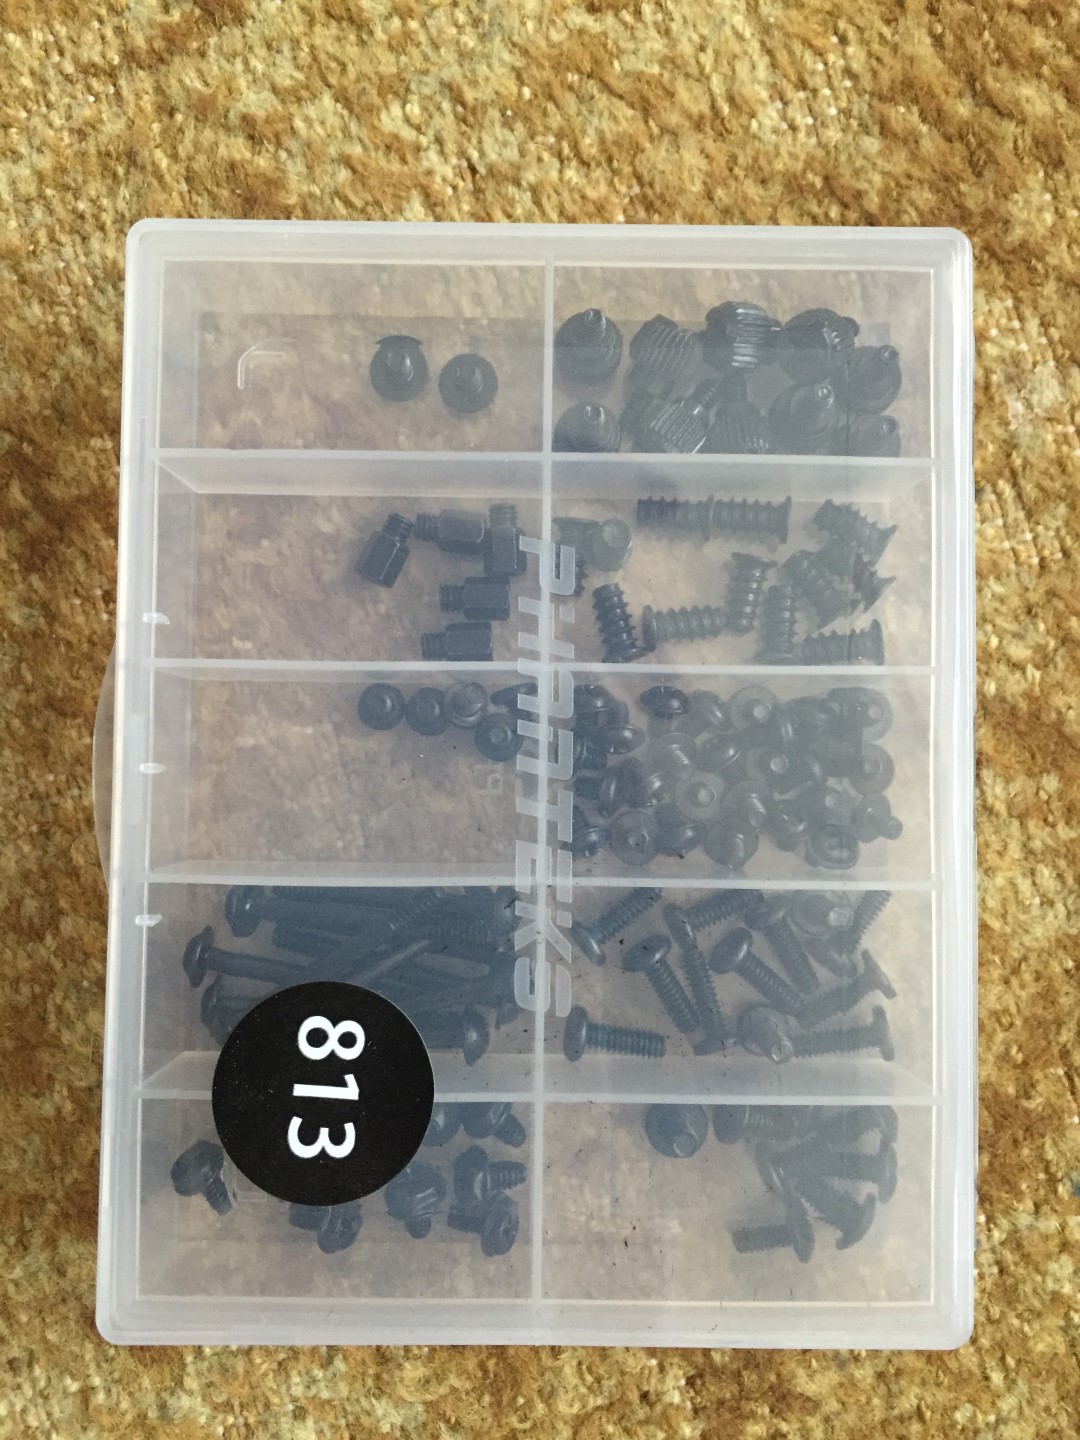
Here is what’s inside the brown box with all the screws etc.

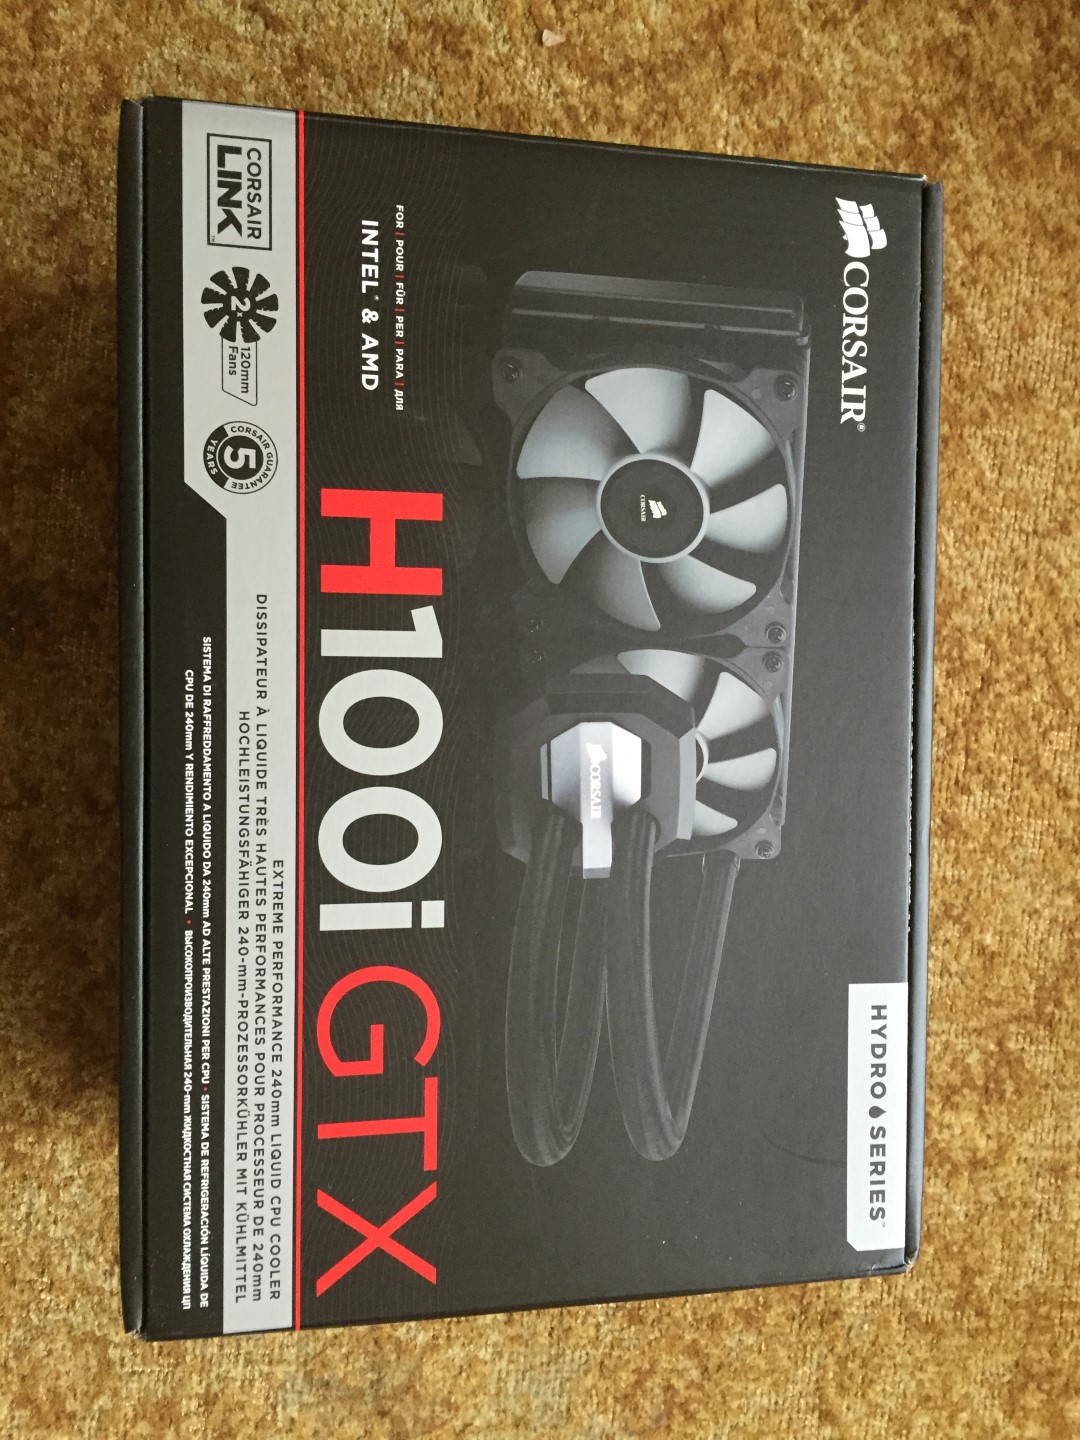
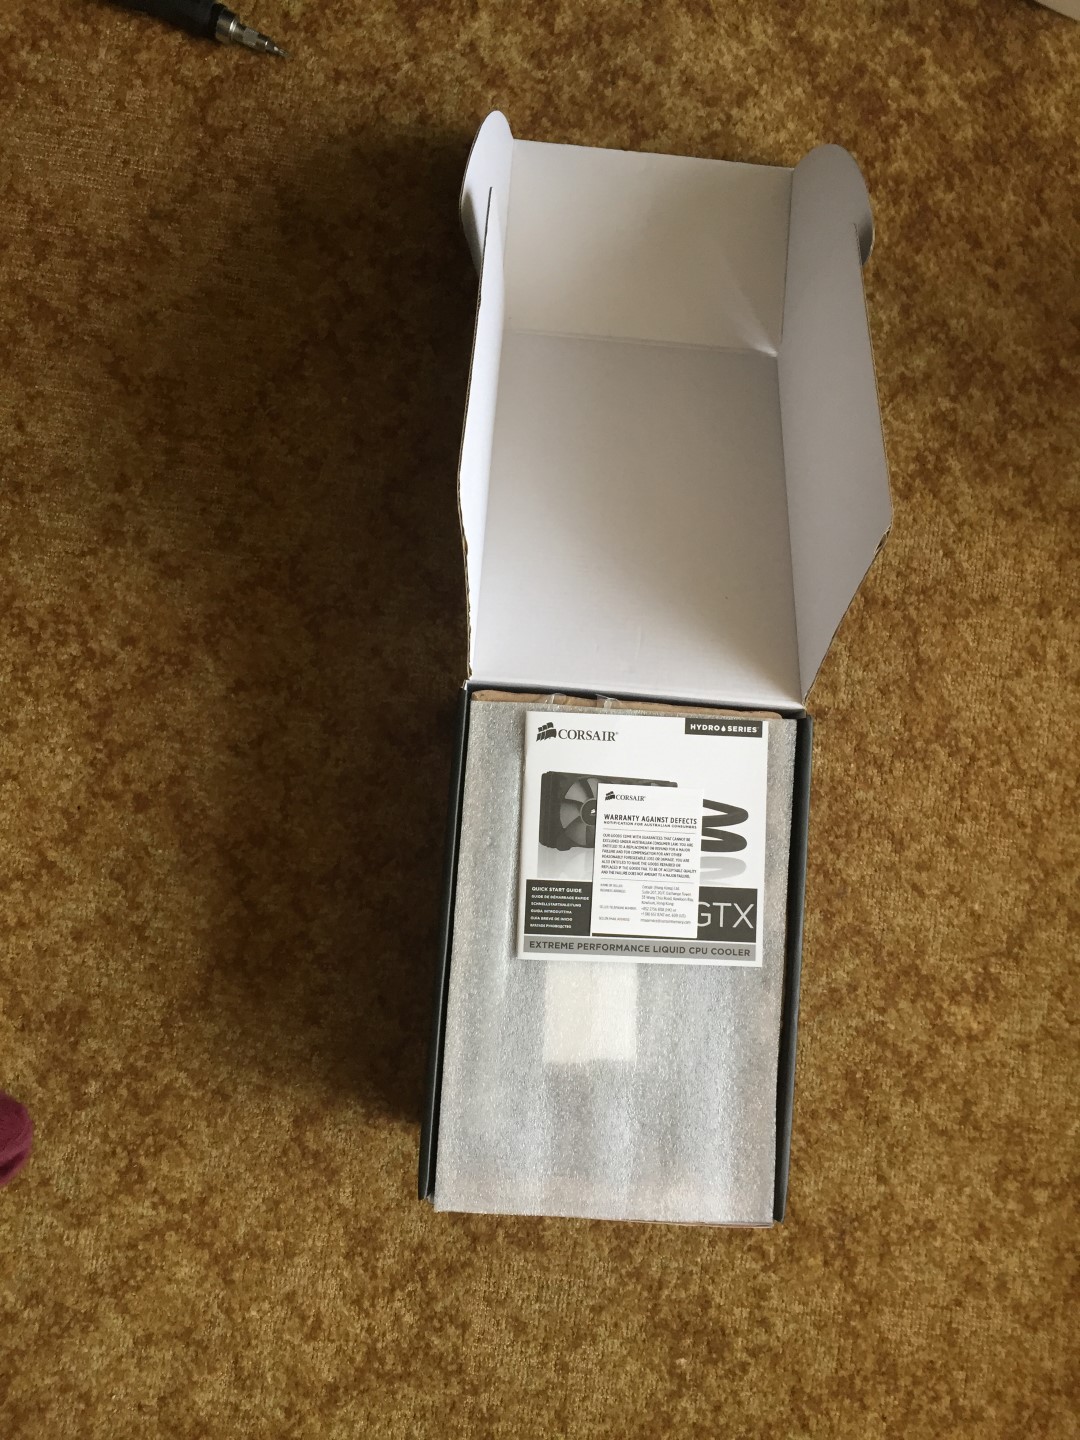
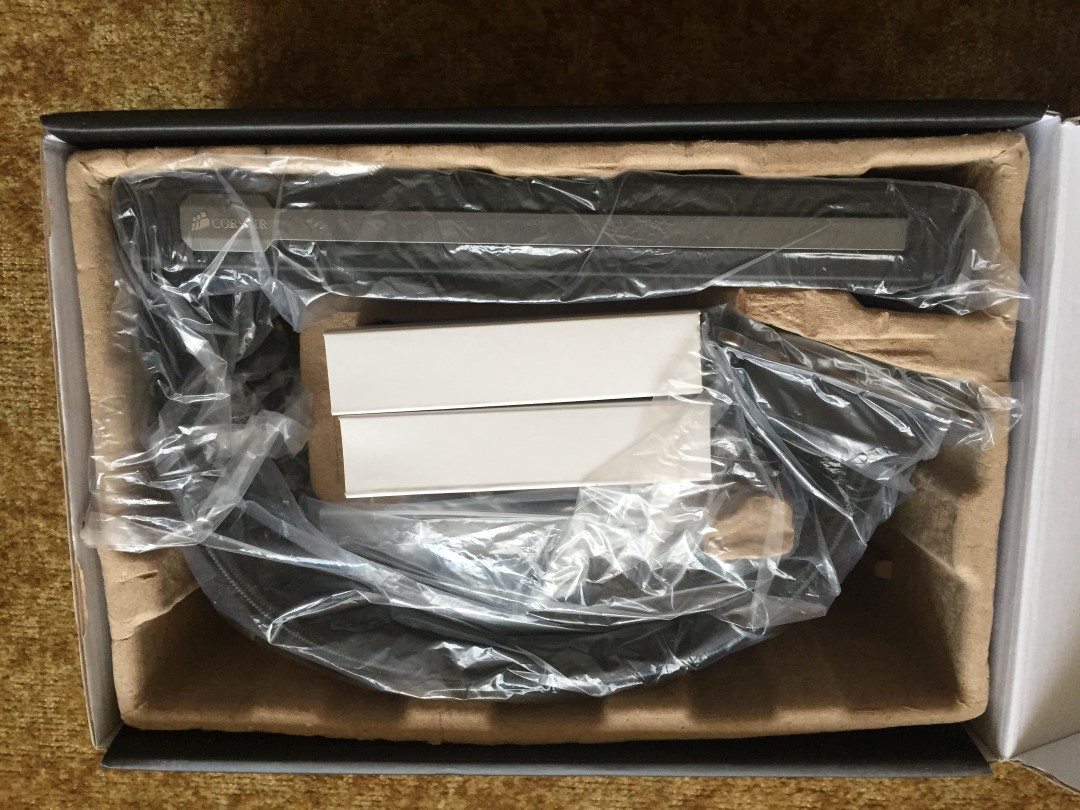
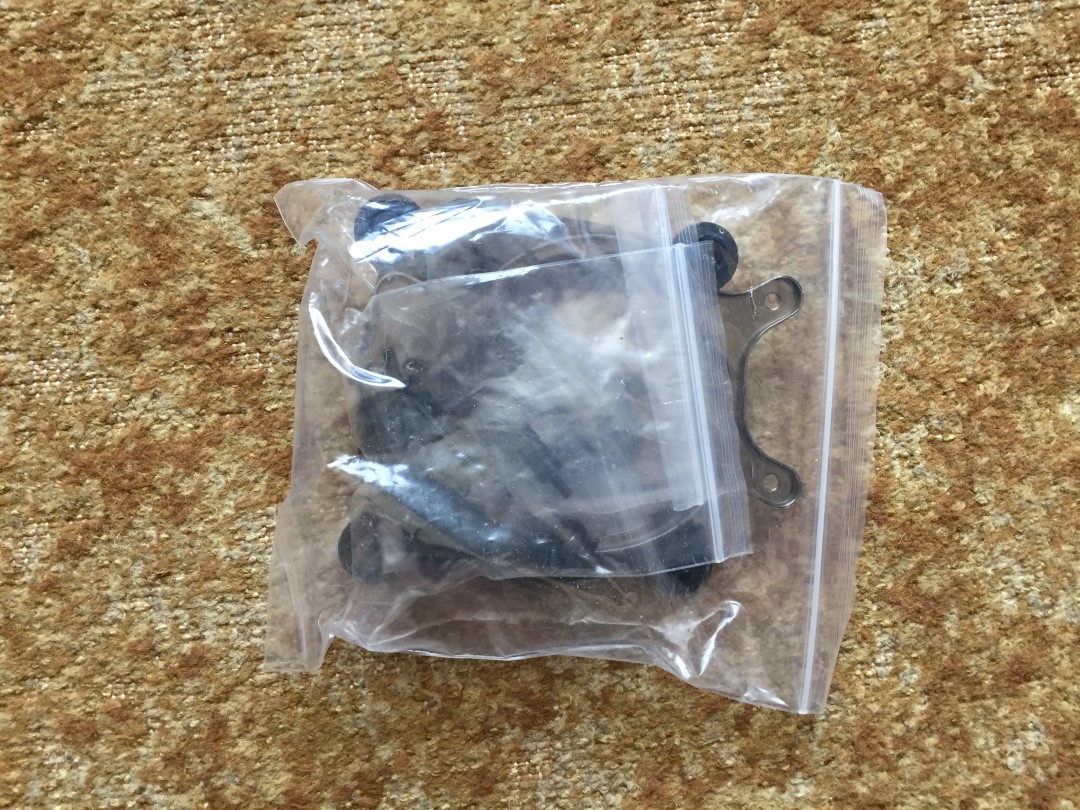
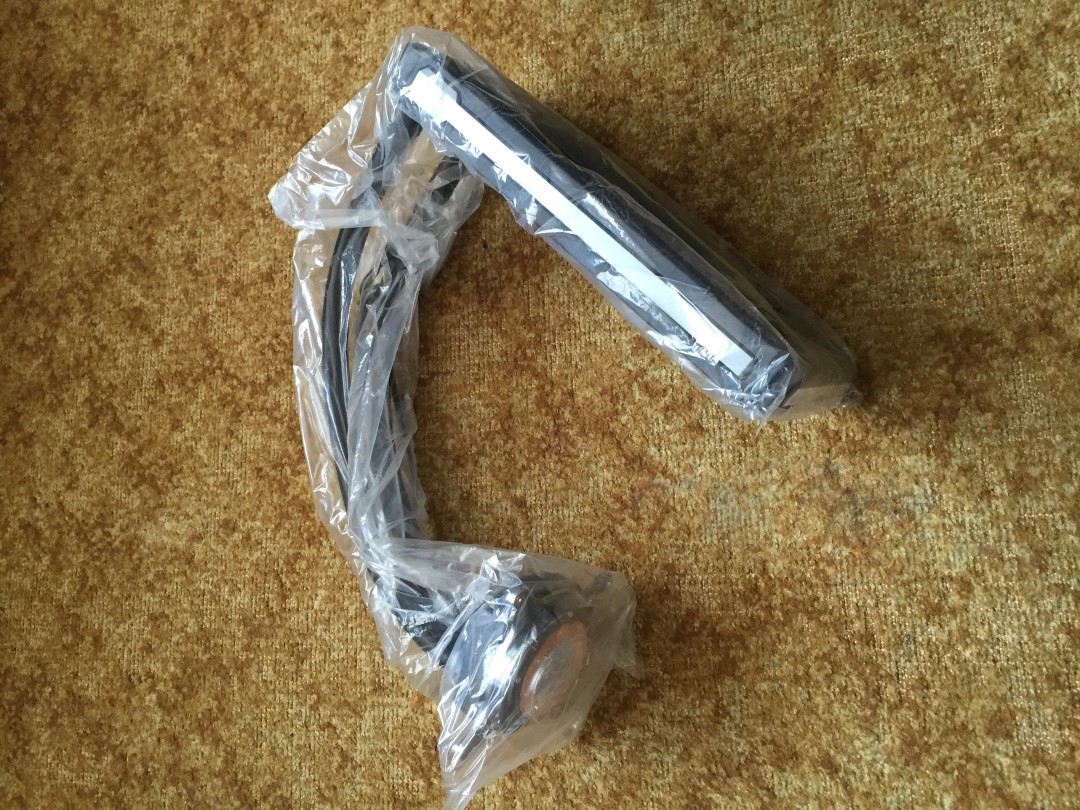
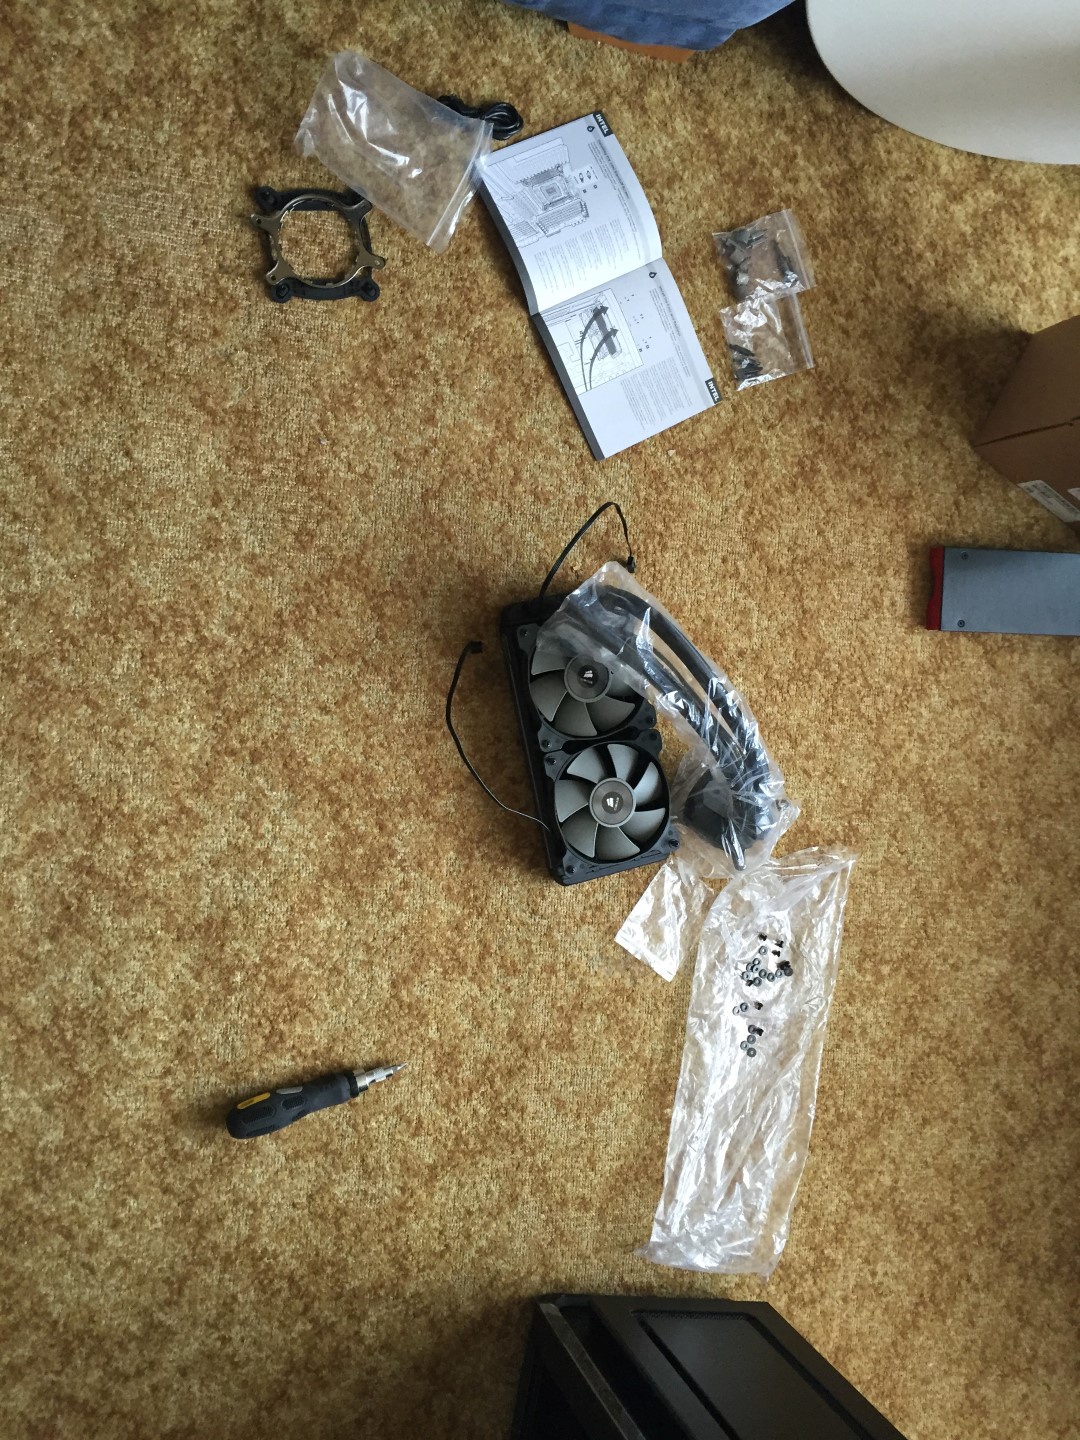
So the next step was to open the water cooling unit for my CPU, thought it was best to mount this and then put my motherboard in as on my previous build I nearly damaged it by doing it the other way around
I was making a bit of a mess… or so I thought however it only got worse towards the end

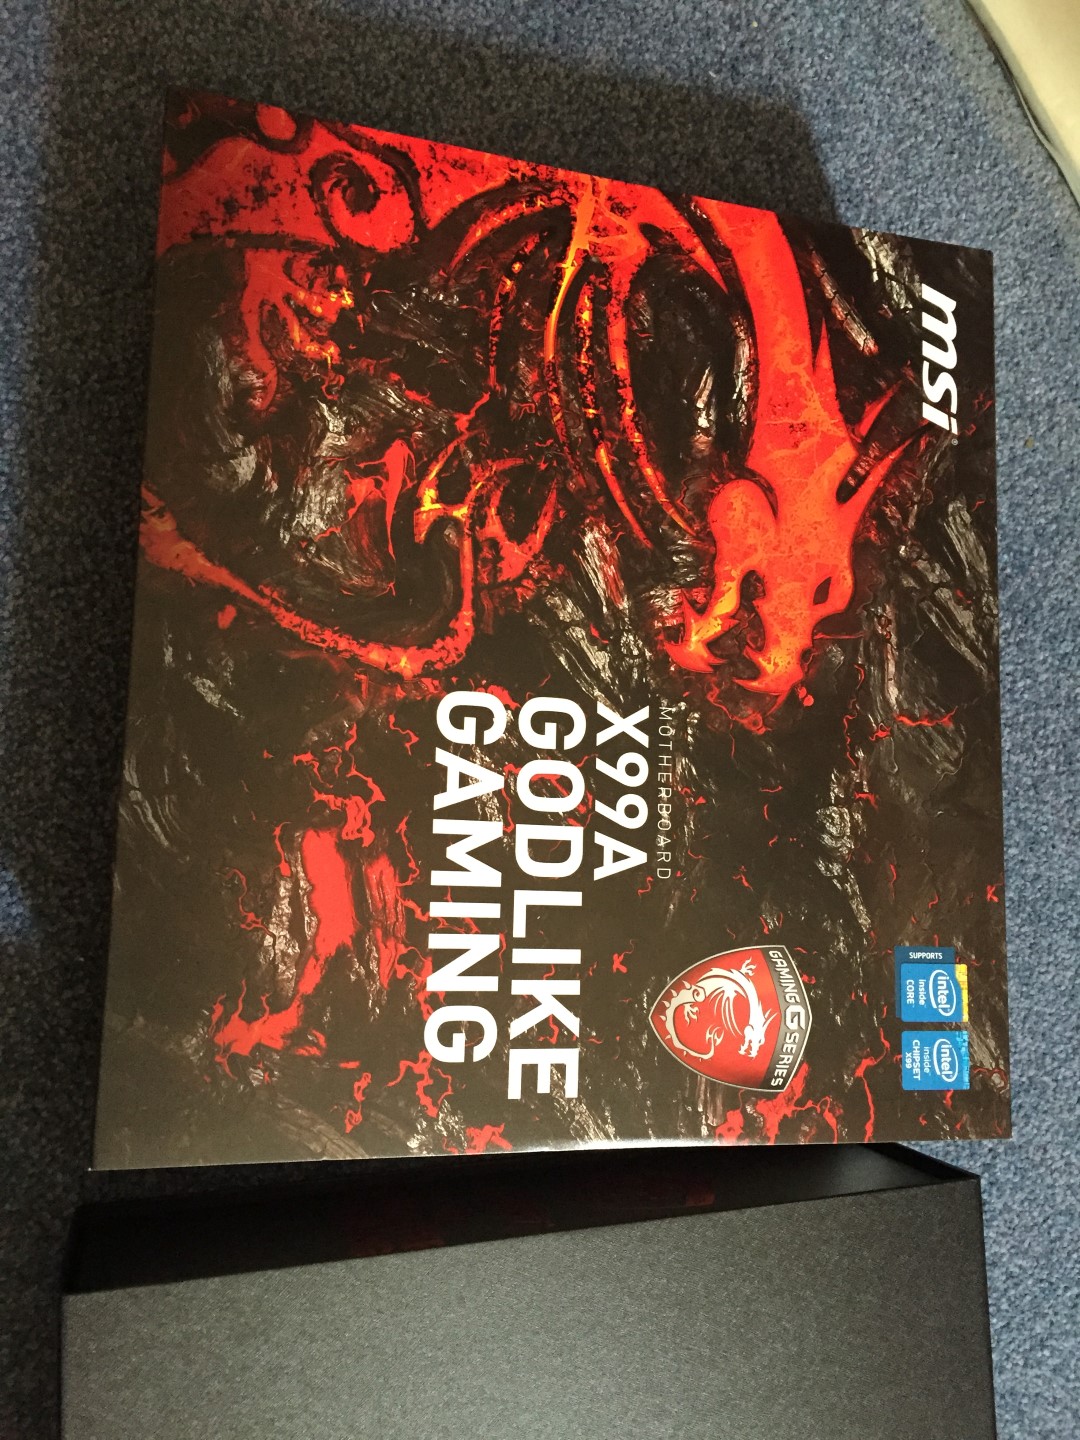
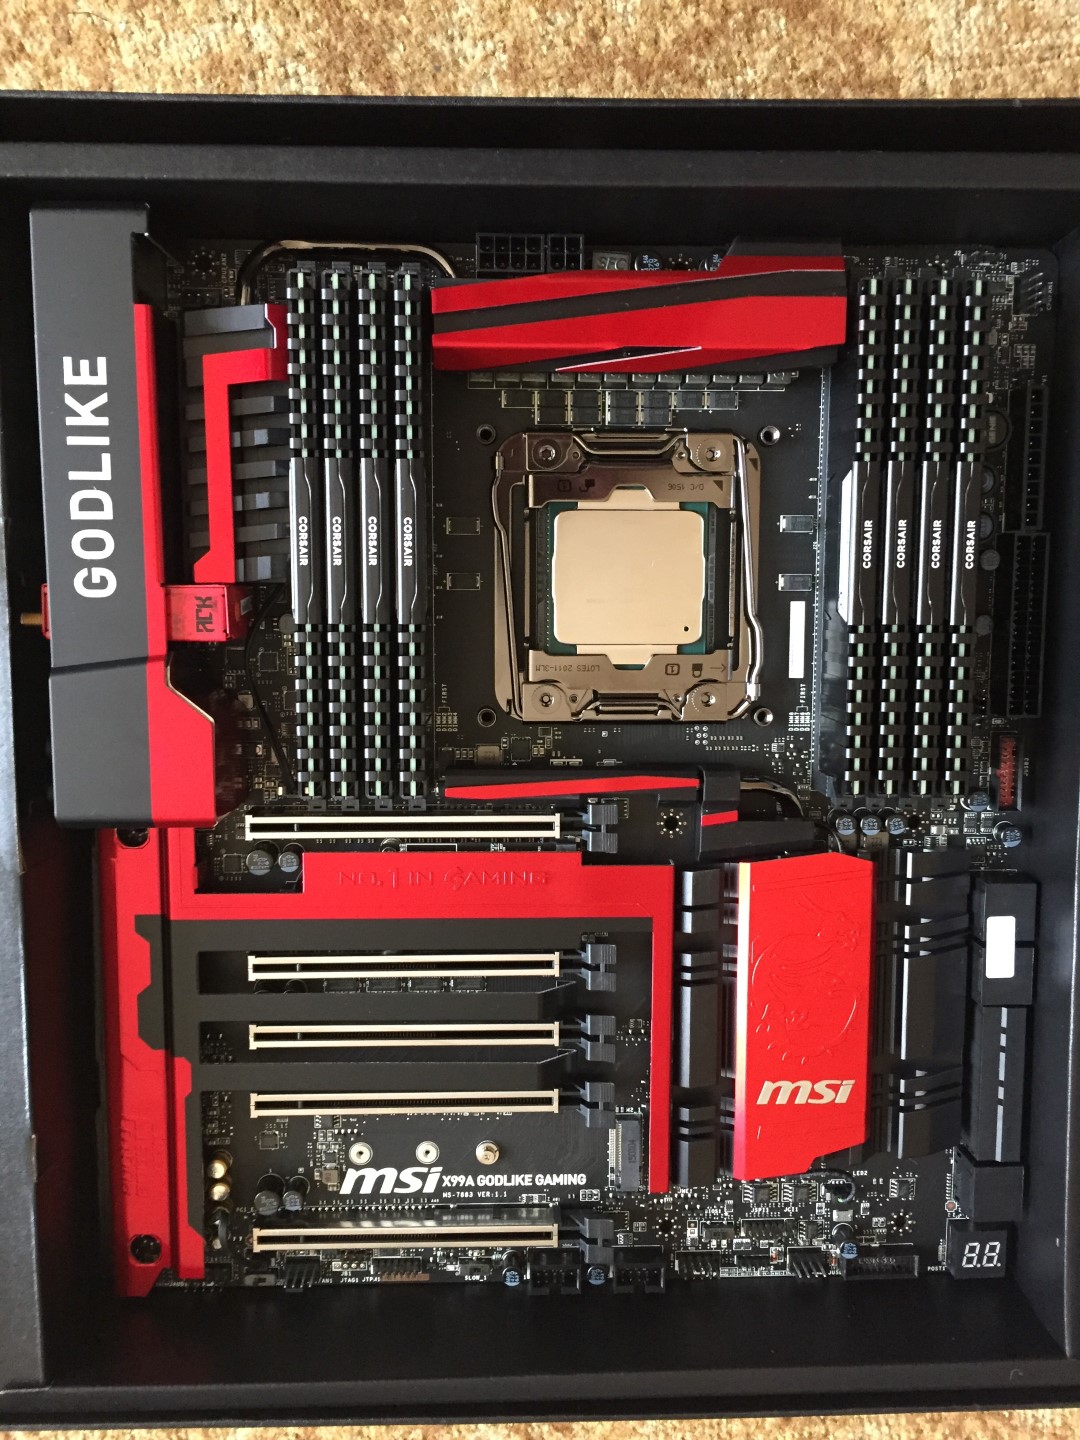
Now with that fitted, time to install the motherboard… This is the part I was most enthusiastic about as I spent A LOT of time researching it and fell in love with the specifications.
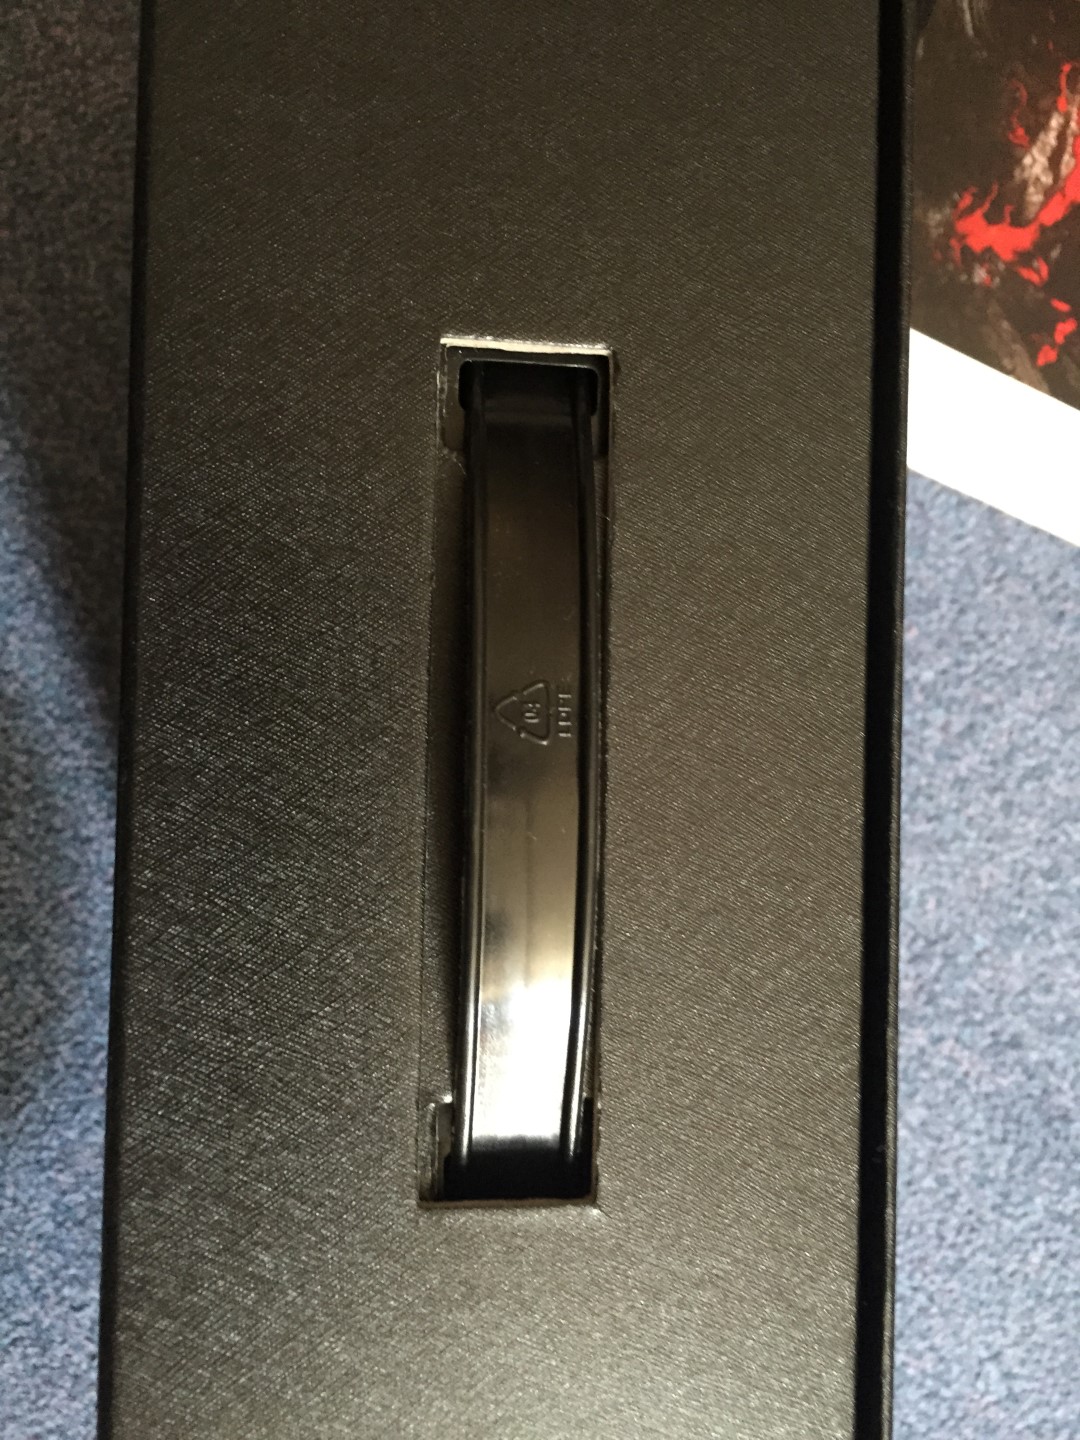
It comes with a handle which is good for urmmm transporting from the shipping box to the case I guess?
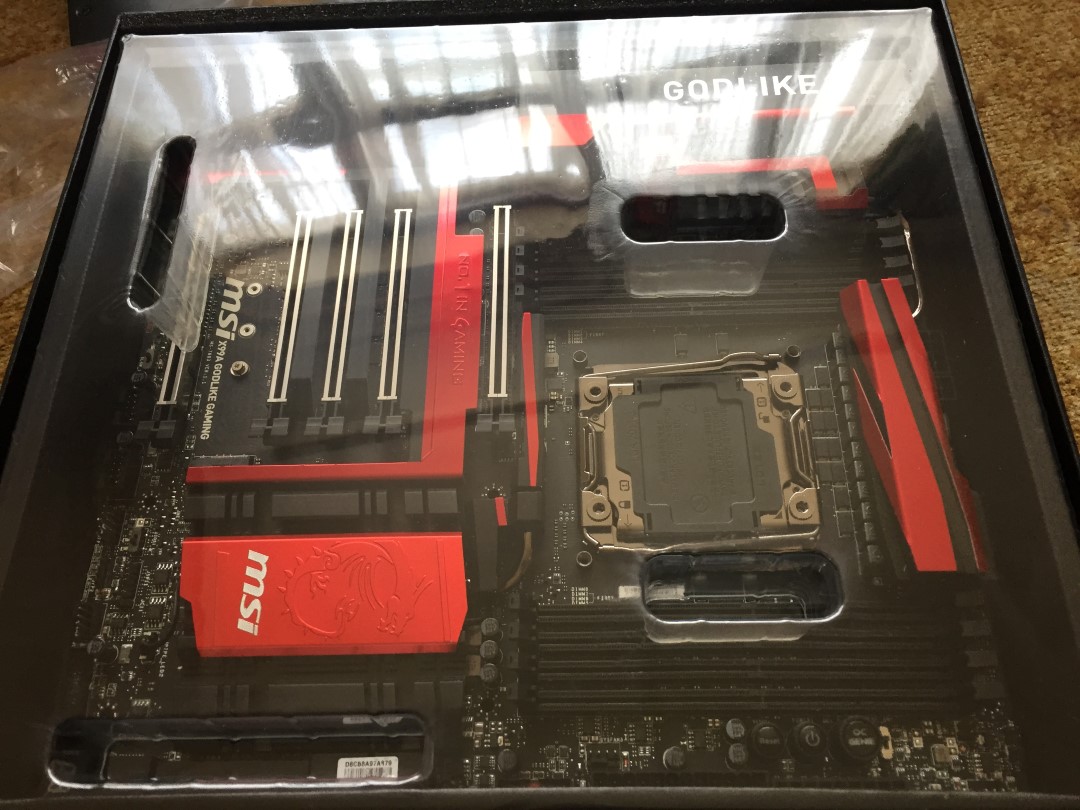
Here are some shorts of the motherboard
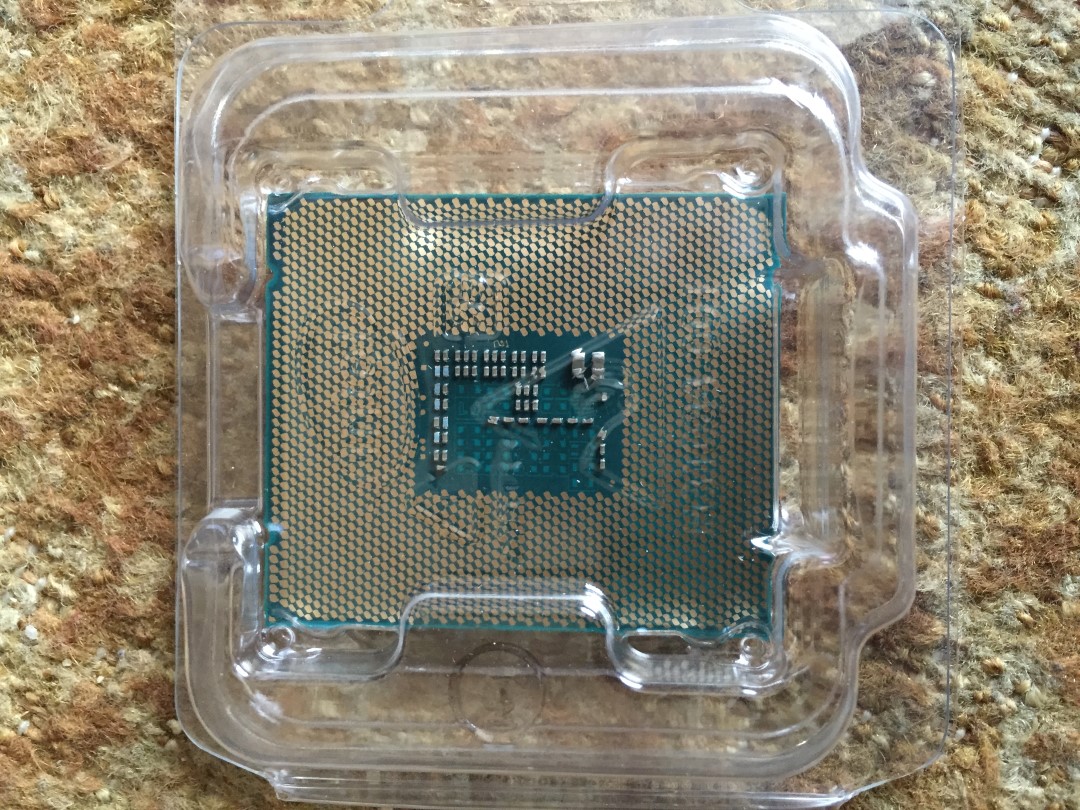
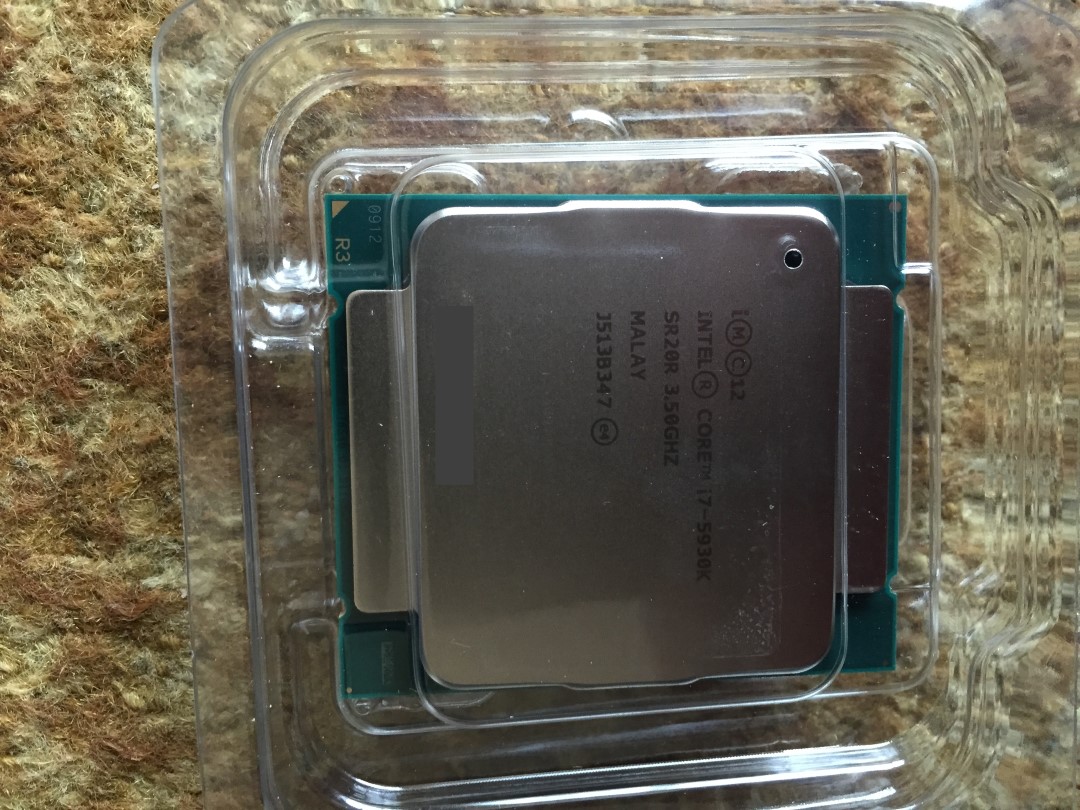
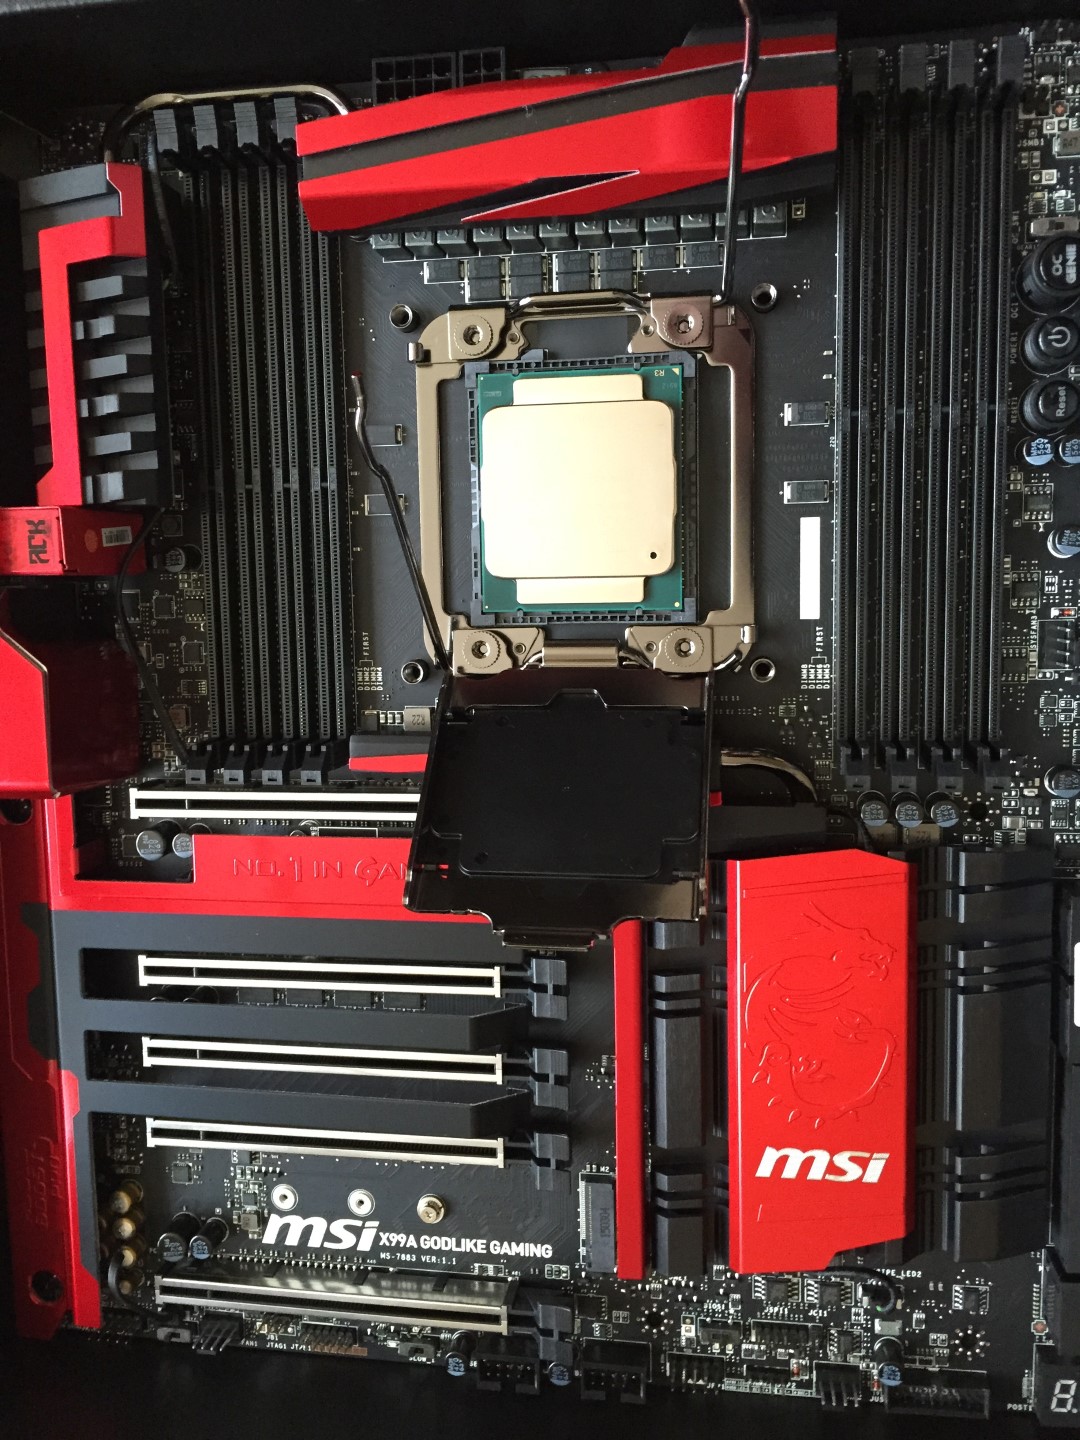
Time to install the processor!
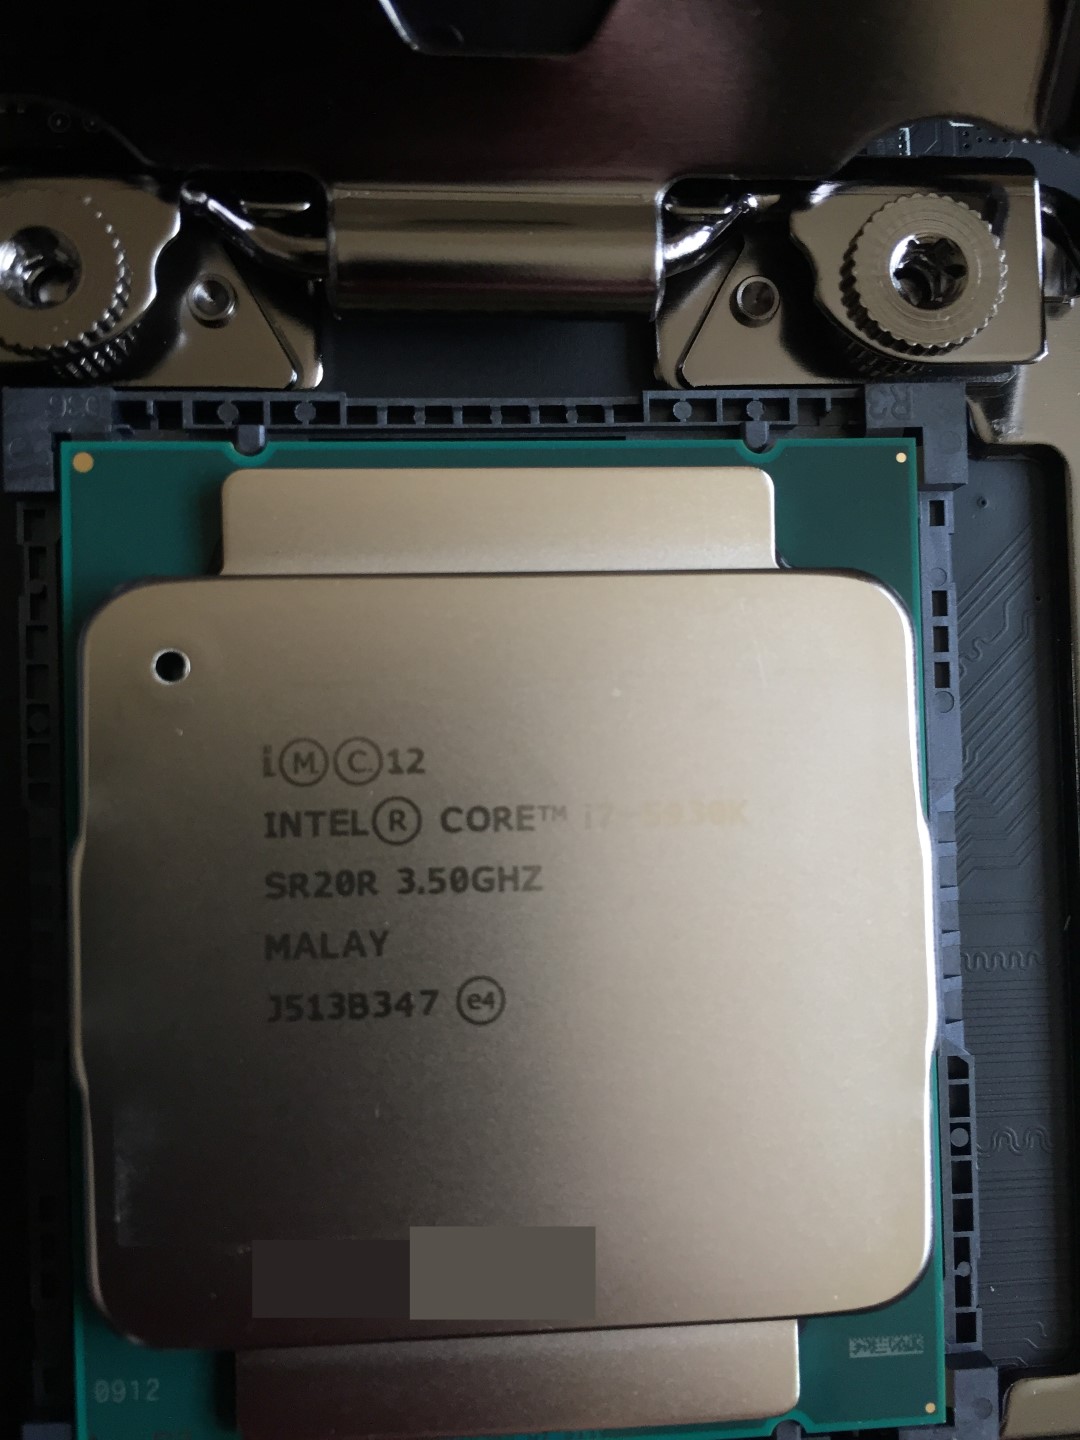
A cheeky snap of it installed
Now for the memory
It comes with this cooler for every two sticks, I decided not to install it at first but will do if it presents an issue

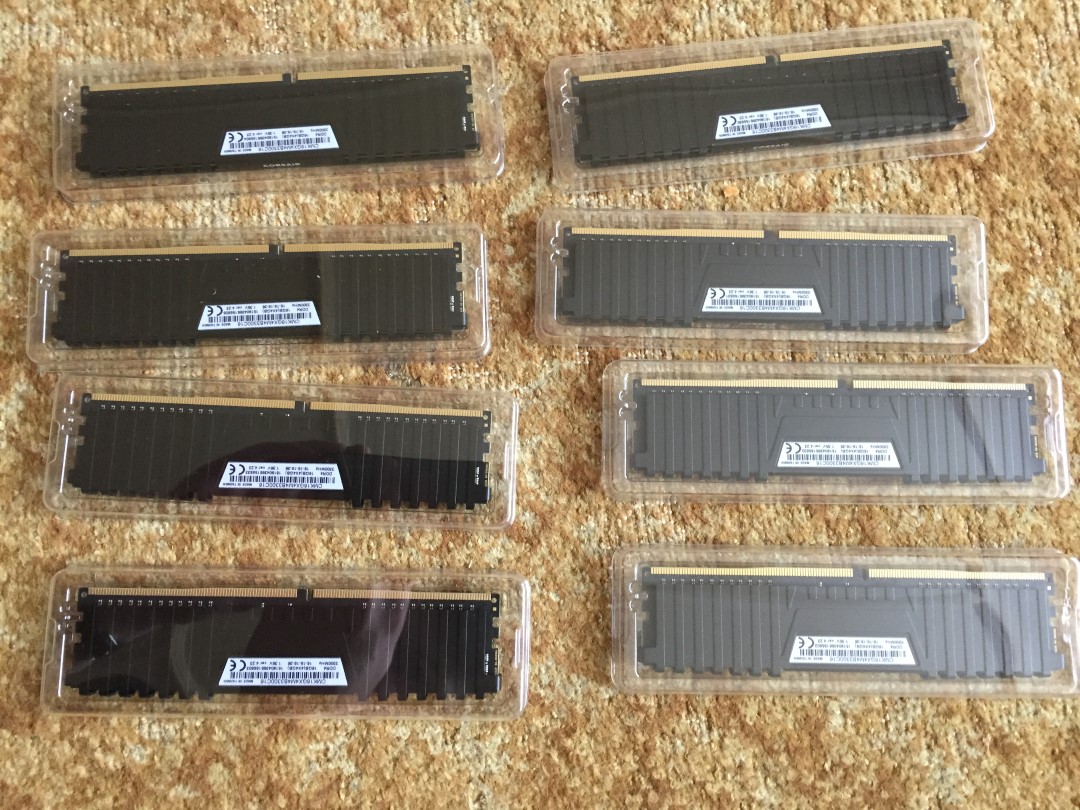
Pictures of it installed, I did it in the box as it was an anti-static surface and the tray for the box provided a convenient space to work from
Time to install the IO before the motherboard, the eagle eyed of you may notice I installed it upside down the first time ¬_¬

Once the motherboard was installed and the processor cooler installed
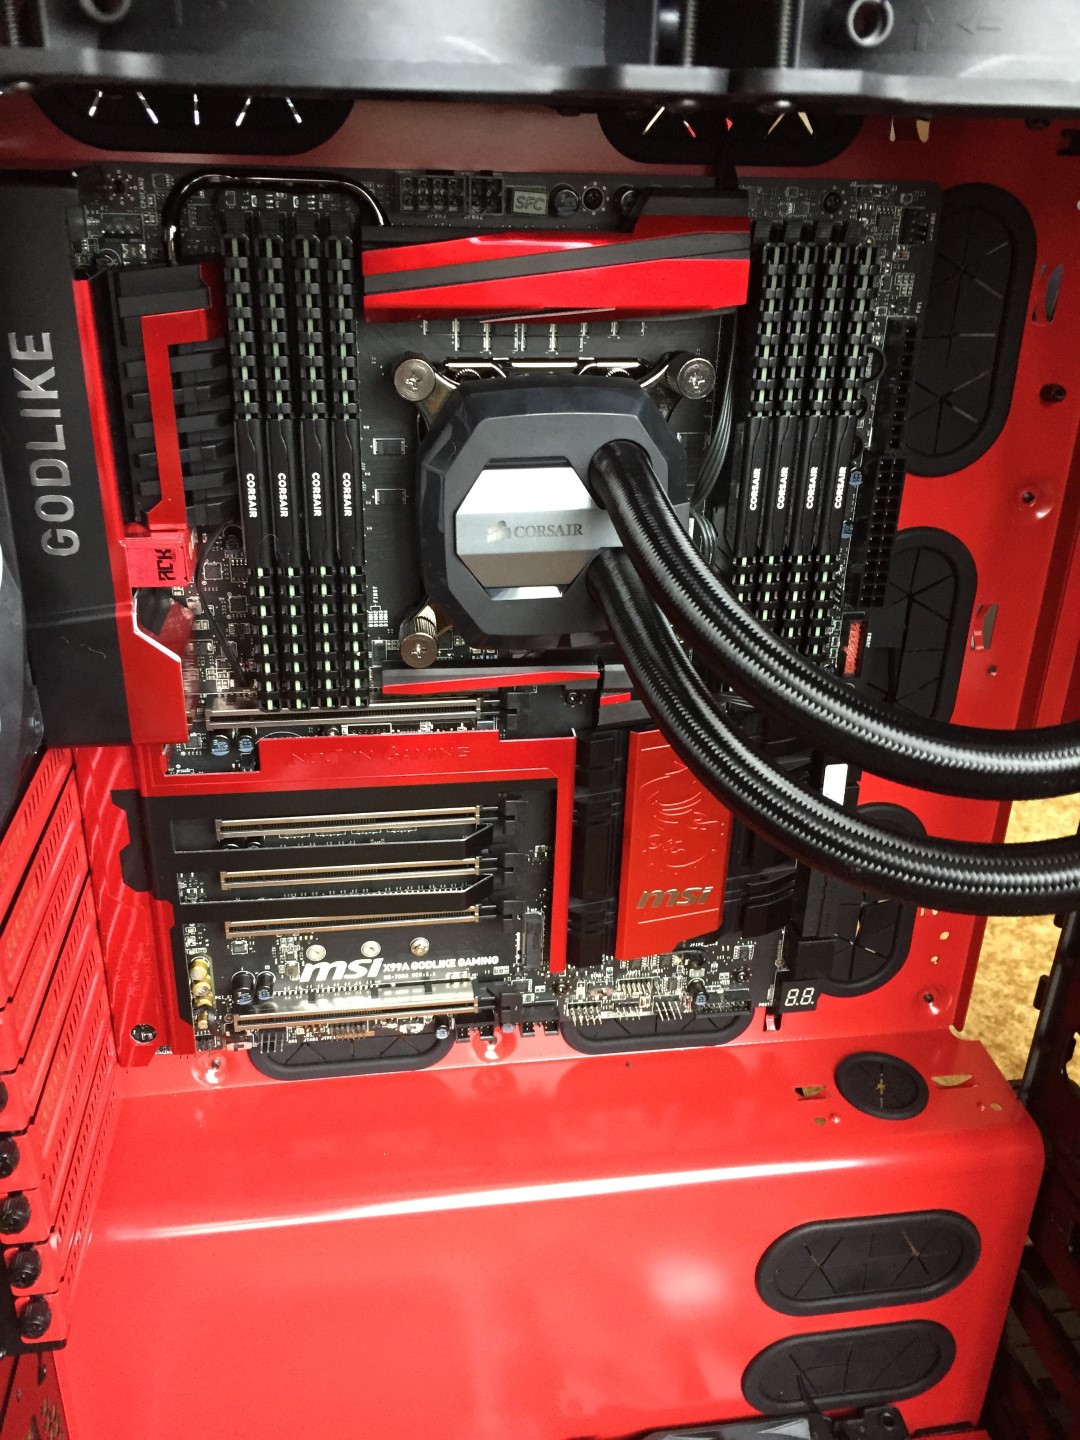
It is really coming together, time for the power!
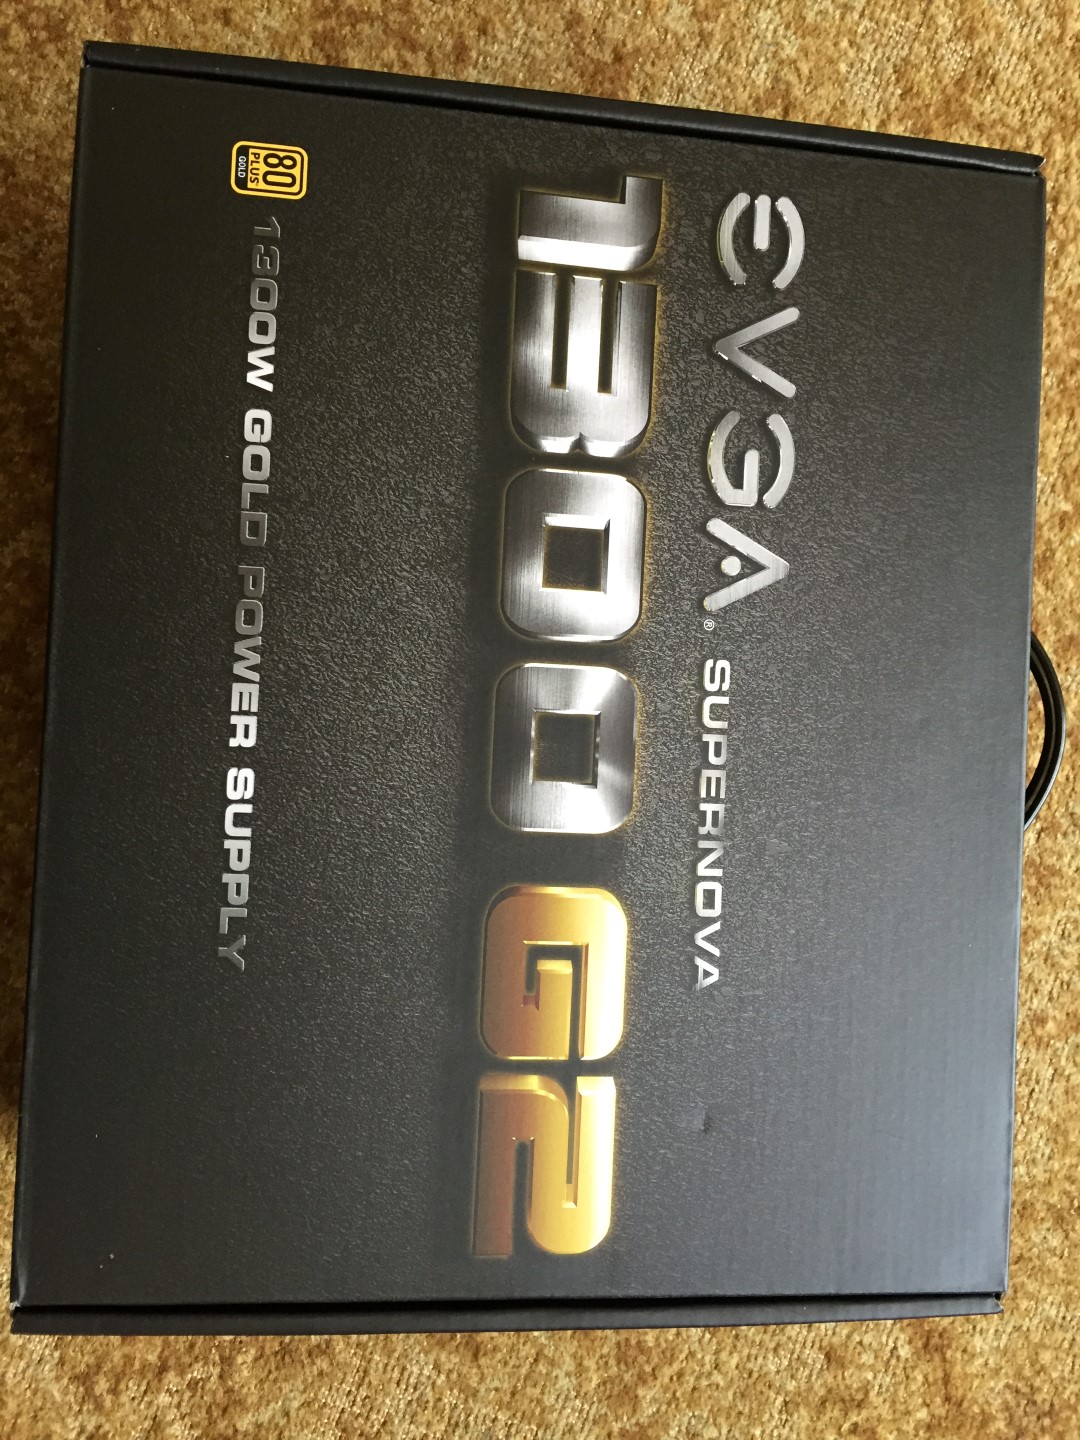

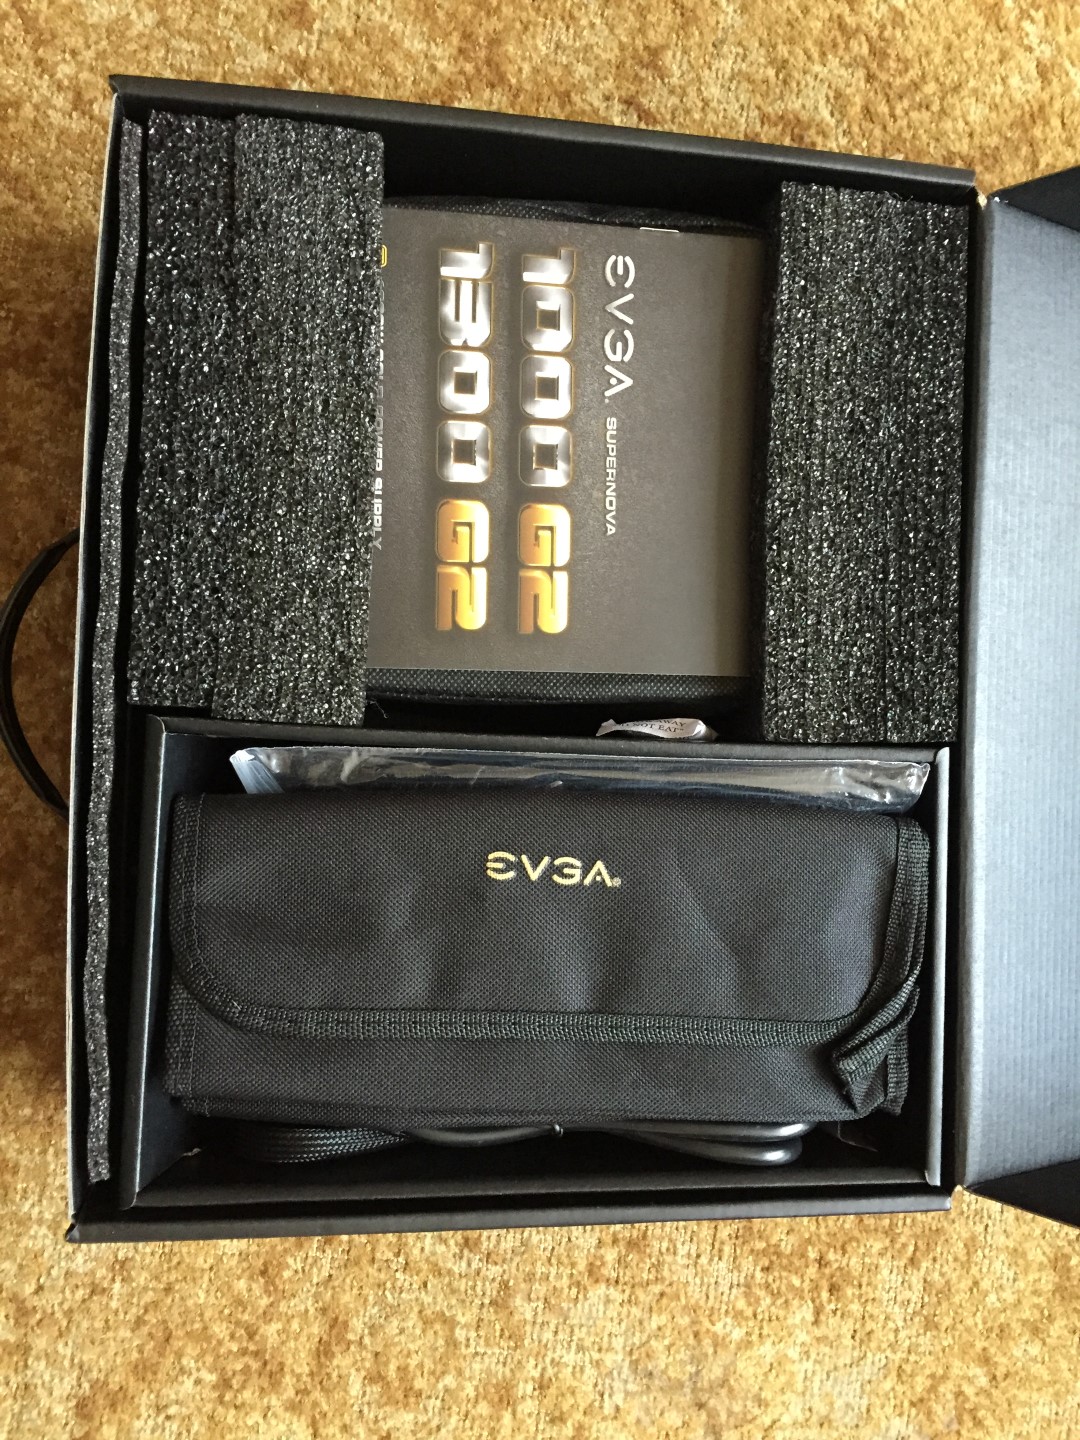
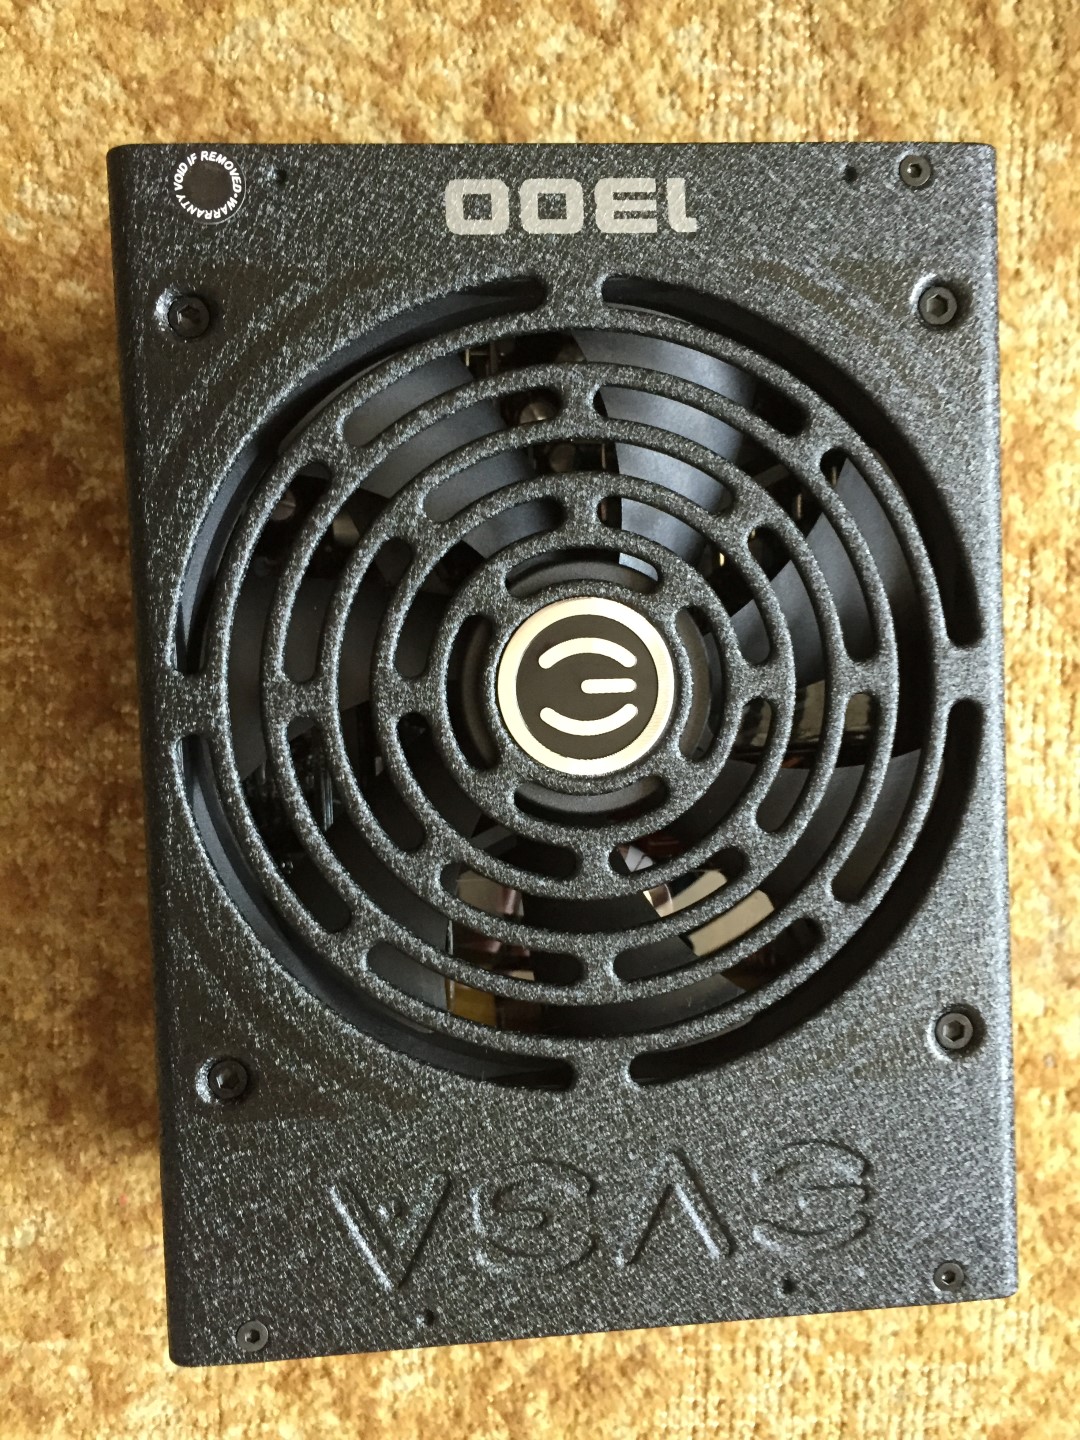
Because I was installing custom cables, I literally just grabbed the power supply unit itself and threw the box in the pile of no return, I unboxed the cables next to make sure I had the right amount

And after I installed the power supply
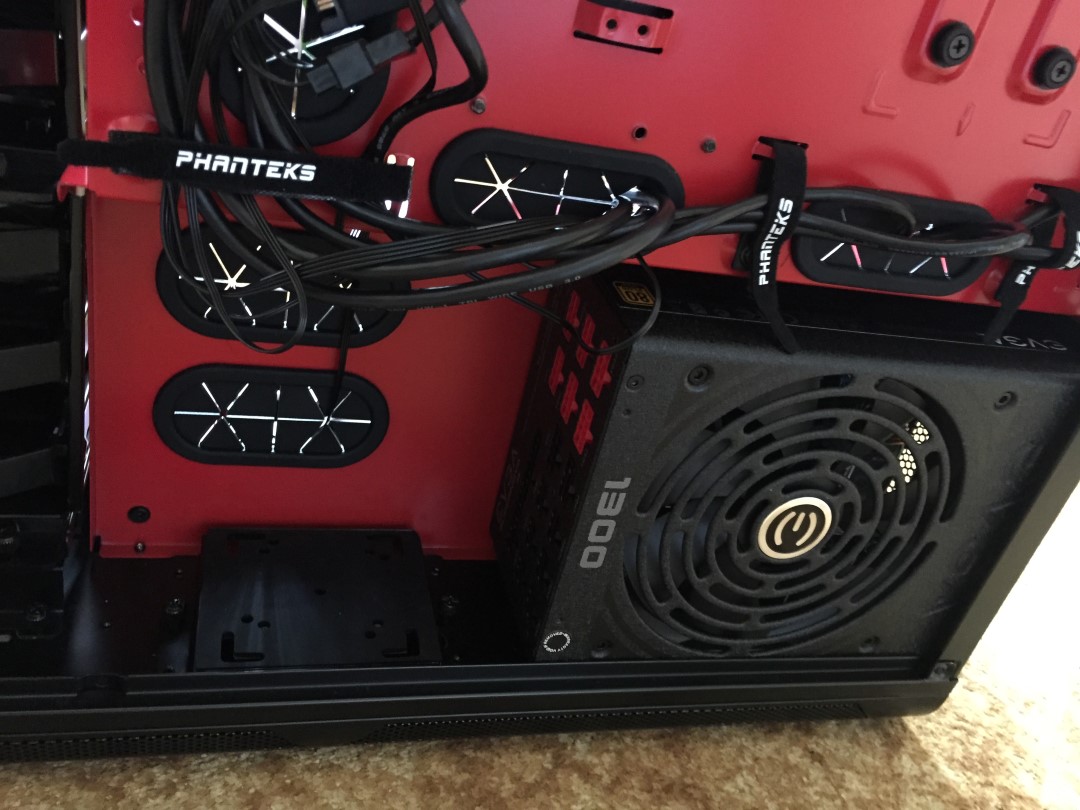
Now with the initial cable runs
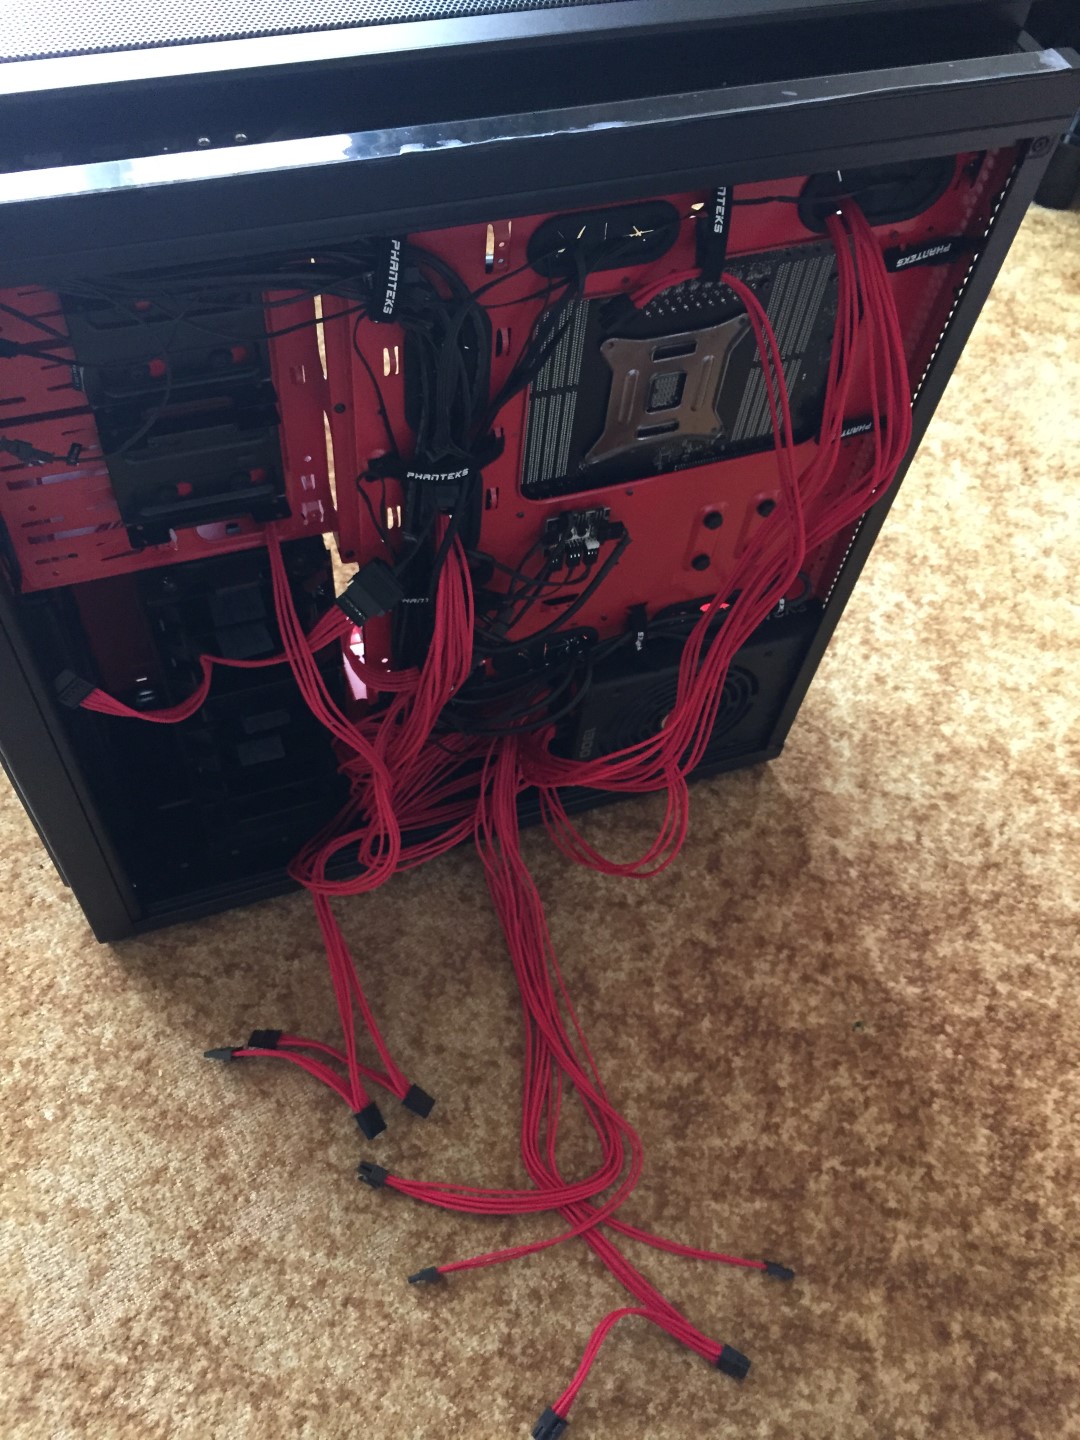
I thought it best to leave the cables loose, install the drives and then start wiring up so I can then tidy them afterwards

My case comes with these handy mounting points for my SSD’s which I can move around, I can technically install 4 of them in total however I think 2 will be suffice…
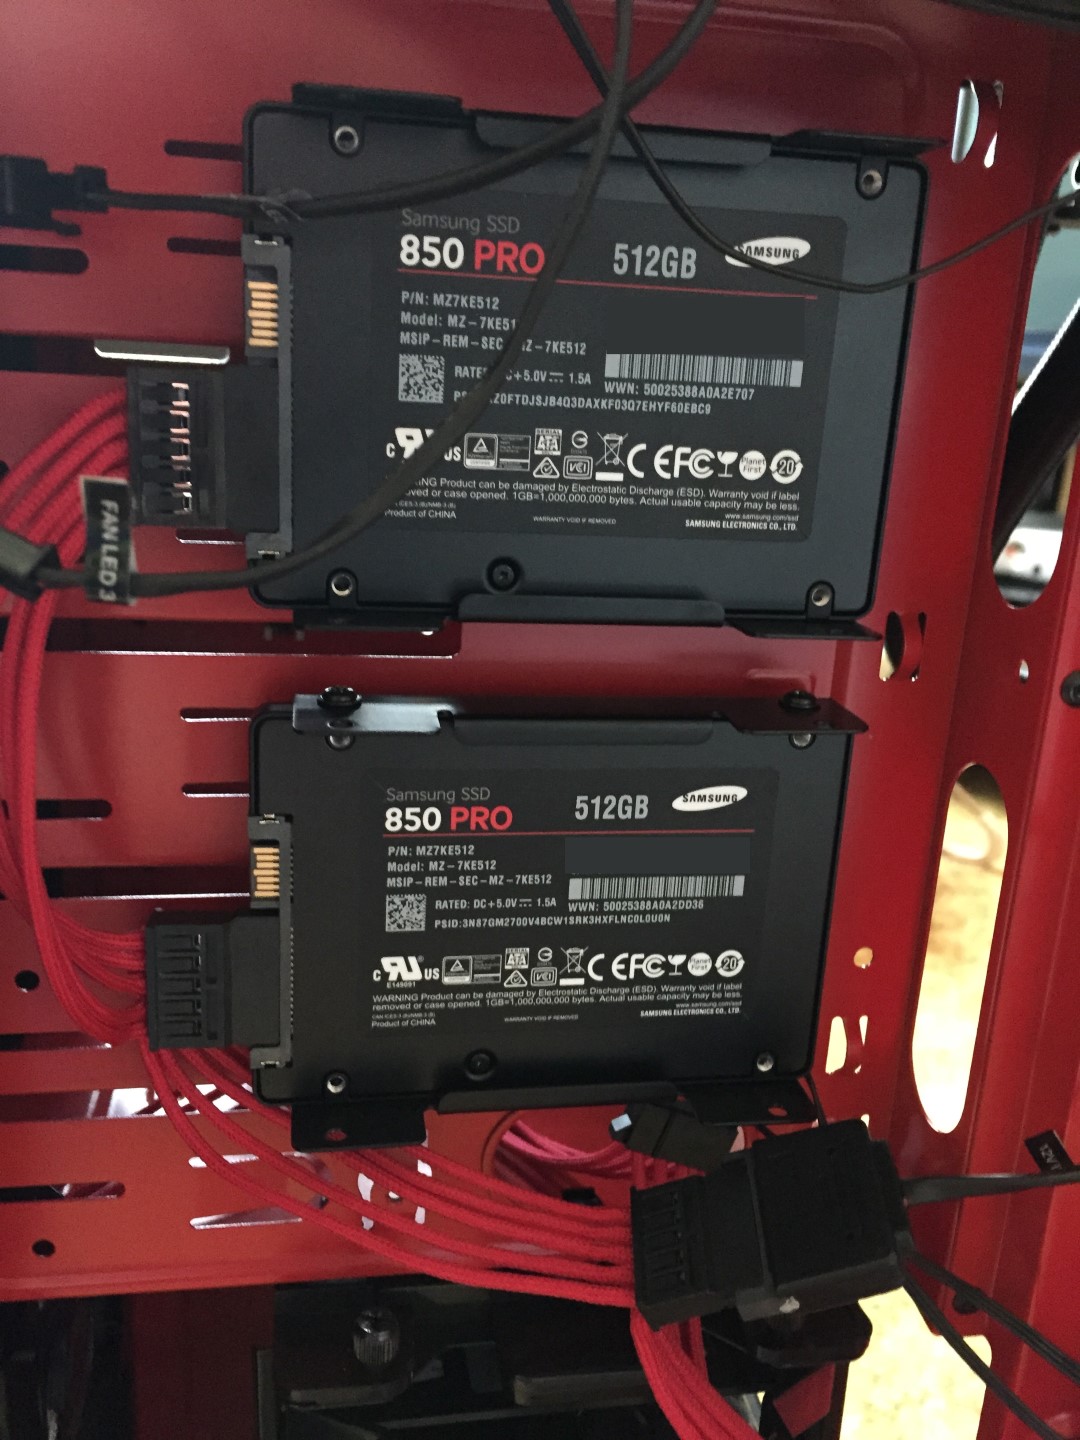
The drives I placed in the centre because if you look closely you can see there are fans blowing cold air over them so being in the middle will provide optimum cooling
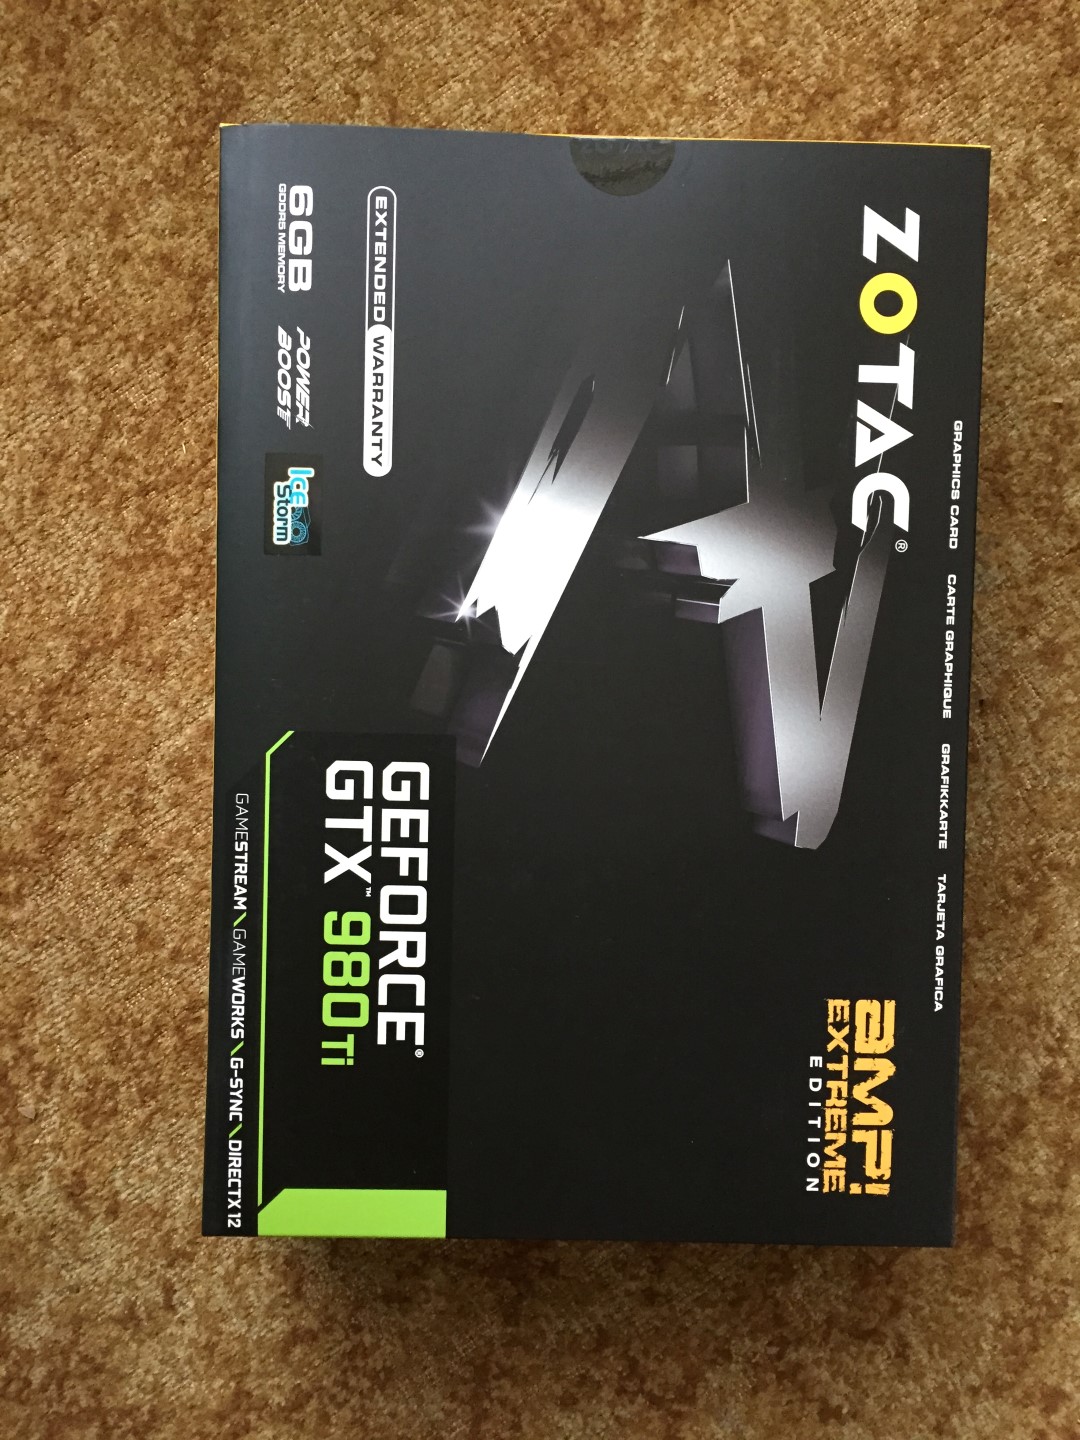
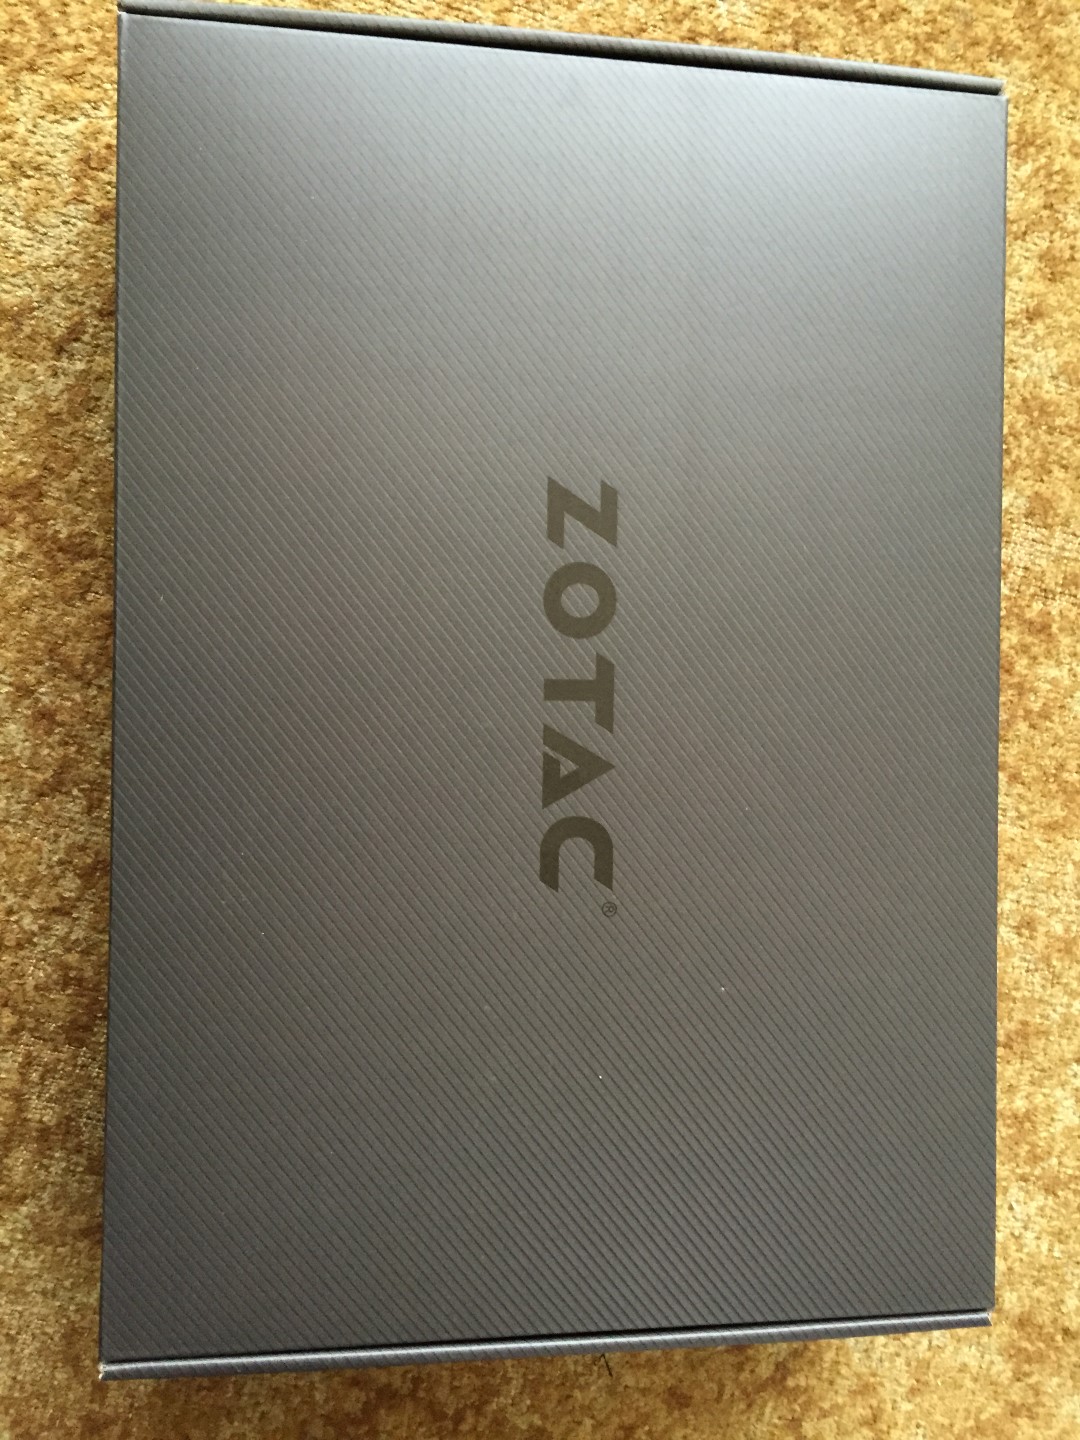
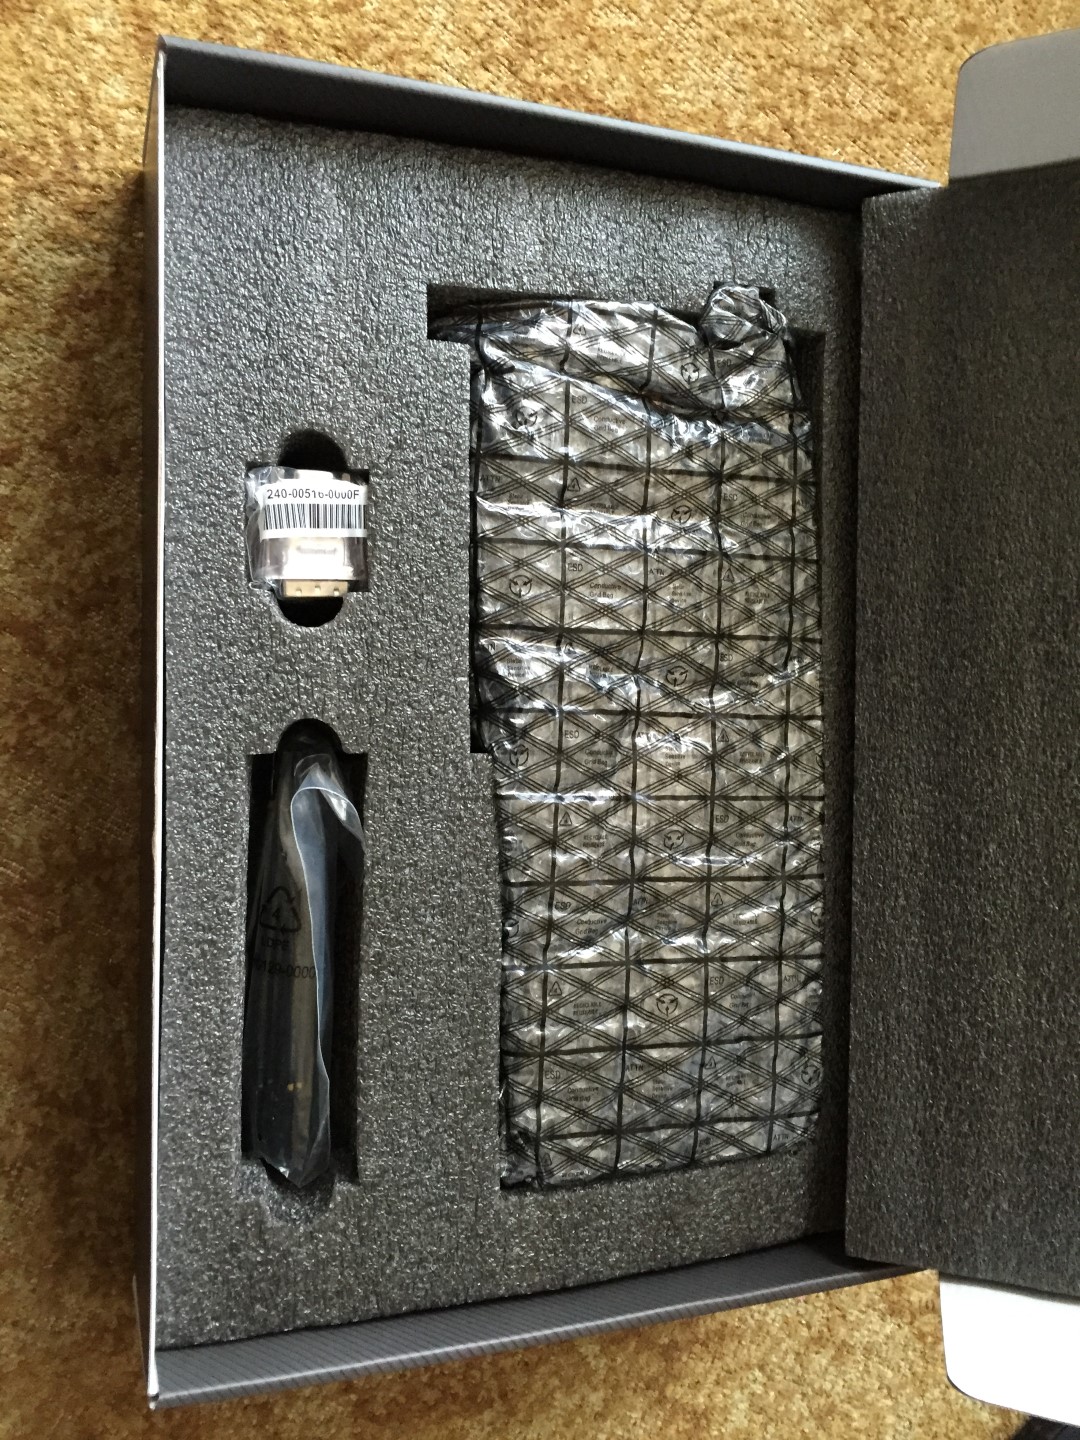
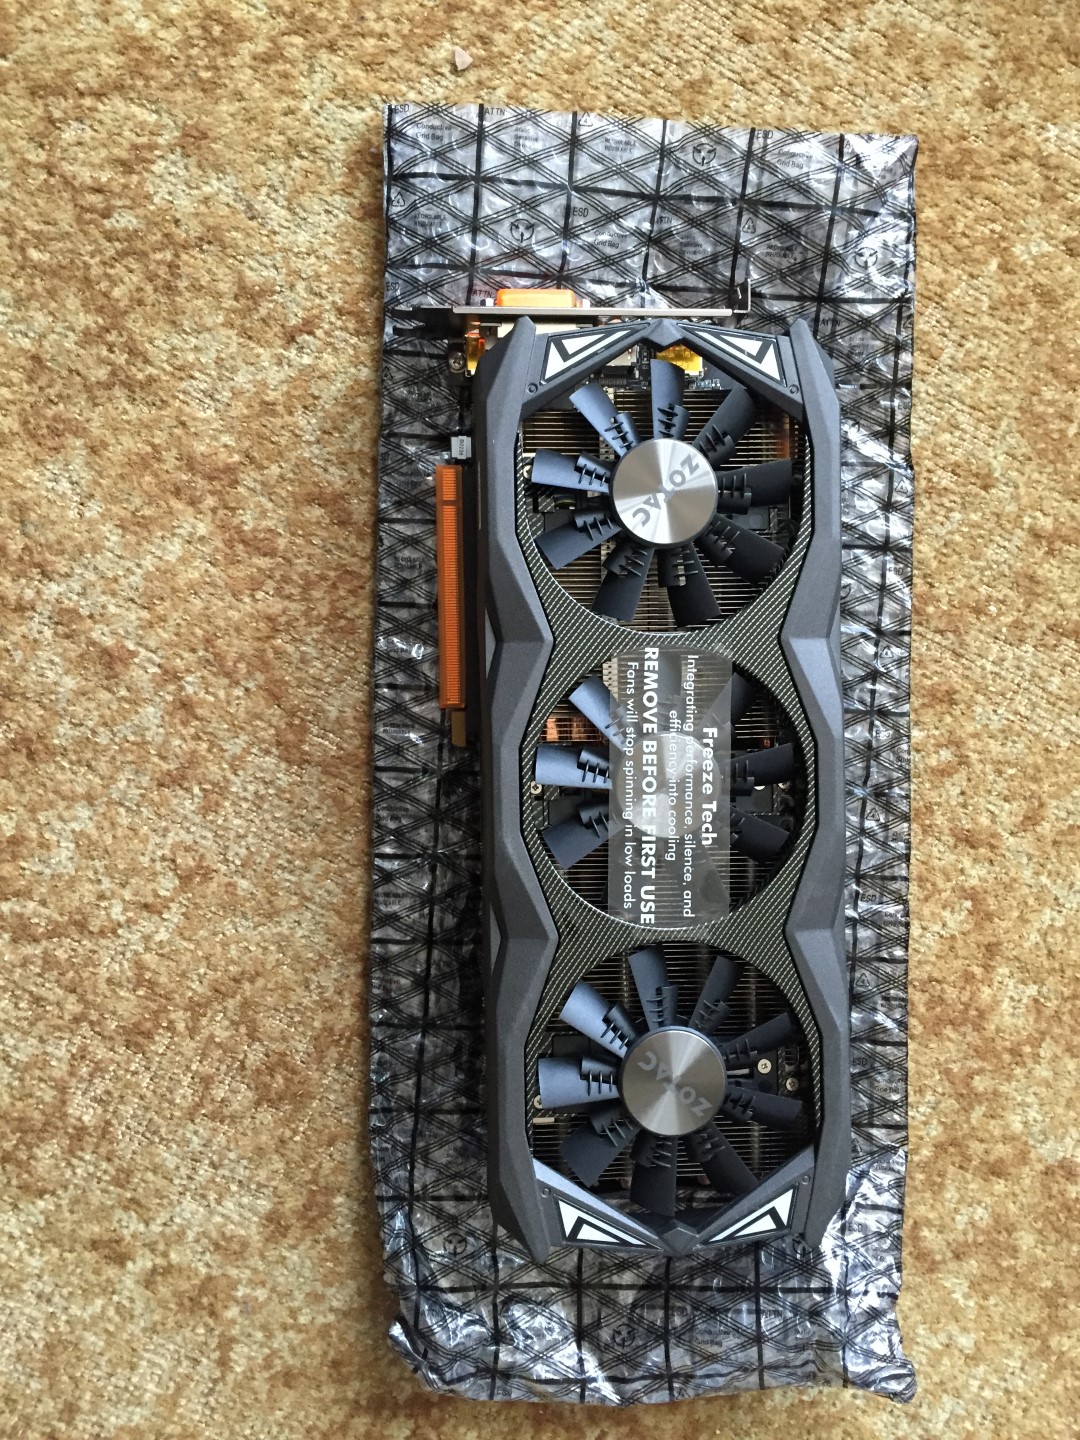
Finally the graphics cards
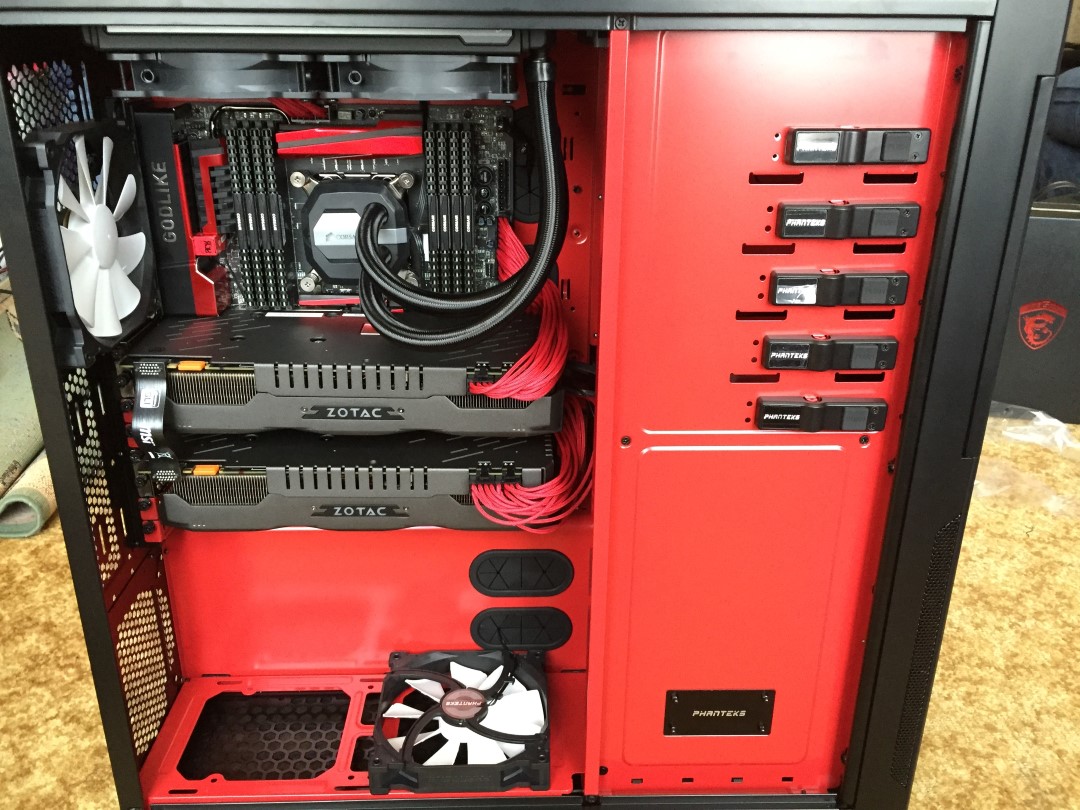
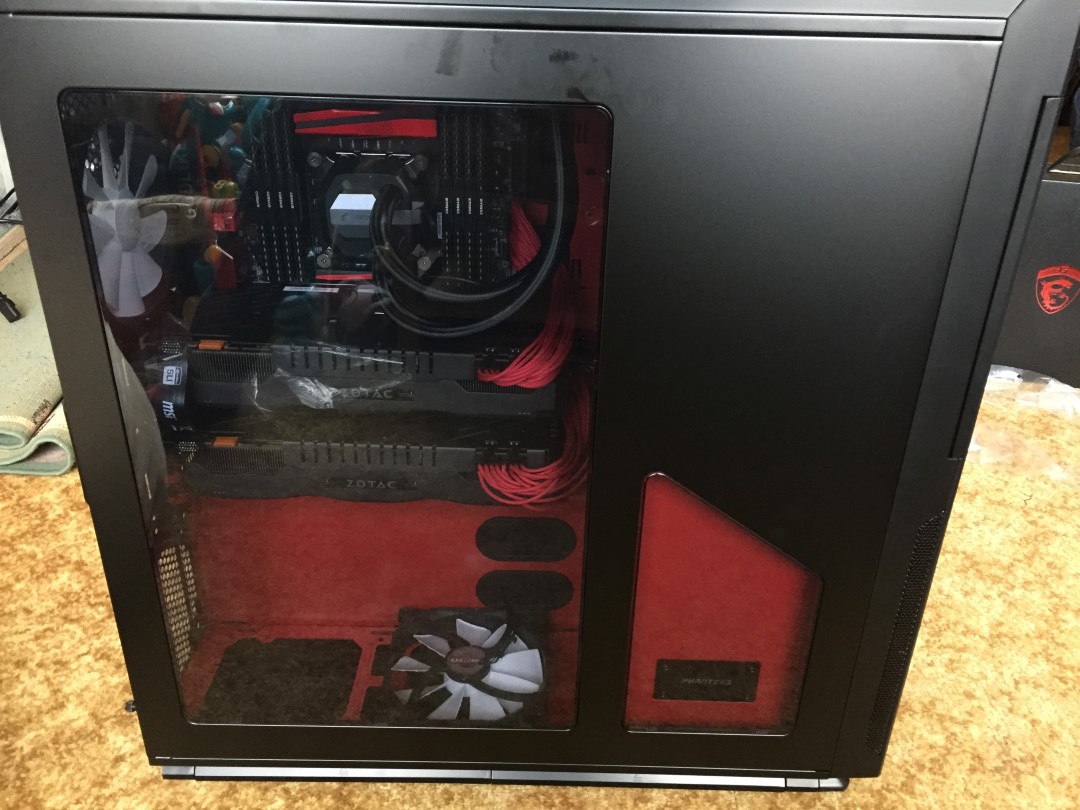
A picture with both installed and cabled up

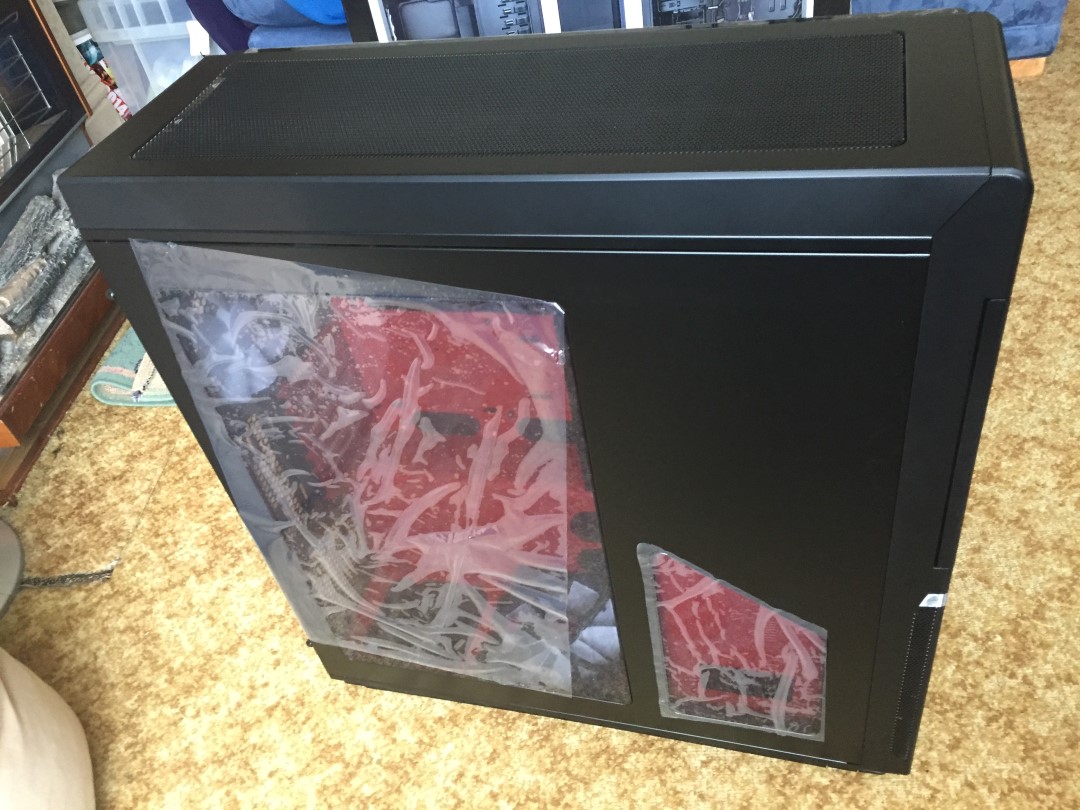
After installing the rest of the cabling, this was the final photo shot
With the case shut
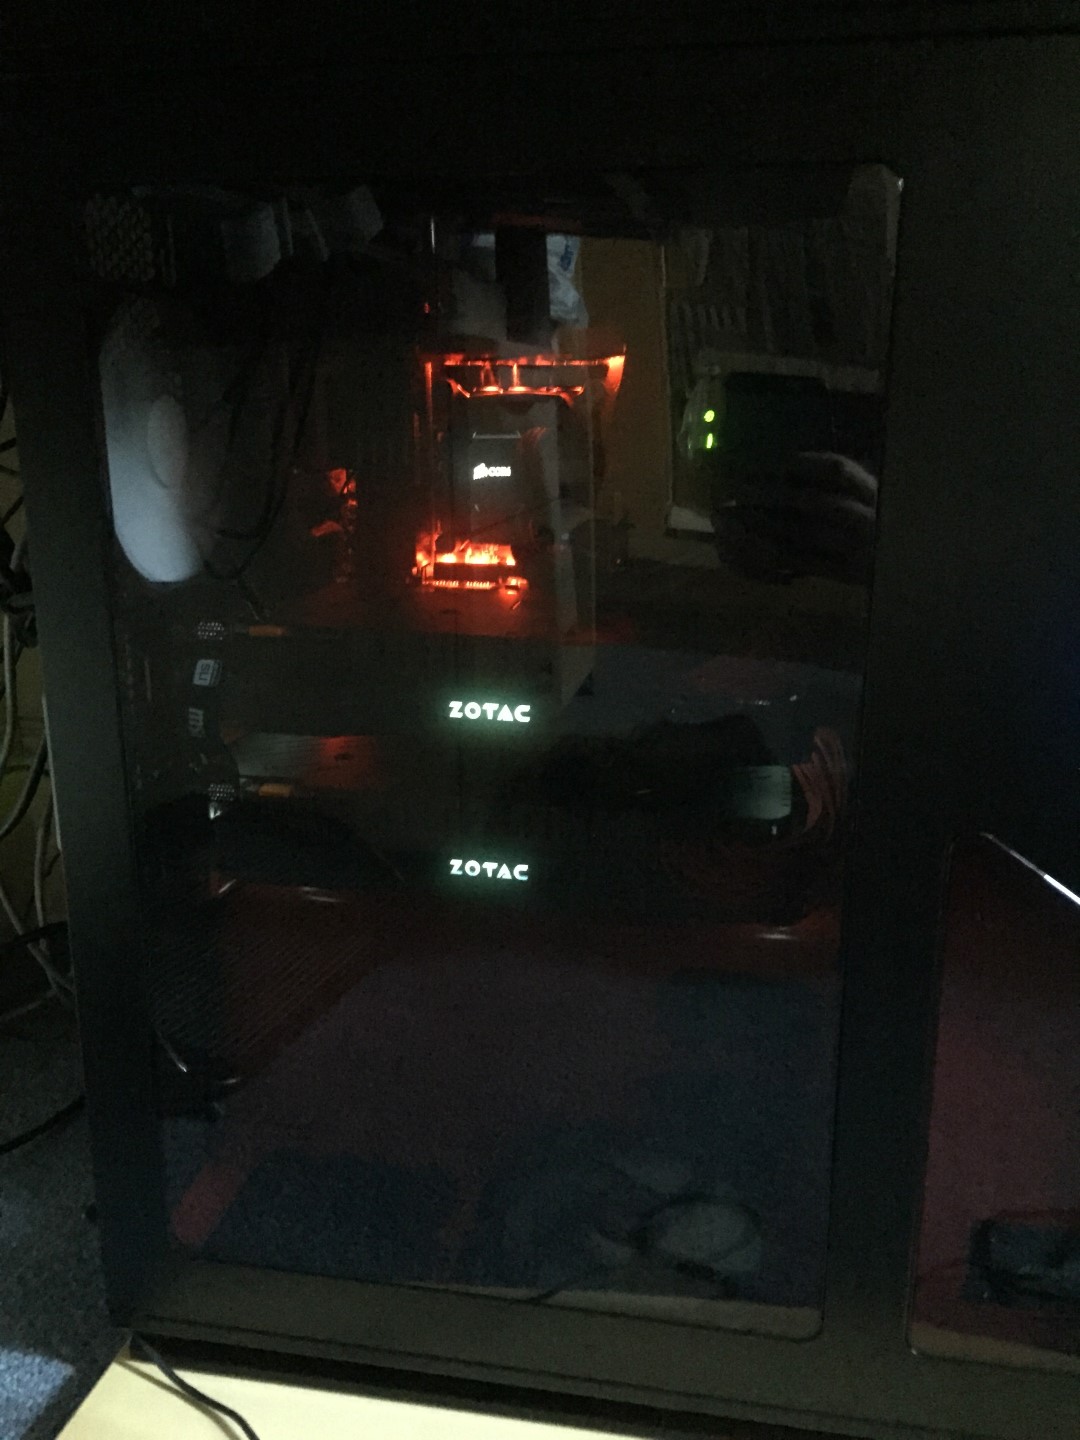
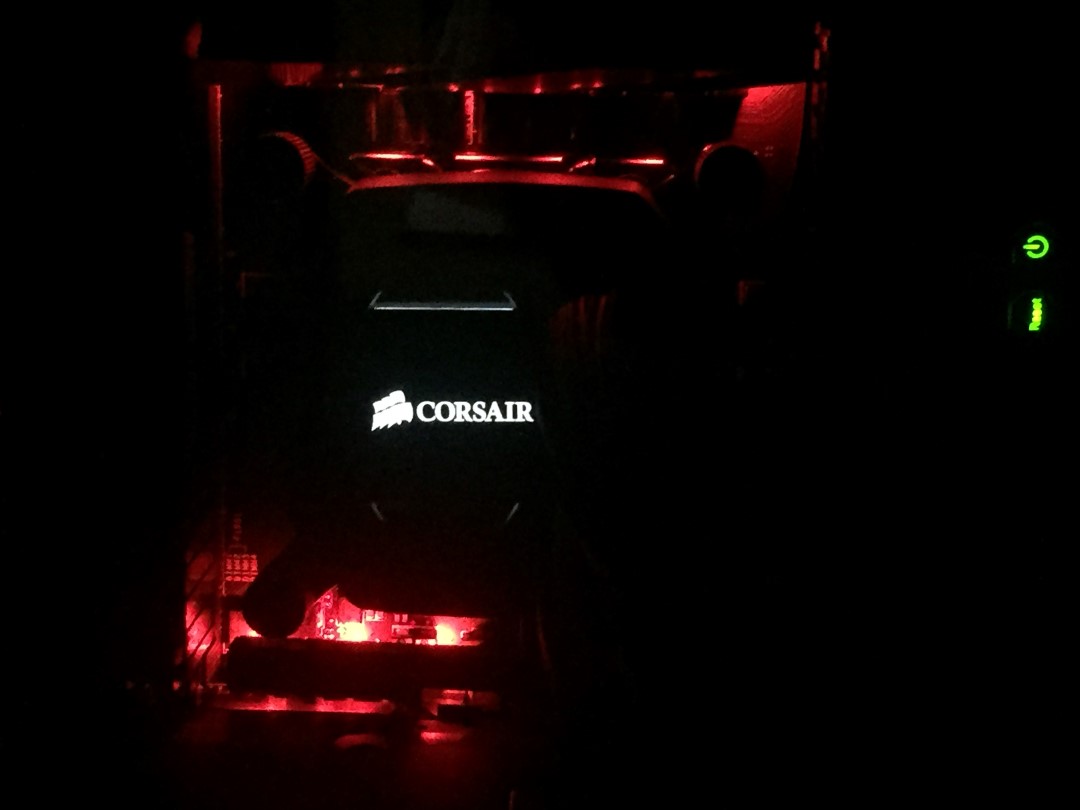
Plugged in and ready to go, the final pictures


Issues and Resolutions
With any build you have some issues, a lot of mine were school boy errors which seeing as this was my 6th computer build I shouldn’t have made however I only do one a year and am renowned for being forgetful")
Issues with Overclockers and Scan
I had issues with being told different delivery dates by just about every person I spoke to, it got to the point that I called Overclockers and spoke to the manager and he kindly sorted the issue out and couldn’t apologise enough. Scan on the other hand managed to give my allocated stock to someone else and therefore I had to wait for new delivery dates on parts, calling it close with the final delivery arriving on my target build day
Skylake Announcement
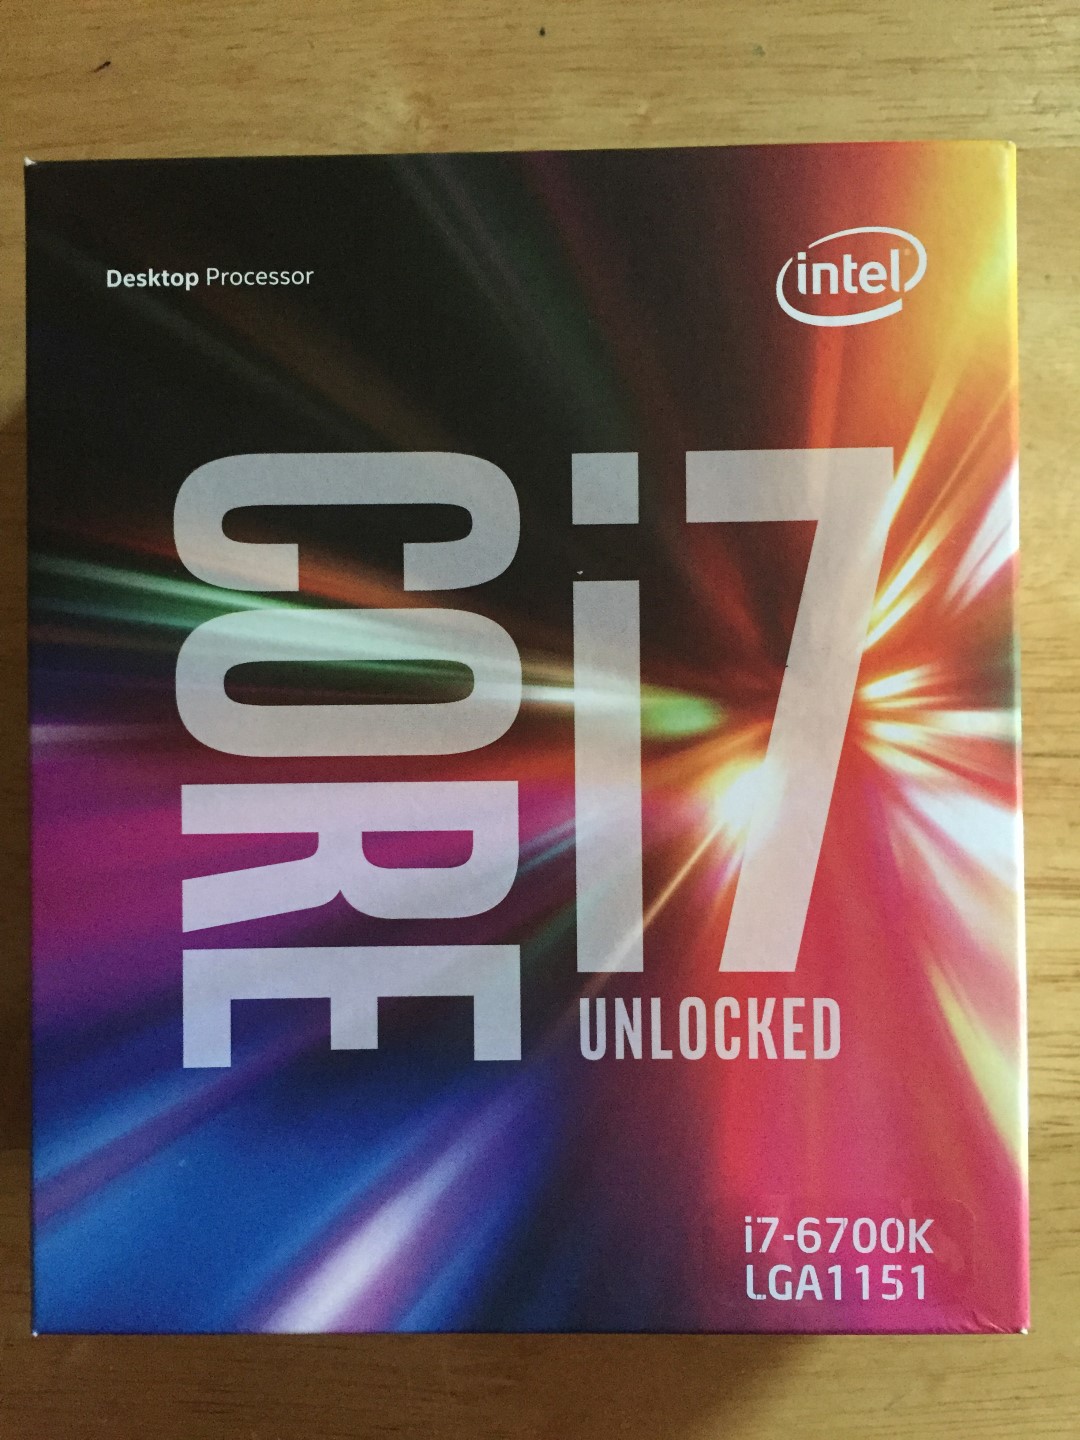
I bought all of the items on a Saturday evening after a week of research, I knew that there was rumours of Skylake coming out however didn’t expect a product release for another 3 months. It came out on the Wednesday and so I changed my order for it only to find out it wasn’t the enthusiast model so I returned it and went back to plan A. I did however get a picture of the box
Case Noise Dampening Kit
I bought the case noise dampening kit from OverClockers for around £30, it was a good idea however all the instructions were in German (which I don’t understand) and I only ended up using 4 out of the 16 cuts as the rest would remove features such as case fans or cover the glass panel which defies the point in my eyes, at one point I had to rip one off, cut it down and them stick it back on as it was the wrong size. I won’t buy this again.
Water Cooling Fans
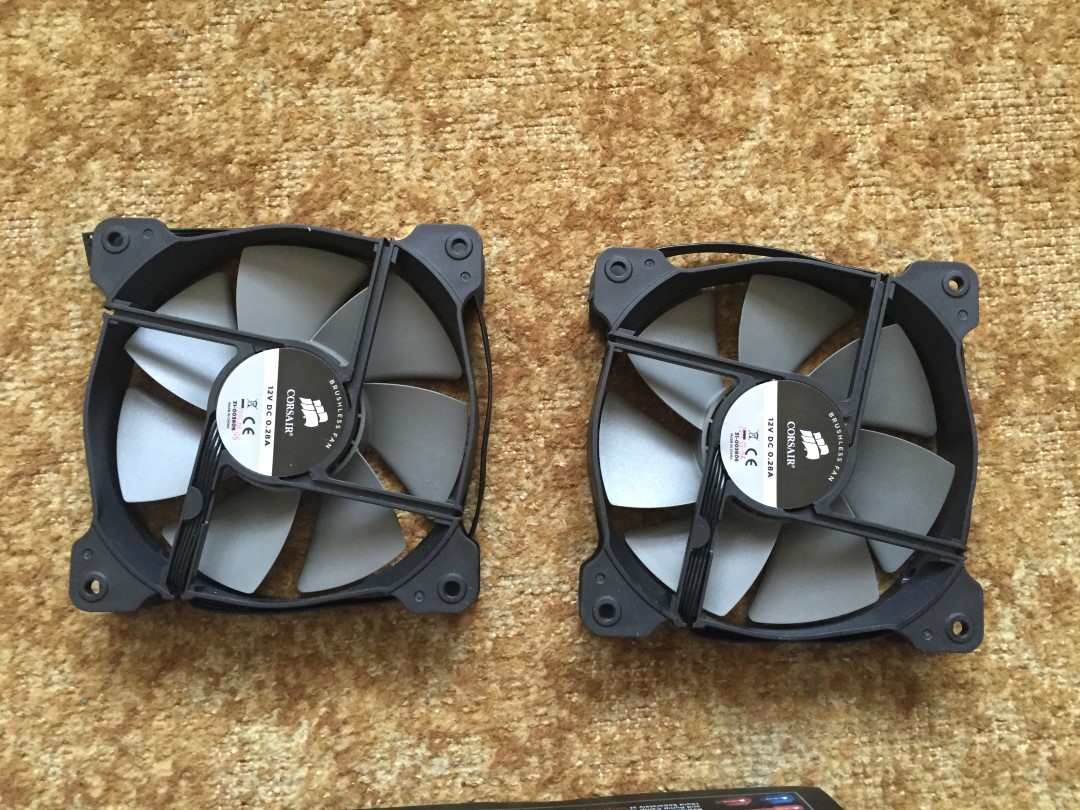
I put the water cooling unit in to work out which way I need to place the fans for the most tidiest installation, I still managed to get it wrong and spent 30 minutes rotating the fans around the other way
IO Back plate
As mentioned in the build process, I managed to install this backwards, a first admittedly however a silly mistake.
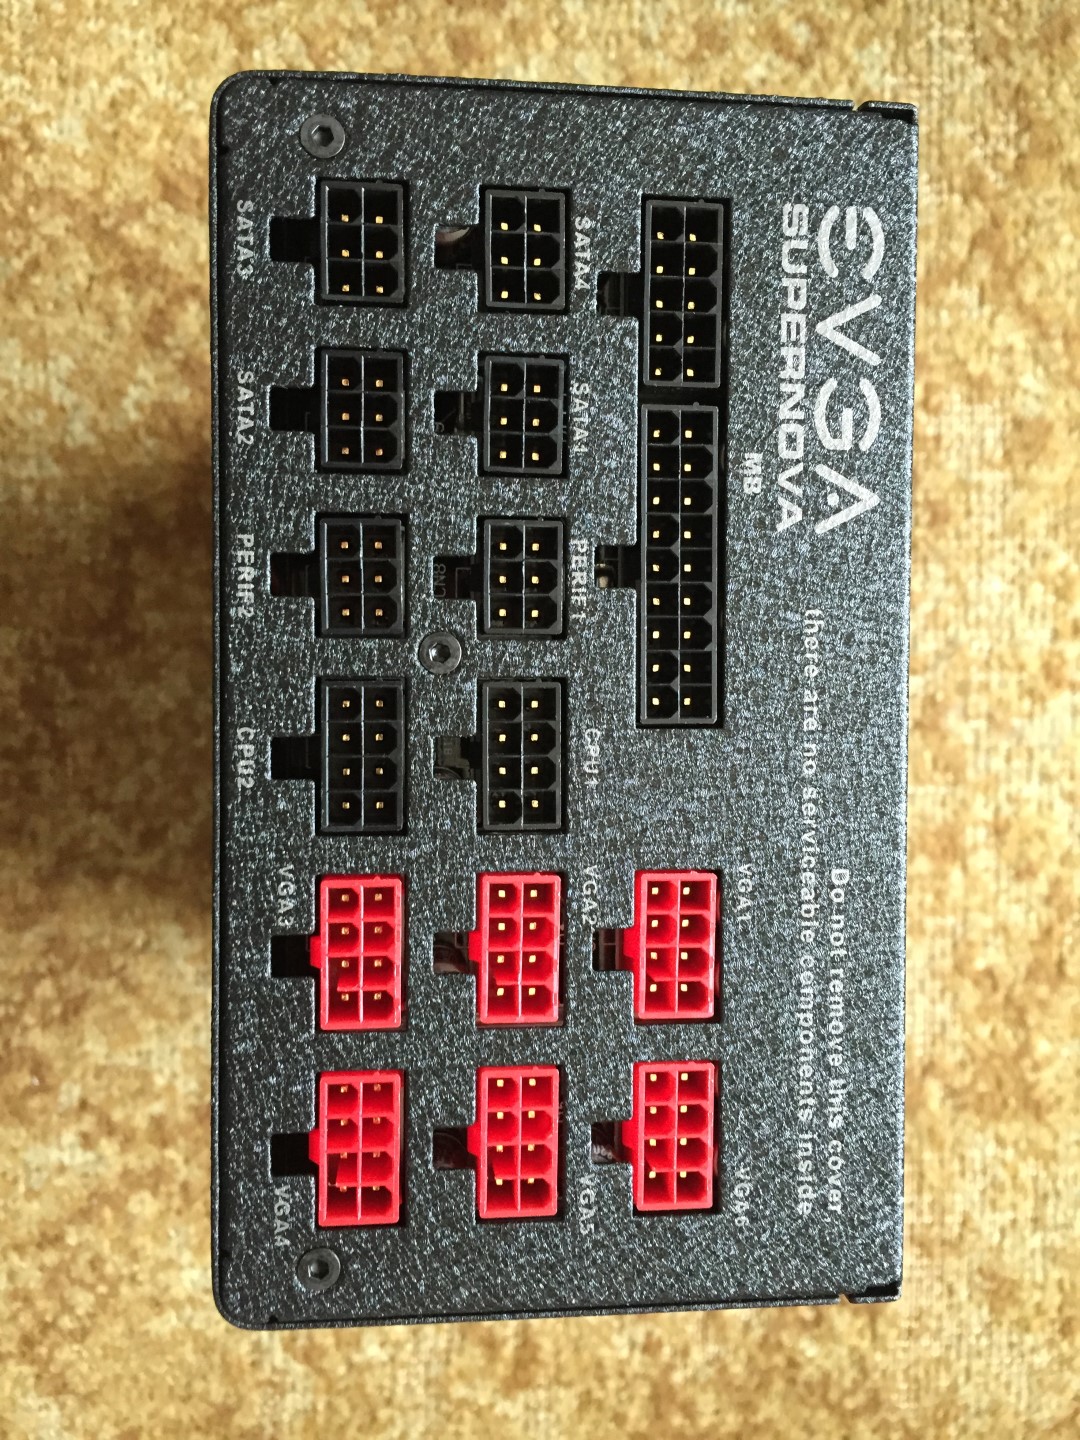
Power Supply Cables
I spent a good hour looking at the power supply cables, they weren’t labelled and it was hard to understand which one goes where as they didn’t fit, I later worked out that some slide apart for compatibility which is what I needed.
Cabling Order
I spend a few minutes reading the motherboard manual for the optimum SLI setup and installed the graphic cards, got it all cabled and remembered I had to install the SATA cables for the hard drives, I had to remove them, install the drives and then put them back in again. I did however have to do this again when setting up my RAID as I didn’t check the SATA port order and for some reason the number is logical for the first 4 drives and then changes without any warning. Make sure you check the motherboard manual!
Product Reviews
A lot of the products in this build were brand new onto the market when I purchased this machine, although great it caused some issues with finding out performance reviews, after I bought them more came out however I am still waiting to find any issues with any of the parts for myself (touch wood) so believe I did well with product selection
Benchmark
With the computer built, POST’ing and RAID configured I installed Windows 10. Here were my benchmark results.
http://www.aaronhatton.co.uk/store/computer%20build%20log%202015/5654502.PNG
[url]http://www.3dmark.com/3dm/8108788[/url]
[SIZE="5"][b]FAQ’s[/b][/SIZE]
[b]Is it overkill? [/b]
Yes, I was even considering doing a custom water cooling loop but decided not to in the end
[b]Would you avoid using [color=yellow]no competitors![/color]or Overclockers again? [/b]
Although both had issues and I spent a lot of time chasing and speaking with their staff, both had excellent customer service and I had some laughs so I will be using them again
[b]How did you choose your parts? [/b]
I had been researching it for weeks but interestingly spent two hours on the phone to Overclockers Sales guys (Richard was my rep) and we configured a machine with his recommendations and ones which I knew were market leading.
[b]The final build picture doesn’t include your power supply? [/b]
The power supply is actually at the back of the case which is why I liked it so much, hidden and out of sight allows a very sleek and clean looking build.
[SIZE="5"][b]Conclusion[/b][/SIZE]
It was a great fun build, I have to admit I thoroughly enjoyed it and there was a lot of excitement waiting for the parts. It did in the end cost around £4,500 which was under budget however I now believe I have a good computer which is DirectX 12 ready and should last me for the next three years at a minimum.
I am having some issues with heat however that is a fix with just moving some fans around.
I hope you enjoyed this build log and let me know your feedback and/or comments.
The Author
Hello, my name is Aaron, I work full time in the field of IT and have done for around 8 years now. I’m getting into Golf and Cars which hopefully will stop me from spending too much on computers however all three are amongst the most expensive hobbies, or so it seems…
The Justification
My current (now previous) computer had issues when upgrading to Windows 10, for some reason the upgrade wiped the RAID 0 configuration on my SSD’s. I thought this was weird however the drive then started to report SMART disk errors and my hard drive started to fail too. When investigating it looked as though the motherboard was causing issues as well with the SATA ports not working properly so am still not completely sure if this was a false positive or not just yet however I agreed to donate the SSD’s to my brother to allow him to benefit from the RAID 0 and for him to confirm if this was the case.
Please note, the problematic computer was over 3 years old, although still an i7 with 32GB of RAM and SSD’s all of the parts were EOL and the motherboard socket was almost impossible to buy a new replacement for.
For the above reason and the fact that my role at work involved technical sales I understand that sometimes it is cheaper to just invest in new hardware rather than keep patching and ‘duct taping’. Although it is easier said than done, I had money put aside for this just in case it happened.
The Requirements and Budget
I use my computer for a lot of virtual machine work, spinning up Windows server, Linux and all sorts as well as some gaming. At times I do tend to play games while I am waiting for stuff to process such as installing O/S or adding server roles and therefore it requires to be able to process both a high end game and a virtual machine at the same time. A tall order right?
Budget wise I anticipate spending a few thousand pounds on this, I don’t want to go crazy but I know that I can split the cost over the time I use it so in 3 years when I next upgrade it can be dissipated. When speaking with someone I put a budget of £5,000 on the build. Spread that cost over 36 months (3 years) and it works out to be around £140 a month, that makes it easier to stomach I guess…
Specifications
Processor: Intel i7 5930k
RAM: 32GB DDR4 Corsair Vengeance DDR4 @ 3300Mhz
Motherboard: MSI x99a Godlike Gaming
Storage: 2 x 512GB Samsung 850 Pro’s (RAID 0) and 4 x 3TB WD Caviar Black (RAID 10)
Power: EVGA 1300 G2
CPU Cooling: H100i GTX
Case: Phantek Enthoo Primo (Full Size)
Accessories: Red CaseMod PSU Cables, Artic Silver Thermal Compound, Case Noise Dampening Kit, 3 x HDMI > Display Port Cables
The Build
I received the parts over the space of a week after a lot of issues and almost 10 phone calls to both no competitor talk please!and Overclockers (see issues and resolutions for more info) and so started with a few typical pictures for the build log
So now some pictures of the case which is where I started for the build
Here is what’s inside the brown box with all the screws etc.
So the next step was to open the water cooling unit for my CPU, thought it was best to mount this and then put my motherboard in as on my previous build I nearly damaged it by doing it the other way around
I was making a bit of a mess… or so I thought however it only got worse towards the end
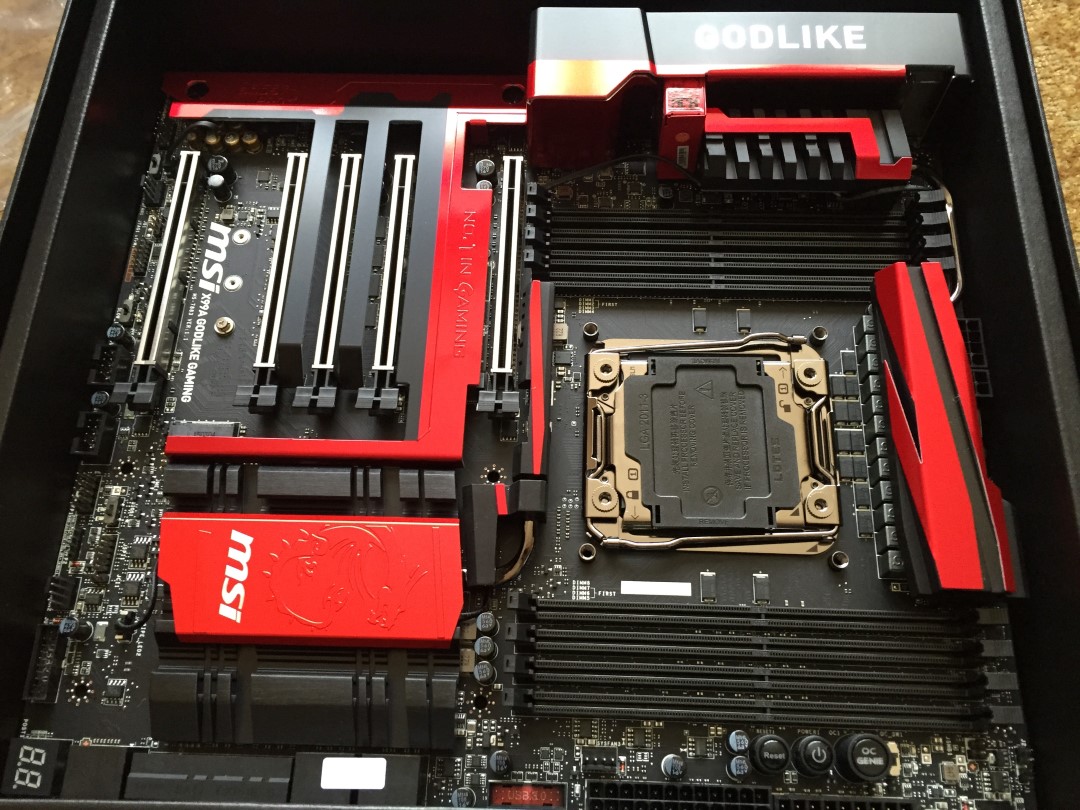
Now with that fitted, time to install the motherboard… This is the part I was most enthusiastic about as I spent A LOT of time researching it and fell in love with the specifications.
It comes with a handle which is good for urmmm transporting from the shipping box to the case I guess?
Here are some shorts of the motherboard
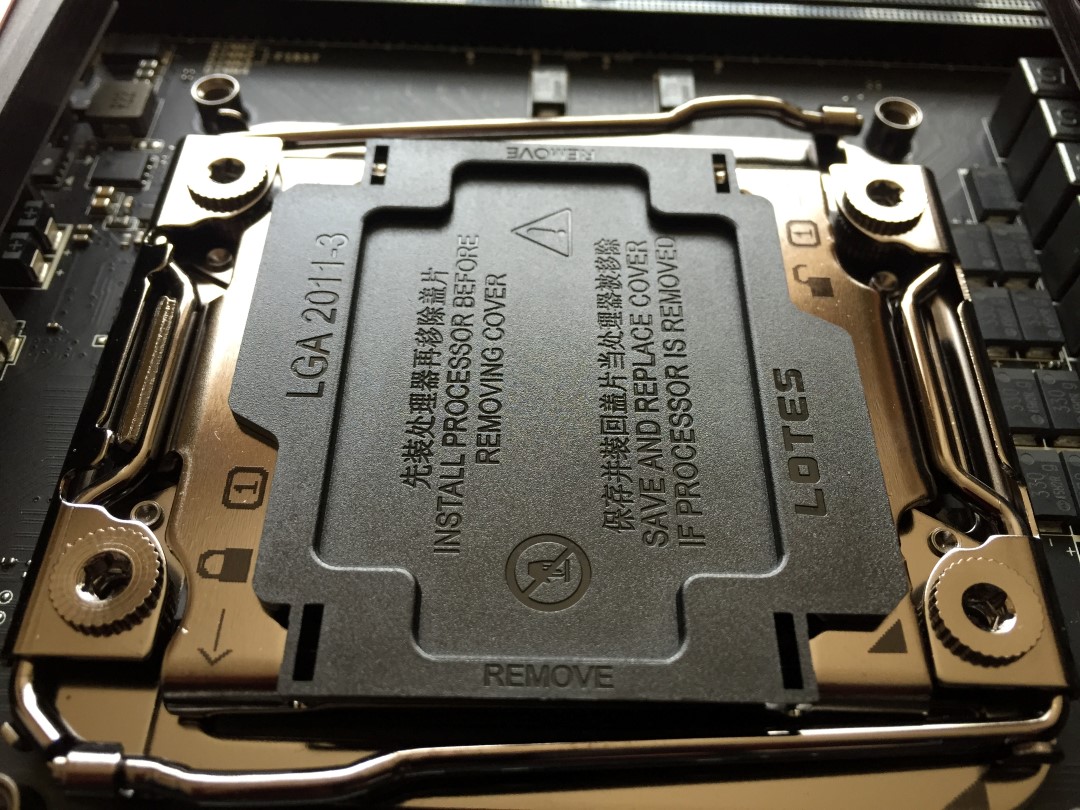
Time to install the processor!
A cheeky snap of it installed
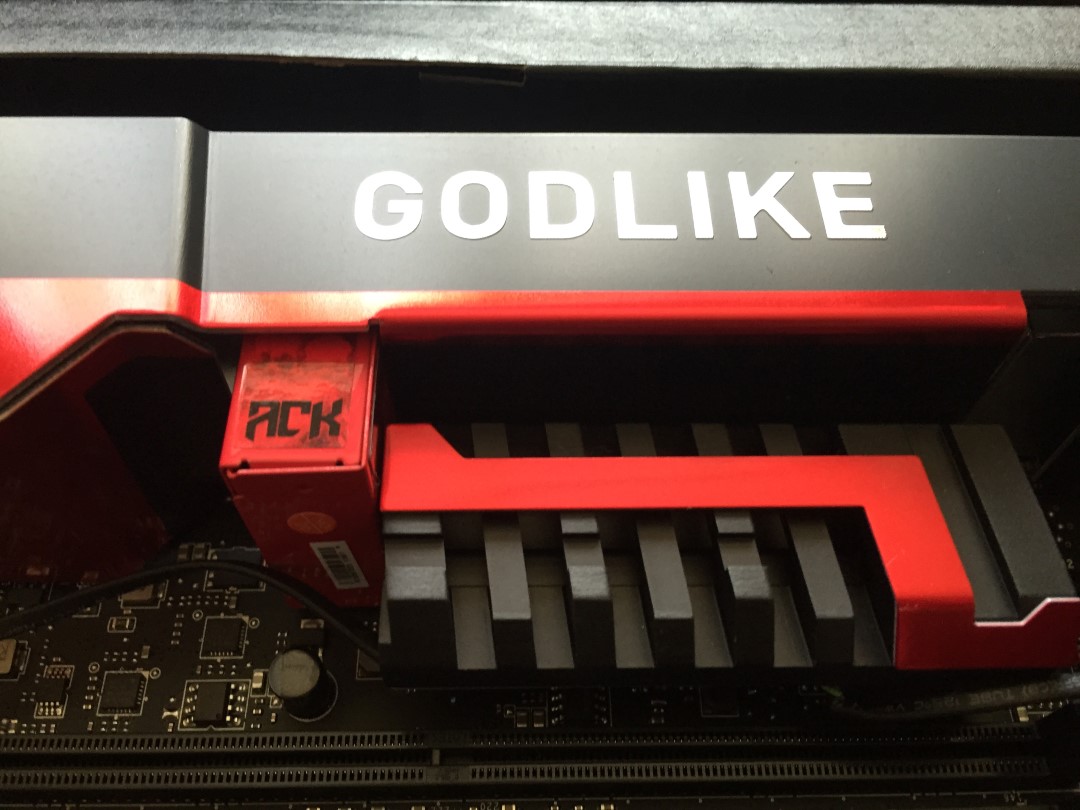
Now for the memory
It comes with this cooler for every two sticks, I decided not to install it at first but will do if it presents an issue
Pictures of it installed, I did it in the box as it was an anti-static surface and the tray for the box provided a convenient space to work from
Time to install the IO before the motherboard, the eagle eyed of you may notice I installed it upside down the first time ¬_¬
Once the motherboard was installed and the processor cooler installed
It is really coming together, time for the power!
Because I was installing custom cables, I literally just grabbed the power supply unit itself and threw the box in the pile of no return, I unboxed the cables next to make sure I had the right amount
And after I installed the power supply
Now with the initial cable runs
I thought it best to leave the cables loose, install the drives and then start wiring up so I can then tidy them afterwards
My case comes with these handy mounting points for my SSD’s which I can move around, I can technically install 4 of them in total however I think 2 will be suffice…
The drives I placed in the centre because if you look closely you can see there are fans blowing cold air over them so being in the middle will provide optimum cooling
Finally the graphics cards
A picture with both installed and cabled up
After installing the rest of the cabling, this was the final photo shot
With the case shut
Plugged in and ready to go, the final pictures
Issues and Resolutions
With any build you have some issues, a lot of mine were school boy errors which seeing as this was my 6th computer build I shouldn’t have made however I only do one a year and am renowned for being forgetful
Issues with Overclockers and Scan
I had issues with being told different delivery dates by just about every person I spoke to, it got to the point that I called Overclockers and spoke to the manager and he kindly sorted the issue out and couldn’t apologise enough. Scan on the other hand managed to give my allocated stock to someone else and therefore I had to wait for new delivery dates on parts, calling it close with the final delivery arriving on my target build day
Skylake Announcement
I bought all of the items on a Saturday evening after a week of research, I knew that there was rumours of Skylake coming out however didn’t expect a product release for another 3 months. It came out on the Wednesday and so I changed my order for it only to find out it wasn’t the enthusiast model so I returned it and went back to plan A. I did however get a picture of the box
Case Noise Dampening Kit
I bought the case noise dampening kit from OverClockers for around £30, it was a good idea however all the instructions were in German (which I don’t understand) and I only ended up using 4 out of the 16 cuts as the rest would remove features such as case fans or cover the glass panel which defies the point in my eyes, at one point I had to rip one off, cut it down and them stick it back on as it was the wrong size. I won’t buy this again.
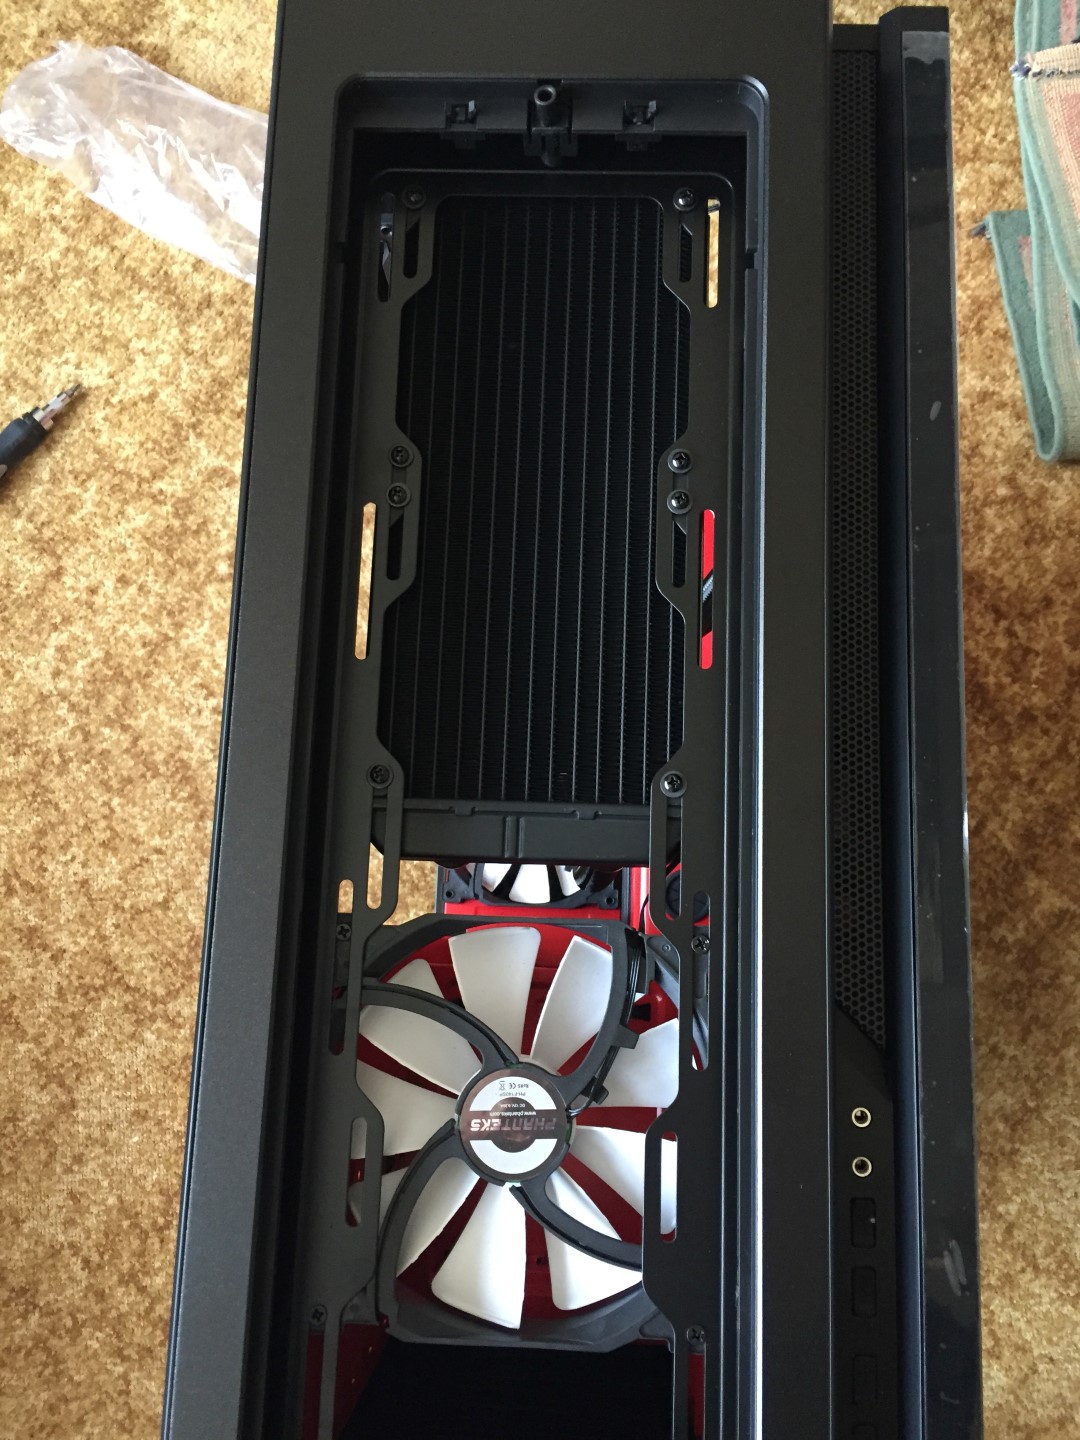
Water Cooling Fans
I put the water cooling unit in to work out which way I need to place the fans for the most tidiest installation, I still managed to get it wrong and spent 30 minutes rotating the fans around the other way
IO Back plate
As mentioned in the build process, I managed to install this backwards, a first admittedly however a silly mistake.
Power Supply Cables
I spent a good hour looking at the power supply cables, they weren’t labelled and it was hard to understand which one goes where as they didn’t fit, I later worked out that some slide apart for compatibility which is what I needed.
Cabling Order
I spend a few minutes reading the motherboard manual for the optimum SLI setup and installed the graphic cards, got it all cabled and remembered I had to install the SATA cables for the hard drives, I had to remove them, install the drives and then put them back in again. I did however have to do this again when setting up my RAID as I didn’t check the SATA port order and for some reason the number is logical for the first 4 drives and then changes without any warning. Make sure you check the motherboard manual!
Product Reviews
A lot of the products in this build were brand new onto the market when I purchased this machine, although great it caused some issues with finding out performance reviews, after I bought them more came out however I am still waiting to find any issues with any of the parts for myself (touch wood) so believe I did well with product selection
Benchmark
With the computer built, POST’ing and RAID configured I installed Windows 10. Here were my benchmark results.
http://www.aaronhatton.co.uk/store/computer%20build%20log%202015/5654502.PNG
[url]http://www.3dmark.com/3dm/8108788[/url]
[SIZE="5"][b]FAQ’s[/b][/SIZE]
[b]Is it overkill? [/b]
Yes, I was even considering doing a custom water cooling loop but decided not to in the end
[b]Would you avoid using [color=yellow]no competitors![/color]or Overclockers again? [/b]
Although both had issues and I spent a lot of time chasing and speaking with their staff, both had excellent customer service and I had some laughs so I will be using them again
[b]How did you choose your parts? [/b]
I had been researching it for weeks but interestingly spent two hours on the phone to Overclockers Sales guys (Richard was my rep) and we configured a machine with his recommendations and ones which I knew were market leading.
[b]The final build picture doesn’t include your power supply? [/b]
The power supply is actually at the back of the case which is why I liked it so much, hidden and out of sight allows a very sleek and clean looking build.
[SIZE="5"][b]Conclusion[/b][/SIZE]
It was a great fun build, I have to admit I thoroughly enjoyed it and there was a lot of excitement waiting for the parts. It did in the end cost around £4,500 which was under budget however I now believe I have a good computer which is DirectX 12 ready and should last me for the next three years at a minimum.
I am having some issues with heat however that is a fix with just moving some fans around.
I hope you enjoyed this build log and let me know your feedback and/or comments.
Last edited:

")
