Project: Virtual HiVE!

Soldato
Joined
11 Jun 2003
Posts
10,795
Location
Hampshire
Painting parts is super easy. I’ve ised painters touch before, it’s quite good, though pricey. I’ve resprayed some radiators with ScrewFix super cheap Matt black paint and I found it excellent.

The key is prep. I Use IPA alcohol and scotchbrite pads and get great results. Just make sure you use a primer and build up your coats.
 
Soldato
Joined
17 Sep 2012
Posts
4,275
Location
Derby
don't use alcohol on Acyrlic though ;) As for paints, I find that the cheap wilkos primer is fantastic compared to most other <£15 a tin primers. I use it for most things now, even when airbrushing!
 
Associate
OP
Joined
16 Sep 2010
Posts
61
Location
London
Cool thanks for the tips on the primer, i knew I forgot something while i was in the store. Will see if I can find some in the next few days. Wanna get this build moving baby. Been waiting over a yr to build this thing.
 
Soldato
Joined
11 Jun 2003
Posts
10,795
Location
Hampshire
don't use alcohol on Acyrlic though ;) As for paints, I find that the cheap wilkos primer is fantastic compared to most other <£15 a tin primers. I use it for most things now, even when airbrushing!

This is the man you should listen to re: painting.

I forgot to mention, I’m more of an aluminium kinda guy :D
 
Soldato
Joined
17 Sep 2012
Posts
4,275
Location
Derby
aaah, I am still learning myself, I have just read literally thousands of build logs (I used to be the one that ran bit-tech modding :D )

Yeah, primer is a must, if you have any issues with the paint (a hair fall on it or something similar) DON'T! try and resolve it when the paint is wet, wait until dry then fix it with sandpaper, more coats etc.
 
Associate
OP
Joined
16 Sep 2010
Posts
61
Location
London
Been doing a little test mounting and noticed something when putting the PSU screws of the PSU mounting plate from the H500Mesh.
I've sent a msg to OCUK to see if I should be concerned regarding this. I may just be VERY picky but I just want a go or no go as I haven't powered it yet as I'm still waiting to purchase the everything else.


A nice surprise is that I spotted the mobo and processor combo as a bundle, only thing is the memory it comes with isnt RBG which I'm aiming for with this build. I'm waiting on the latest Hydro Series™ H115i RGB PLATINUM 280mm Liquid CPU Cooler which i dont think OC has on their site just yet, hint hint :p
 
Associate
OP
Joined
16 Sep 2010
Posts
61
Location
London
Case is crying out for a full wc loop fella :D

I'm not that brave to do full on custom waterloop

What am I supposed to be looking at in the video?
in the video if you look at though the holes you can see as i tighten up the screw that it appears to push the plastic on the inside of the psu. i dont know if its just a plastic cover or a capacitor or something
 
Soldato
Joined
11 Jun 2003
Posts
10,795
Location
Hampshire
I'm not that brave to do full on custom waterloop


in the video if you look at though the holes you can see as i tighten up the screw that it appears to push the plastic on the inside of the psu. i dont know if its just a plastic cover or a capacitor or something

It’s really not as scary as you think mate, but no bother I understand.

As for the PSU, I doubt very much it’s threaded into plastic, the housing itself is metal and should be tapped to receive the screw. Capacitors shouldn’t be anywhere near that close to the chassis, especially where screws are mounting.

I’m gonna watch the video again and see if I can work out what you’re talking about.

EDIT: just looks like insulating material to me.
 
Last edited:
Associate
OP
Joined
16 Sep 2010
Posts
61
Location
London
Right then order day will be Wednesday for ordering the remaining parts for the HiVE 2.0. I'm scared and excited at the same time. Damn time is going to drag on now :D
Atleast I got time to prep the case before then though

WOOP WOOP
 
Associate
OP
Joined
16 Sep 2010
Posts
61
Location
London
ok I got all the bits and even a few extra. slowly but surely putting things together. (btw trying to different way of posting photos so please tell me if these don't show up properly)

Big thanks to overclockers for getting the stuff I ordered to me pretty quickly, if they had everything in stock at the time I wanted then I would have got EVERYTHING from them without question.
PB231658.JPG

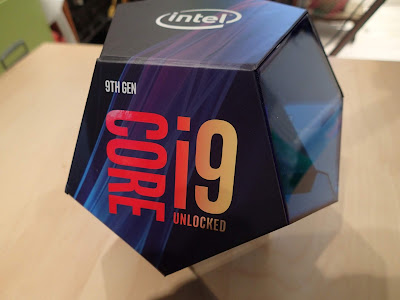
I totally love the i9 Processor packaging, TOTALLY worth the retail price over the OEM

PB221637.JPG

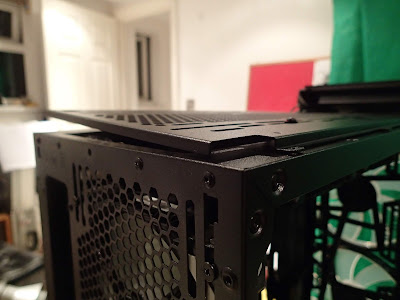
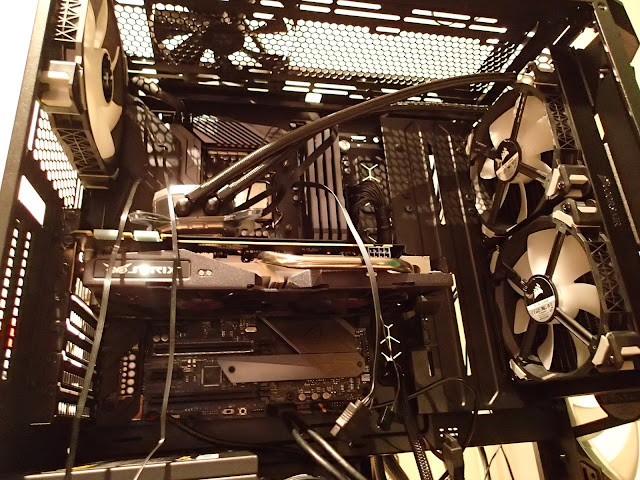
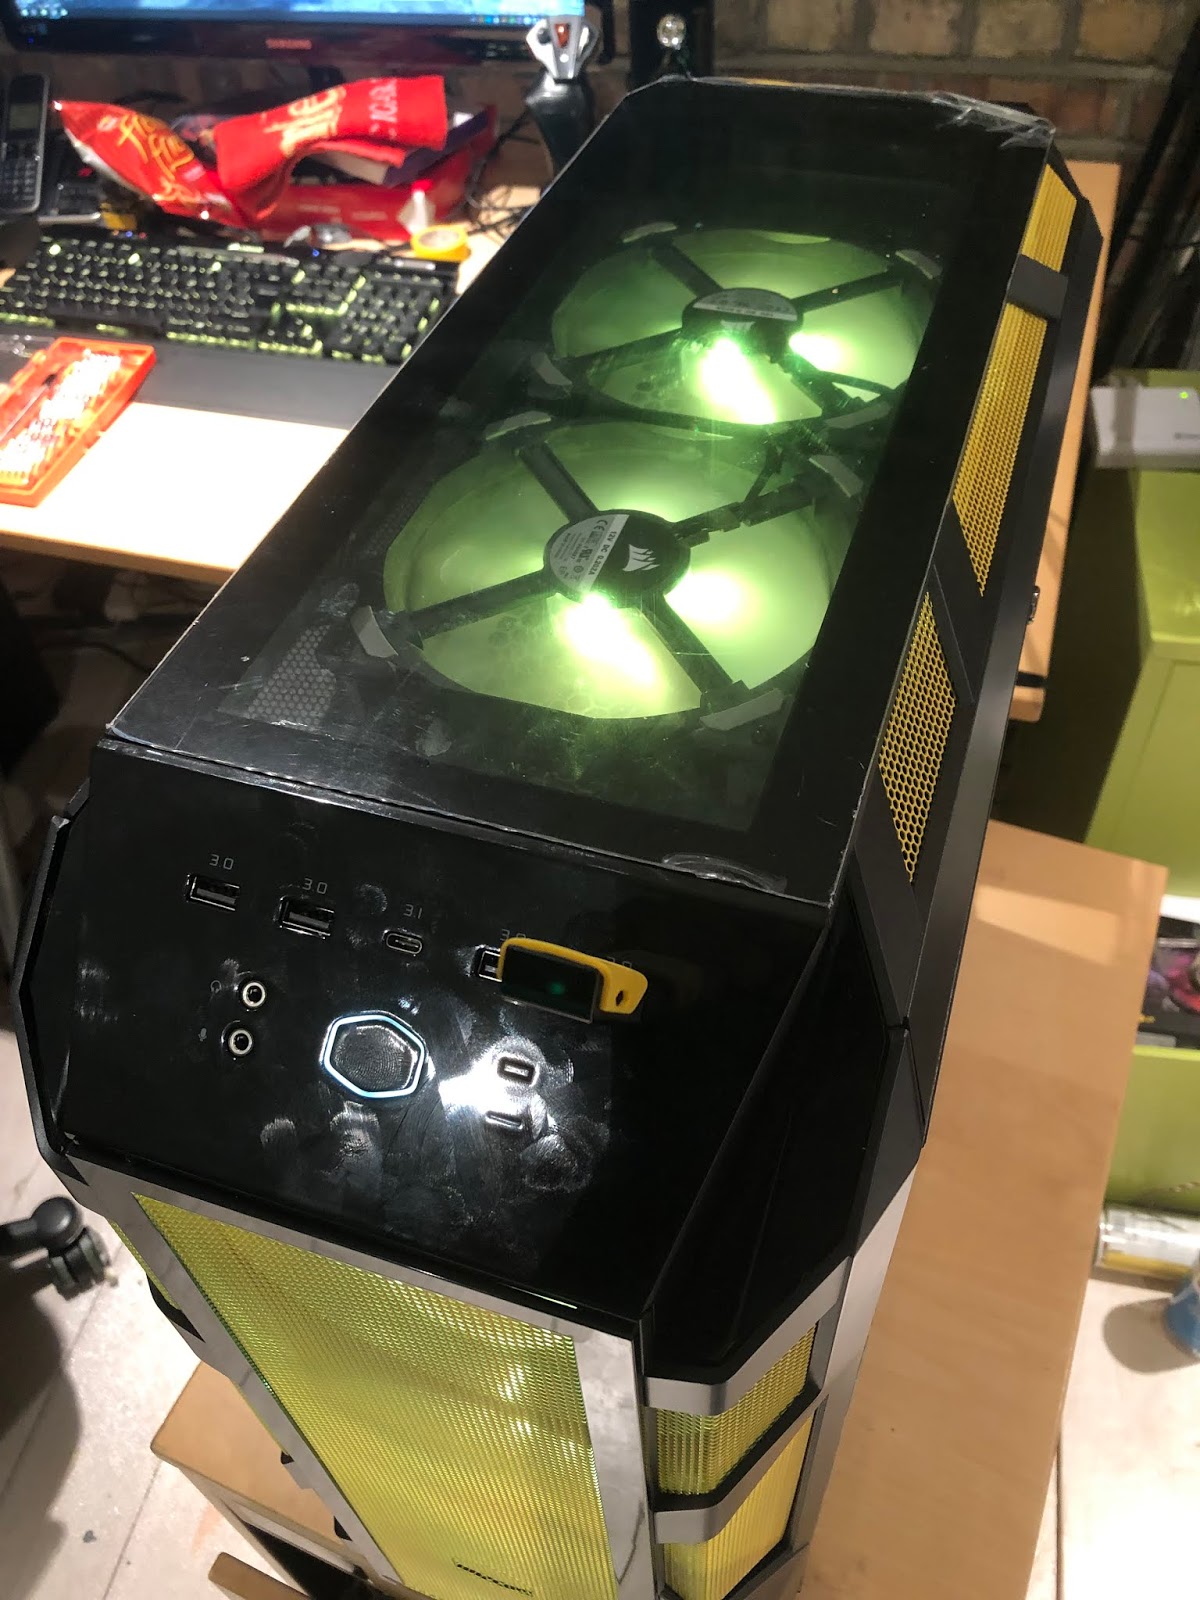
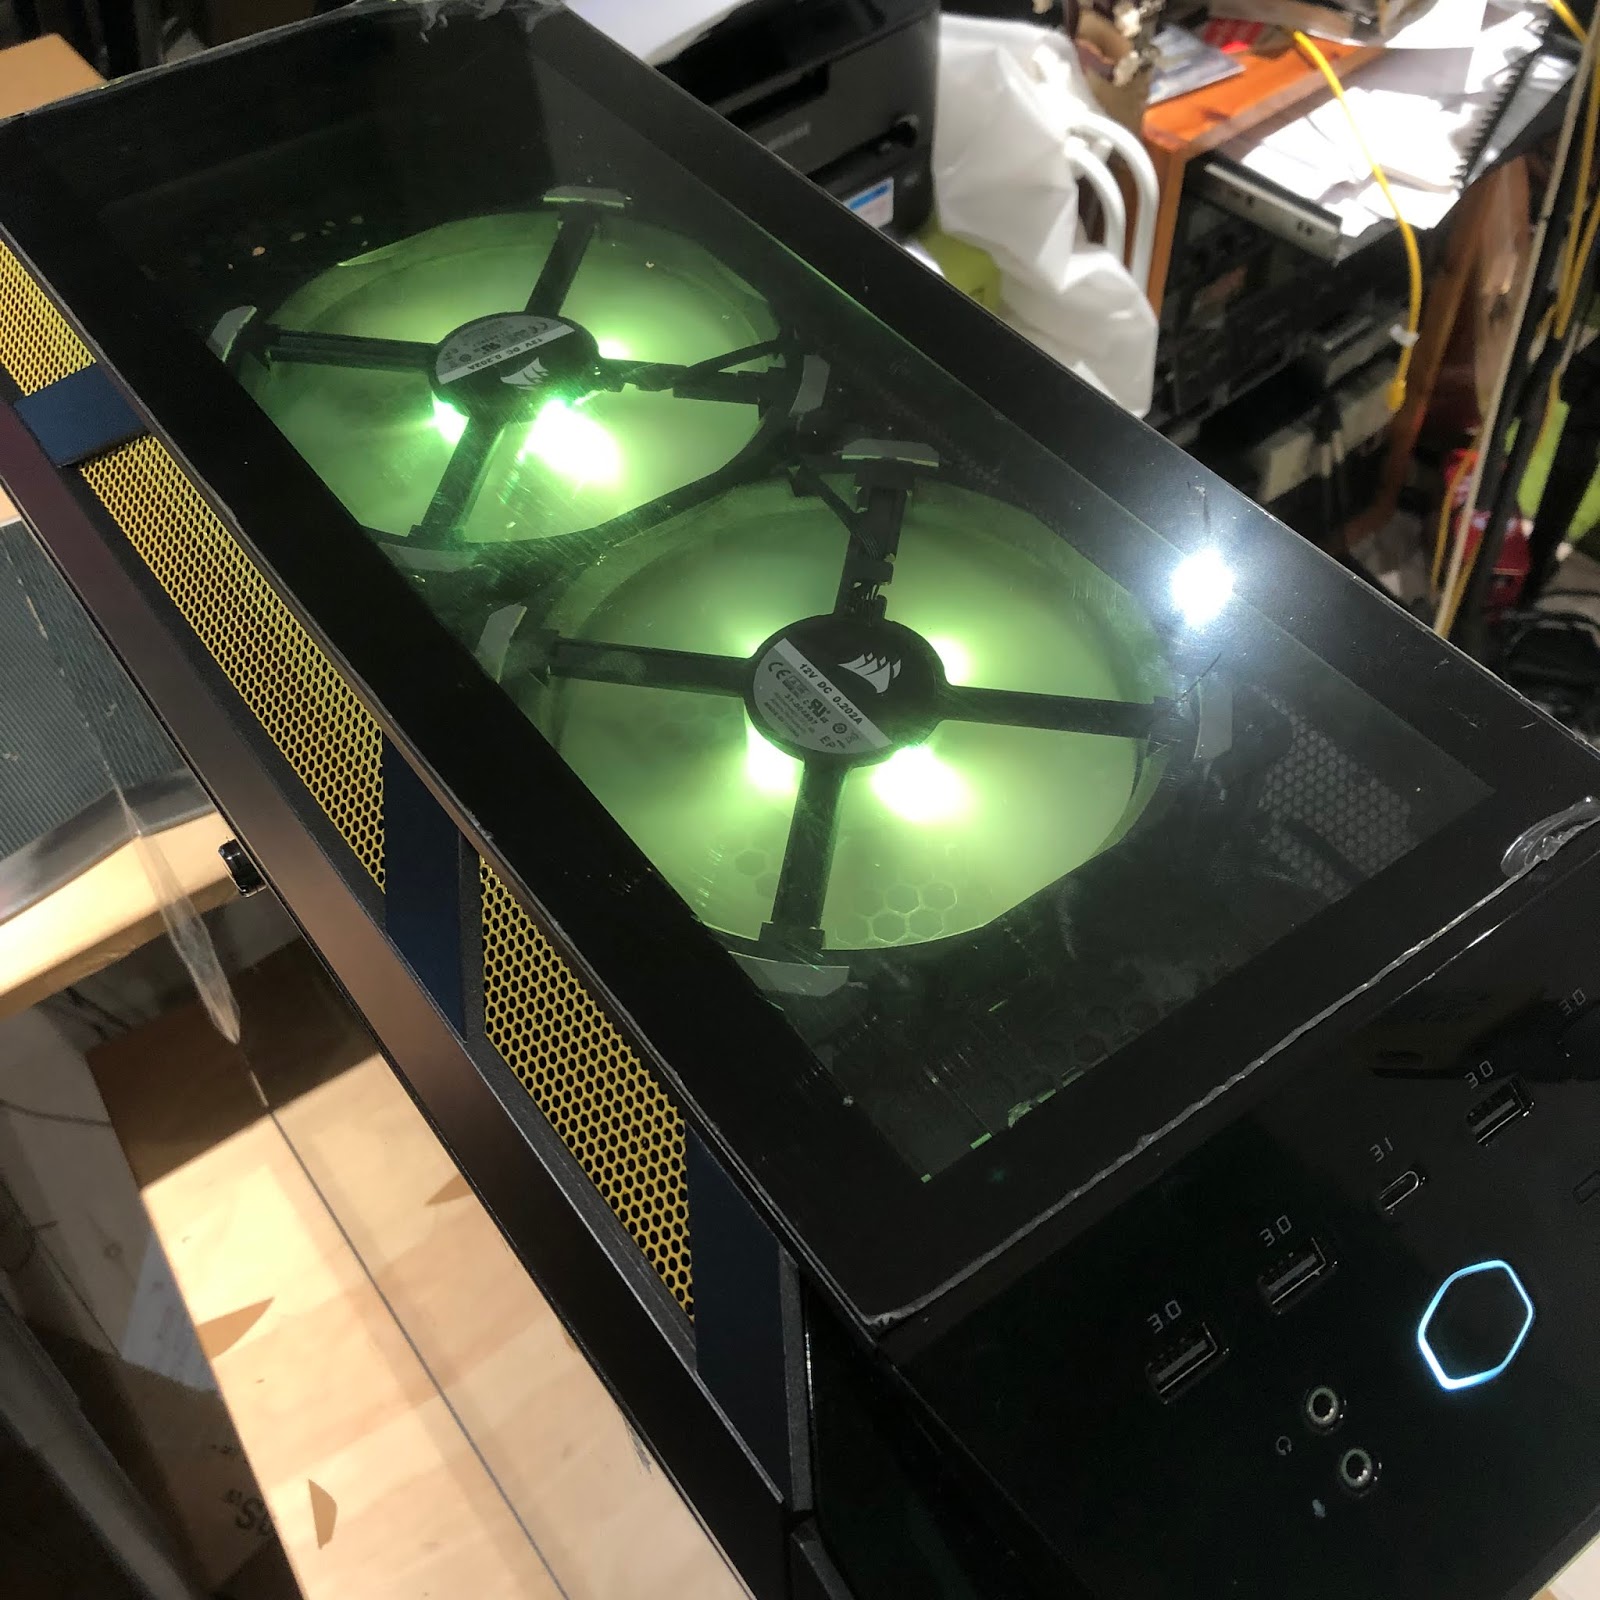
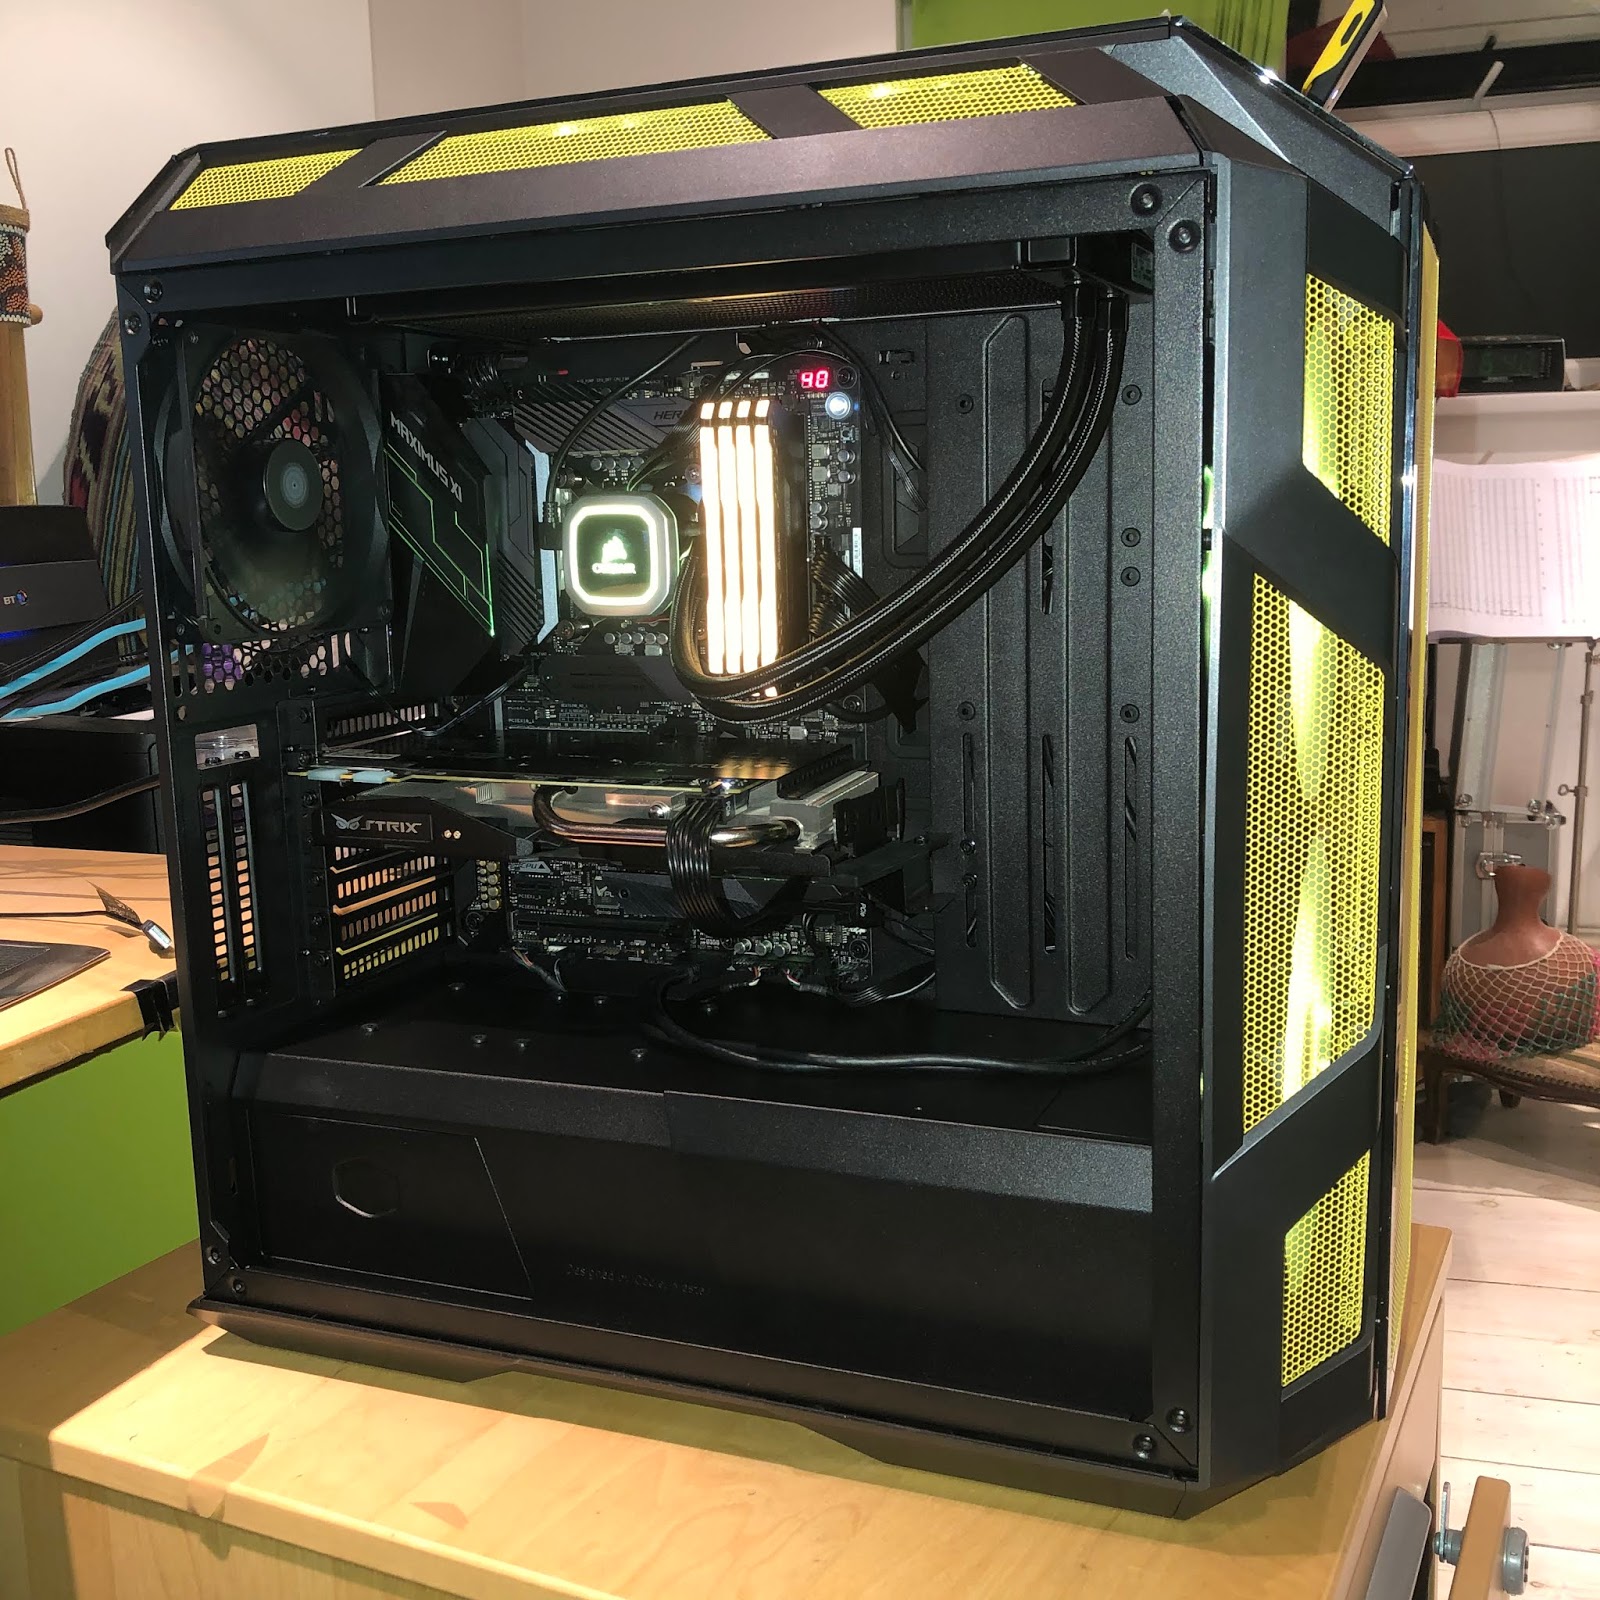
I may have an issue with the Corsair's H151i RGB Platinum though as i can't seem to mount it at the top of my CoolerMaster H500M Mesh with the fans and radiator on the inside.

PB231671.JPG


PB231672.JPG

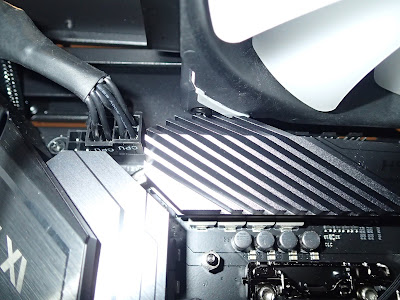
Seems the top heat-sink of the Asus Maximus Hero IX hits the bottom of the fans. Need to rise the whole radiator and fans about 1/2 an inch to clear it but then the radiator will be pretty much touching the top panel glass.

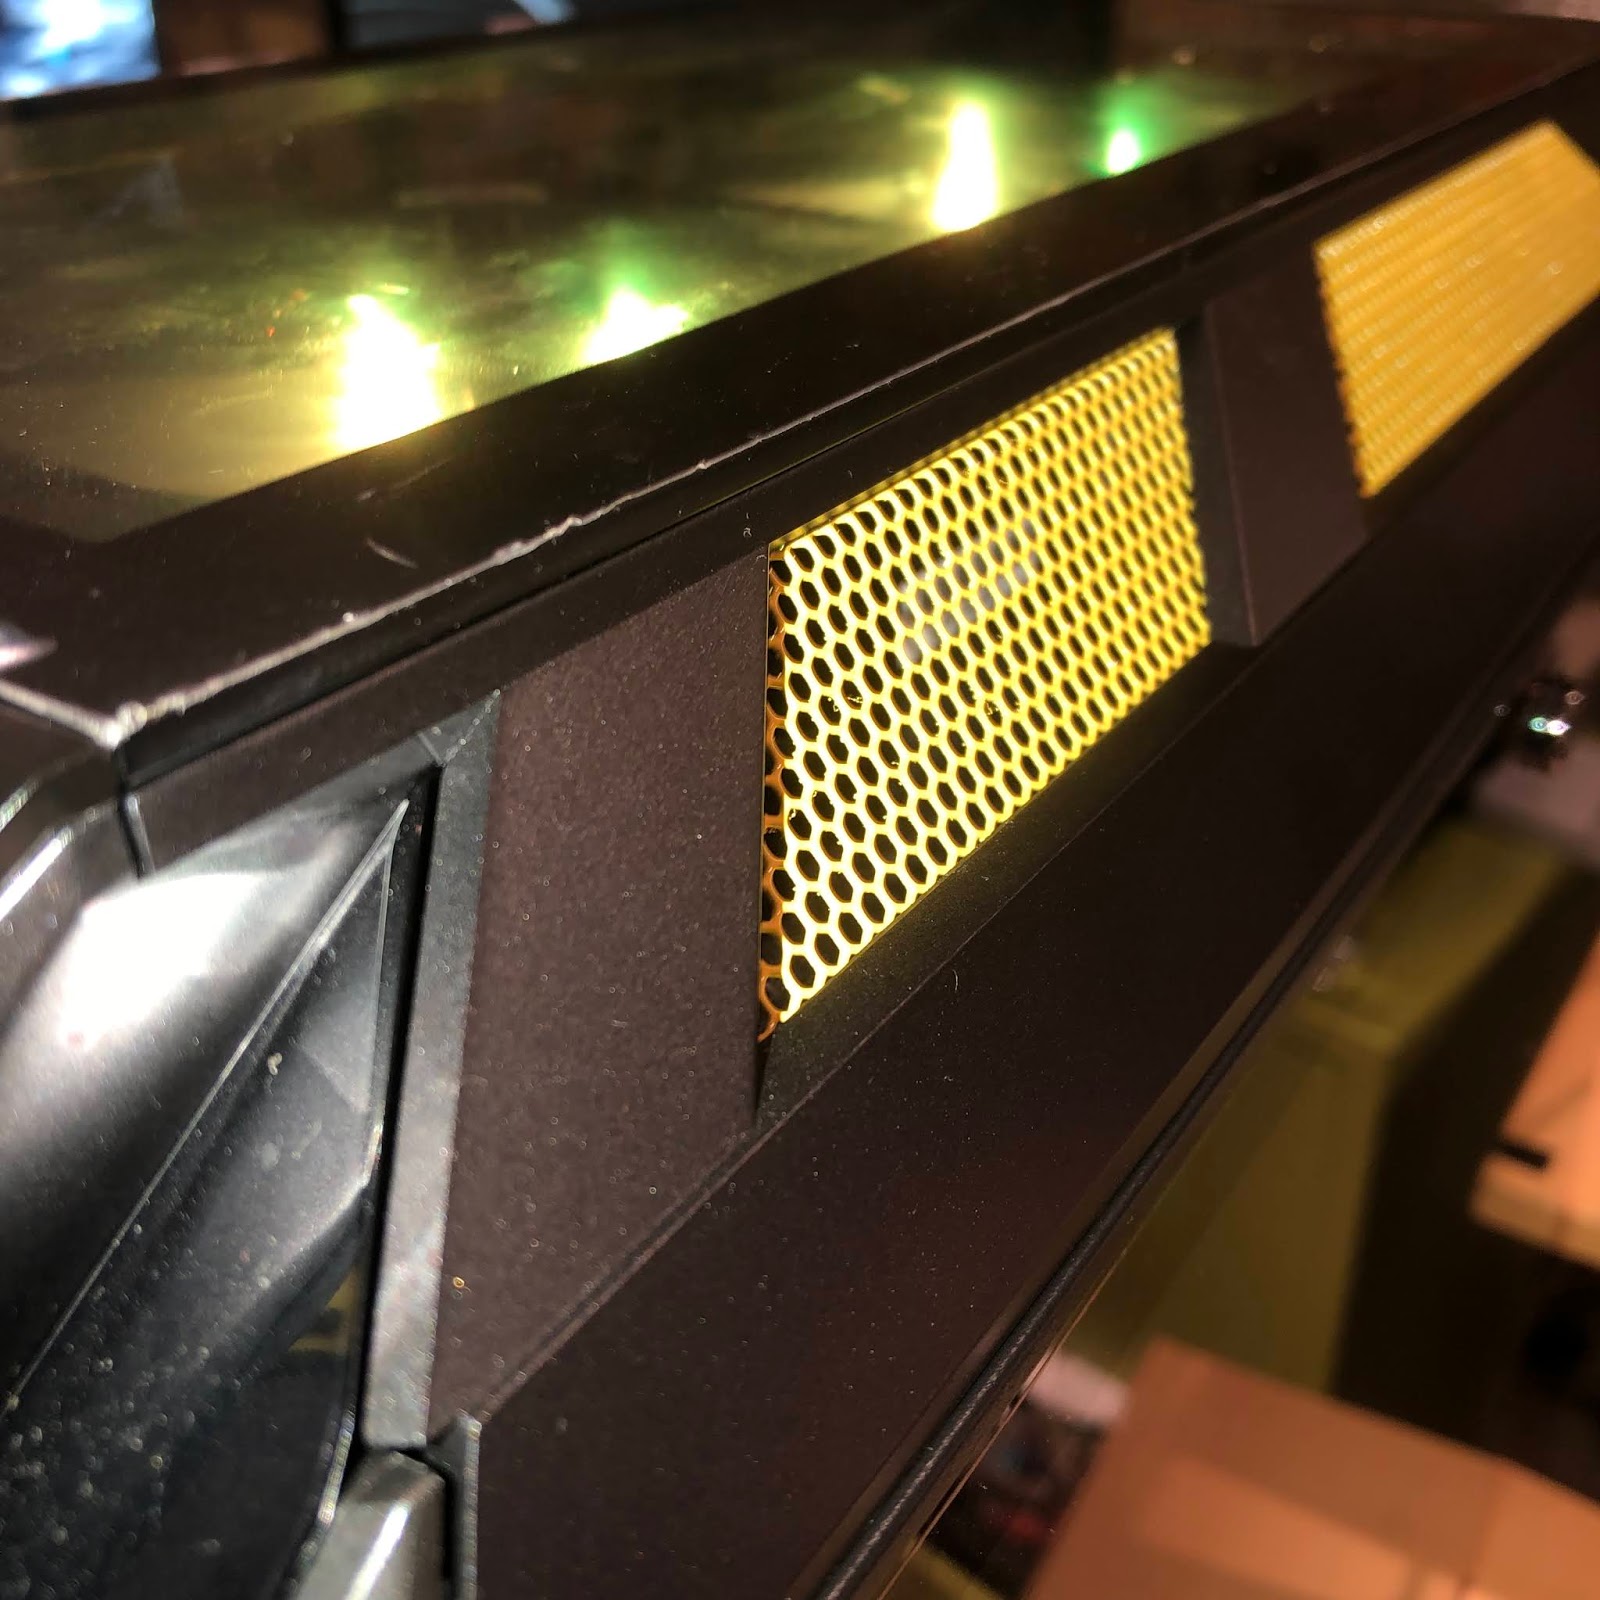
Maybe turn top glass into a mesh for airflow?

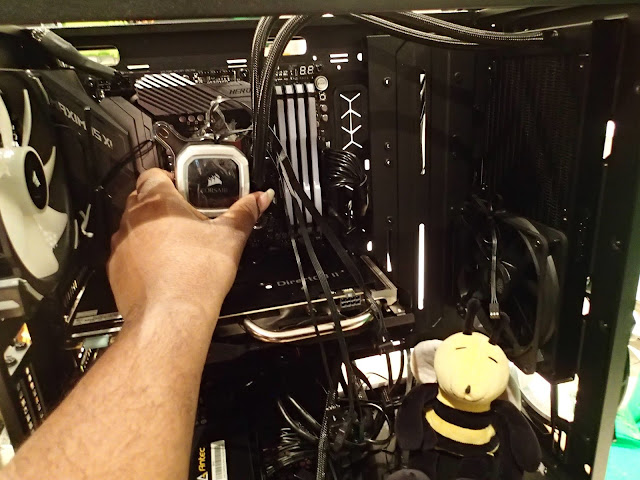
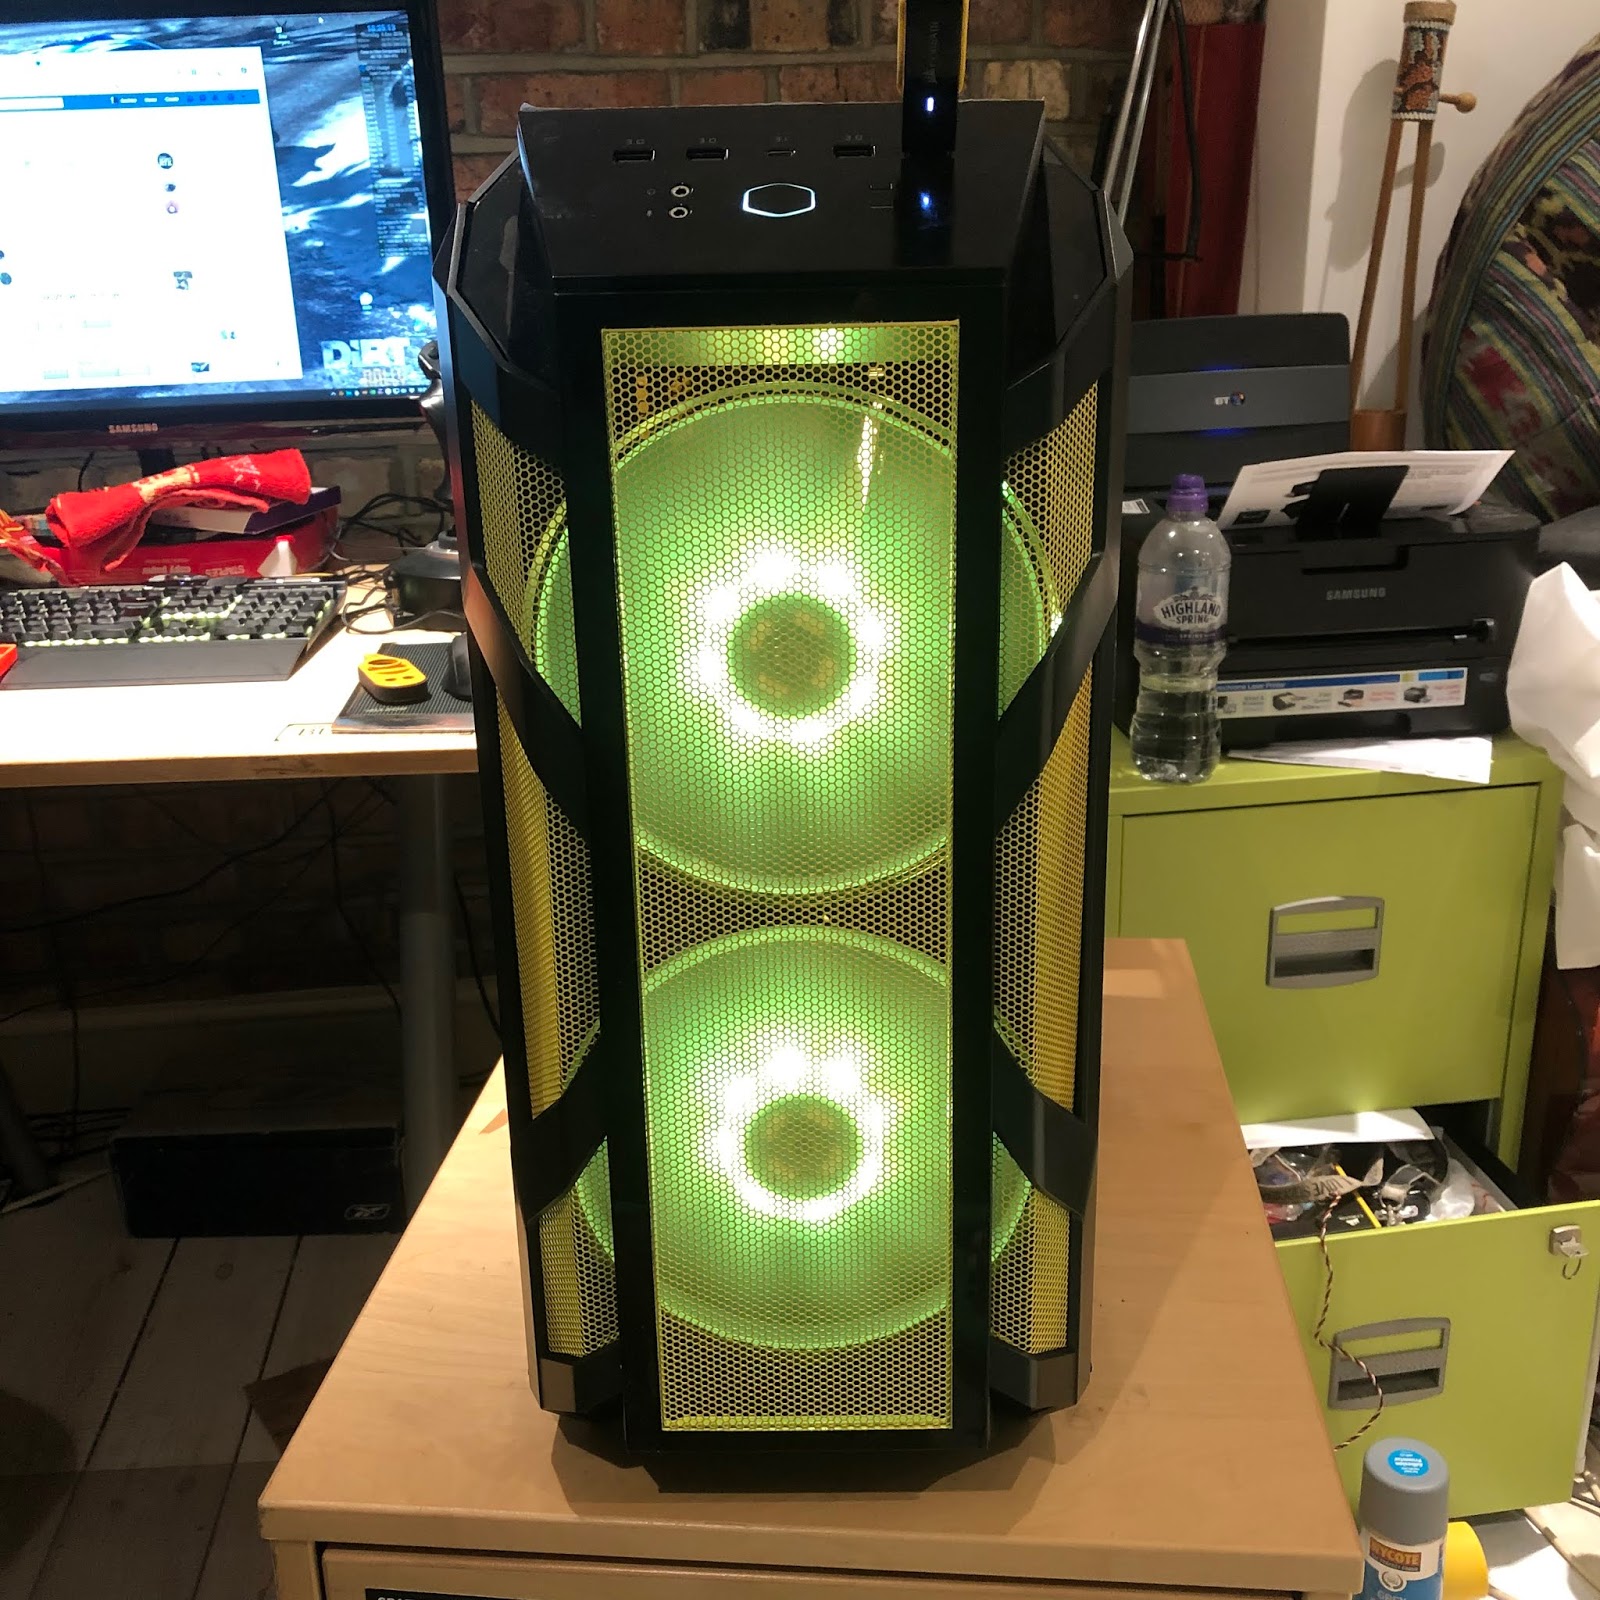
Don't really wanna mount the radiator and fans at the front with the 2x 200mm fans as well. Other than too much airflow and too much light in that area. I'll figure something out but was starting to get tired and abit miffed so I called it a night and post this to see if anyone had any ideas while i was sleeping on why it seemed I couldn't fit the H115i rad at top.
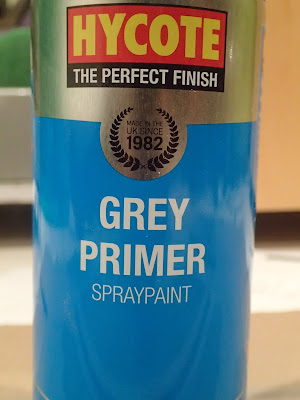
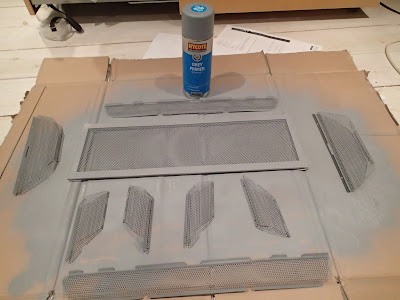
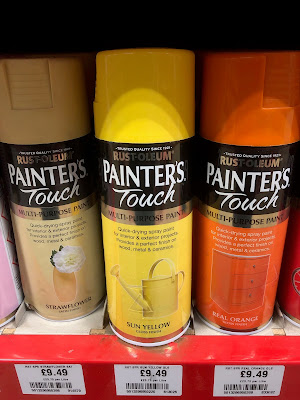
 
Last edited:
Associate
OP
Joined
16 Sep 2010
Posts
61
Location
London
Had abit of a think and talked with a friend of mine to figure out how to mount the radiator

Basically mounting the radiator behind the 2x 200mm fans at the front and have 2x 140mm fans attached to the inside of the radiator.

This way pull in air with the 200mm fans and pull behind the radiator with the 2x 140 so a lot of airflow over the radiator

Added bonus is that the piping of the H115i is up and out of the way of the mobo so you get a good view.

PB241676.JPG

Test fit of how i want the radiator and fans to sit look good. I don't want to use the RGB fans here as I will already have the 2 huge RGB fans producing light as is. Want to put the H115i RGB fans to the top panel and have plain black fans on the radiator. Probably wired plain black fans and run them at 100%.

PB241689.JPG


PB241695.JPG

I still got the painting I keep meaning to do. Lucky I'm on holidays for a week so I can do that at some point next week.
 
Associate
OP
Joined
16 Sep 2010
Posts
61
Location
London
Right then I'm having a few issues with this thing now and I haven't a clue where to ask.

Everything runs good when just doing normal windows things but as soon as I run a game Elite Dangerous or DiRT Rally it seems to load up but as soon as the game is ready to be played the screen blanks out completely like I've pulled the cable out of the monitor with the windows 10 disconnect sound with my ASUS GFX 970 Strix. I haven't overclocked anything and using stock settings. Updated the Asus Maximums Hero XI to bios 0602

From experiments I have tried it looks like the integrated gfx on the mobo take over even when it is turned off in bios.

Playing Elite Dangerous or DiRT Rally I have these issues.

I've tried different HDMI > HDMI cables and different ports,
Different PSU > PCIE cables and ports on the Seasonic Focus Plus 850W 80 Plus Gold Modular Power Supply
Asus GFX 480 works
Intergated gfx port works

My plan was to use my 970 til the prices of 2080Ti's came down a little or wait for afew months til i get the funds together. I've done everything i can think of to find the problem but I'm a noob and have no ideas left to try. I NEED help or this system is pretty much an expensive brick which i cant use for what I intended all along to play Elite Dangerous, DiRT Rally and go VR in future.

I NEED HELP
 
Associate
OP
Joined
16 Sep 2010
Posts
61
Location
London
I may have found a solution to my issues.

From Seasonic

FOCUS PLUS & ASUS GTX970 STRIX: In very limited instances, black screen may occur under heavy VGA usage. Extensive testing showed that certain VGA cards may emit higher than normal ripple when under heavy load and using a modified PCIe cable with enhanced shielding resolved the issue.

From what I've read before the PSU I have is a rebadged Seasonic
 
Associate
OP
Joined
16 Sep 2010
Posts
61
Location
London
Right since I'm waiting for the PSU to come I thought I would crack on with the painting I've been meaning to do.
Have no idea how this primer is like but ferk it, lets get it on. not like I'm doing a really big stuff and needs to me perfect tbh either

PC041705.JPG


PC041700.JPG

yeah fudged it up a tiny bit there but should be able to just remove with a sharp knife or something if i I really have to.

PC041701.JPG

You can guess what colour its going to be right? :D

IMG_9402.JPG

First coat of yellow, can you feel the power of yellow?

Photo%2B05-12-2018%252C%2B11%2B08%2B49.jpg


PC051706.JPG


PC051707.JPG

Will do another coat in a few hours after I've got the rig back together with a new PSU I'm currently waiting to be delivered today.
 
Associate
OP
Joined
16 Sep 2010
Posts
61
Location
London
Finally got this thing up and running without any display blanking out on me. So my theory was right about the PSU cables not being shielded properly.

Got the Corsair HX850i which is what I already had picked when i first put my shopping list together but got talked into a different PSU. Should have stayed with the Corsair. Only problem is the cables are just a tiny bit short in places and I may not be able to do cable management as easy as I'd like.

Anyways powered up and started Elite Dangerous with no issues now, no blanking screen. WOOP

What I didn't count on my Asus GTX 970 Strix pretty much cooking, first time I've ever heard the fans at 100% and hitting high 80'sC when I finally started a proper graphics intensive game like Elite Dangerous. It was only when I put my hand just behind the the radiator fans that I realised that there was hardly any moving air there to help cool the GTX 970. I should have realised this.

I'm a newbie alright.

Well atleast its actually running now just one last thing to sort out. I'm not even sure if I'm going to bother with the cable management to much with it, just want it built and functioning now.
 
Associate
OP
Joined
16 Sep 2010
Posts
61
Location
London
Well HiVE2.0 is finally here.

Moved the Corsair H115i Pro RGB Watercooler from the front of the case and put it in the roof of the case so the 2 big fans up front can pull the air inside. Managed to clean up all the wires as well so the case so it looks VERY clean inside. Well the cleanest I've ever built thats for sure.

Booted up again, played my game watching the temperatures and CPU (i9 no overclock) never went over 35C and graphics card didn't go over 65C when before it was hitting 90C. So its up and running without any issues now.

I present to you, HiVE2.0 ( I really need to learn how I've seen some other project logs do their case photos as they look so good, cleanr and really show of the case perfectly. Another time maybe. I do have a couple of spare ARGB headers on the mobo that are free, i may look into getting some light strips in future


Just that 1 SATA cable to the Coolermaster H500M RGB controller is showing, if it was just a touch longer it would be perfect

 
Associate
Joined
22 Nov 2015
Posts
997
Location
Wales
Glad to hear you've sorted the PSU / GPU issues, the finished build is looking very slick. Only VERY minor things I'd consider changing are routing the front panel USB cable under the PSU shroud (may need to use a slimline extension cable) and possibly moving the fans on the top to beneath the rad so they light the inside of the case. Looking very nice though :)
 
Back
Top Bottom