

Soldato
The wall underneath a window.
In most new builds if you can't see it, it could be anything!
The wall underneath a window.
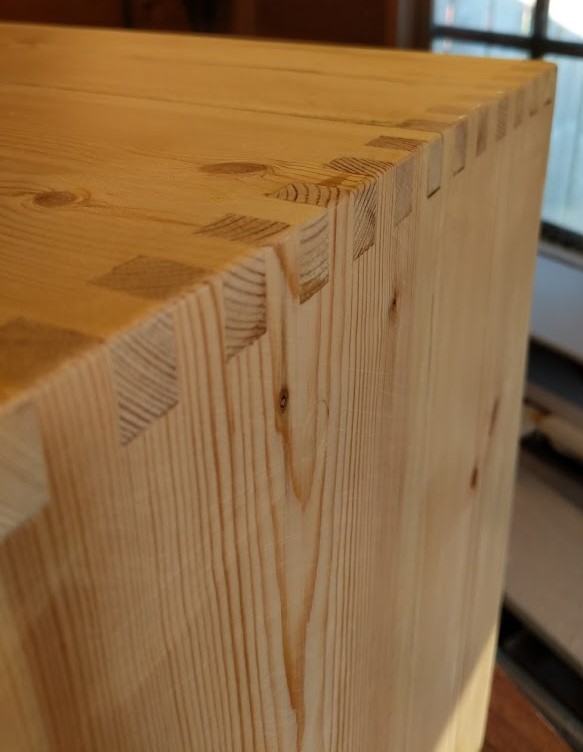
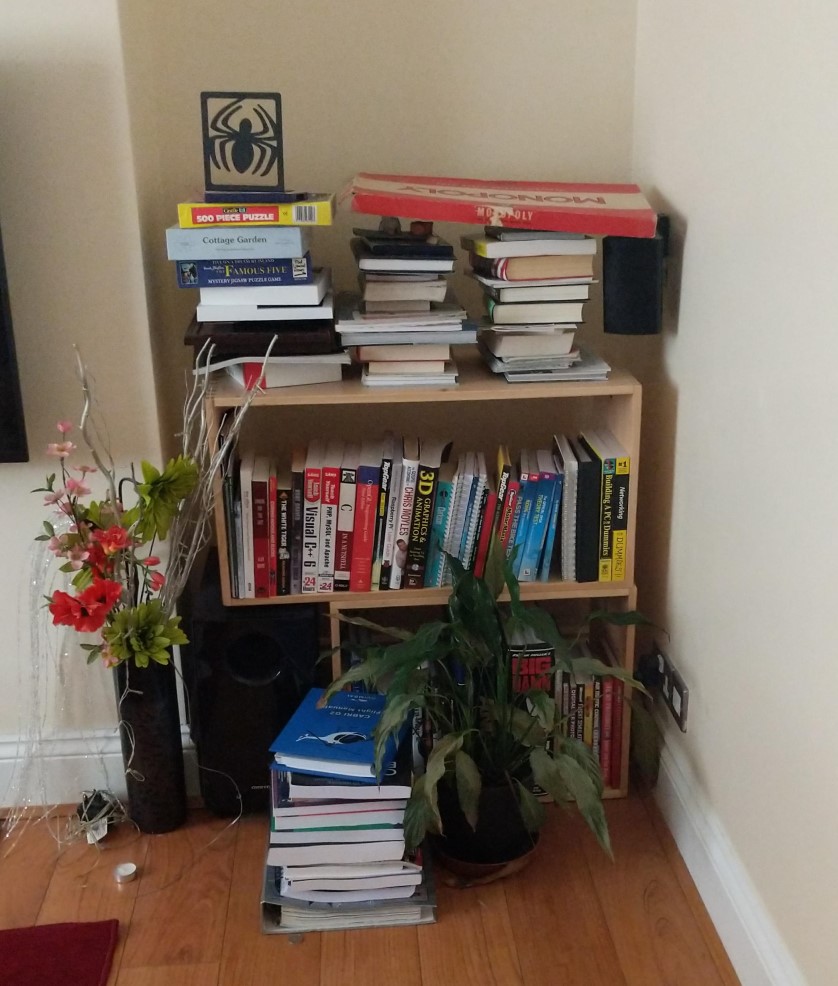
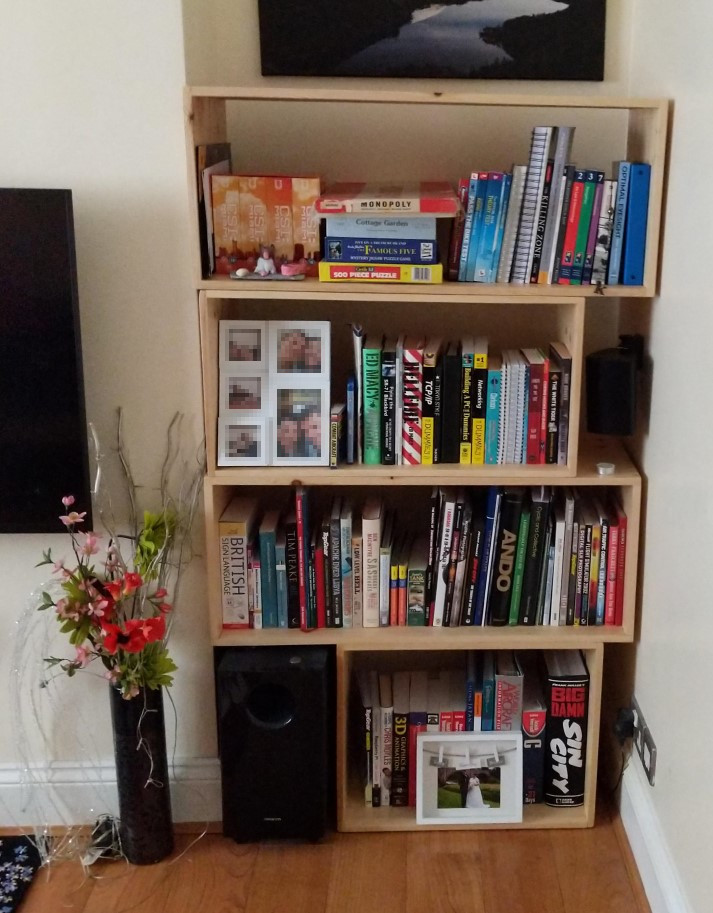

Finally got around to making a bookcase for the alcove, had the idea for years! Used plain old PSE wood..
")
@miller745 Nice box joints was that a router and jig job?


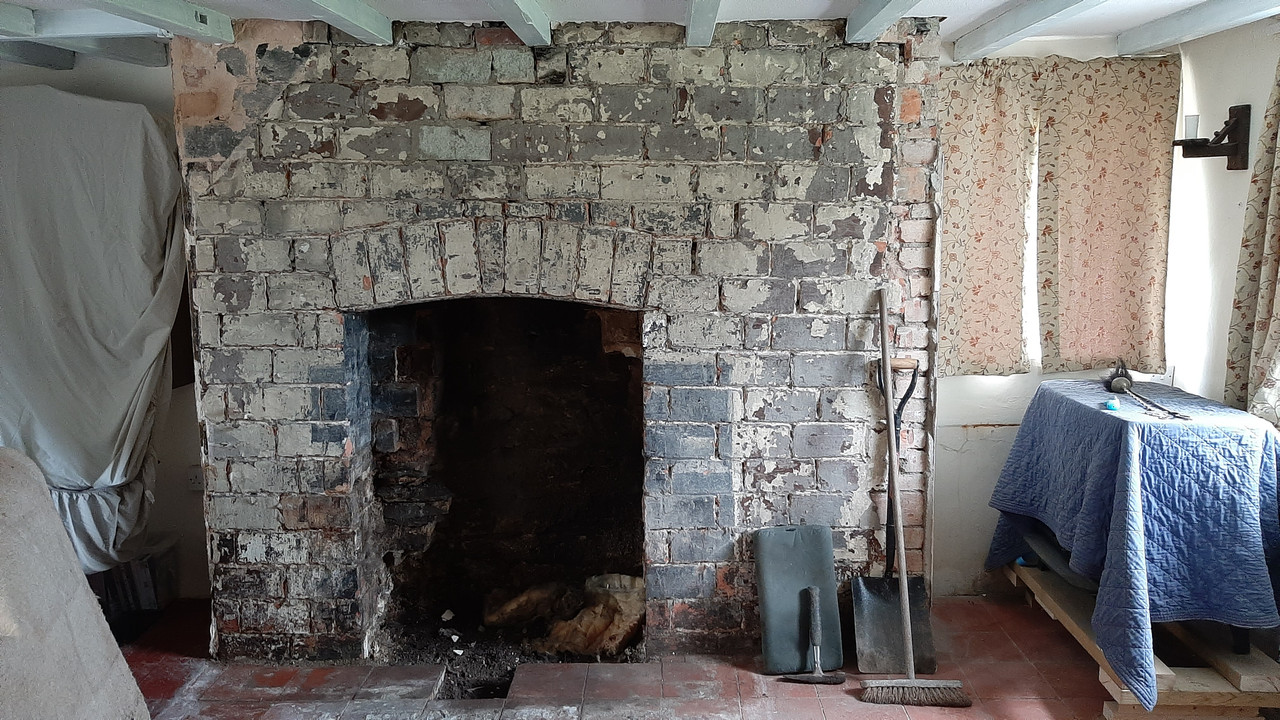
How does it get so yellow inside? Was it just the original paint that was bad?
Hopefully applying finishing touches today to the networking stuff, then all I have to do is some touch up work.
I could do with installing some decent shelving in my upstairs cupboard, the stuff that was in there before was falling apart so we removed it to get the decorating done, and i haven't gotten around to doing anything else with it yet. It's also housing the boxing for my shower controls in the en-suite.
I do like a lot of storage, even if its half empty most of the time!Yeah as b0rn2sk8 said really. My bathroom on my middle floor doesn't have a window in it, all the skirting and door were the same horrible yellow colour. The inside of the cupboard was the same. I have literally painted all the wood work in my house apart from my master bedroom and ensuite with the water based stuff now. So far, the lounge was Sept last year and it still looks brilliant white, even behind the sofa's where it doesn't get any light.
Sweet, is everything working on the network side?
My middle floor has the standard airing cupboard type shelving in side which is really handy for bedding etc. When I first moved in, I put twinslot shelving brackets inside my under stair cupboard (found all the studs) and a carpenter friend at work acquired some melamine shelving for me and cut it to the lengths I gave him


I was on dishwasher replacement duty today too. Repaired a really nice integrated Bosch from my parents and upgraded from an old Beko. Just need to sort the door and kickboard now.Swapped out our old dishwasher which was on its last legs


For a cheap second hand one off Facebook until we get round to the new kitchen

Relatively straight forward although had to use a tinder core bit to widen holes in the unit carcasses for the power cable (fixed plug) and feed / drain pipes


