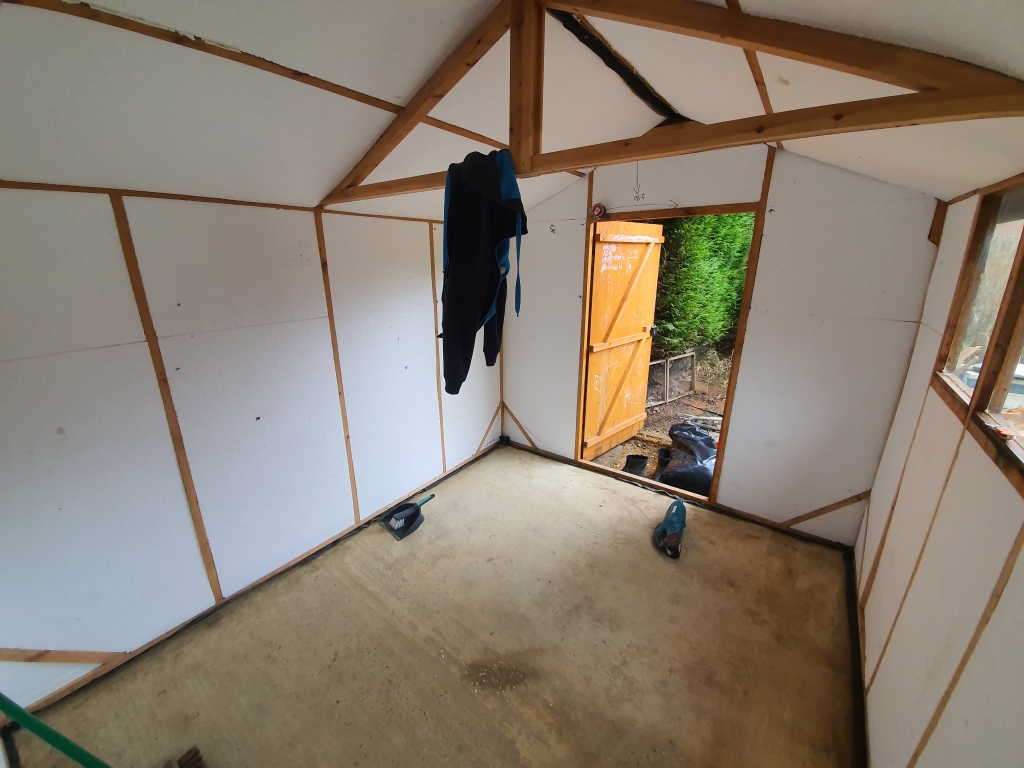
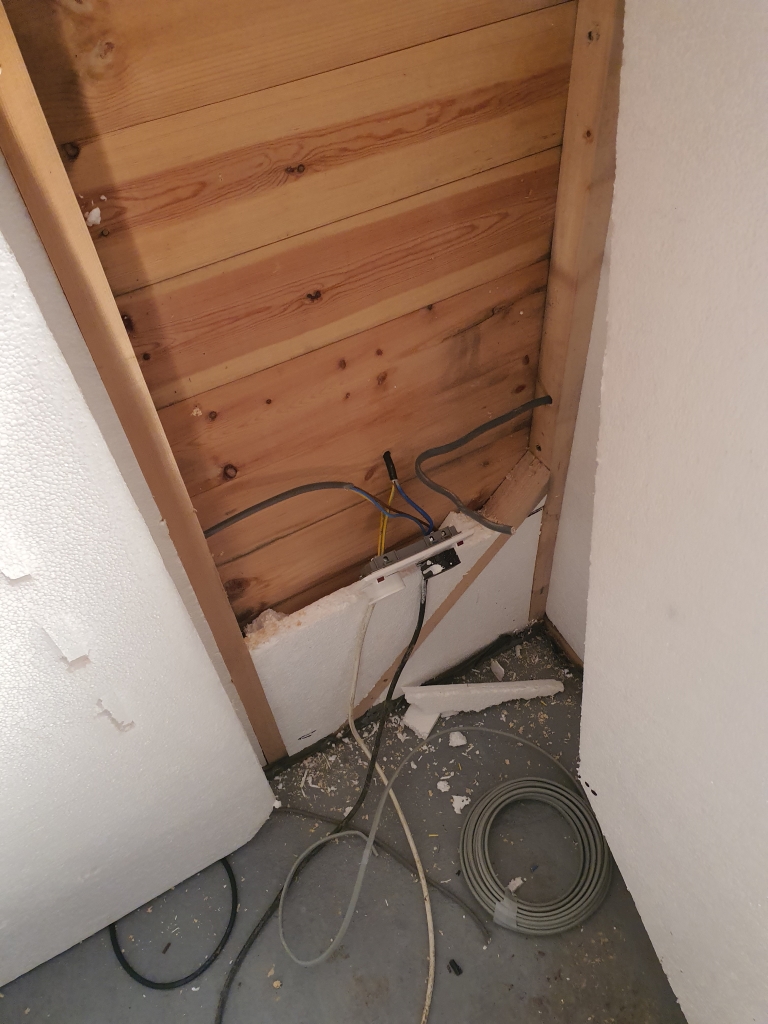
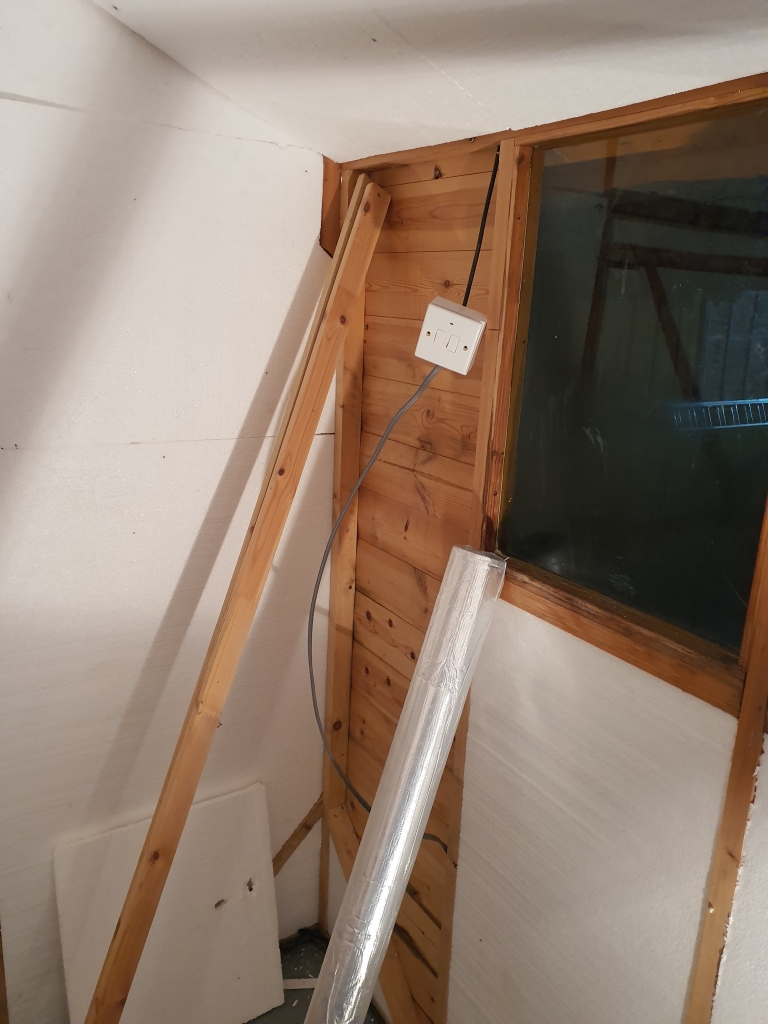
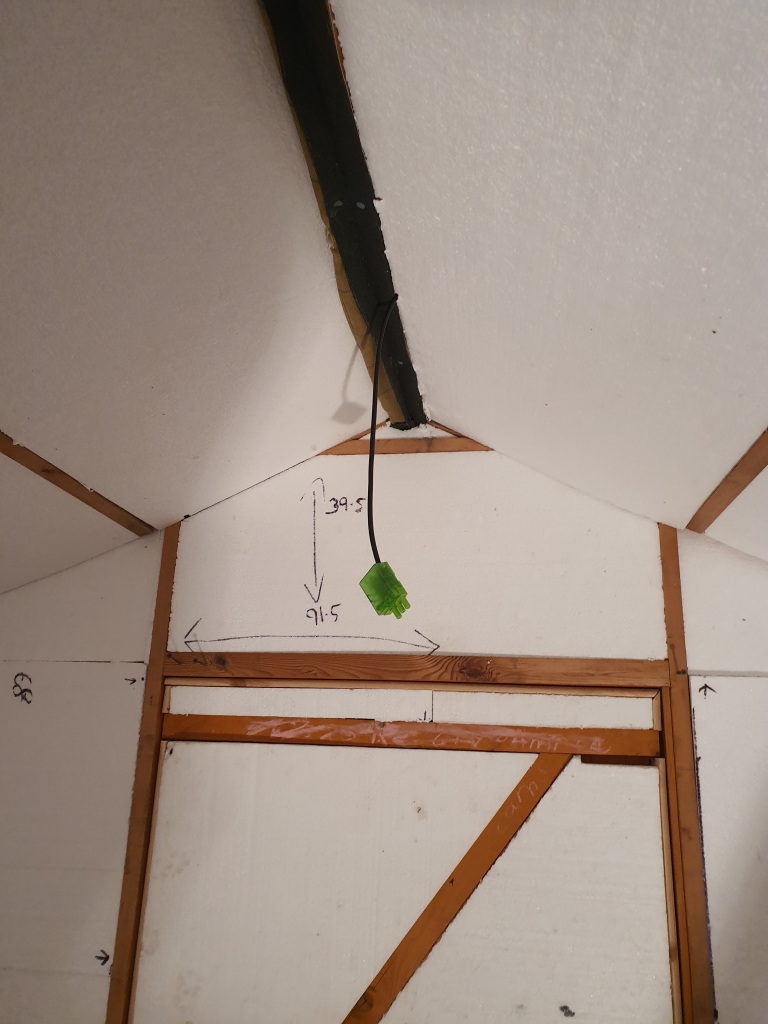
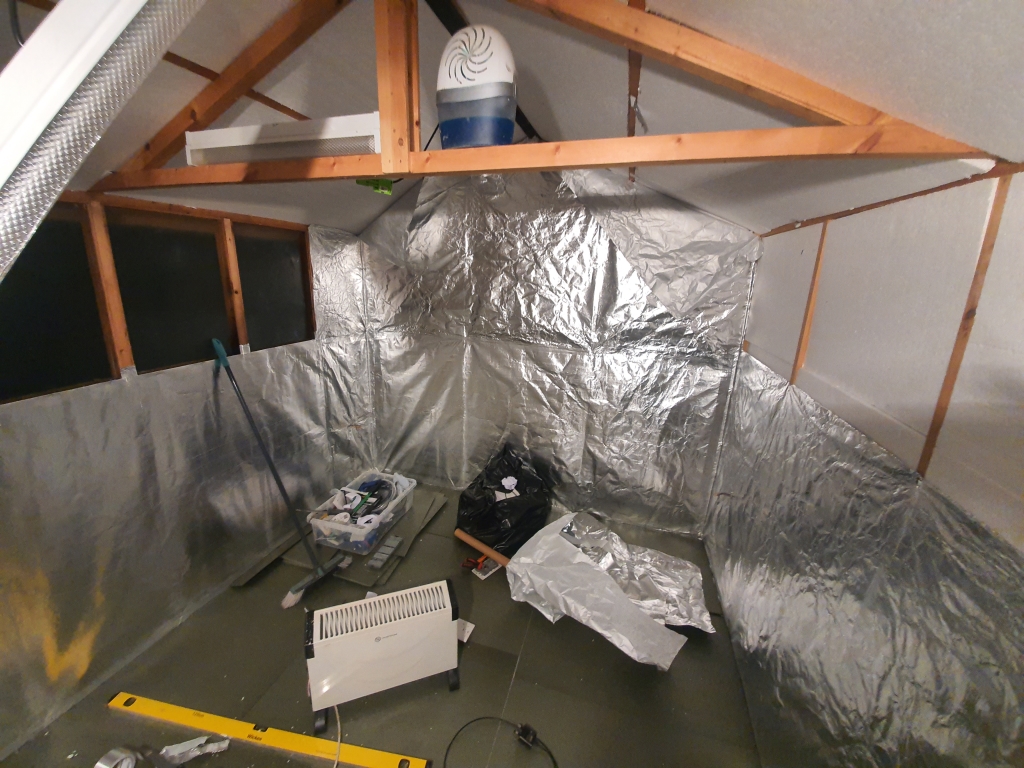
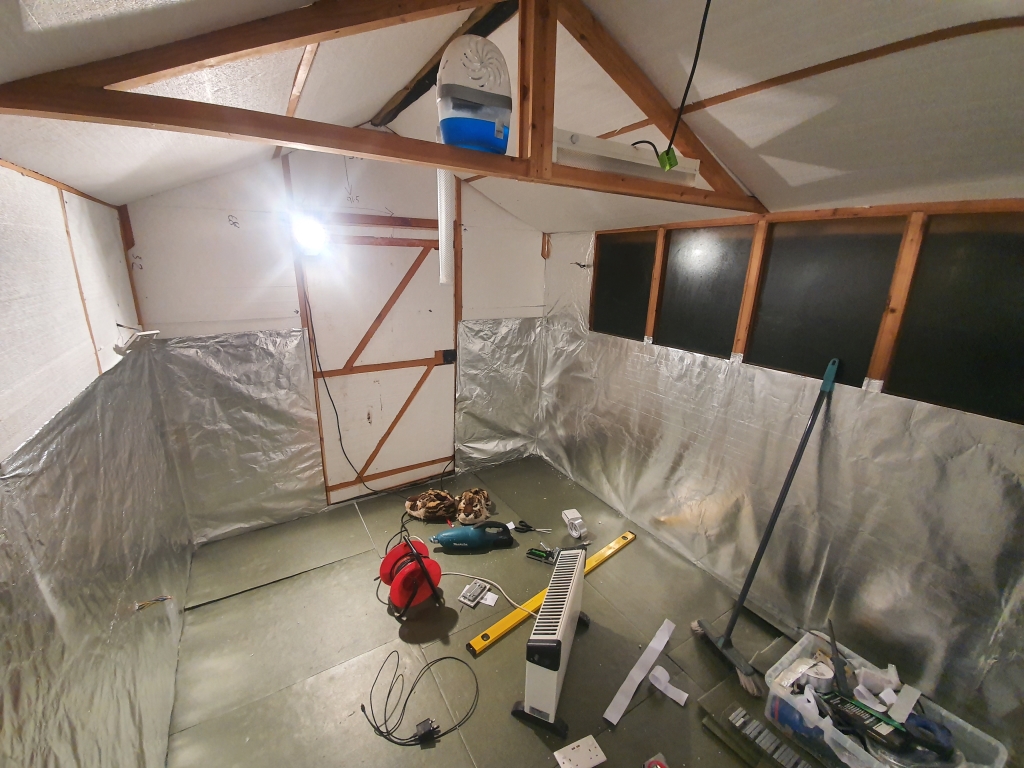
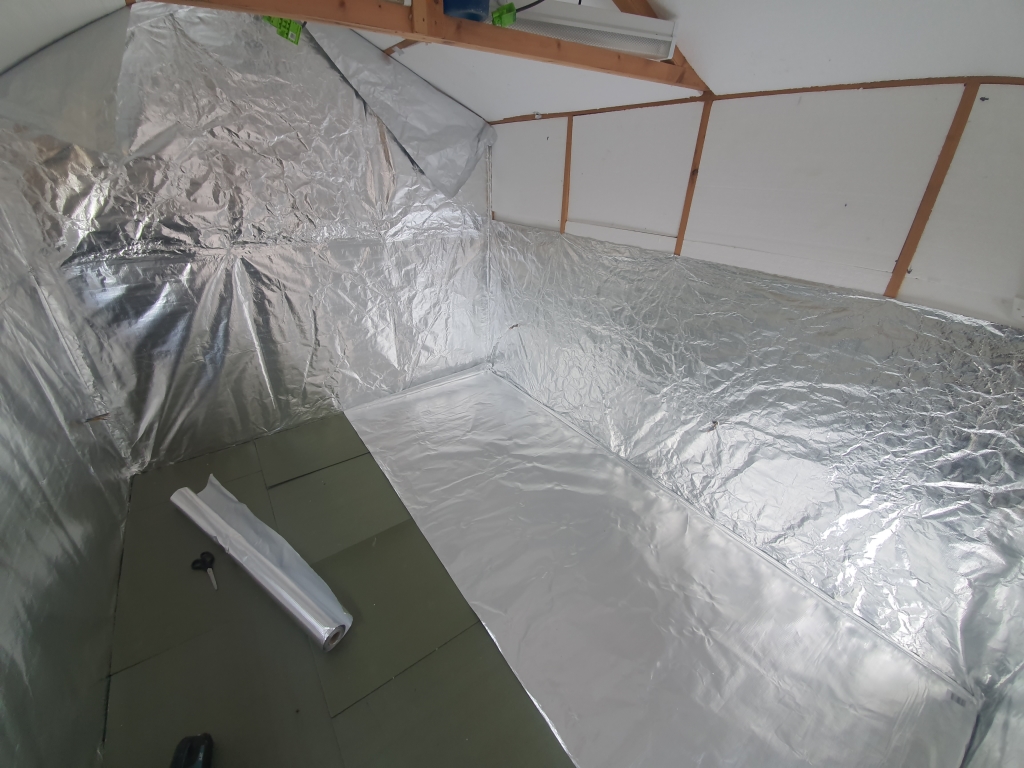
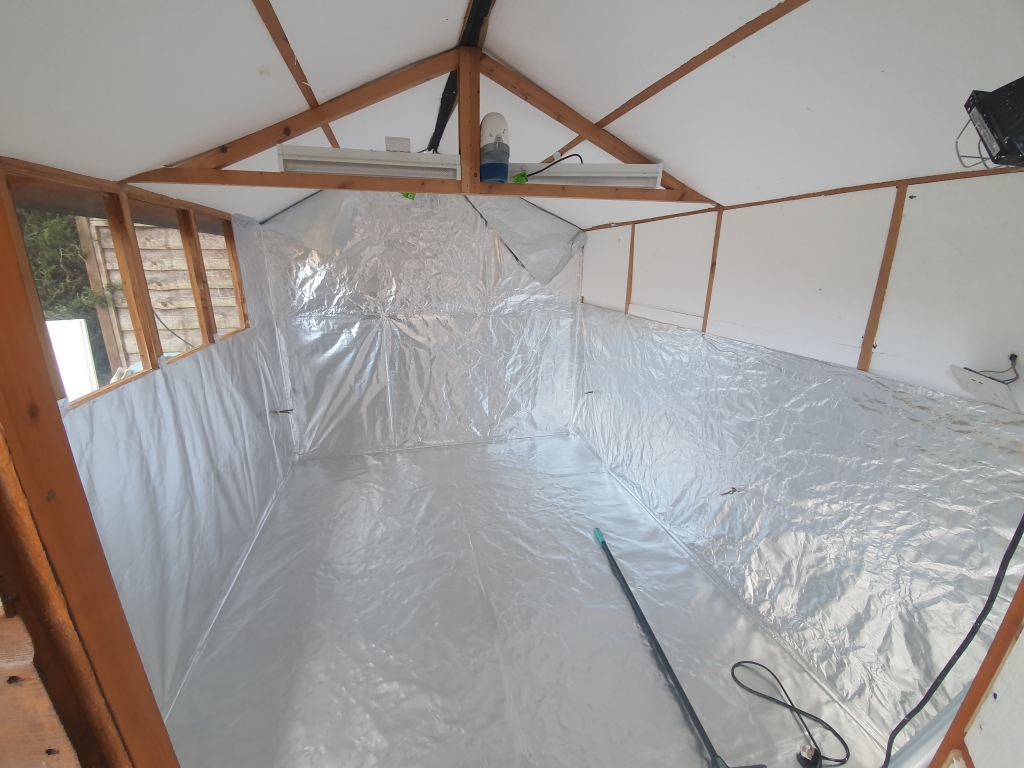
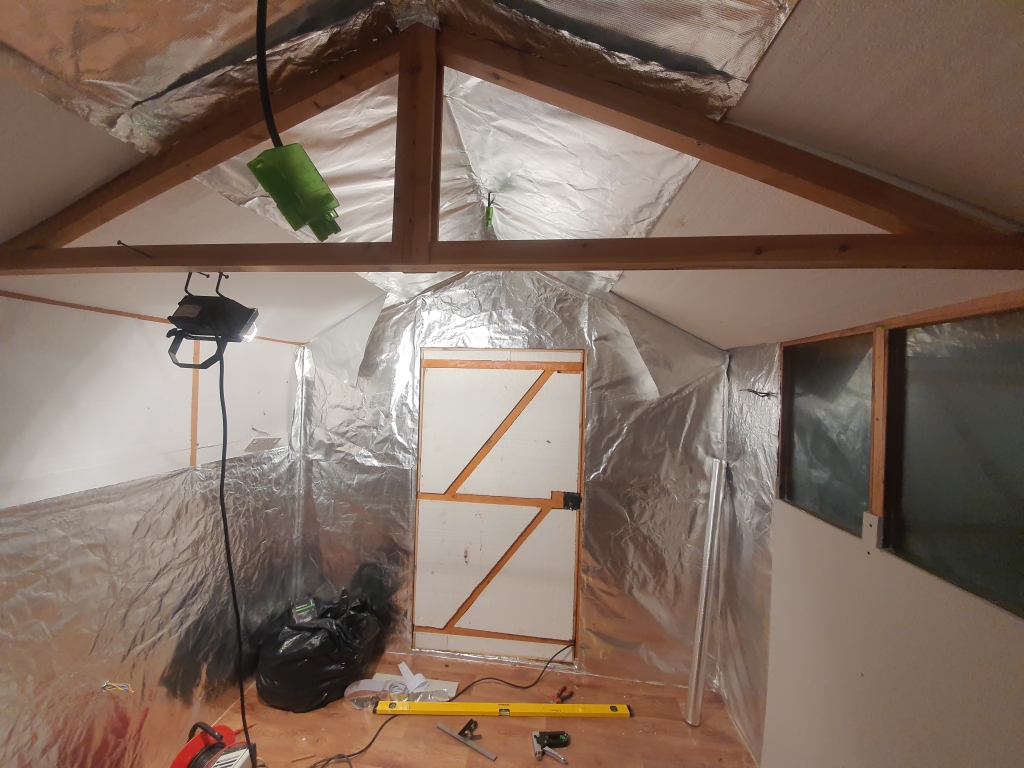
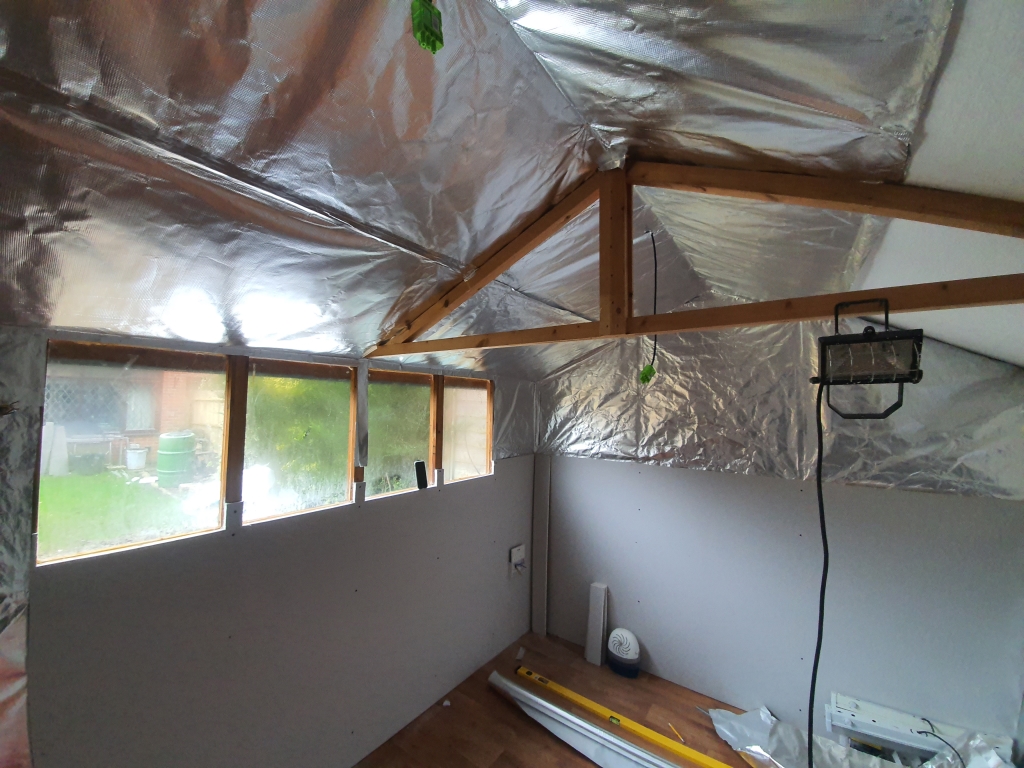
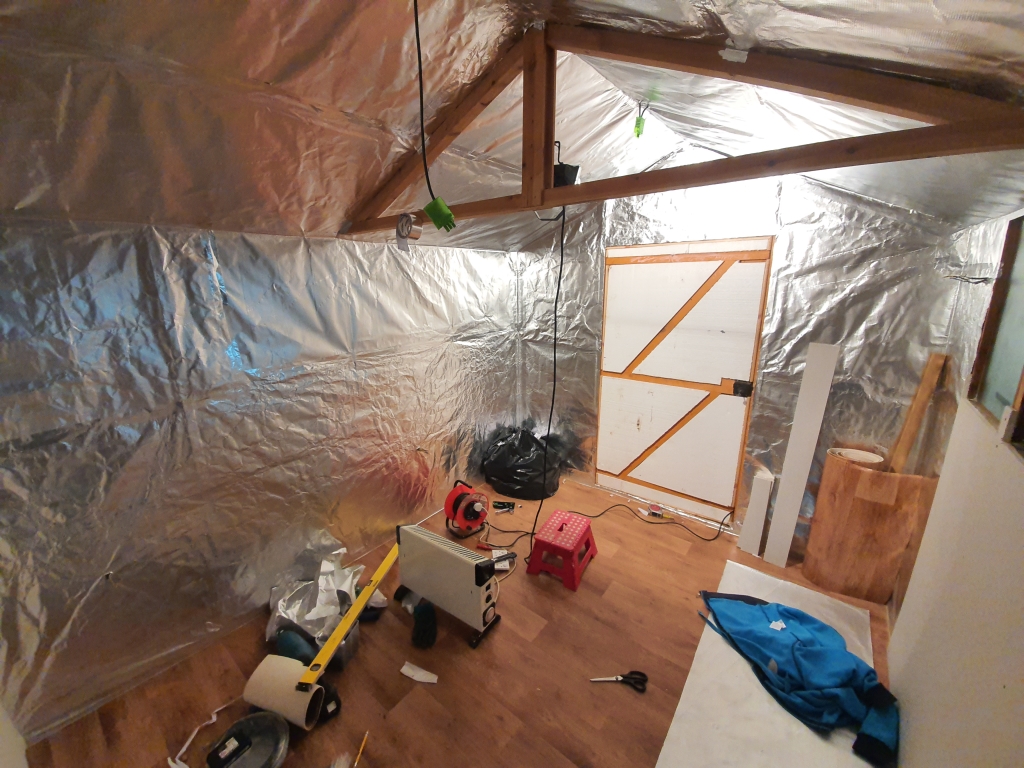
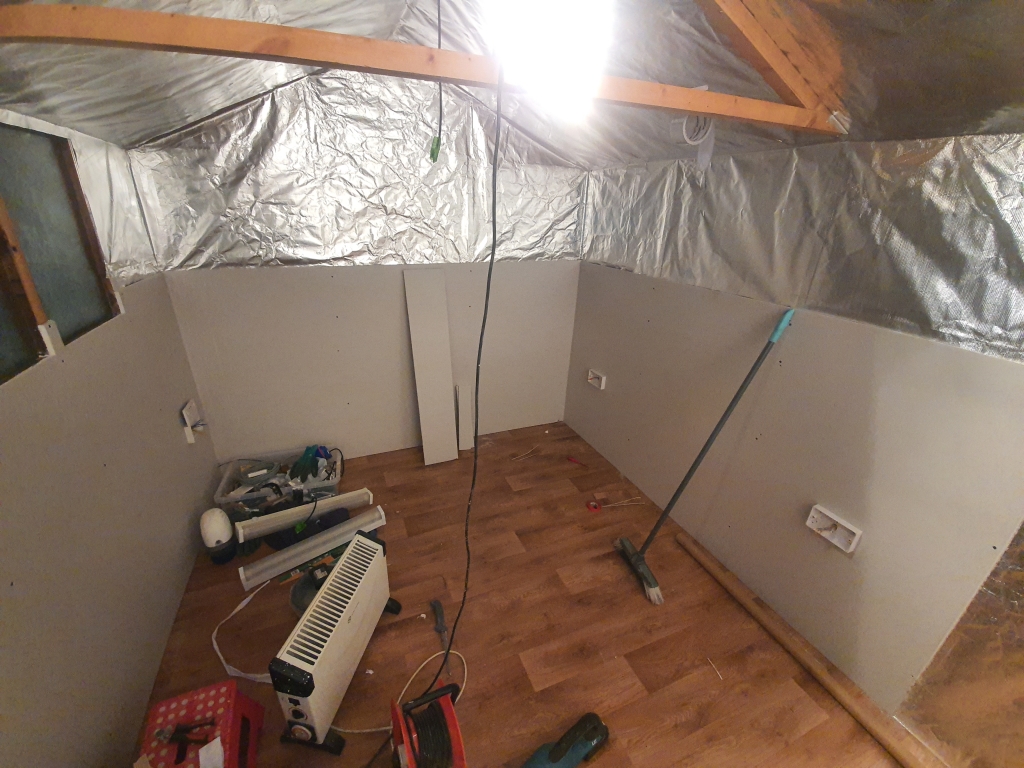
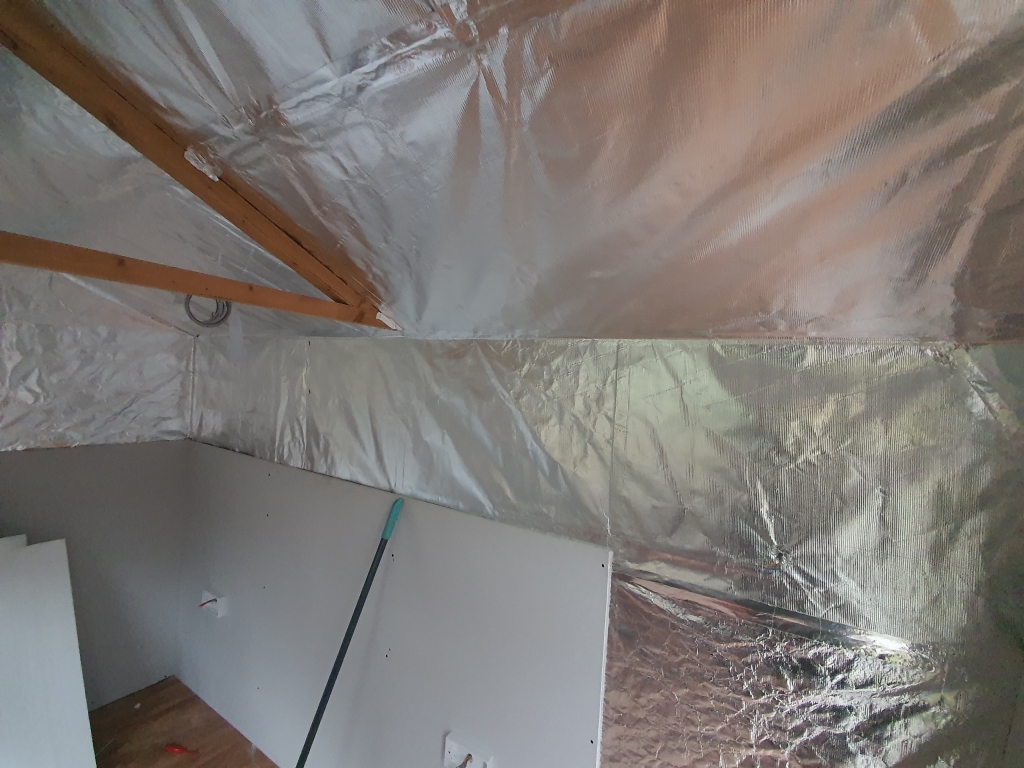
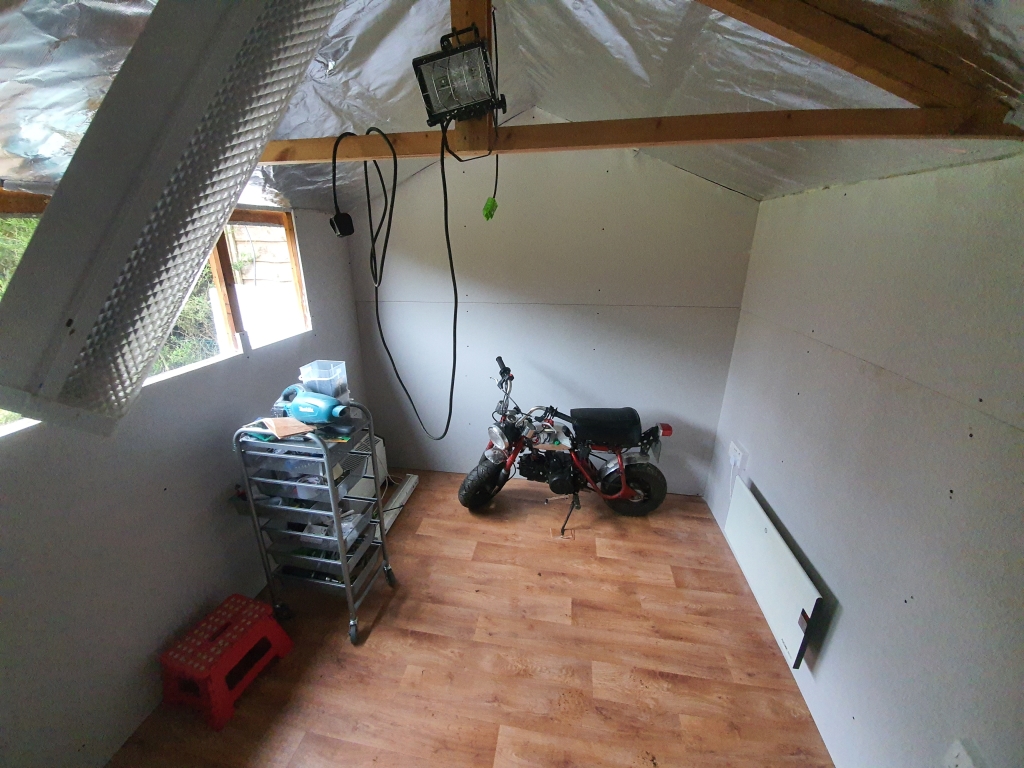
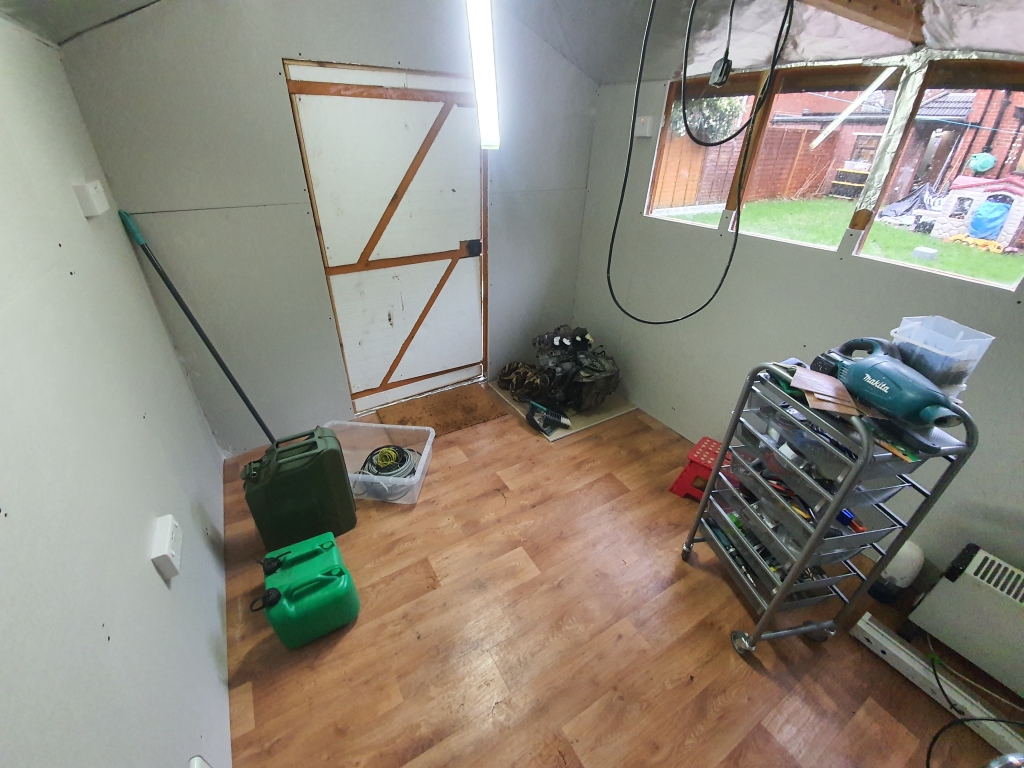
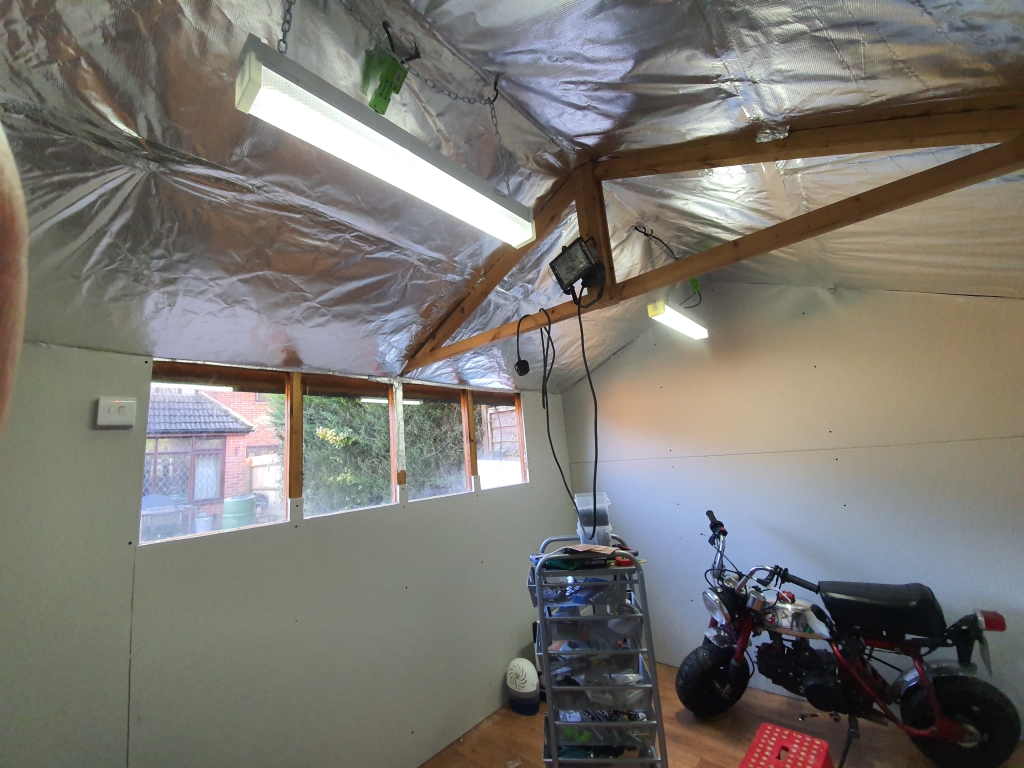
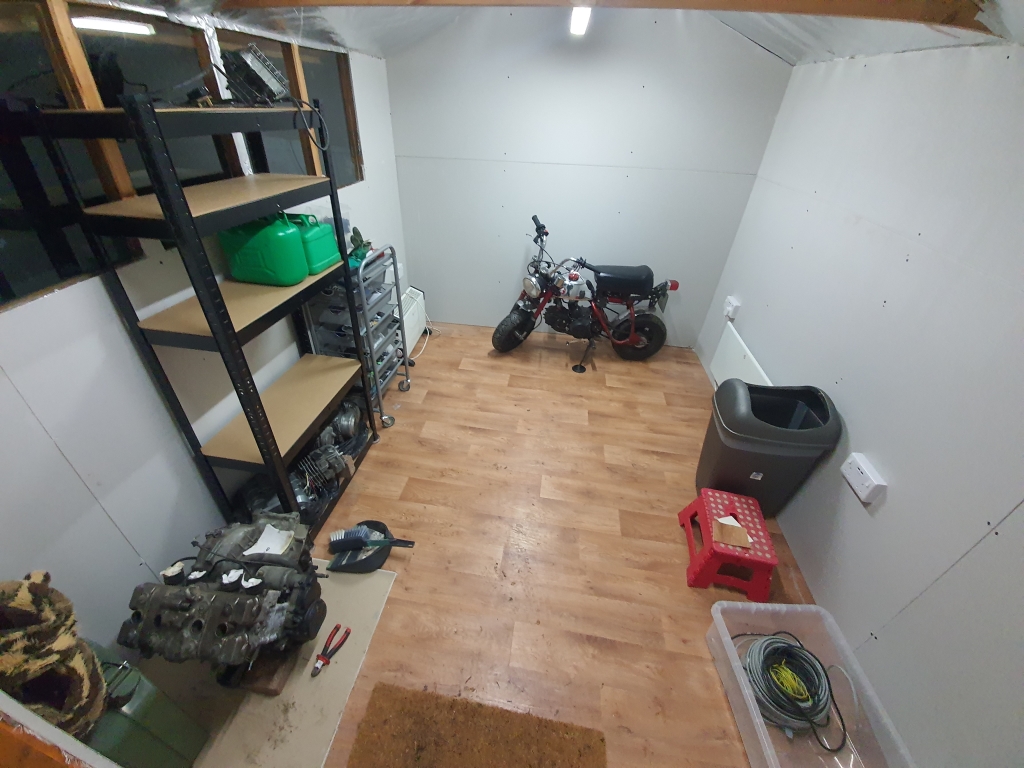
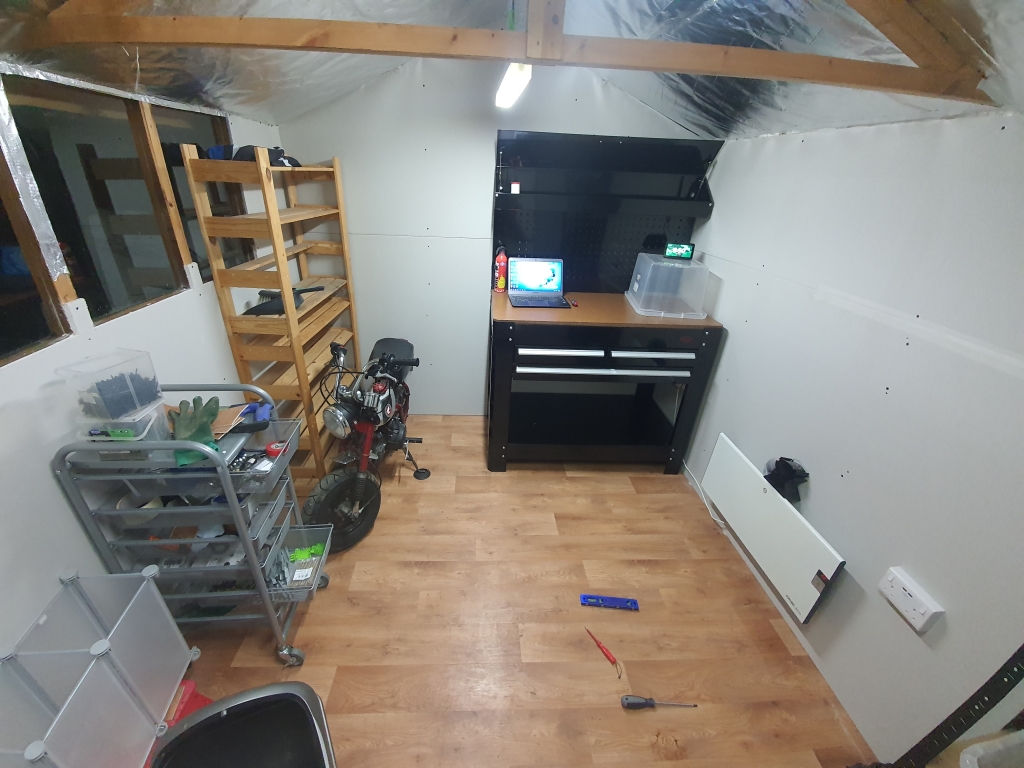
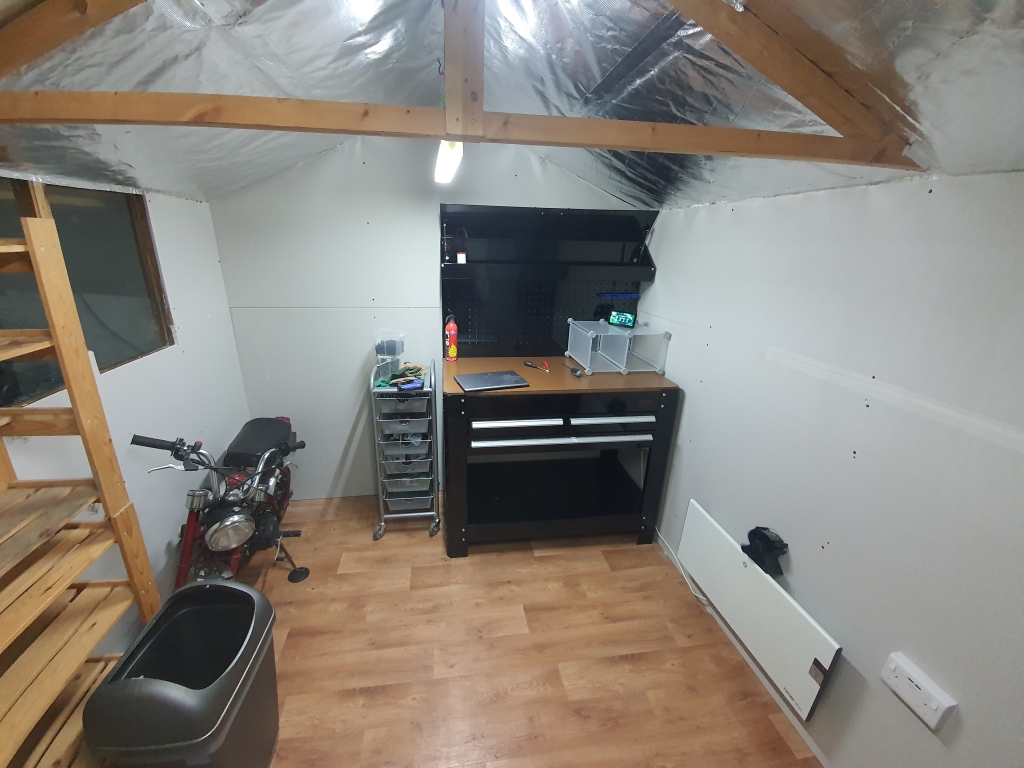
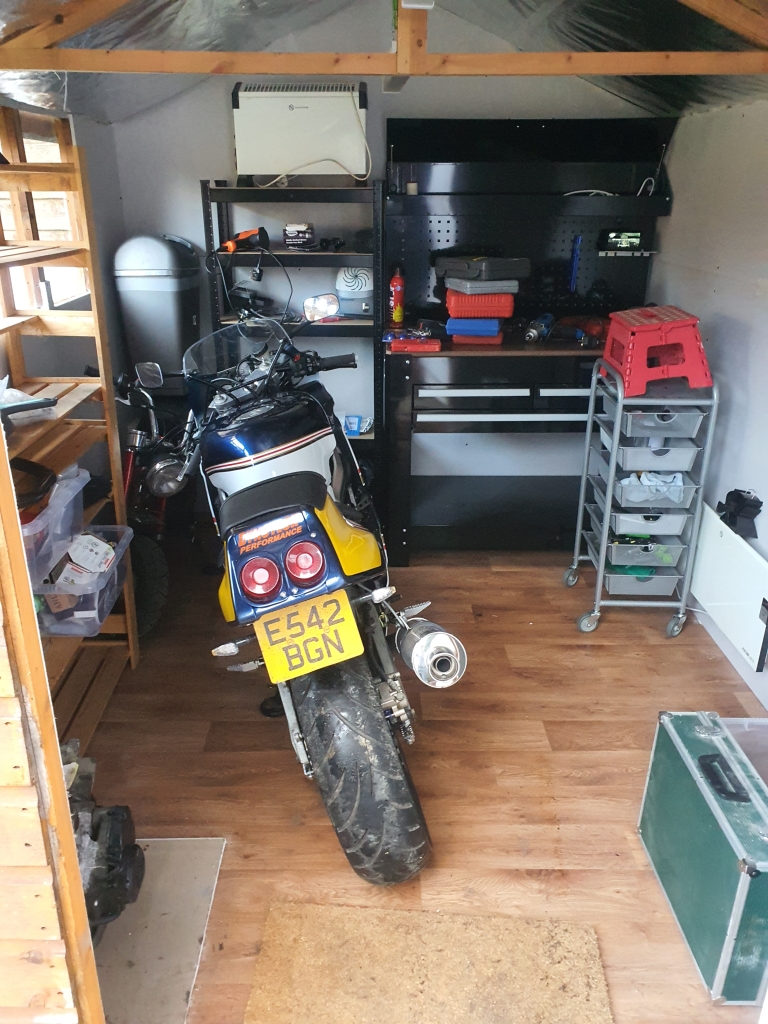
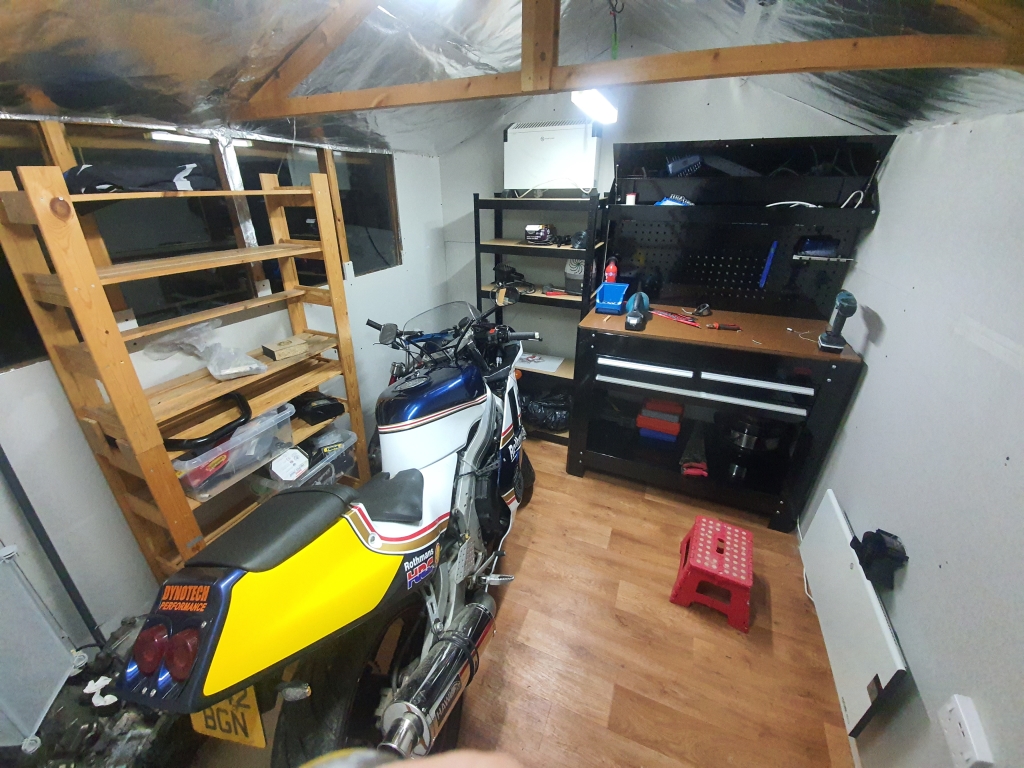
I decided that I needed a building in my garden that would allow me to store the motorbikes I am currently working on, and also be somewhere warm to work on them in the winter to make "out of season" projects a little more fun and practical naturally, I wanted to electronics, heating, insulation, and a nice solid floor!
Of course, having never been involved in building anything other than stuff that moves on wheels, i decided to do all the work myself, and start in late October to give me maximum weather compliance.
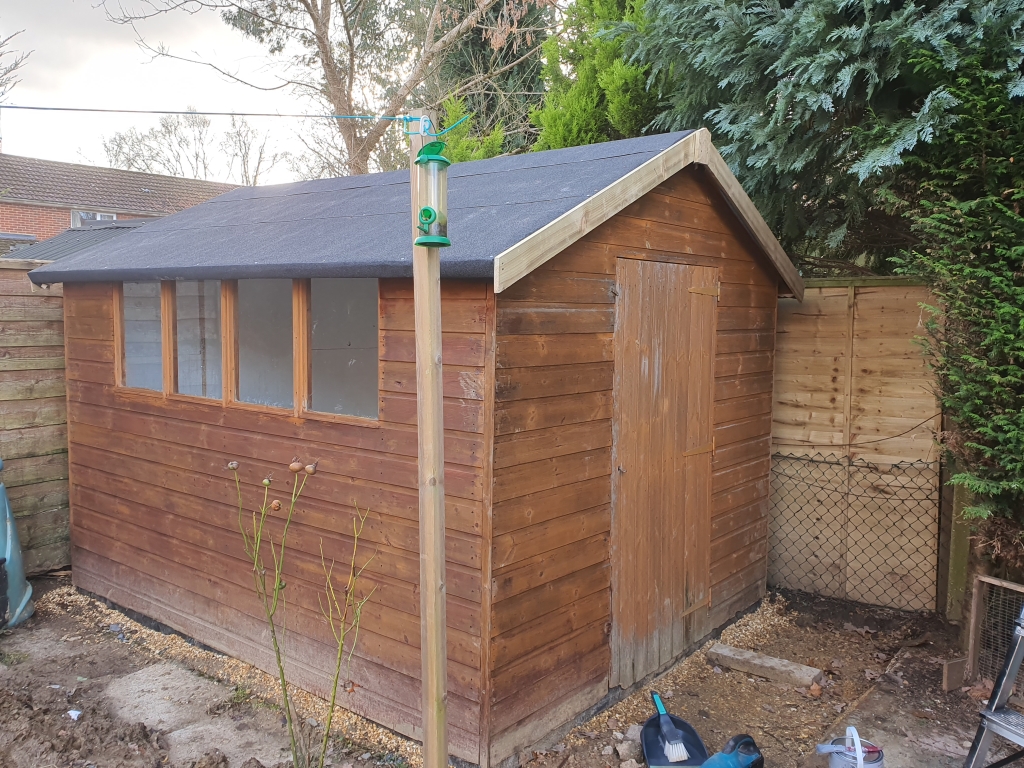
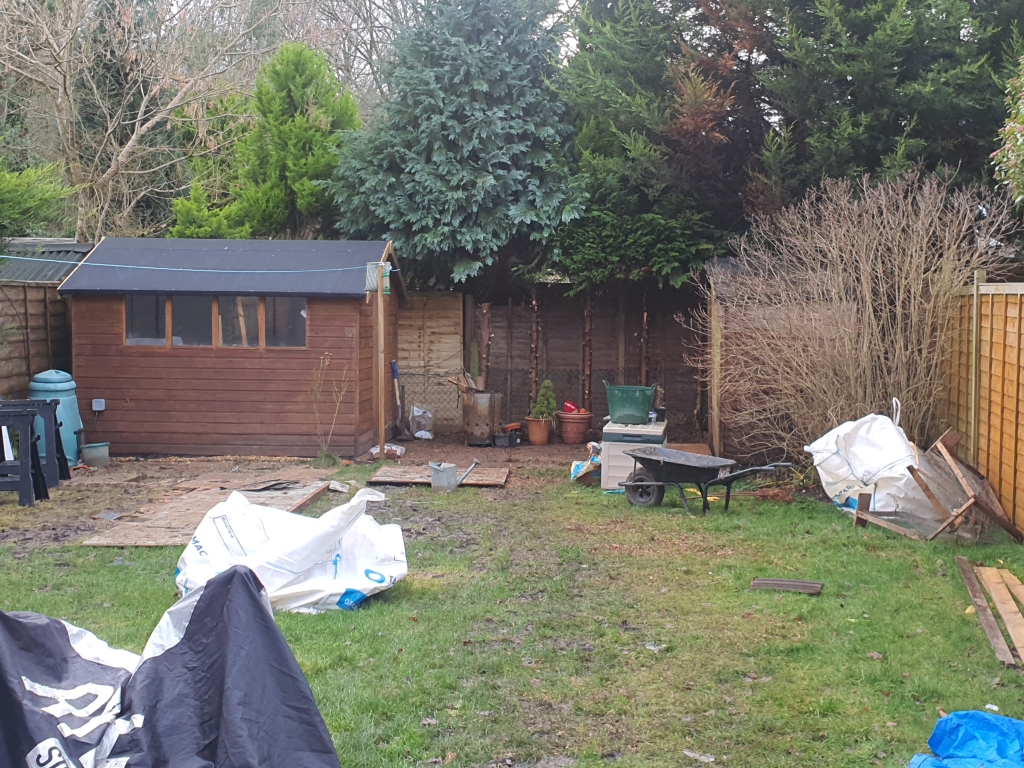
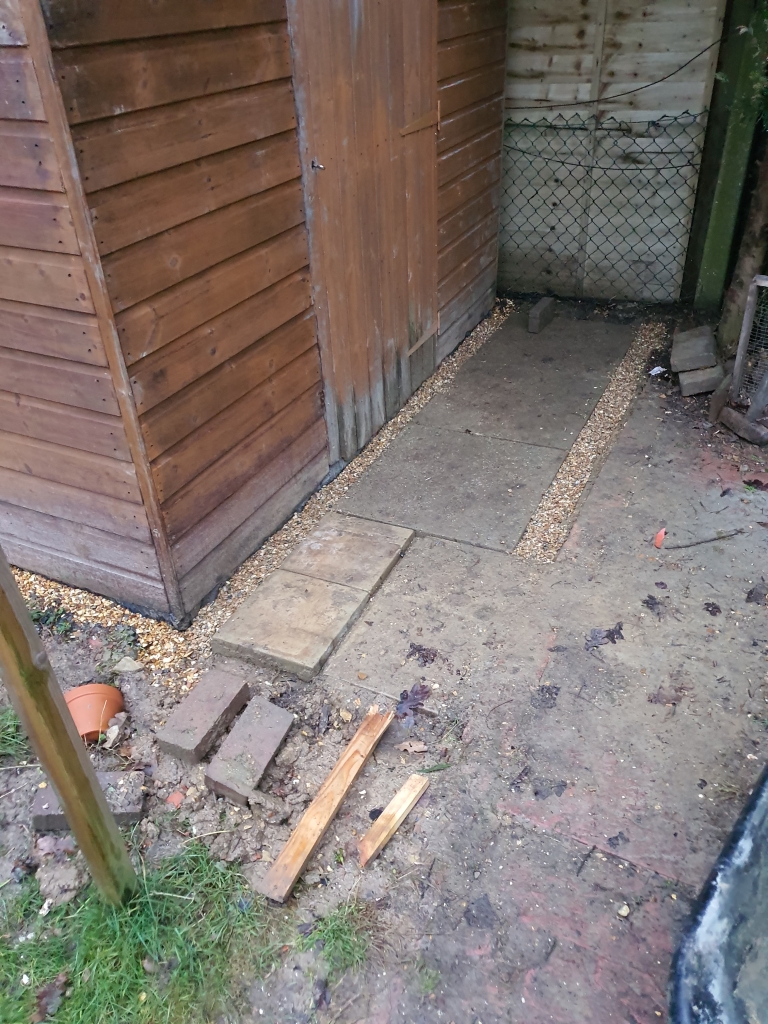
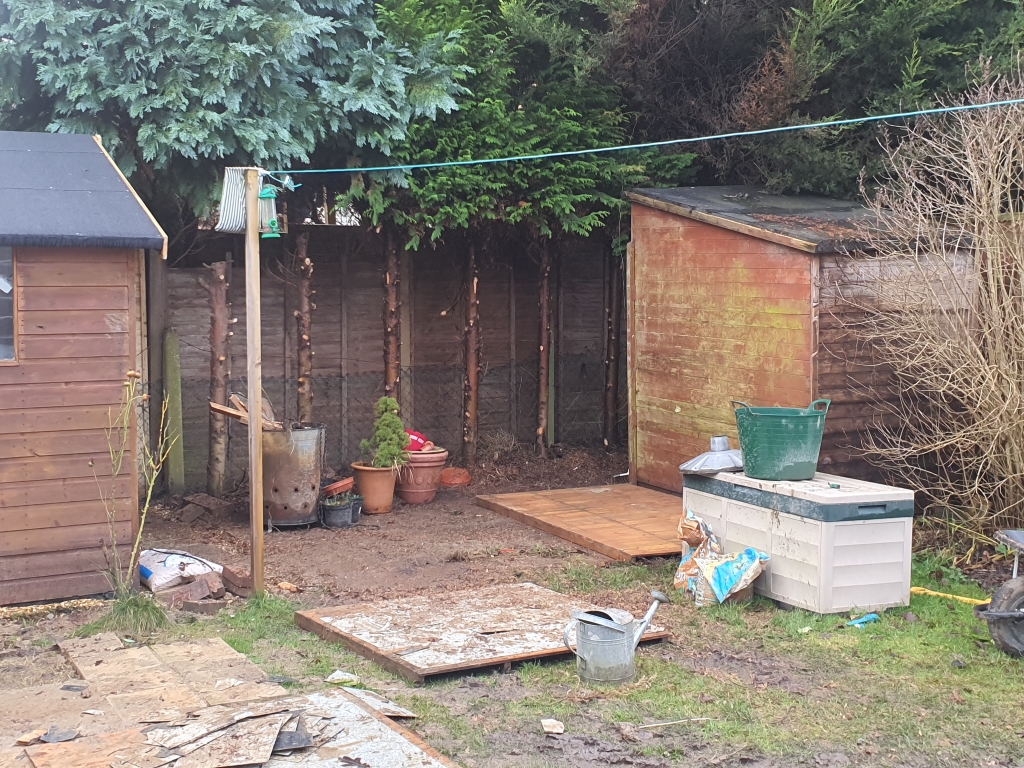
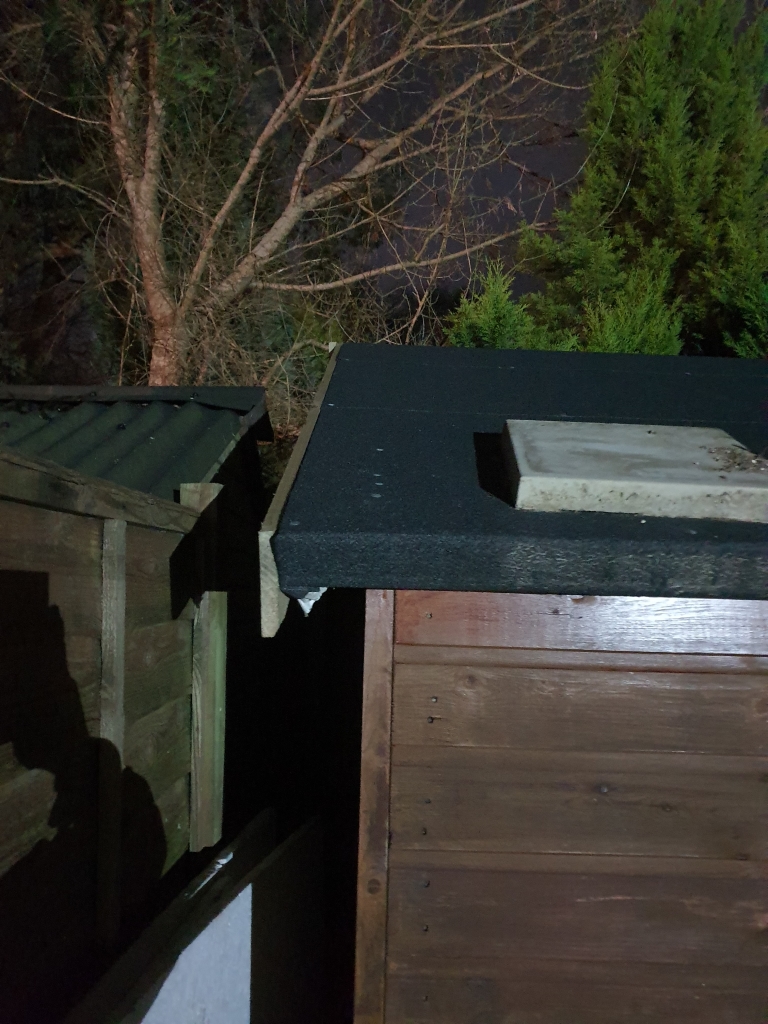
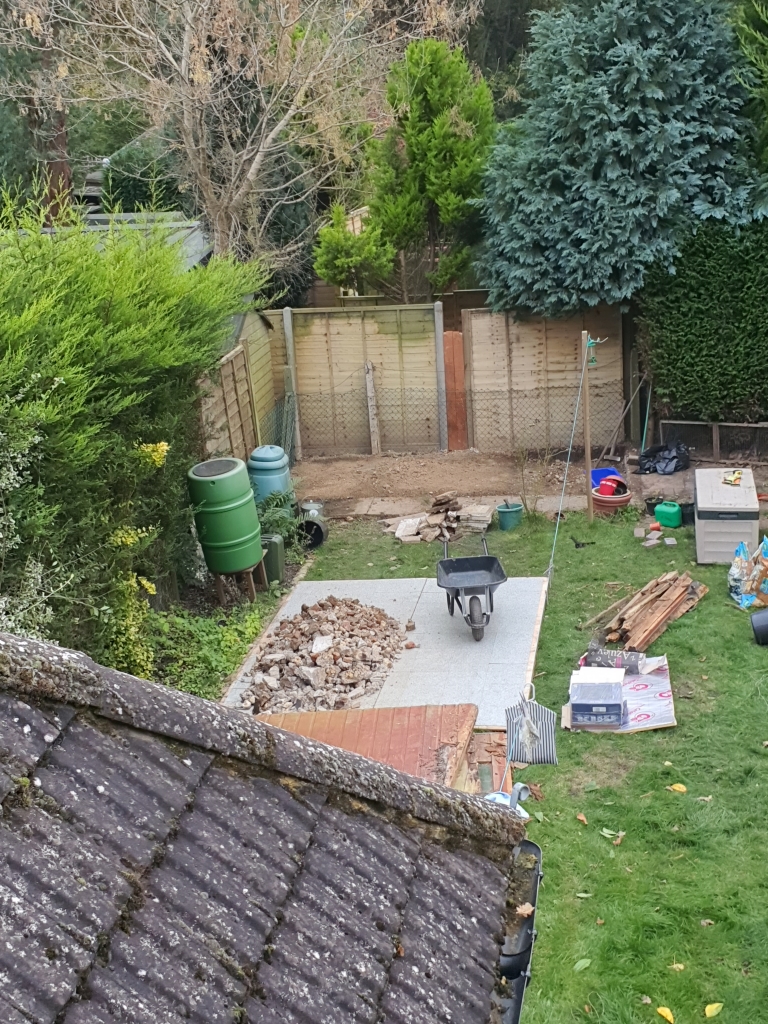
Regardless, My current shed situation was not conducive to such a plan, so this had to change. I had two sloping roof old sheds in the back corner, and they were sat on a makeshift hard-standing/part concrete base.
The smaller of the two was worth saving, but the larger was essentially dead, rotten roof, and one corner was holed, with water seeping in. I did toy with the idea of rebuilding it, but since I wanted something larger, it seemed to make more sense to replace it. So i scoured the minefield of Facebook marketplace to find a nice looking shed secondhand, as new prices were, frankly, mental!
Finally found an 8x10 that was for sale from a local couple, and they needed it shifting FAST. So I did what any sensible person would do..
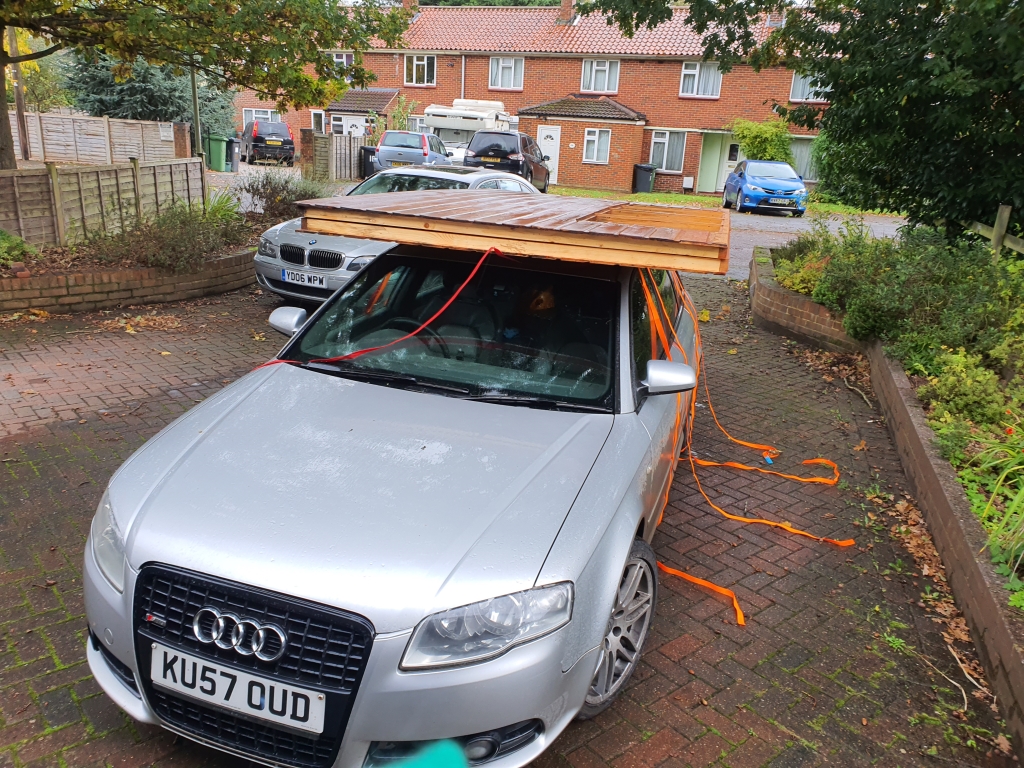
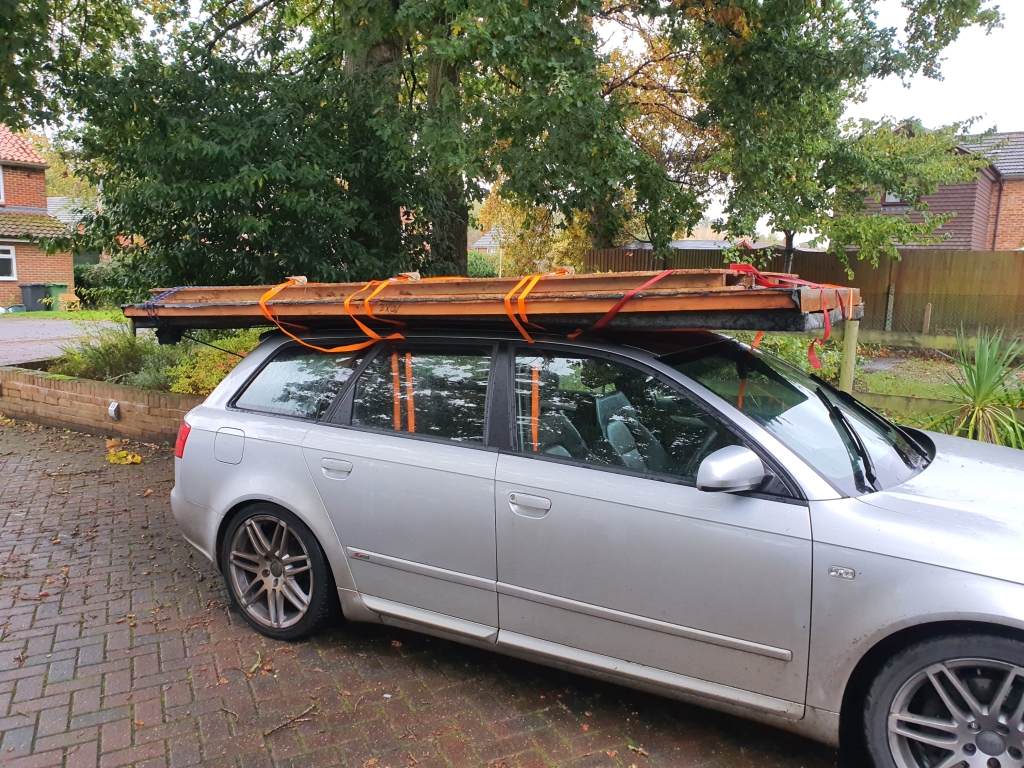
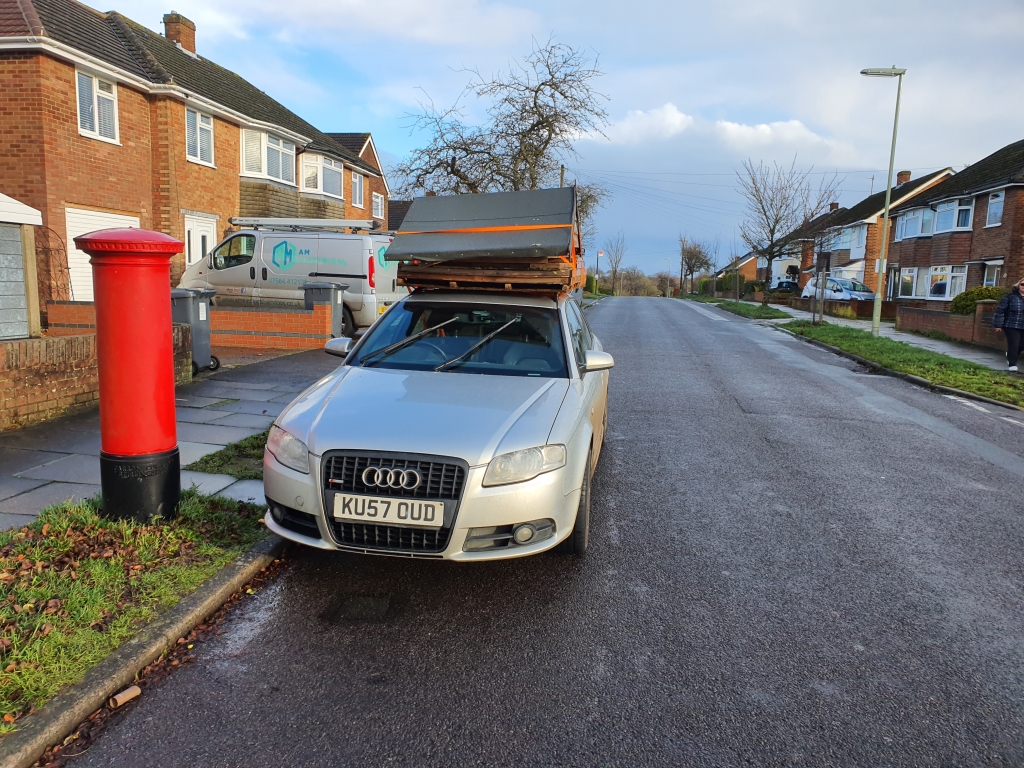
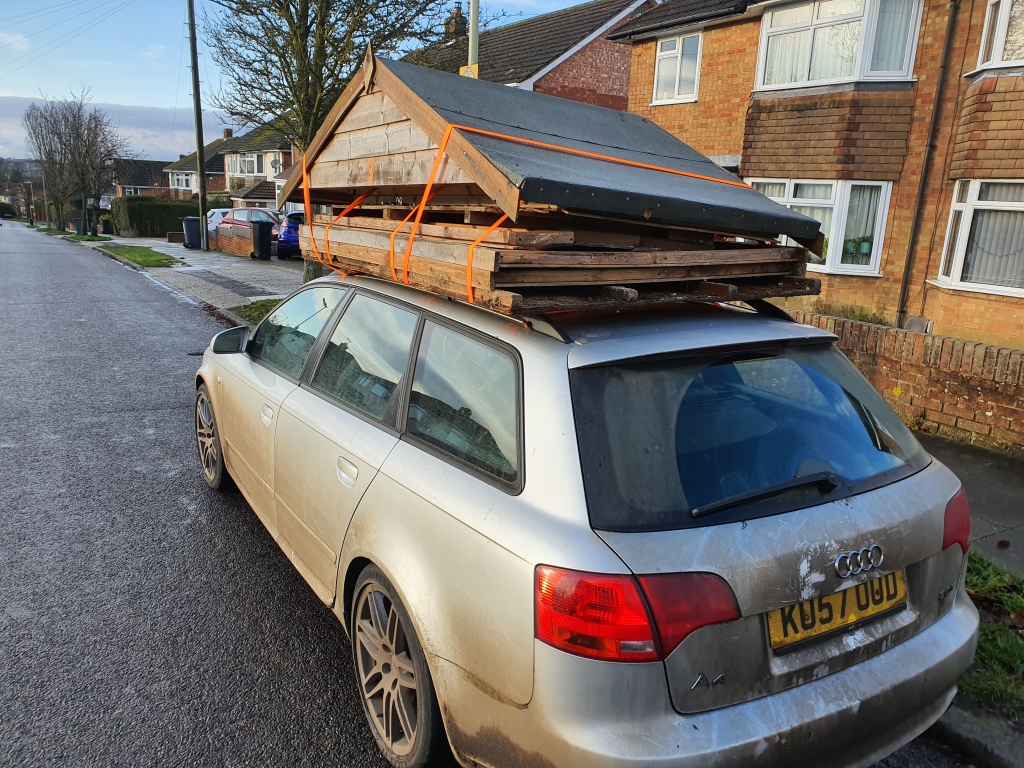
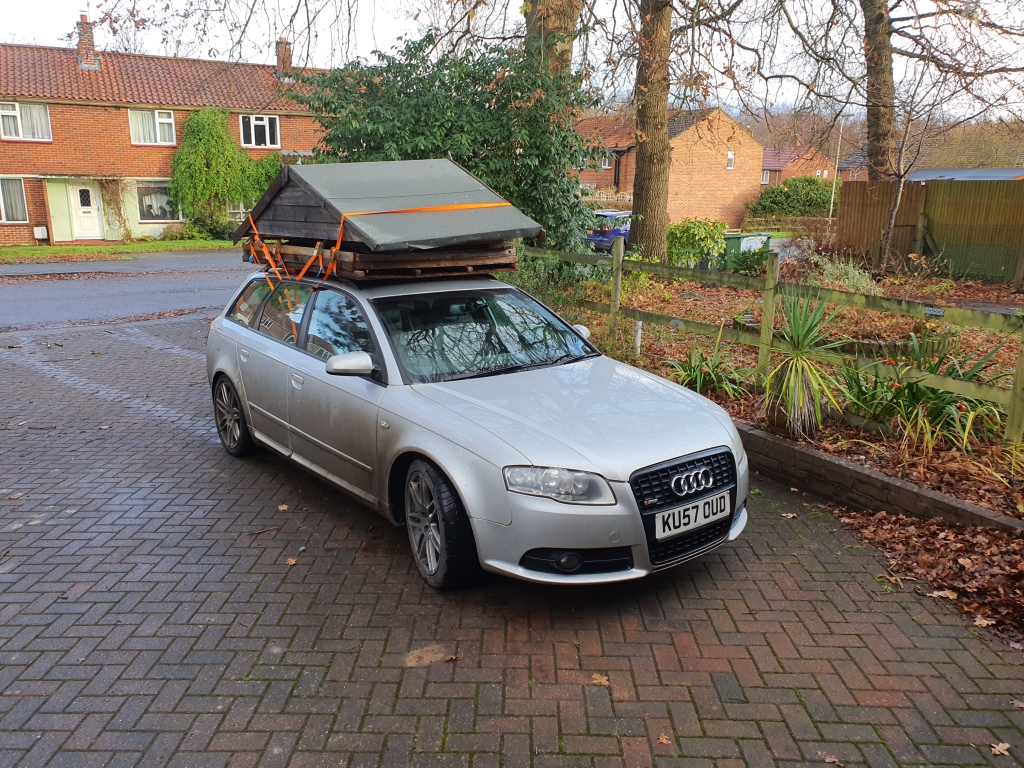
I borrowed the wife's estate, and took it home on the roof in stages
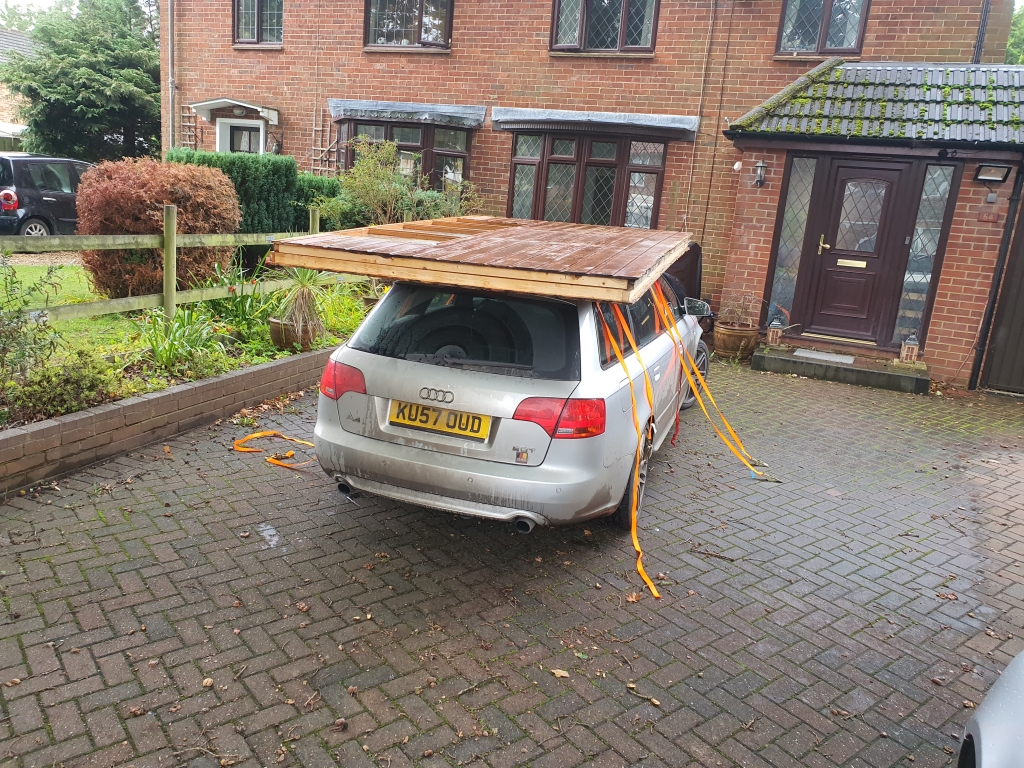
I think it took 4 trips in total, no mishaps on the way!
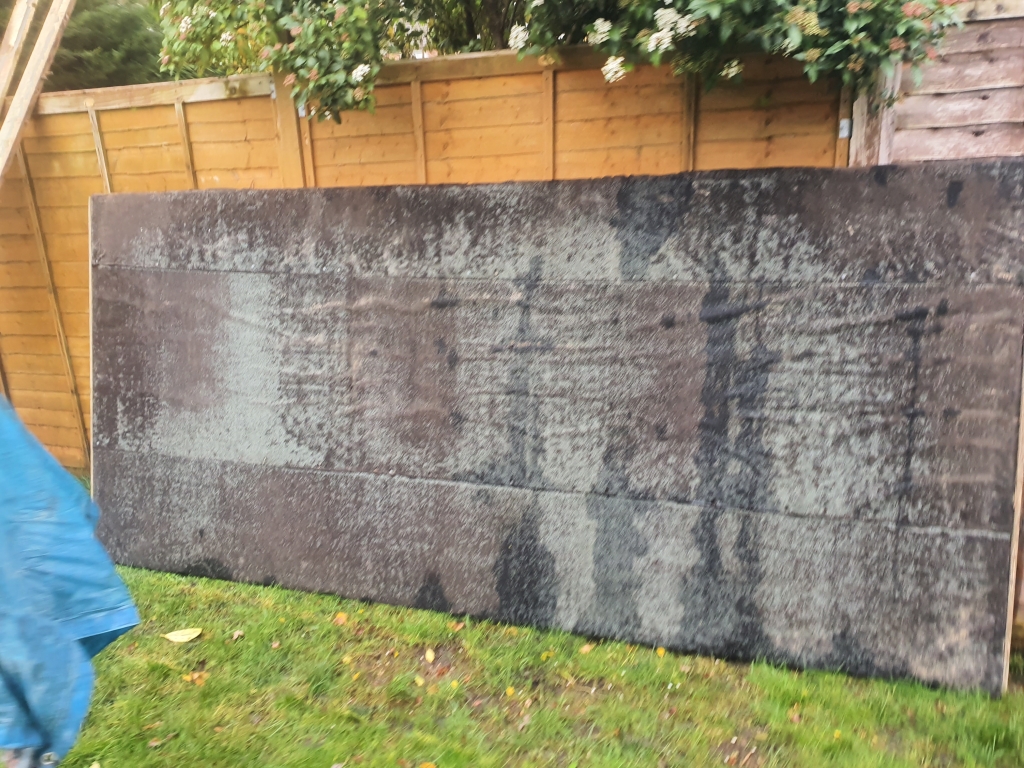
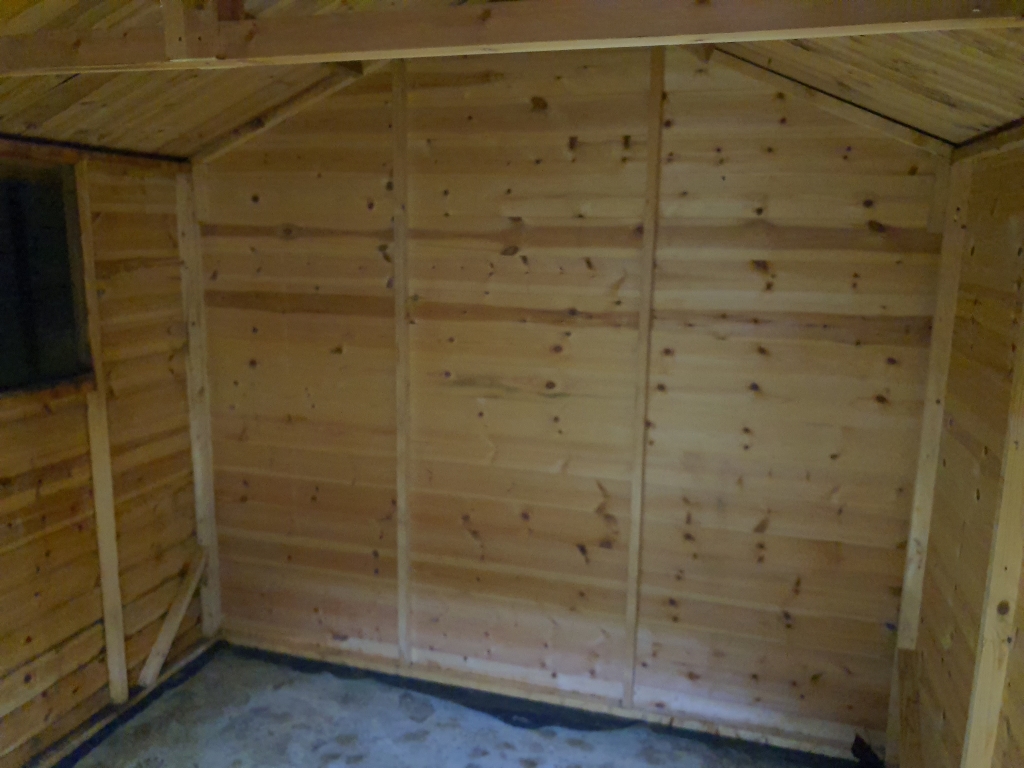
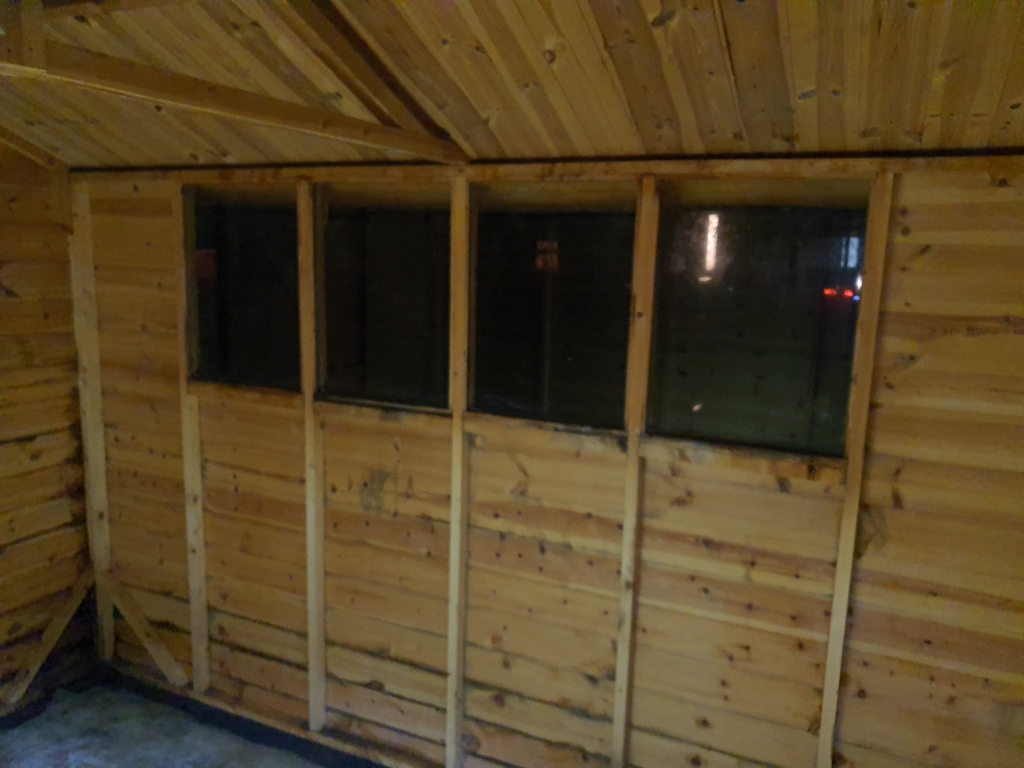
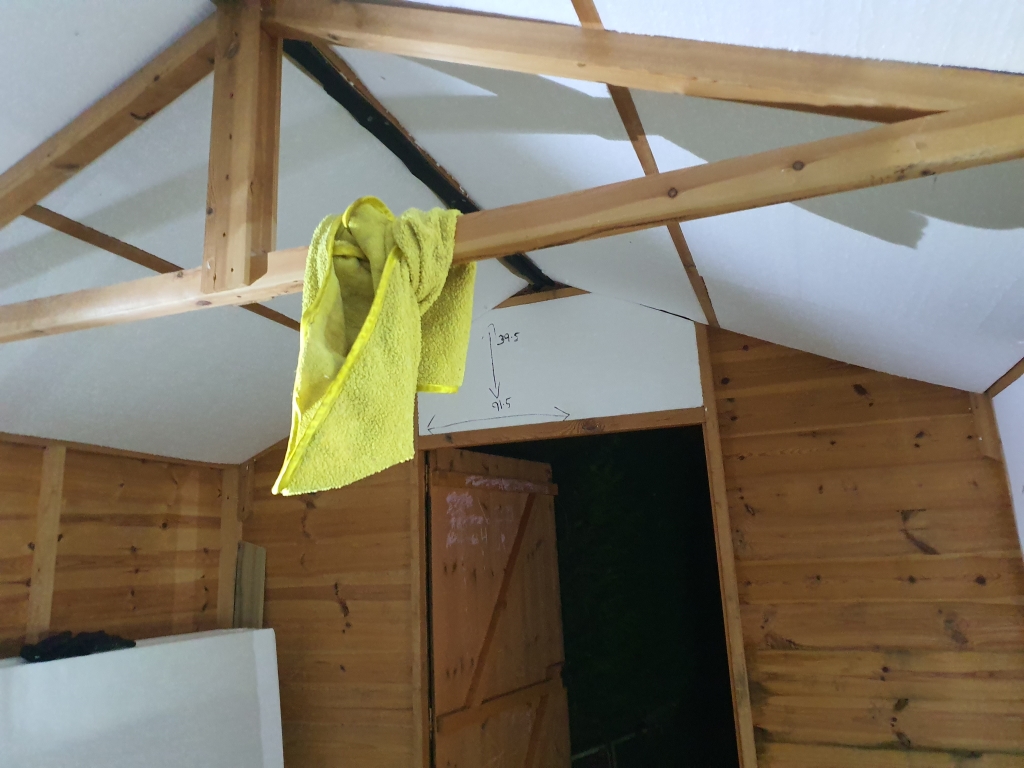
The widest panels I had to take were the short sides with the angles for the roof:
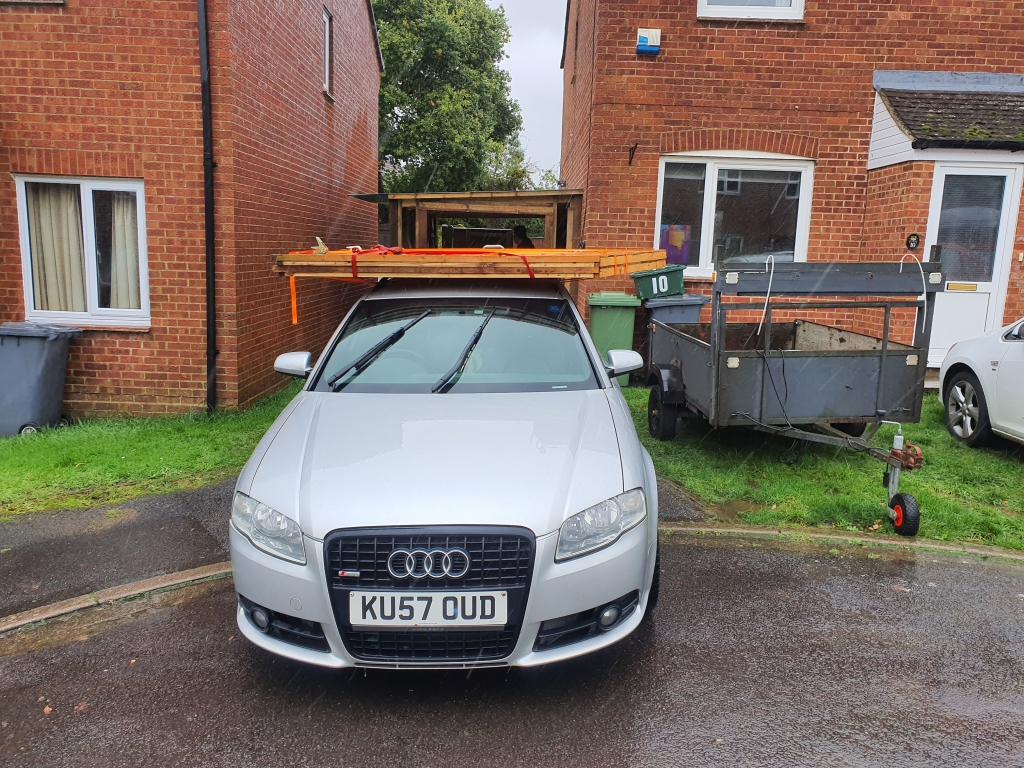
Took for some careful navigation, but it was only a 5 mile journey on small roads No damage to the car of shed was sustained in the process, much to my wife's relief.
Next was the easy bit.. Unfortunately, my property only has rear access through my garage.. Which meant that none of the larger panels would fit... Still, I had a flat roof over the garage, and some rope, ratchet straps a (very slight, just over 5 feet tall, but suprising strong) Mrs to help.
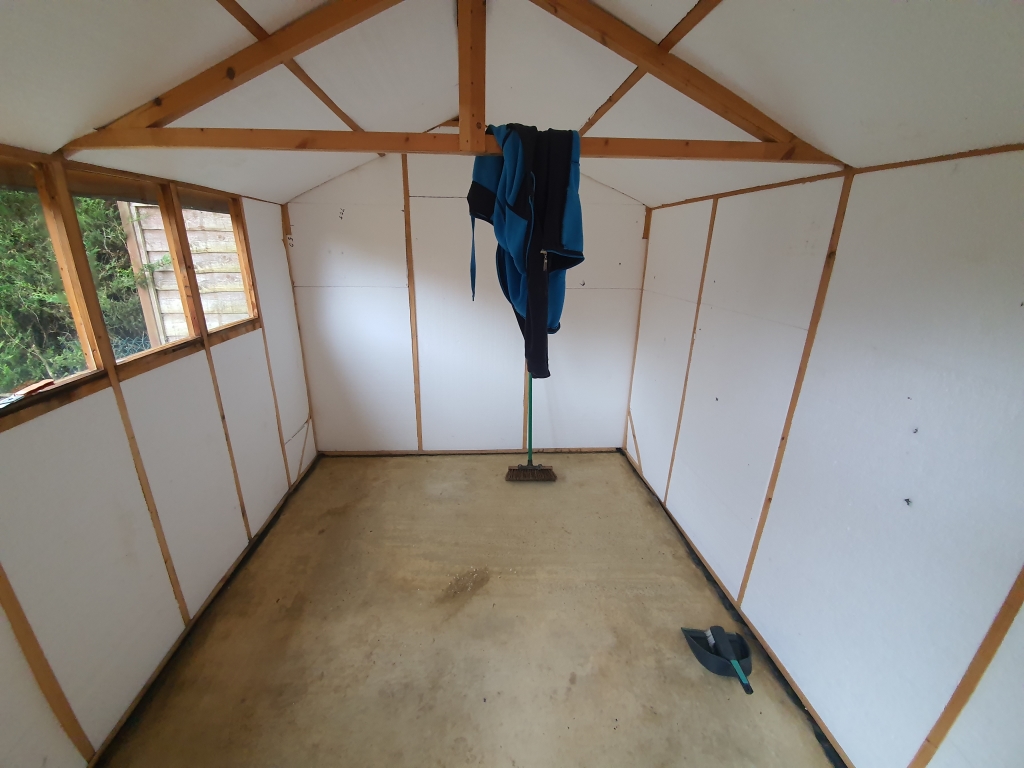
There are no pictures of "The Raising" but with some jiggery pokery worthy of Heath Robinson or perhaps the A-team all the panels were raised, by me lifting from the roof with ropes, dragged over the flat roof, and deposited safely to the other side.
The old sheds had to be removed, and moved, respectively.
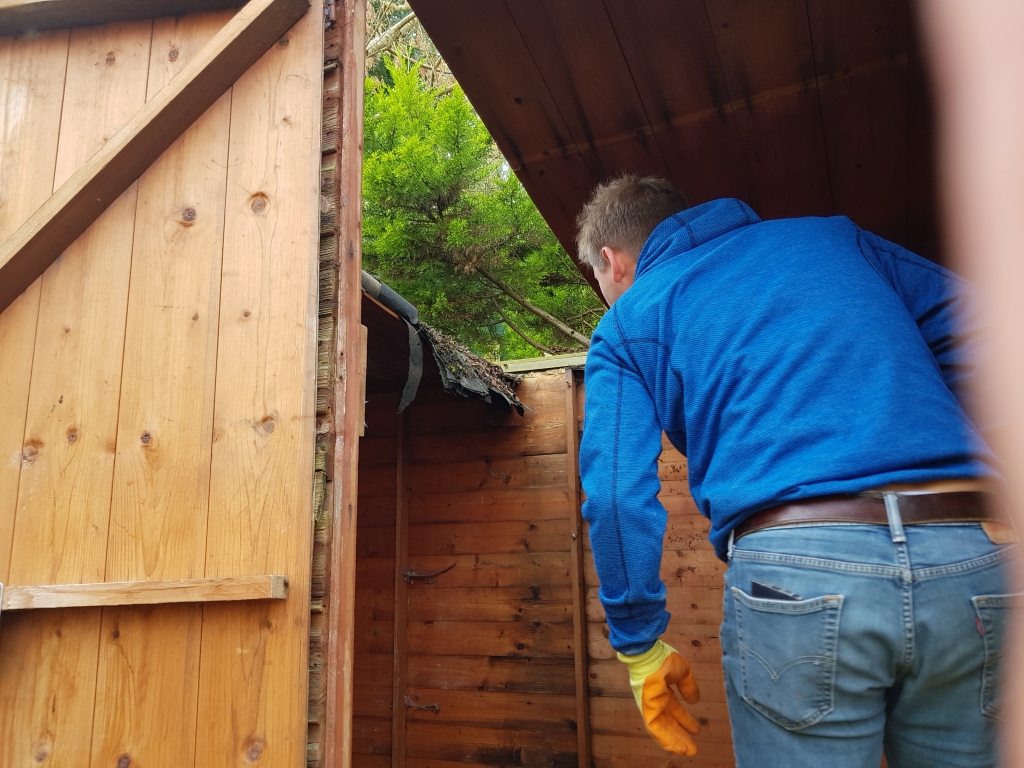
Mid-ripping down the old big shed with its rotten roof and other bits.
Didn't take too long, and we had a nice bonfire
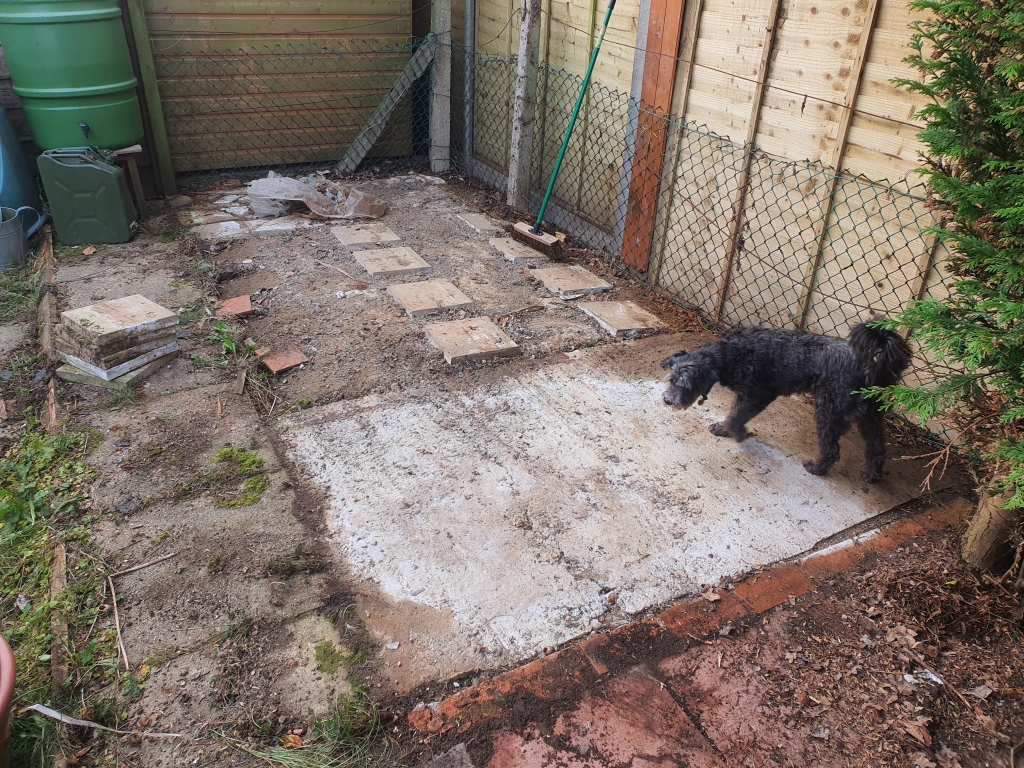
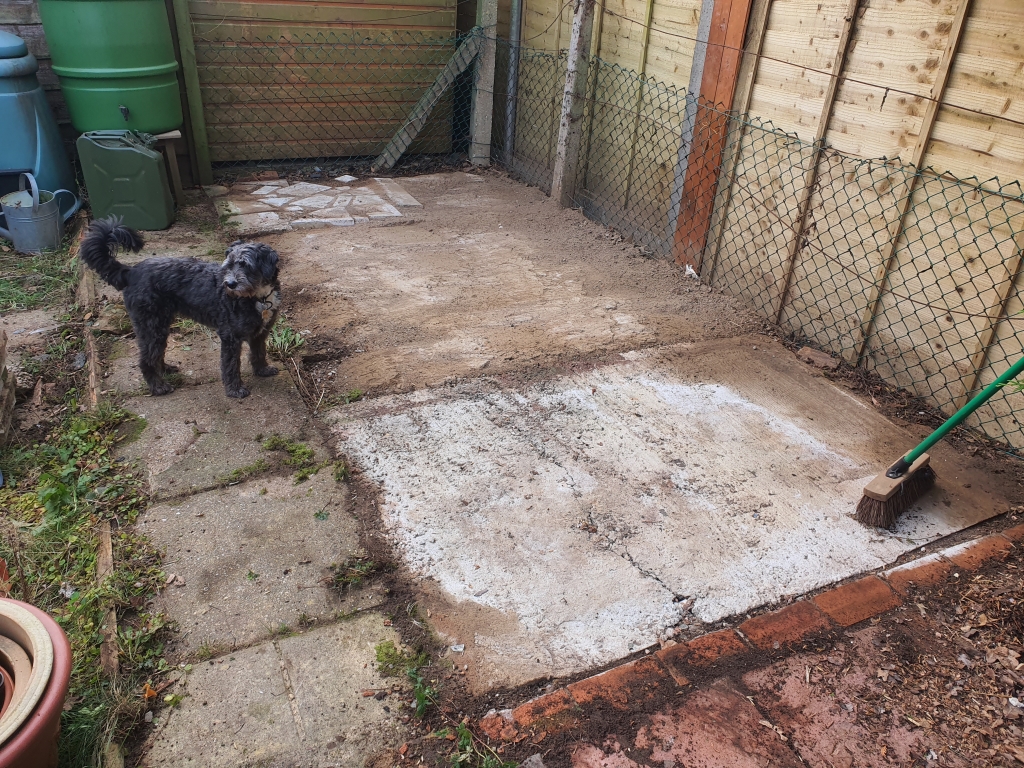
Now to rip this abomination up. It seemed to consist of MANY different materials, from concrete, to broken slabs, and basically whatever that found that was not soil, and just lobbed it in, and compacted it down. The concrete was actually half decent, but just too small to be any good, and not exactly where I needed it, or the right size. I toyed with the idea of integrating it, but decided to just pull it all up in the end.
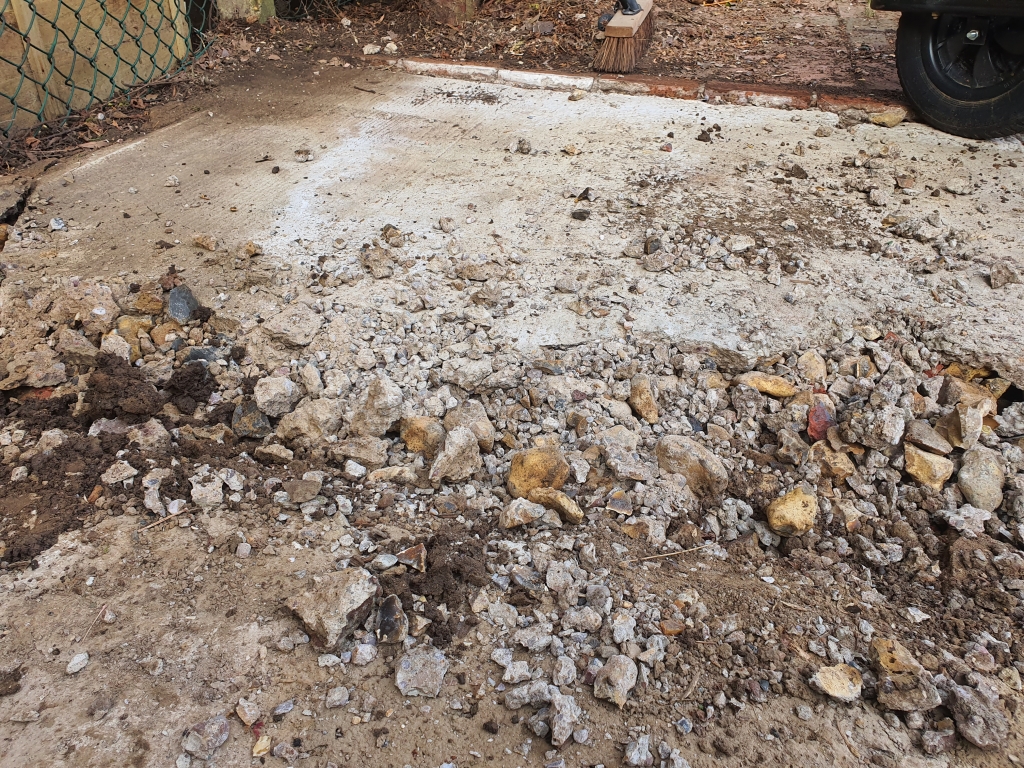
These bits all took a long time, breaking up the concrete:
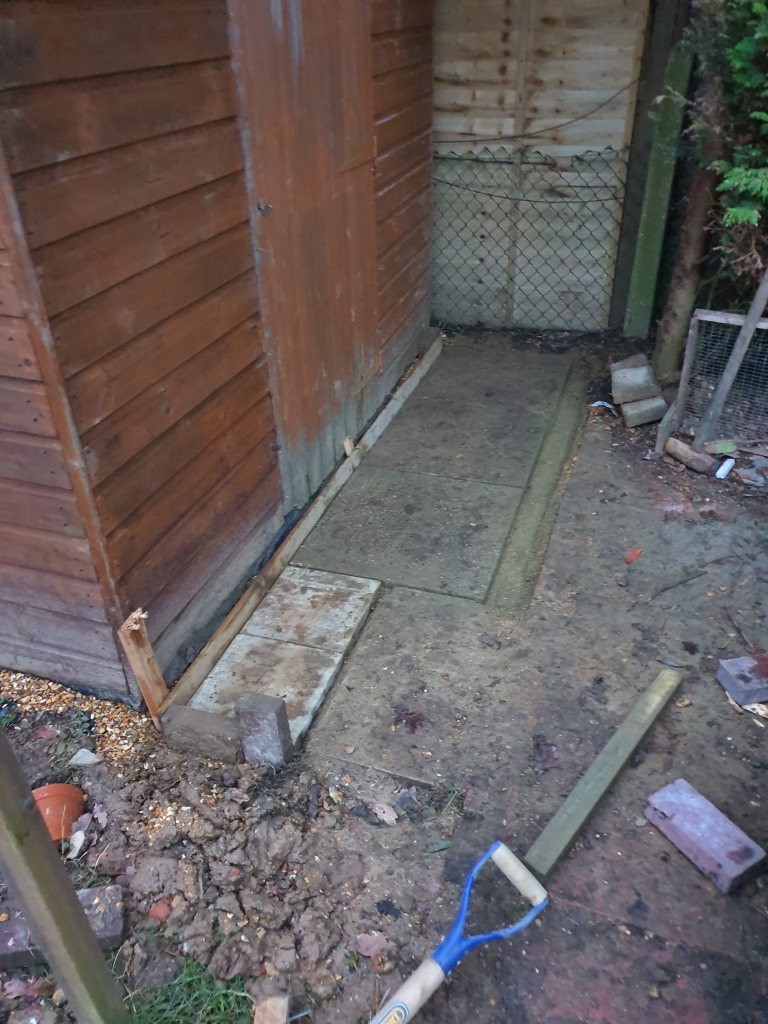
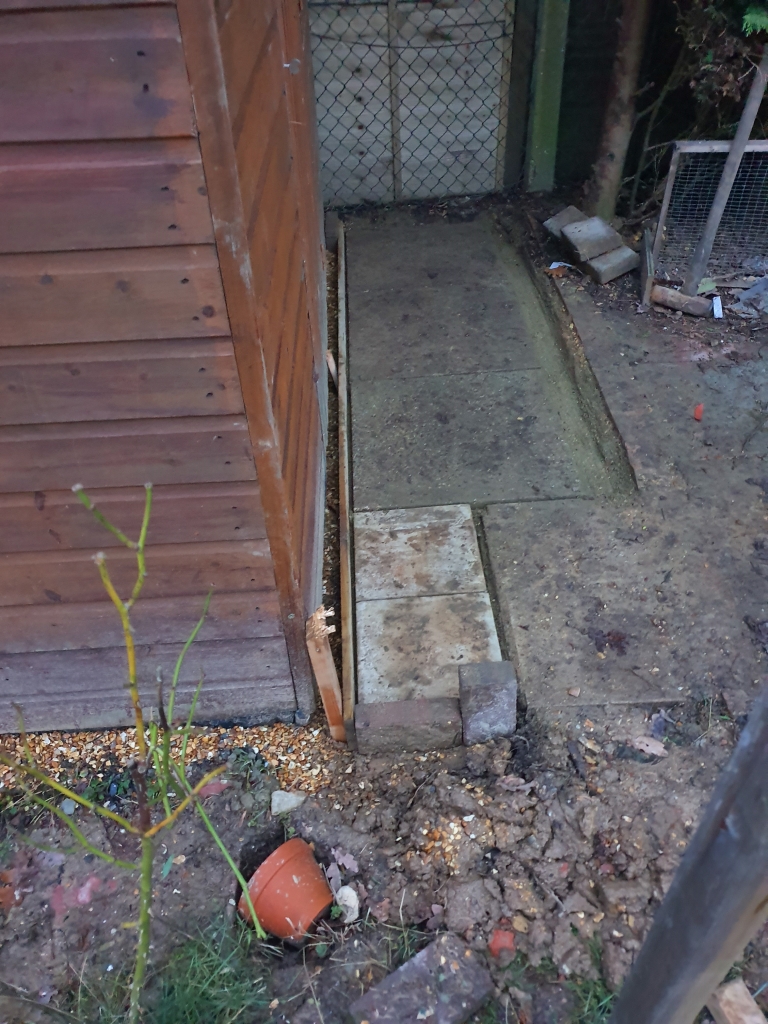
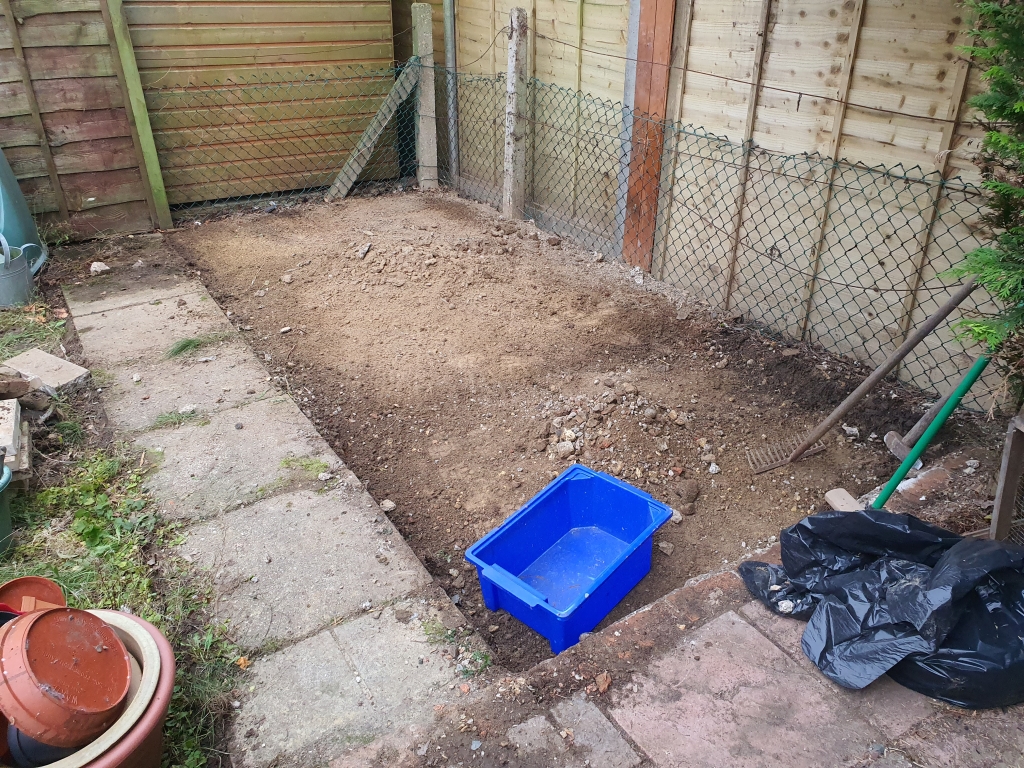
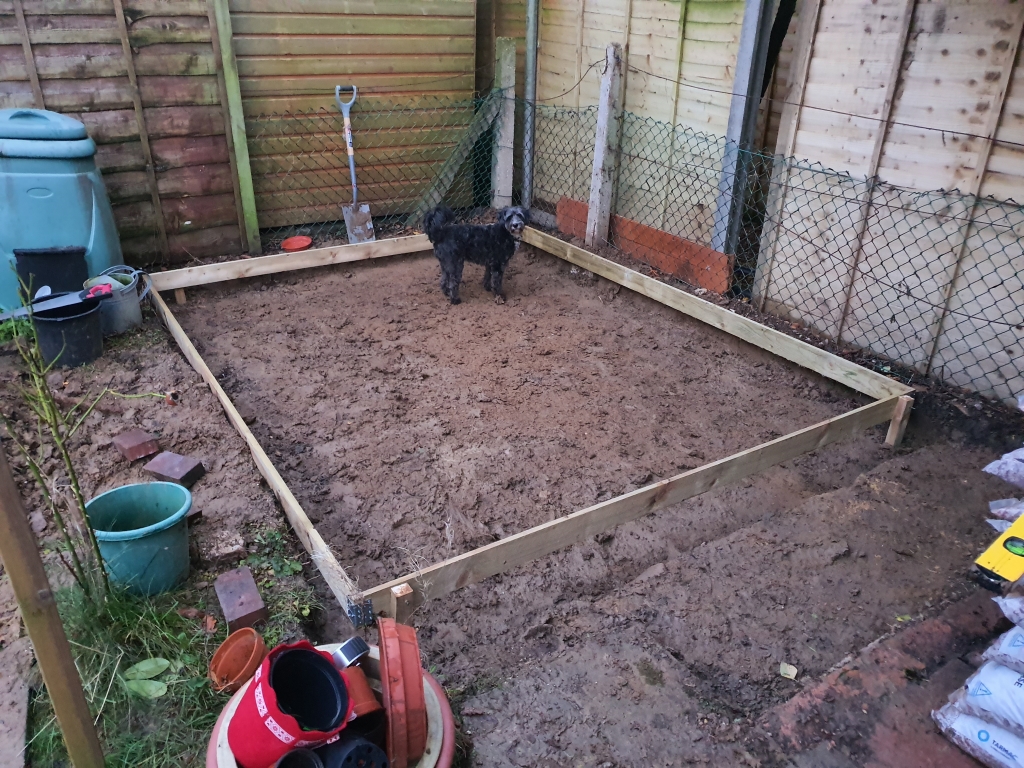
Since I was not planning to use the old base that came with the shed, I was going full concrete, i used the old floor that was chopped in 2 as a way to work out the footprint to work out where I needed to dig/level/take out.

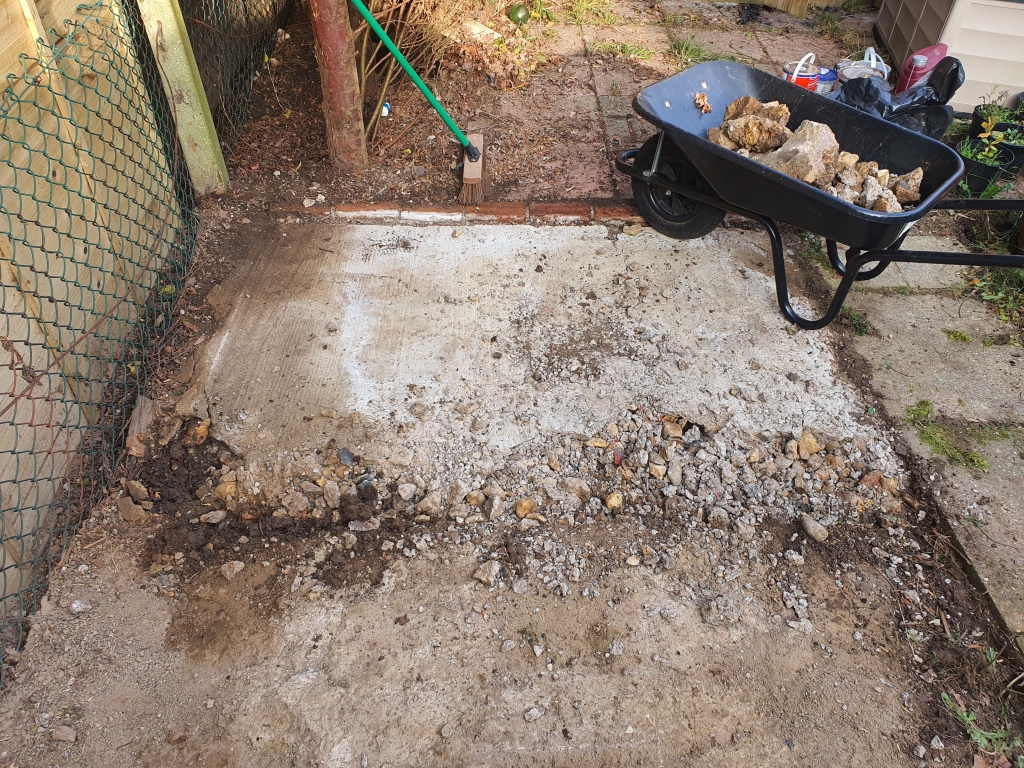
More digging out:
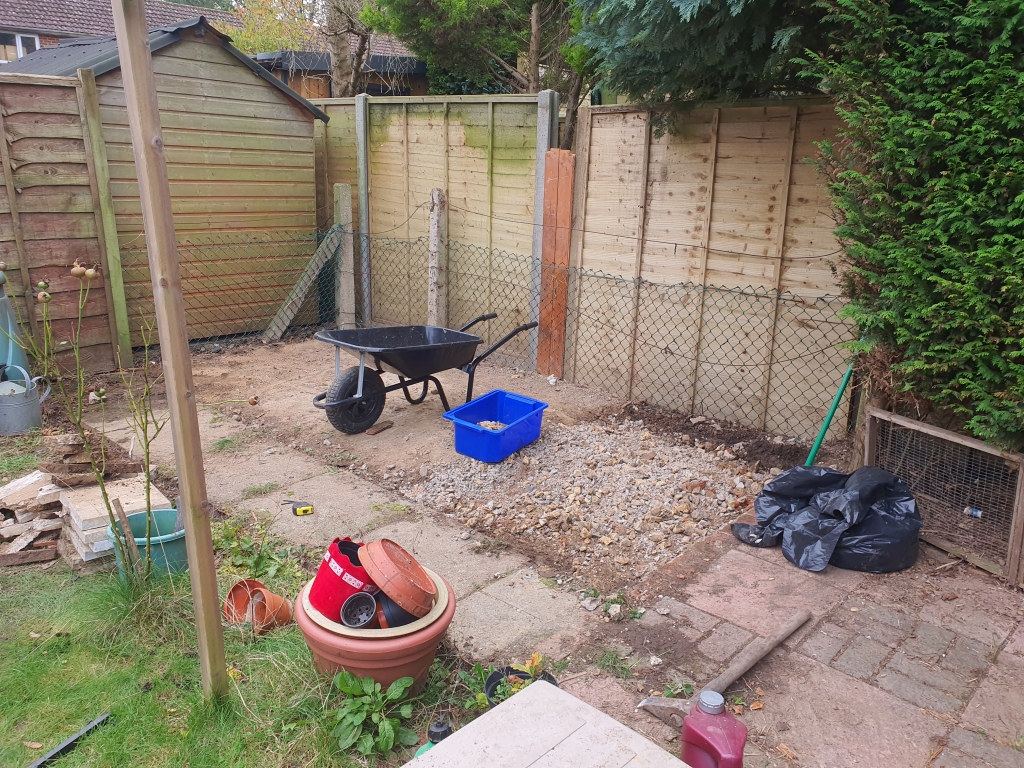
View of the work area, using the old base as a rubble dump:
Yet more digging out:
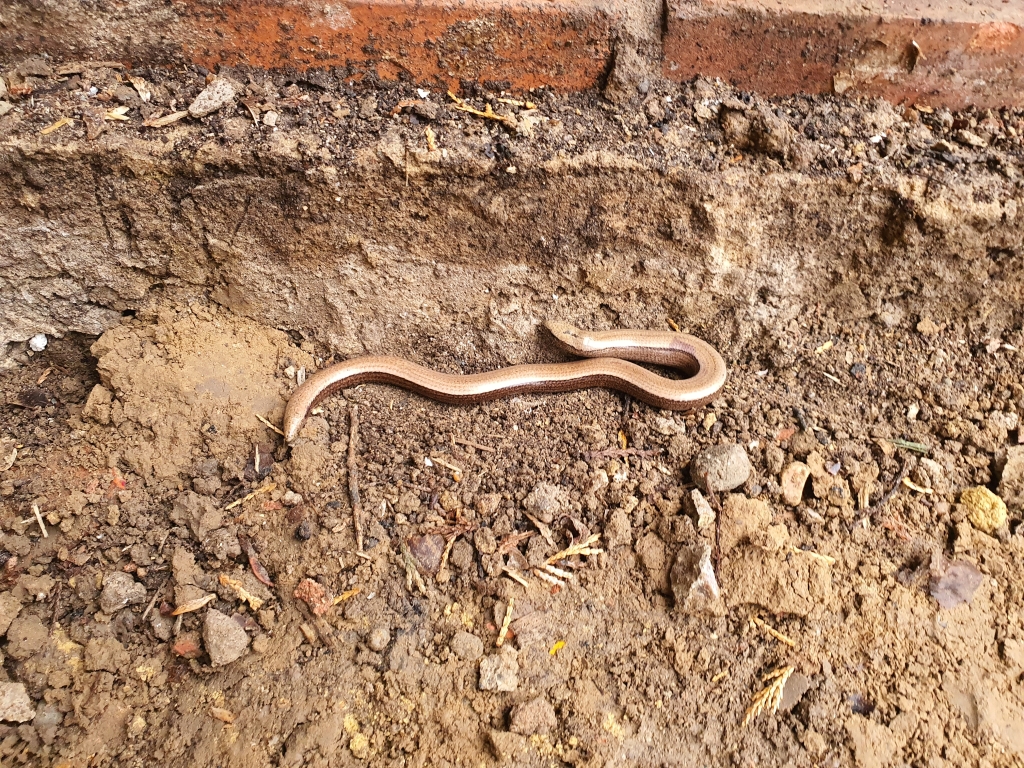
A couple of locals kept getting stuck in my hole, had to move them out of harms way quite a few mornings before work started or the dog decided to have a play with them.
She did have her uses though:
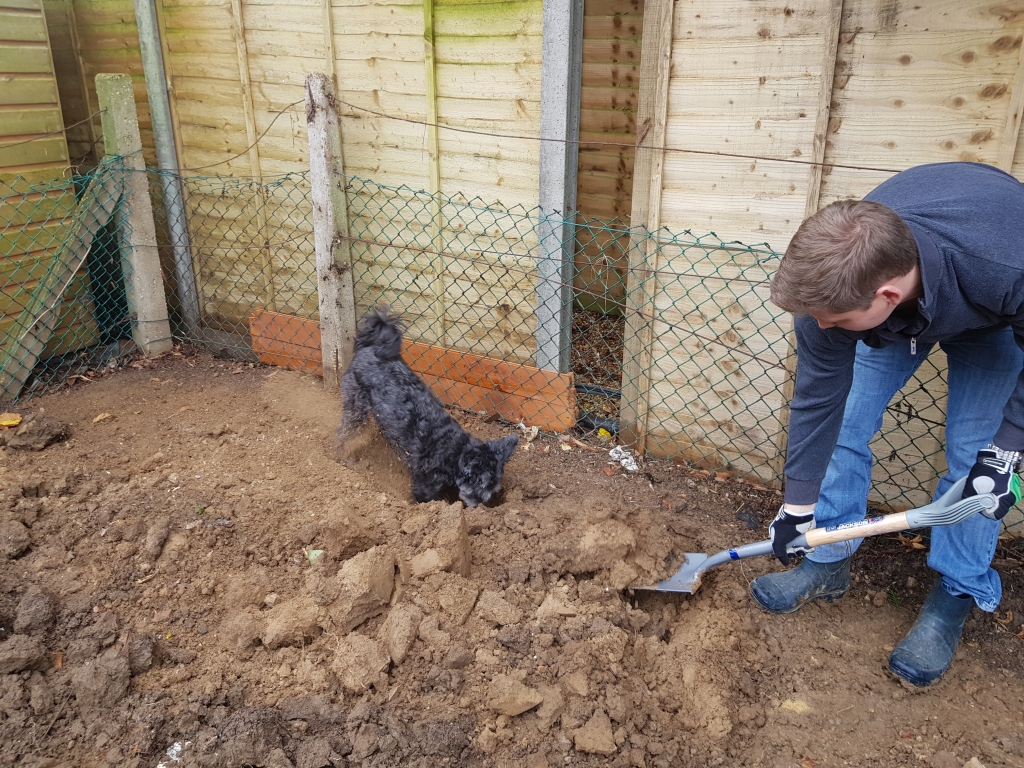
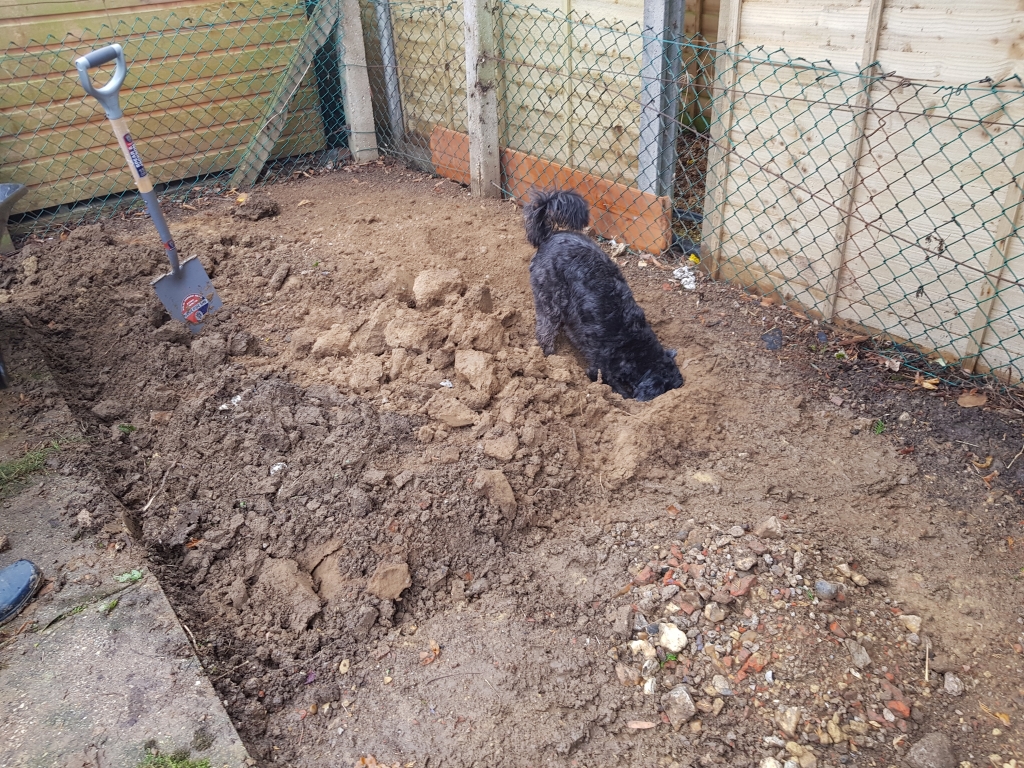
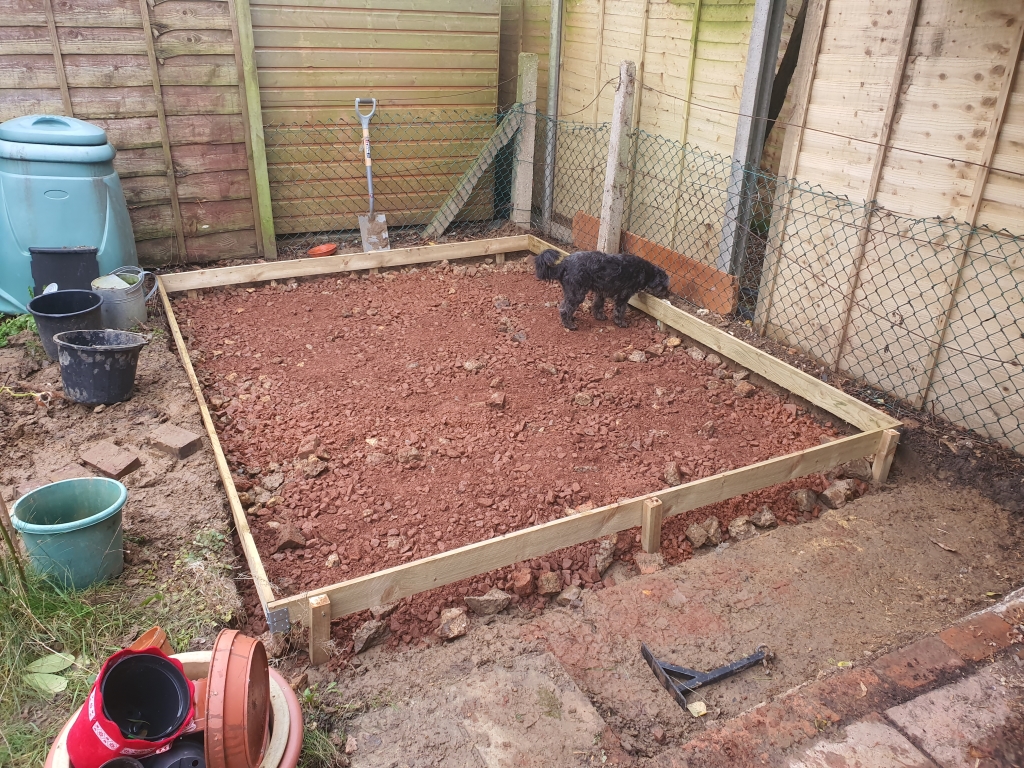
Got down to decent soil in the entire escavation site, and the side manager inspecting proceedings:

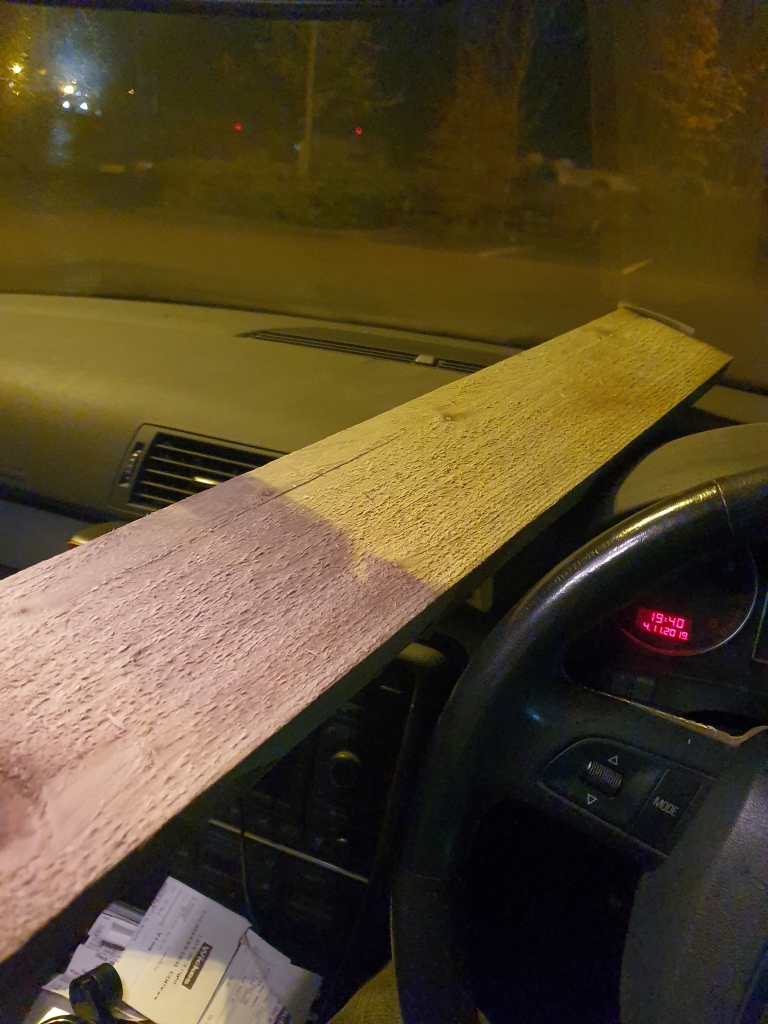
I needed some boards for the shuttering: The audi A4 estate CAN fit 3 meter boards in without cutting, and with the boot closed:
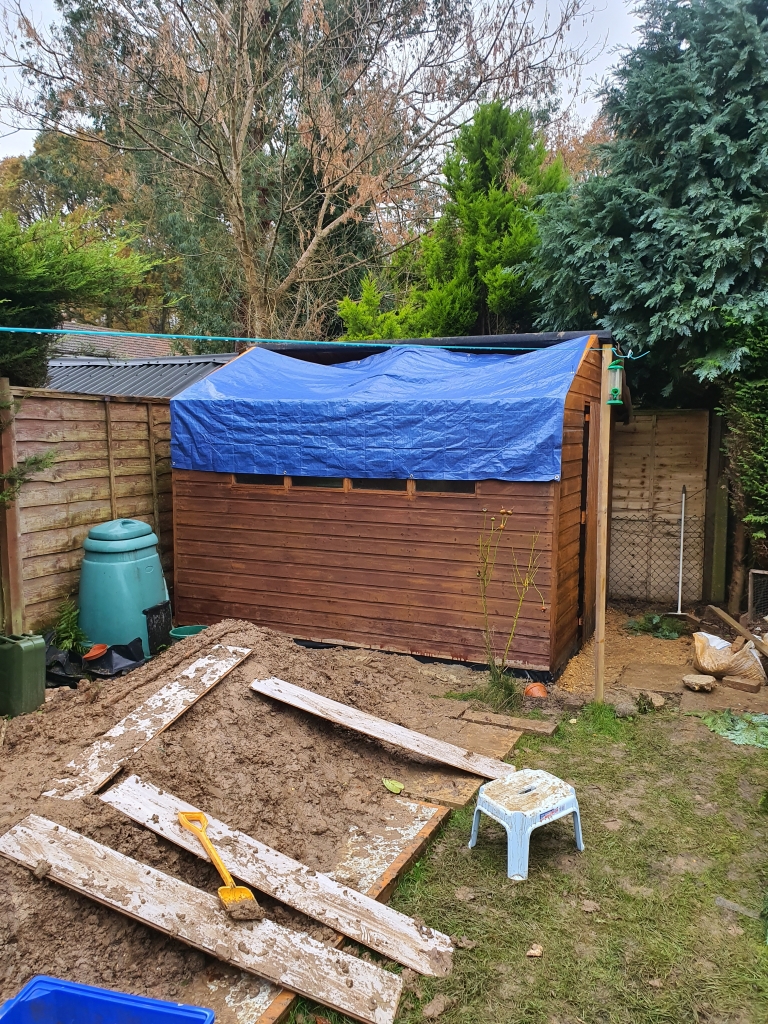
A rough idea of the plan!
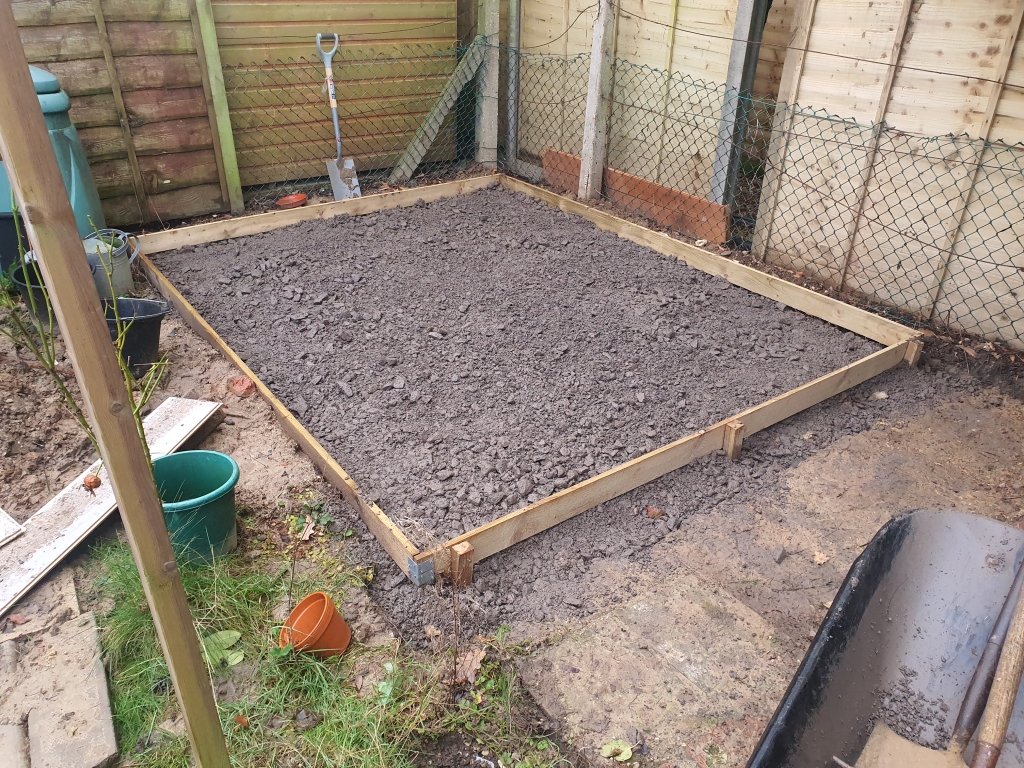
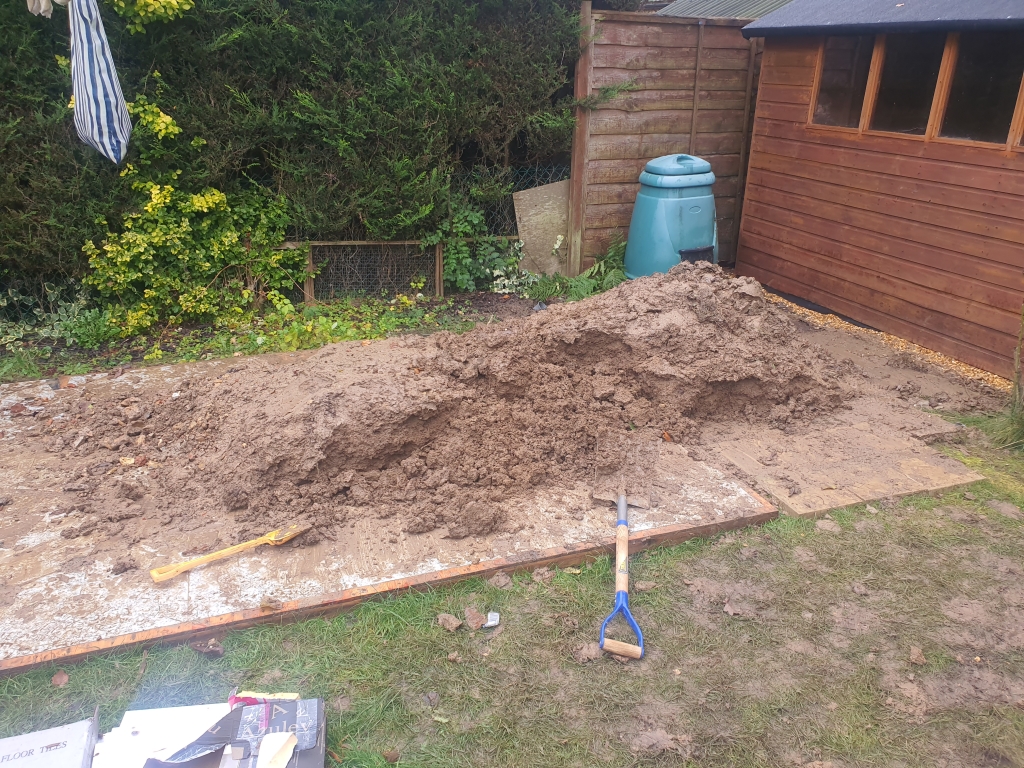
Hardcore and some MOT sub-base going in:
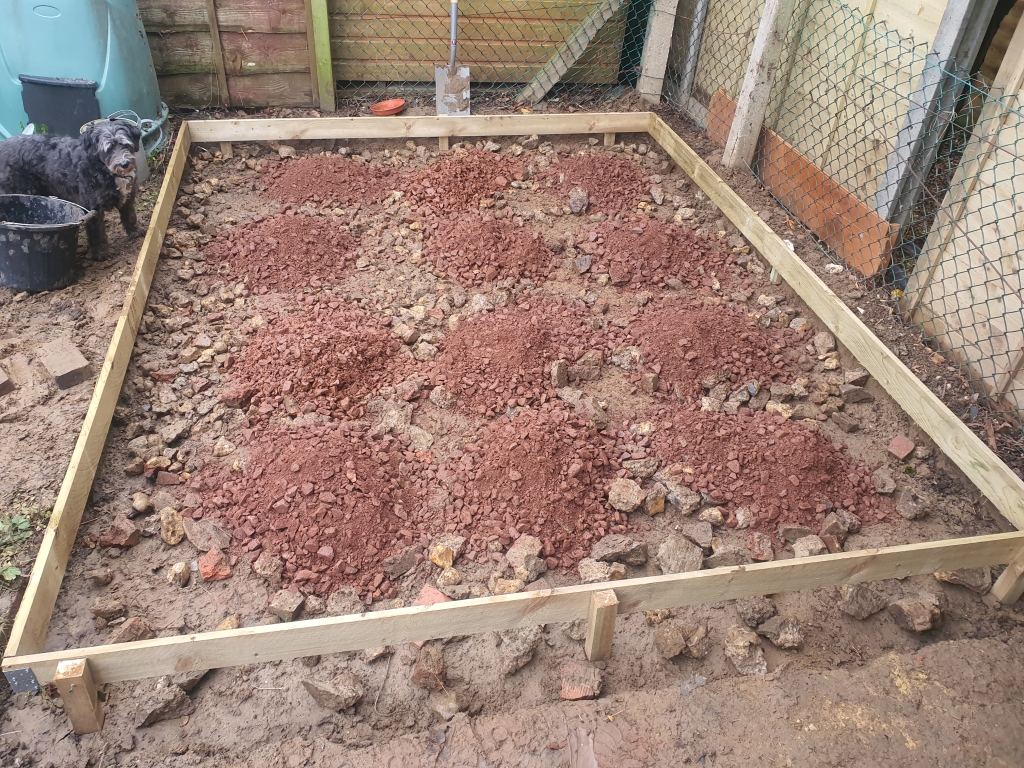
It seemed to need tonnes of the stuff:
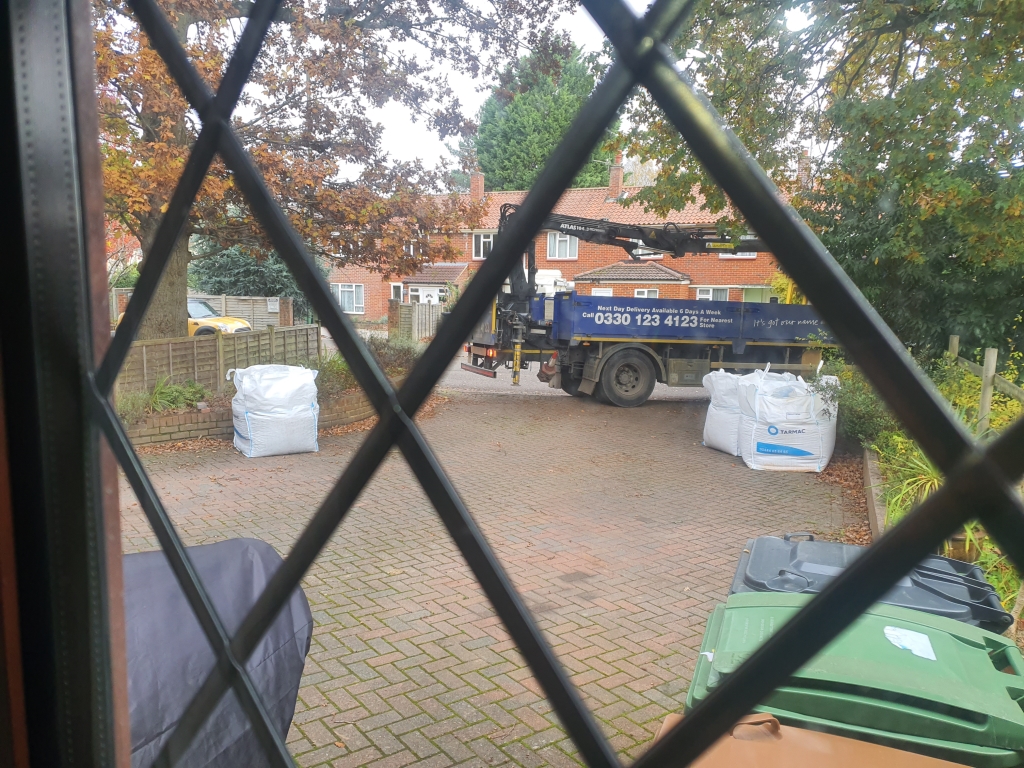
I gave up with the bagged stuff, and bough a big bag, and got it delivered
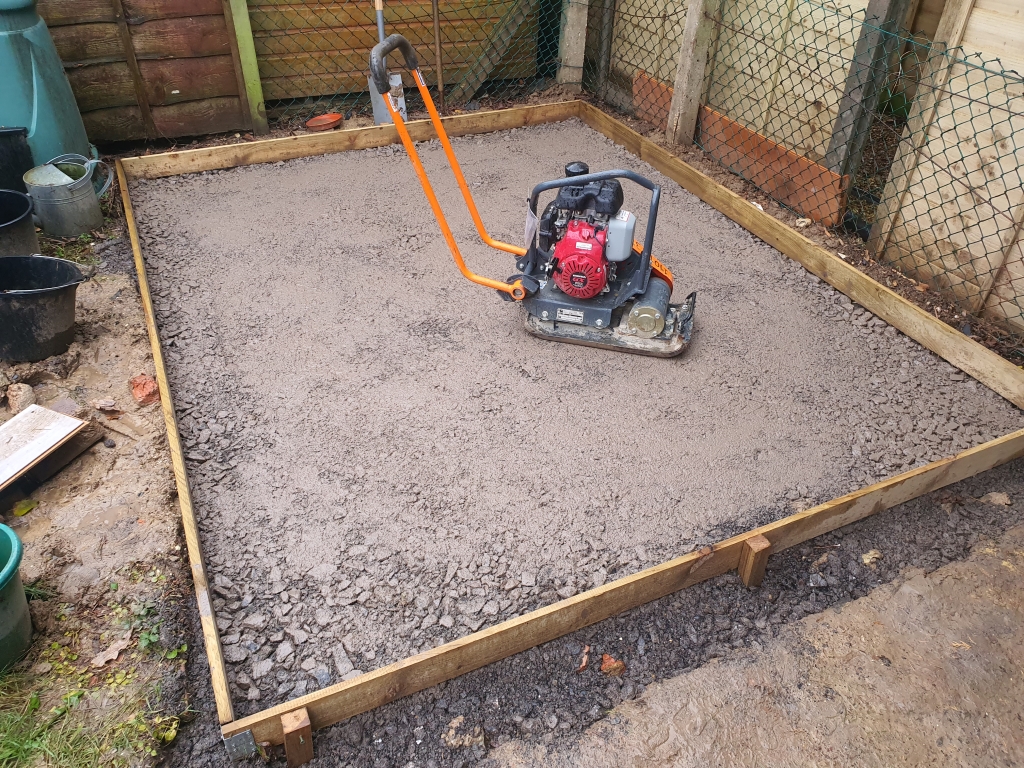
This is a cool tool!! Went about 4 inches deep:
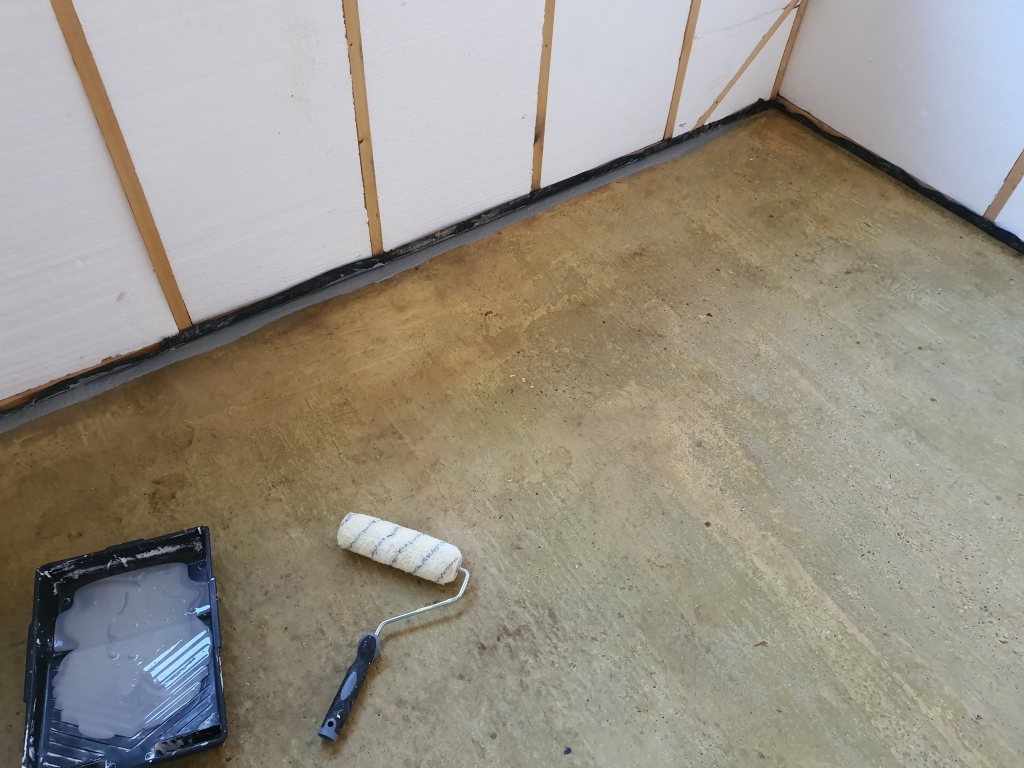
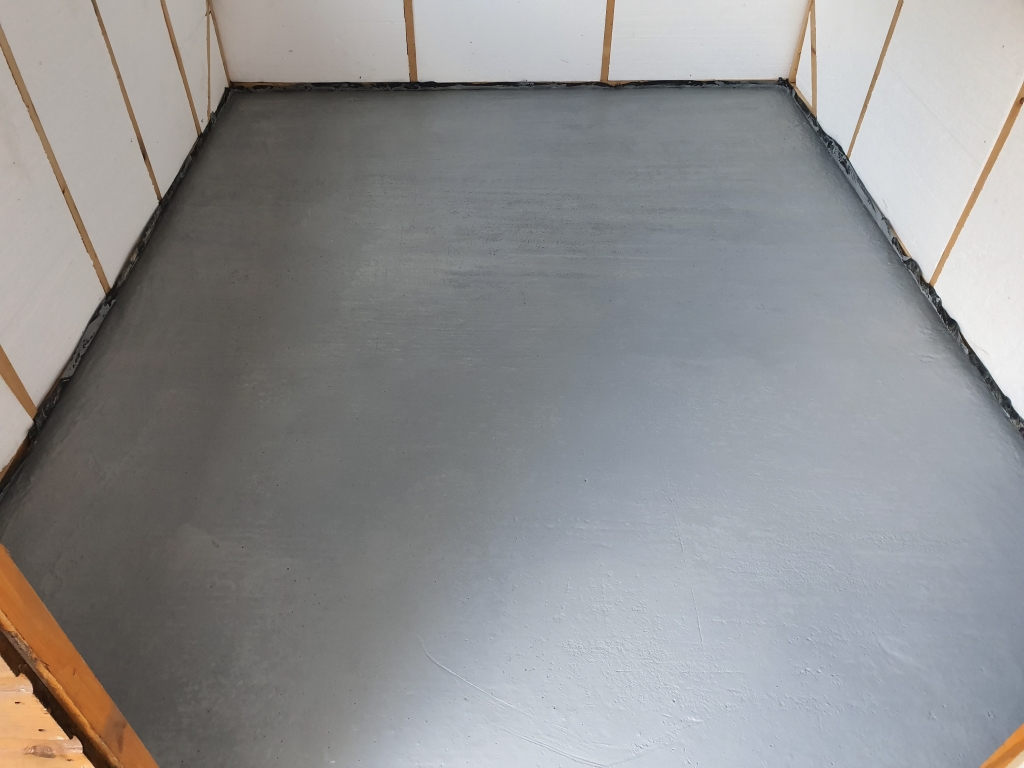
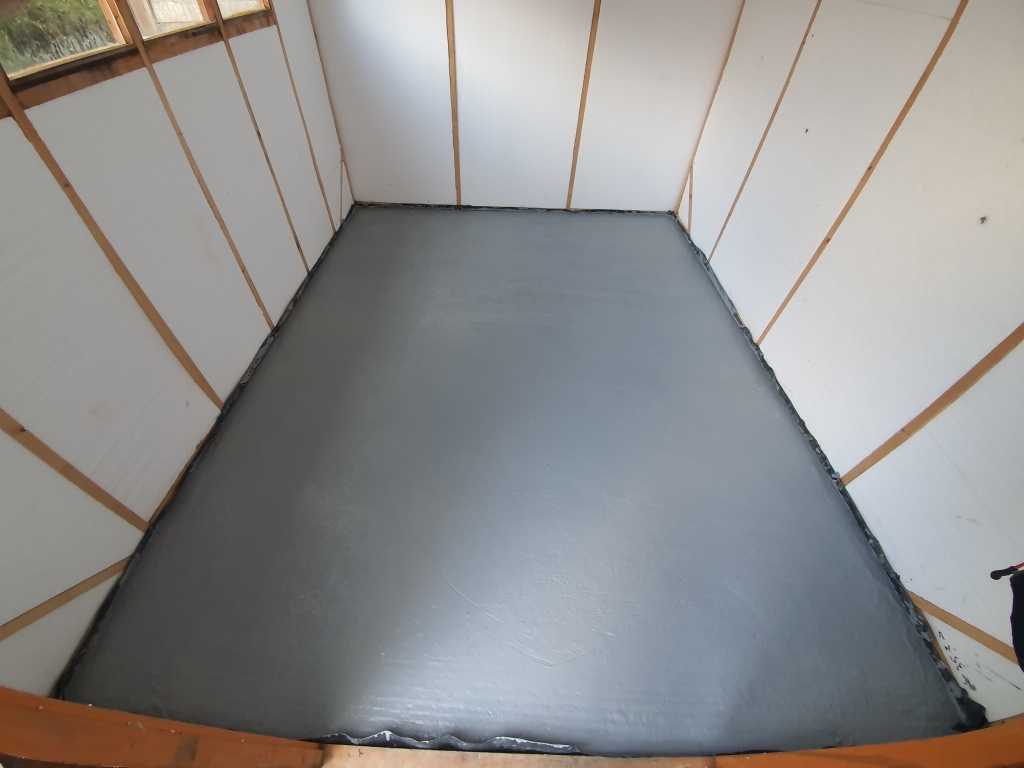
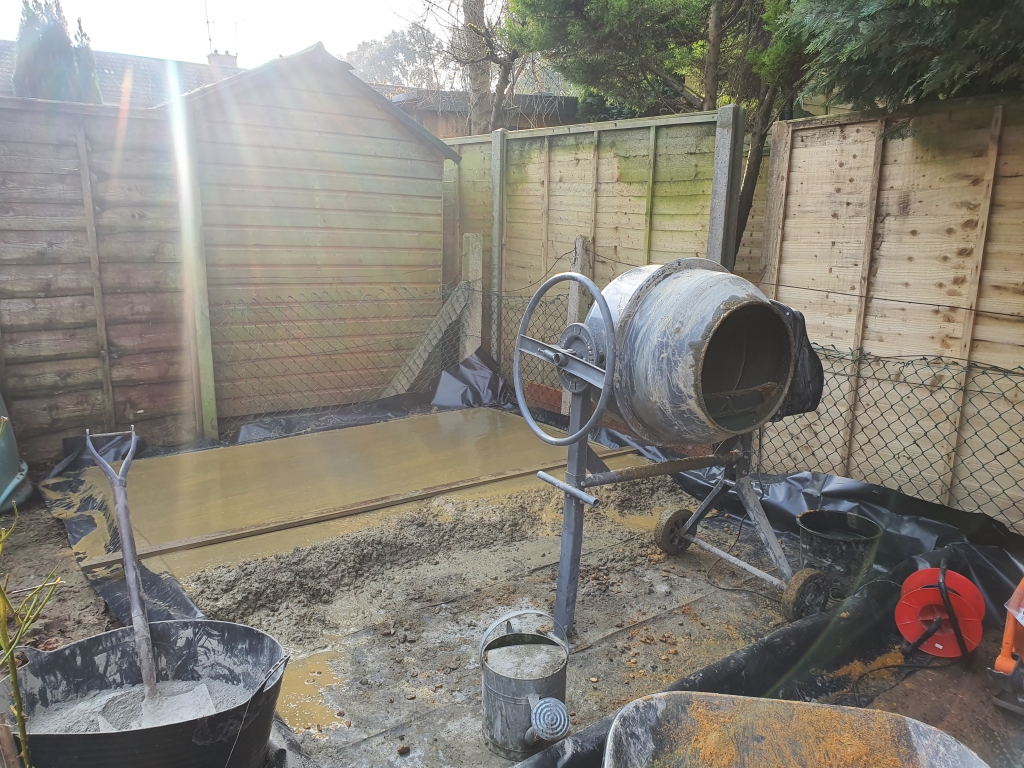
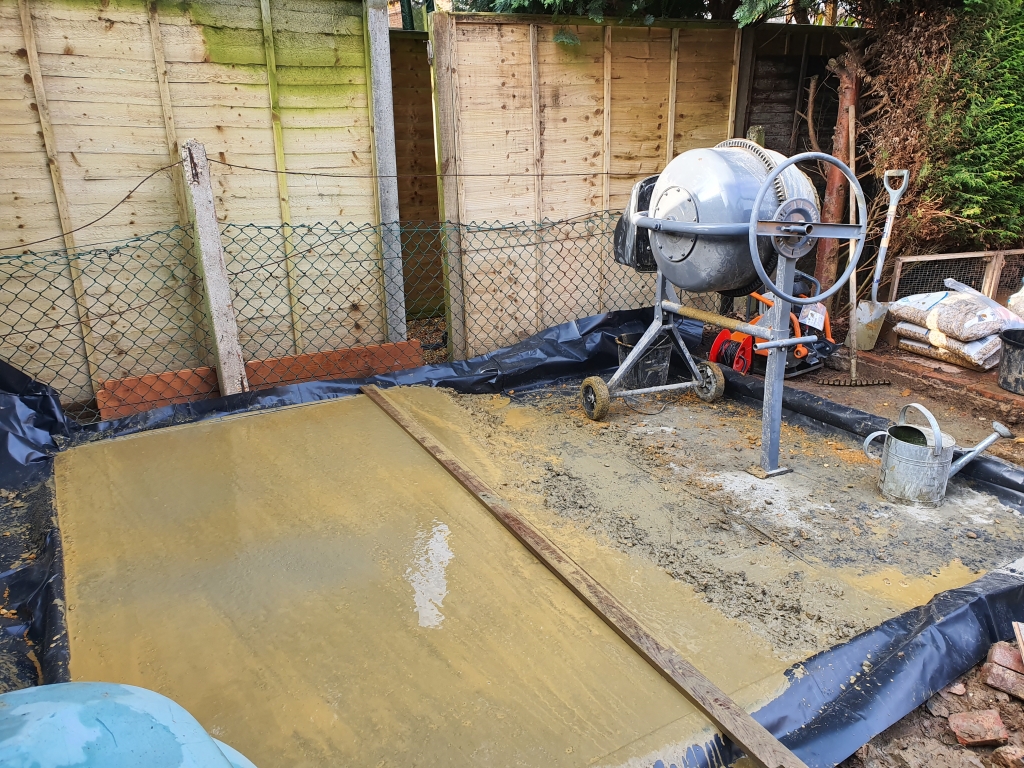
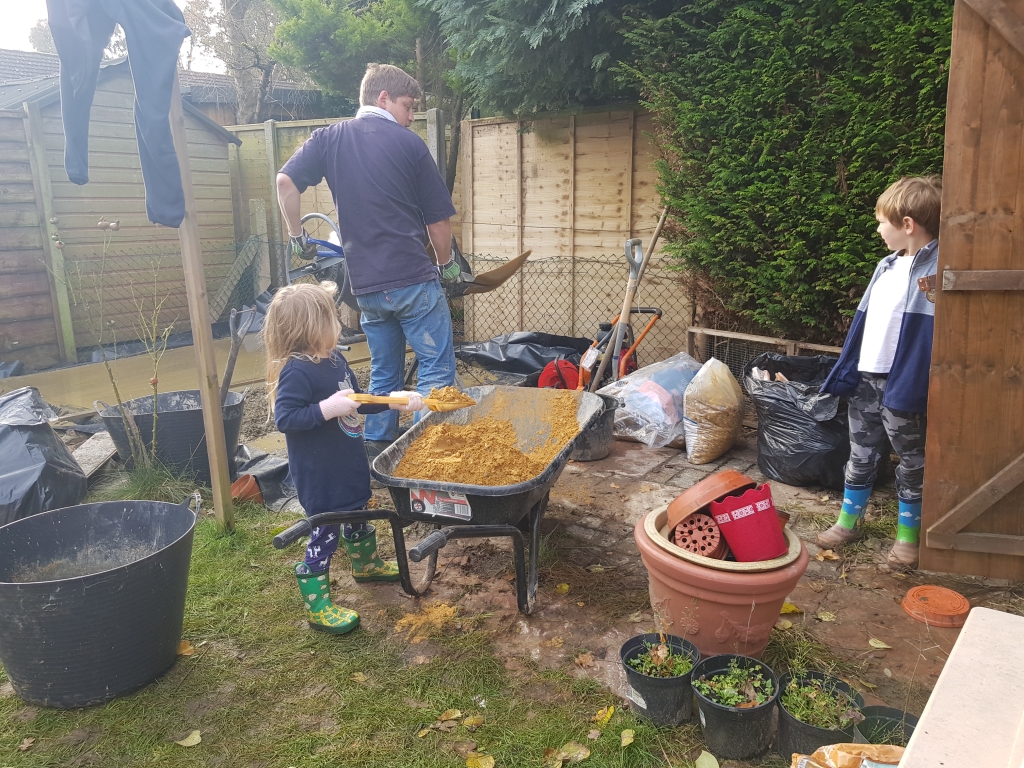
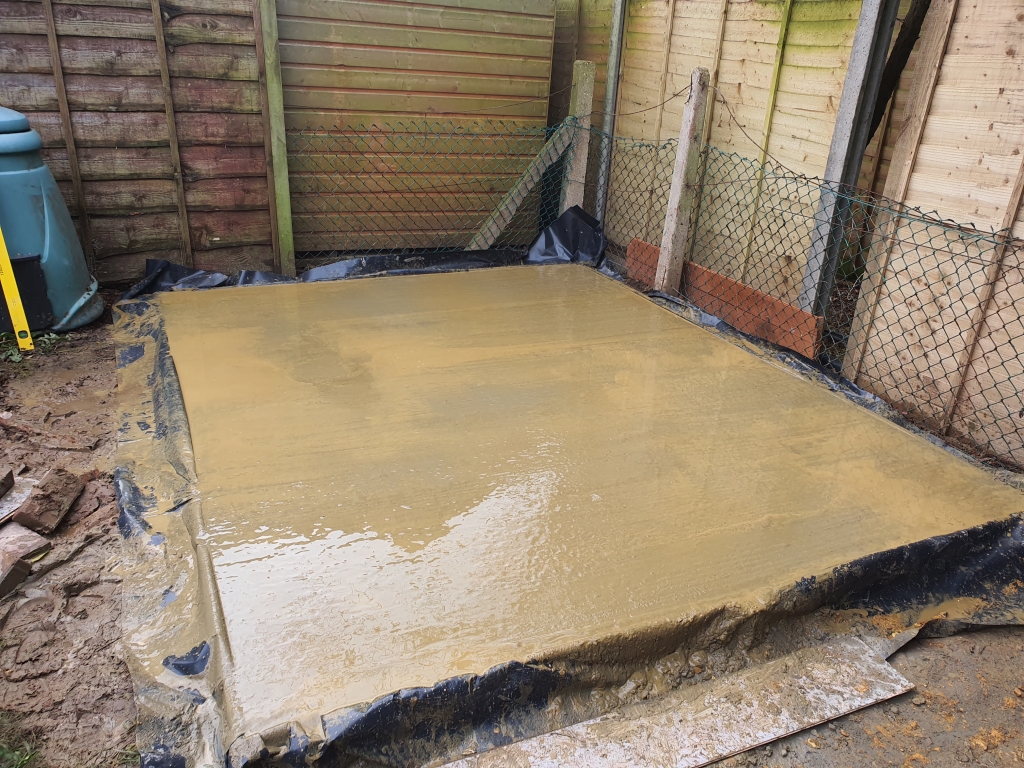
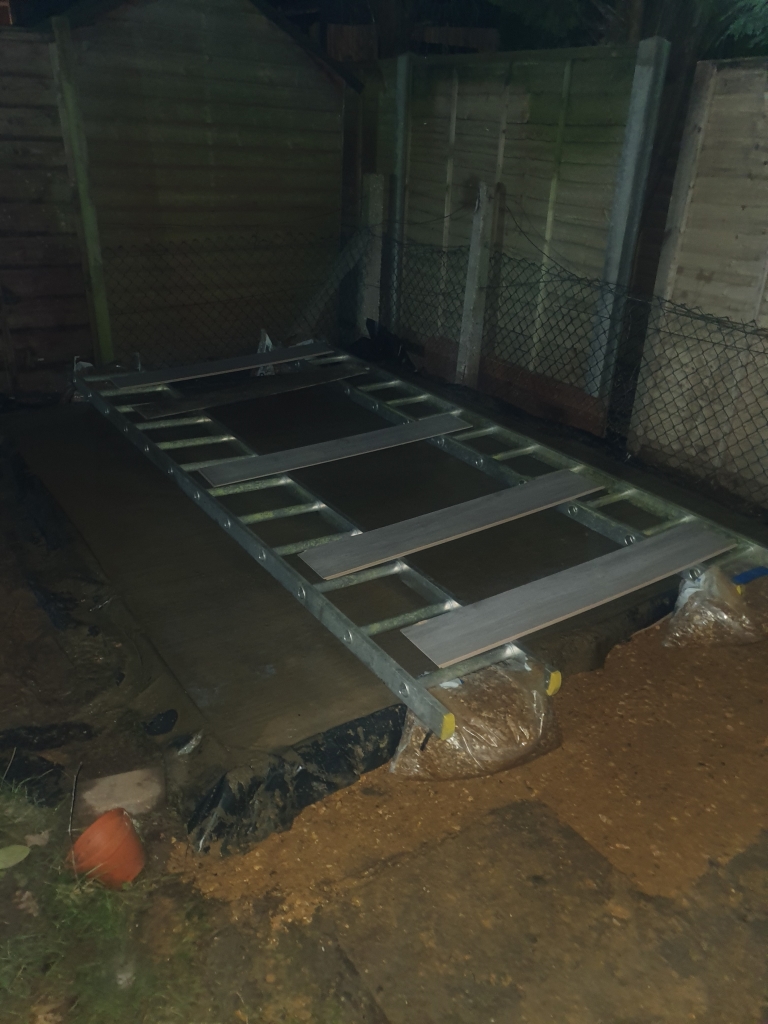
Next - Concrete!
Of course, having never been involved in building anything other than stuff that moves on wheels, i decided to do all the work myself, and start in late October to give me maximum weather compliance.
Regardless, My current shed situation was not conducive to such a plan, so this had to change. I had two sloping roof old sheds in the back corner, and they were sat on a makeshift hard-standing/part concrete base.
The smaller of the two was worth saving, but the larger was essentially dead, rotten roof, and one corner was holed, with water seeping in. I did toy with the idea of rebuilding it, but since I wanted something larger, it seemed to make more sense to replace it. So i scoured the minefield of Facebook marketplace to find a nice looking shed secondhand, as new prices were, frankly, mental!
Finally found an 8x10 that was for sale from a local couple, and they needed it shifting FAST. So I did what any sensible person would do..
I borrowed the wife's estate, and took it home on the roof in stages
I think it took 4 trips in total, no mishaps on the way!
The widest panels I had to take were the short sides with the angles for the roof:
Took for some careful navigation, but it was only a 5 mile journey on small roads
No damage to the car of shed was sustained in the process, much to my wife's relief.Next was the easy bit.. Unfortunately, my property only has rear access through my garage.. Which meant that none of the larger panels would fit... Still, I had a flat roof over the garage, and some rope, ratchet straps a (very slight, just over 5 feet tall, but suprising strong) Mrs to help.
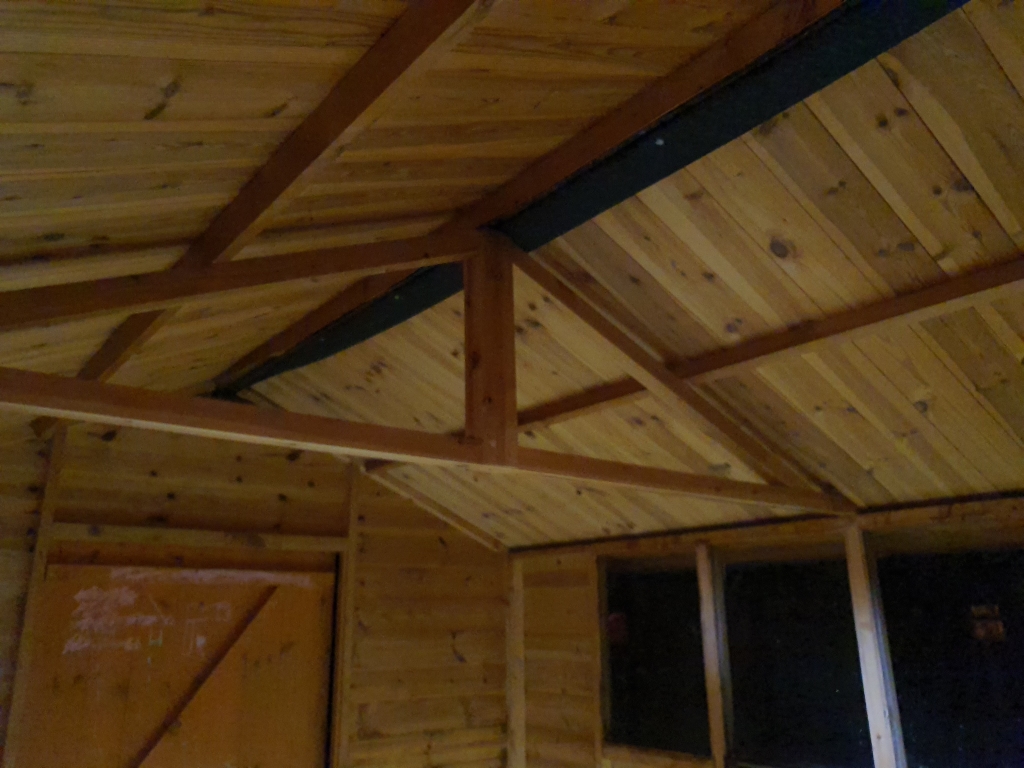
There are no pictures of "The Raising" but with some jiggery pokery worthy of Heath Robinson or perhaps the A-team all the panels were raised, by me lifting from the roof with ropes, dragged over the flat roof, and deposited safely to the other side.
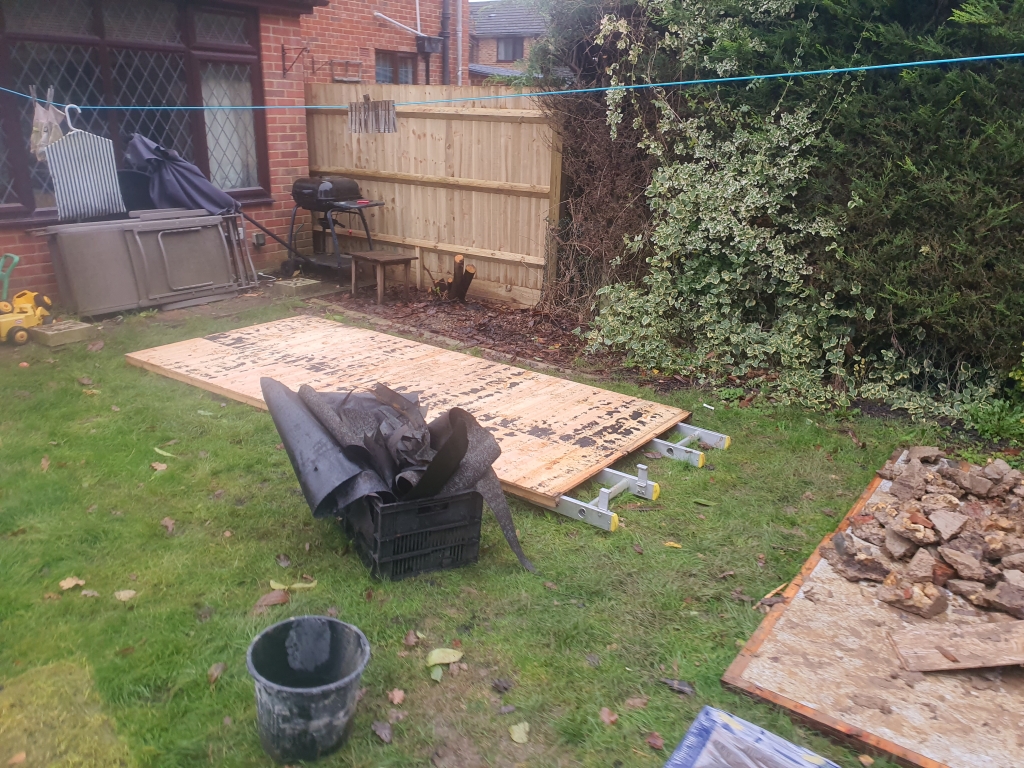
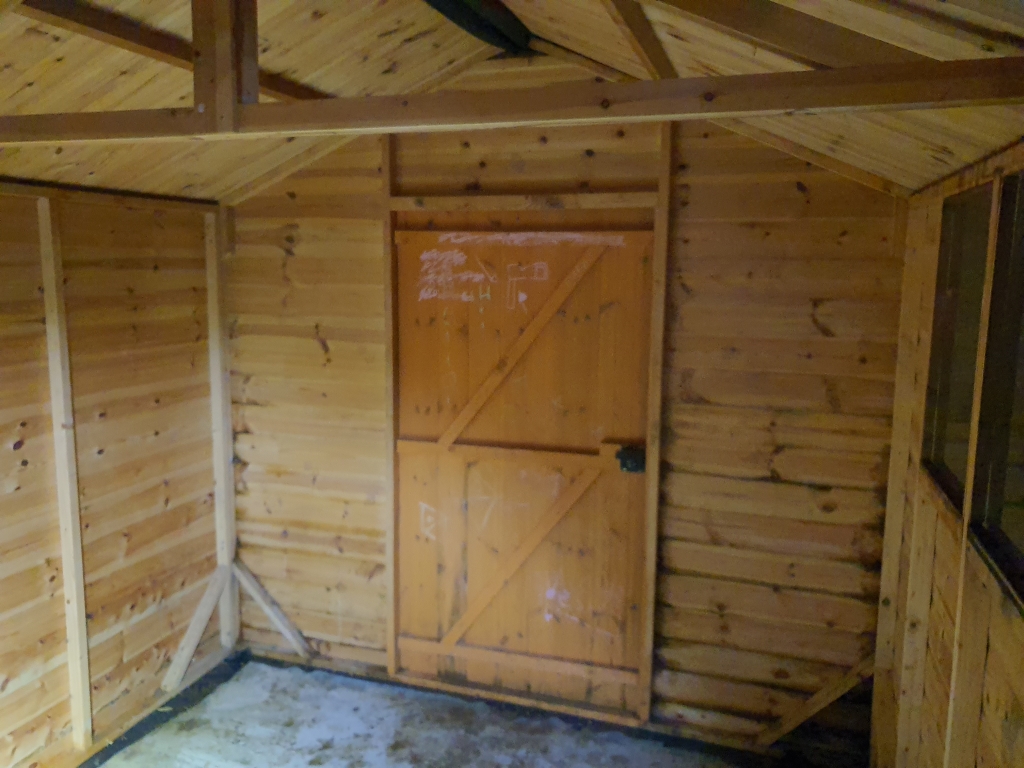
The old sheds had to be removed, and moved, respectively.
Mid-ripping down the old big shed with its rotten roof and other bits.
Didn't take too long, and we had a nice bonfire
Now to rip this abomination up. It seemed to consist of MANY different materials, from concrete, to broken slabs, and basically whatever that found that was not soil, and just lobbed it in, and compacted it down. The concrete was actually half decent, but just too small to be any good, and not exactly where I needed it, or the right size. I toyed with the idea of integrating it, but decided to just pull it all up in the end.
These bits all took a long time, breaking up the concrete:
Since I was not planning to use the old base that came with the shed, I was going full concrete, i used the old floor that was chopped in 2 as a way to work out the footprint to work out where I needed to dig/level/take out.
More digging out:
View of the work area, using the old base as a rubble dump:
Yet more digging out:
A couple of locals kept getting stuck in my hole, had to move them out of harms way quite a few mornings before work started or the dog decided to have a play with them.
She did have her uses though:
Got down to decent soil in the entire escavation site, and the side manager inspecting proceedings:
I needed some boards for the shuttering: The audi A4 estate CAN fit 3 meter boards in without cutting, and with the boot closed:
A rough idea of the plan!
Hardcore and some MOT sub-base going in:
It seemed to need tonnes of the stuff:
I gave up with the bagged stuff, and bough a big bag, and got it delivered
This is a cool tool!! Went about 4 inches deep:
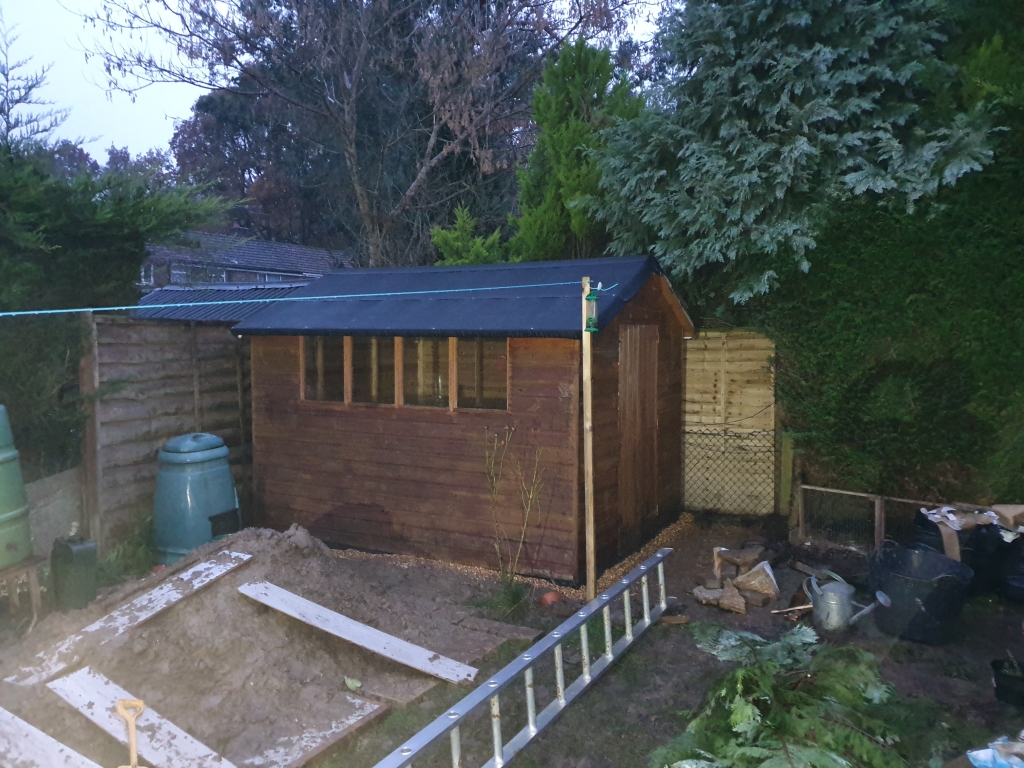
Next - Concrete!
Last edited:


")