Level 20 XT Build

Soldato
Joined
29 Dec 2014
Posts
5,781
Location
Midlands
Upgrading the watercooling from my existing system, gonna track my progress in here. Having some custom work done, including spray paint and custom acrylic panelling.

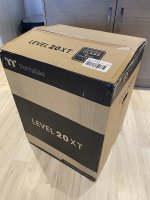
First things first, new case - these were out of stock everywhere, but managed to find one on Amazon, turned up yesterday;
3IKitMU.jpg

Looks like a monstrosity in black/grey, really big and dull - has huge modding potential though.
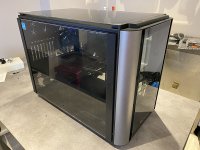
swW2dVZ.jpg

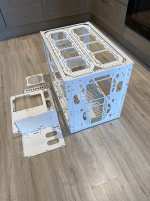
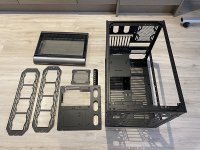
Stripped down, and ready to go for spray painting;
7XPYoaC.jpg

More to follow!
 
Soldato
OP
Joined
29 Dec 2014
Posts
5,781
Location
Midlands
What are you going to do with the grey corner pieces in the front? Can’t imagine they would go with white very well.

Yeah they've been sprayed white too,

Nice!
I have a Level 20XT with a Barrow distro plate, which covers the entire front section.
Also took off the front glass for airflow, gonna try to remount with a bit more clearance.

Subbed. :)

Nice!
 
Soldato
OP
Joined
29 Dec 2014
Posts
5,781
Location
Midlands
chaos in here today lol, trying to do as much as I can this weekend,

I got a spare EK 480-XE Rad left over from something I didn't use last year, so I decided to go overkill as hell and fit 3x of them :D (because why not)

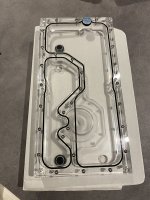
currently measuring out the holes I need to drill in the custom plexiglass panels I had made, the idea is the lighting should shine through and look cool, I have a couple of different designs to try but I'll see what these look like first..

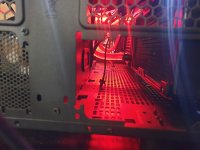
Also had to dremel out a bunch of metal on the case to fit the res on the front, for the pipework - but all good so far :)

NJGZzFg.jpg

DX9xDk9.jpg
 
Associate
Joined
3 Feb 2012
Posts
2,267
Location
Bath
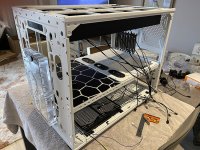
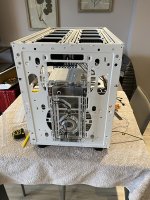
Not a great set of pics, but here's mine... Two 240mm rads down below, 360 up top. Removed other PSU plate, so the front fans chuff any heat straight out of the back. Needs a tidy up, not the cleanest build I'm capable of...
Will eventually mount the pump directly to the distro plate, as my res has sprung a minor leak. As you can see, my phone does pick up every single speck of dust... :D

Will get more work done on it eventually, but reduced income (and current lack of enthusiasm) is currently preventing further progress.
l2tseDW.jpg oOZ9O5Y.jpg VfhWHMS.jpg qu1bi4a.jpg
 
Last edited:
Associate
Joined
3 Feb 2012
Posts
2,267
Location
Bath
Honestly, it looks better in the flesh, not managed to take a good photo of it yet... Fitting the distro plate was enough of a PITA (due to new tubing being a bit thicker, the compression fittings nearly killed me) I haven't done much to it since!
 
Soldato
OP
Joined
29 Dec 2014
Posts
5,781
Location
Midlands
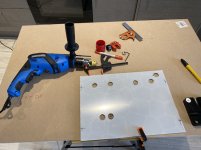
Drilling the holes in the plexiglass top panel, quite challenging as it's taking ages to get everything measured out perfectly with the pipework, one slip up and I have to do the whole panel again, it just takes ages :D.... (I did order 3x in case I screwed one up)

If anyone's interested in ever drilling through plexiglass/acrylic, seems that a wood hole-saw with 10mm thick MDF backing, works pretty well (so far)

3QLkw7u.jpg
 
Soldato
OP
Joined
29 Dec 2014
Posts
5,781
Location
Midlands
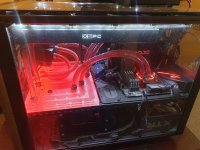
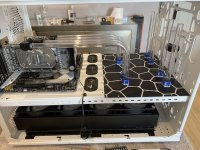
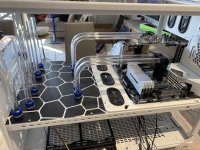
making good progress now, hardest parts are done - pipework and drilling plexiglass. Need to get all the fans on the rads, the rads in place - then do the soft-pipe interconnections underneath.

HK74ESI.jpg

17tUs0Q.jpg
 
Soldato
OP
Joined
29 Dec 2014
Posts
5,781
Location
Midlands
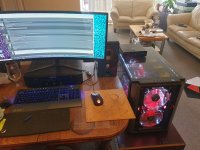
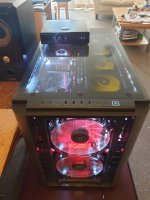
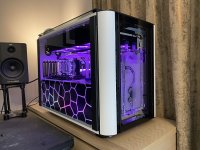
Been so busy this week, barely had time to finish it - or get decent pics, but it is finally done :)

Will try and get some better pics at some point, just been too busy lol

Sge7QmK.jpg
 
Back
Top Bottom