

I decided to look at another project. I was riding my Hornet less and less, due to enjoying the 400 so much I found I was putting it into more regular use, which was not the original plan!
So, I went looking about at CBR600F(x) (of varying eras) and looking at prices, decided an F2/F3 would be the sweet spot to find a cheap project that I could likely fix and make into a reliable "hack", that will replace the Hornet when I sell it on.
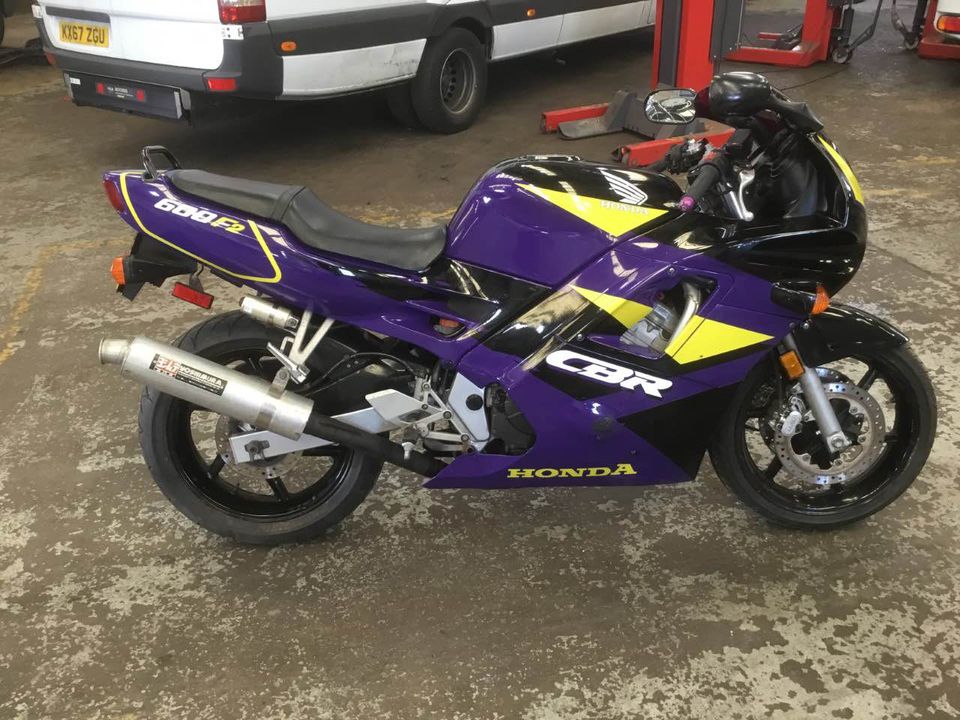
I spent a few weeks looking about, and kept going back to an F2 import that had been up for a few weeks (5 weeks) at £1000 on facebook marketplace. It listed as a non-runner, but looked to be in pretty tidy condition.
HOWEVER, there was a spanner in the works. First issue was the location (about an hour away), and it had no MOT, and was apparently not rideable. So, my had recently gained access to a vehicle that I thought would make a perfect bike transport vehicle! An ex disability equipped VW caddy high top thingy, with a split tail, and winch already built in...
Very fortuitously, a guy in my village asked if anyone could move a CBR600F4i a few miles from a garage to his house so he could get it running in the summer! Bingo! The bike is almost identical dimensions to my proposed F2 unit. So we had a go, and Boom:
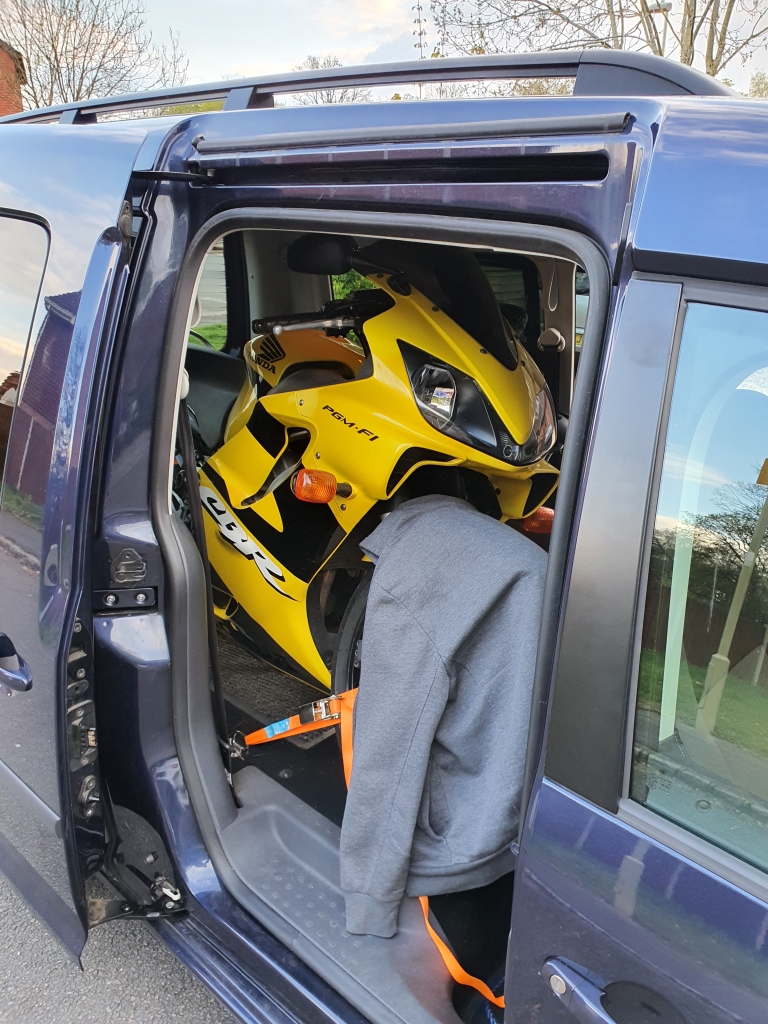
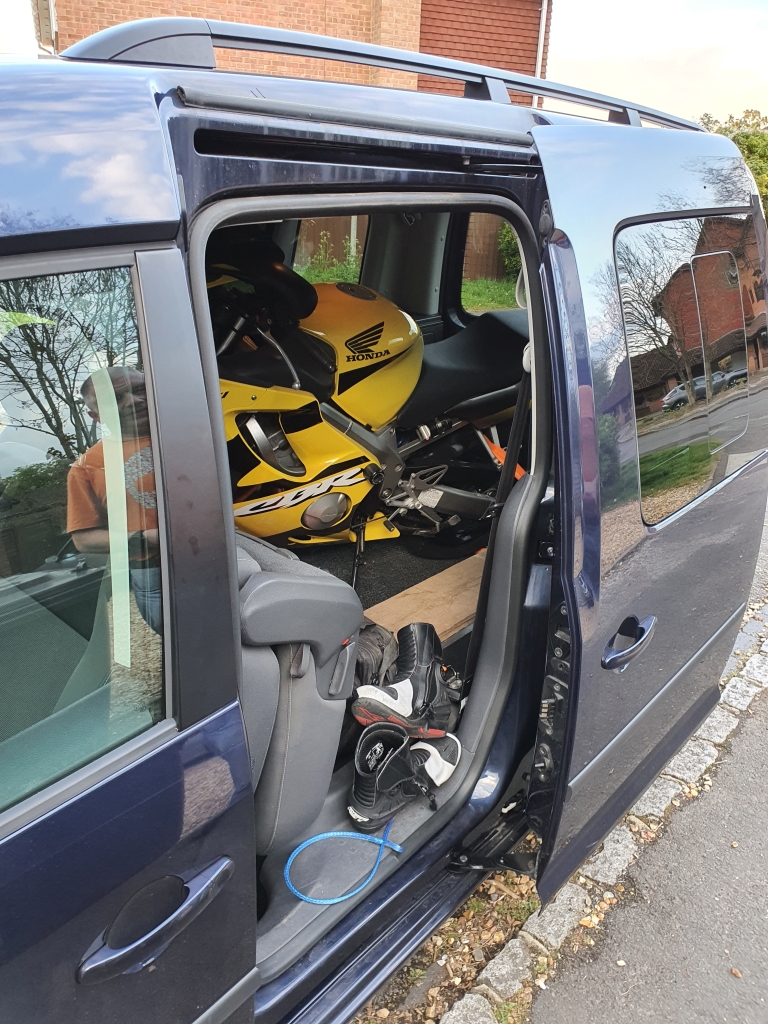
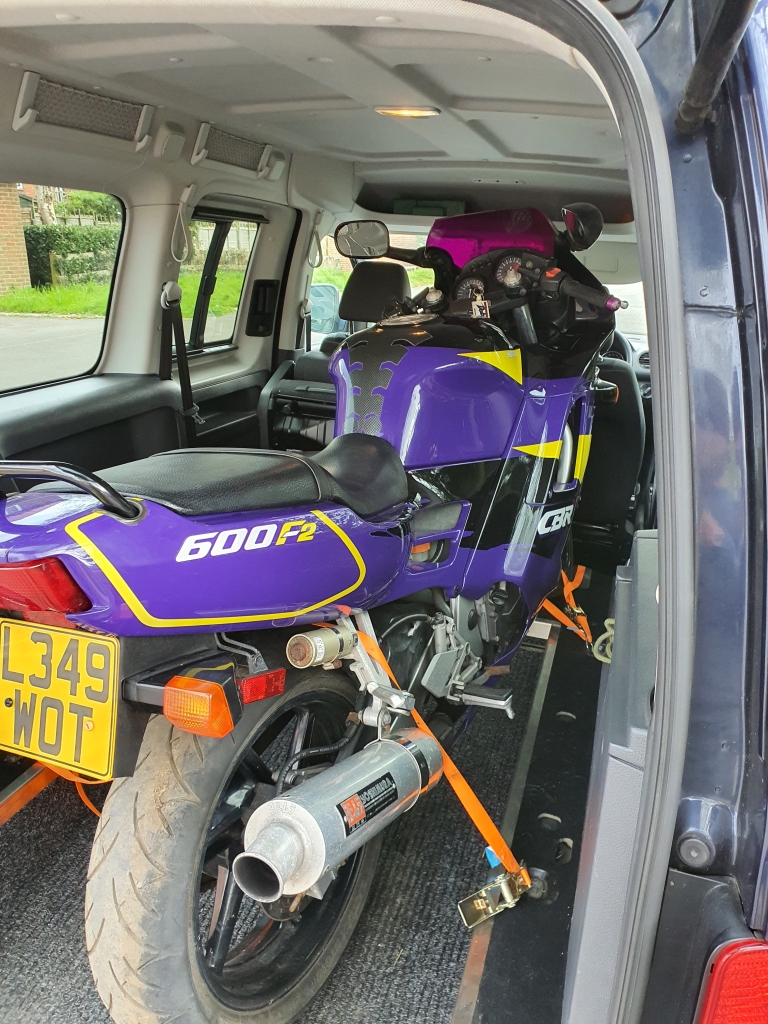
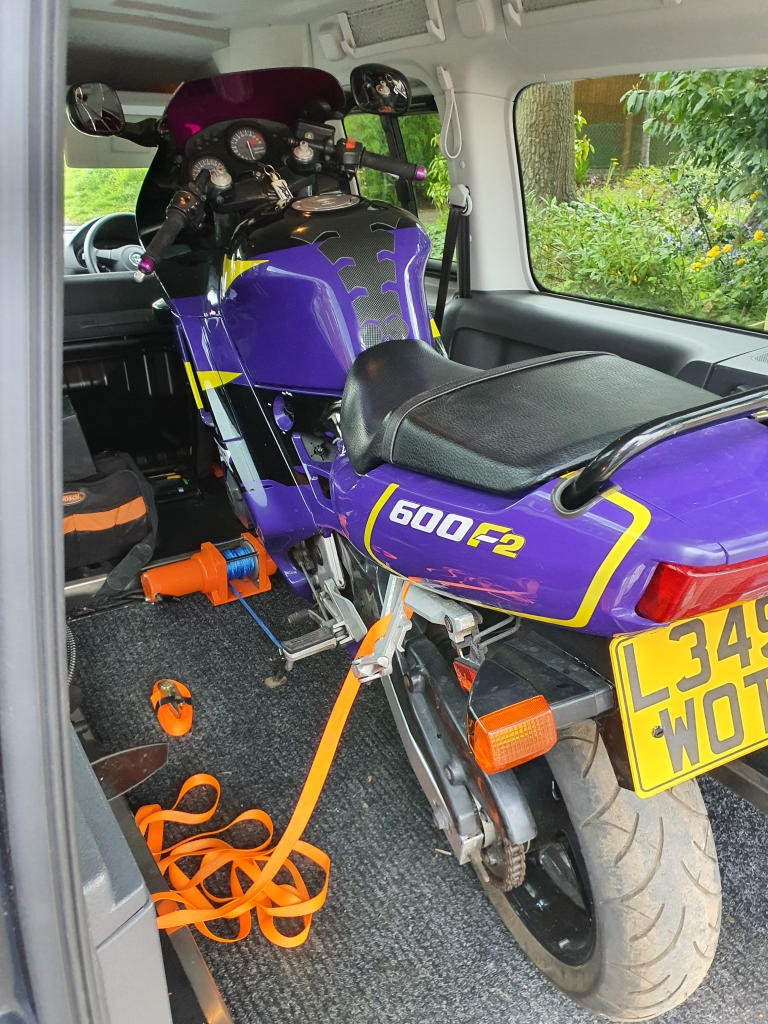
It fitted like it was made for it! I learnt a few things transporting it the few miles, and the unload/reload was success. Had to make some tweaks to the dropped tail to let it drop further to make using a ram a lot easier, but ultimately, it did a great job, and the game was on.
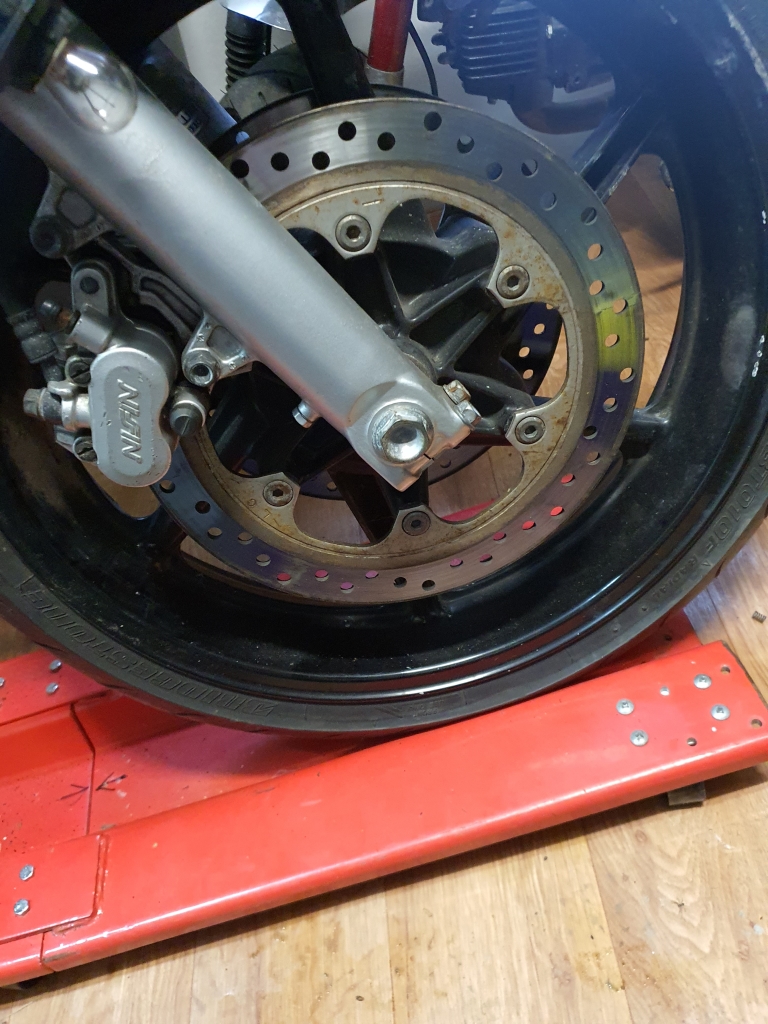
Arranged to pop over on the Bank Holiday weekend (Sunday) and upon seeing the bike, it would not start (which they thought it would), the manifold was shot, but it had had new manifold stud/bolts done very recently. I also found the disc on the front right was badly cracked/damaged. Managed to get the price down to £650 in the end.
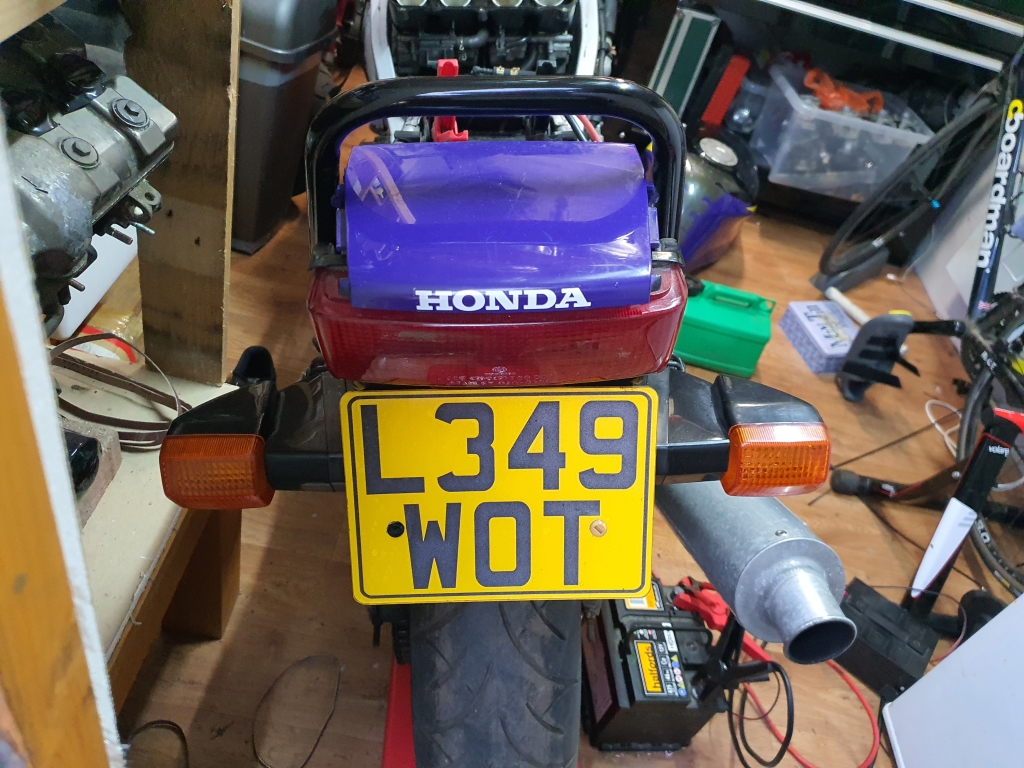
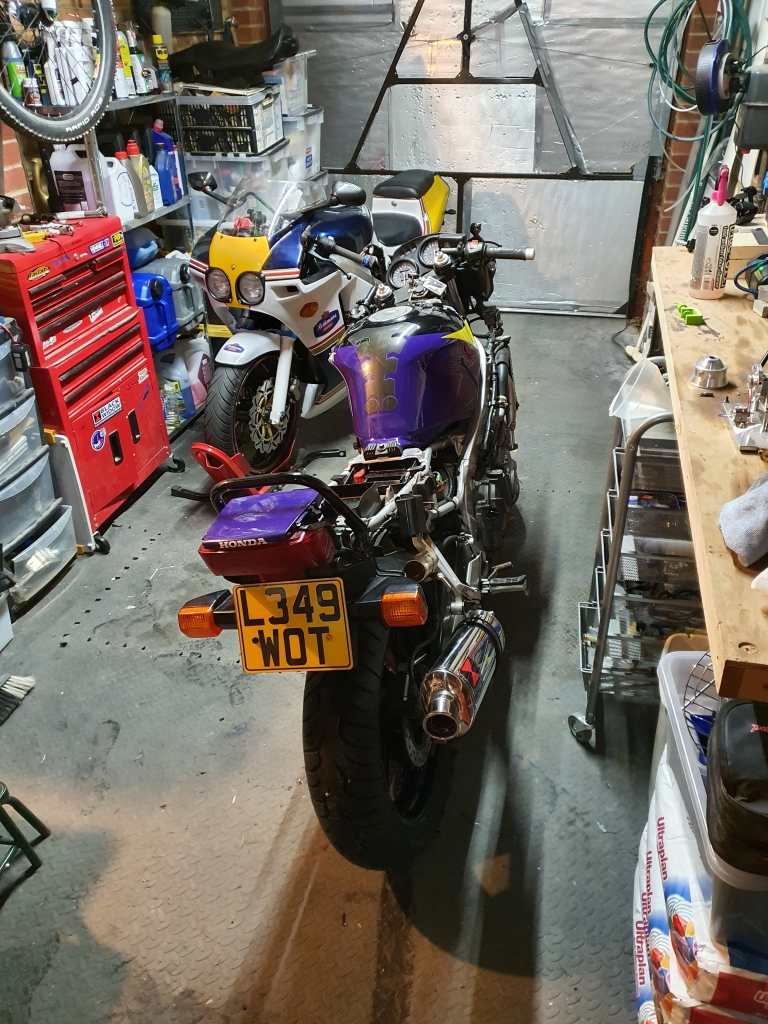
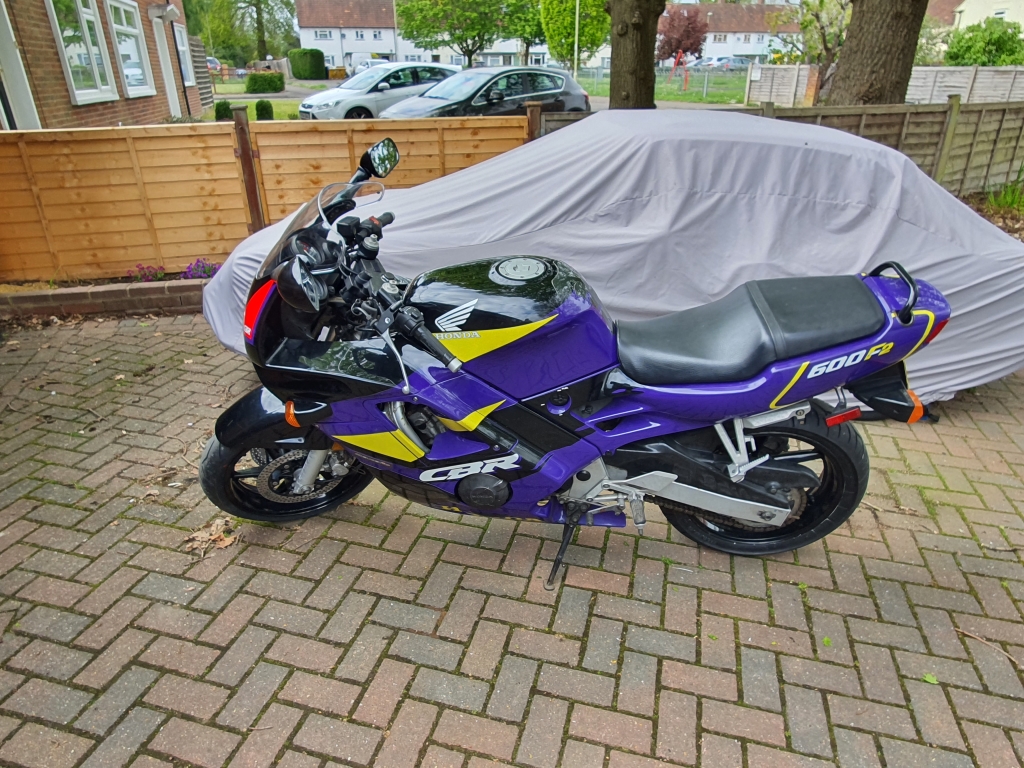
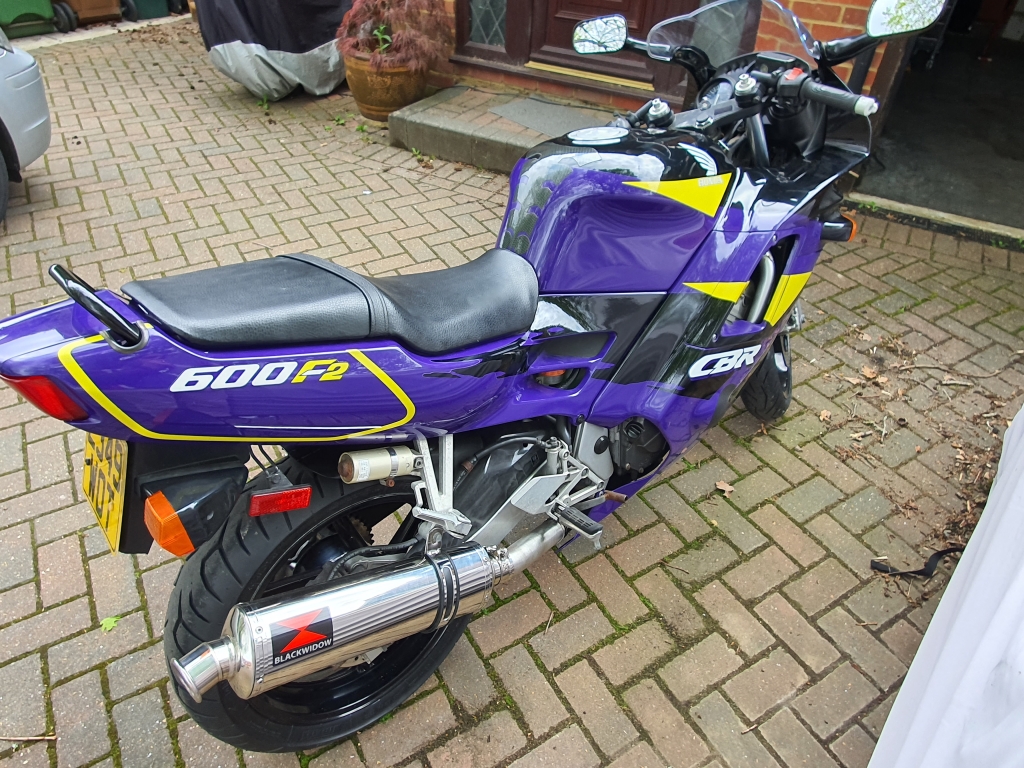
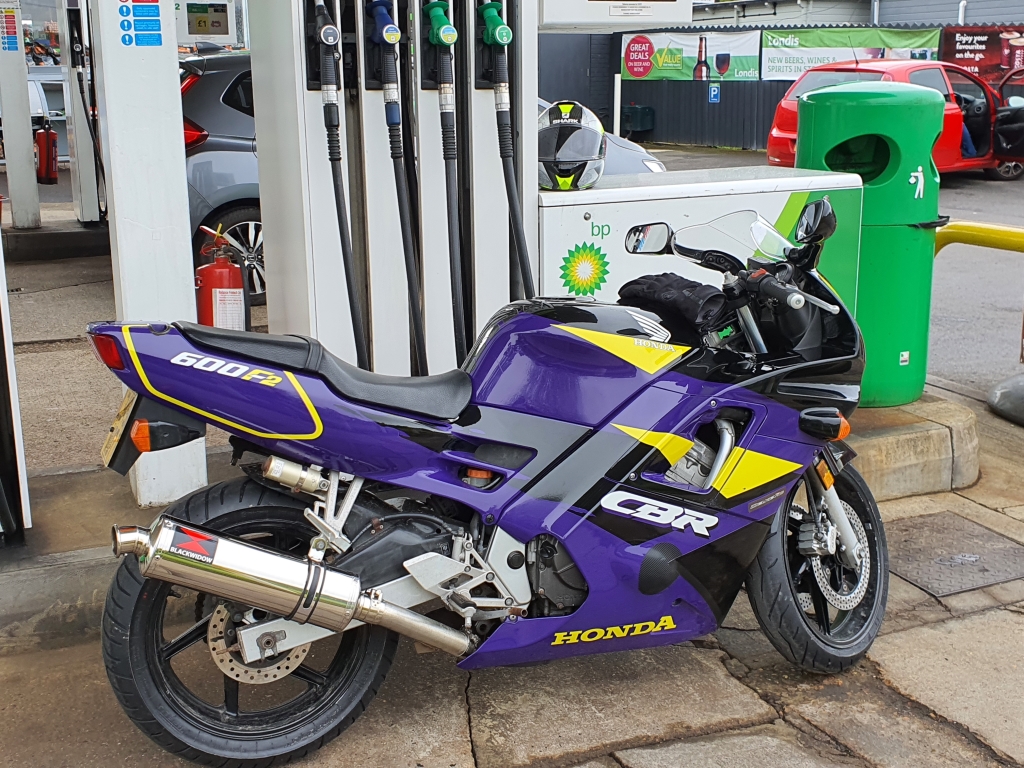
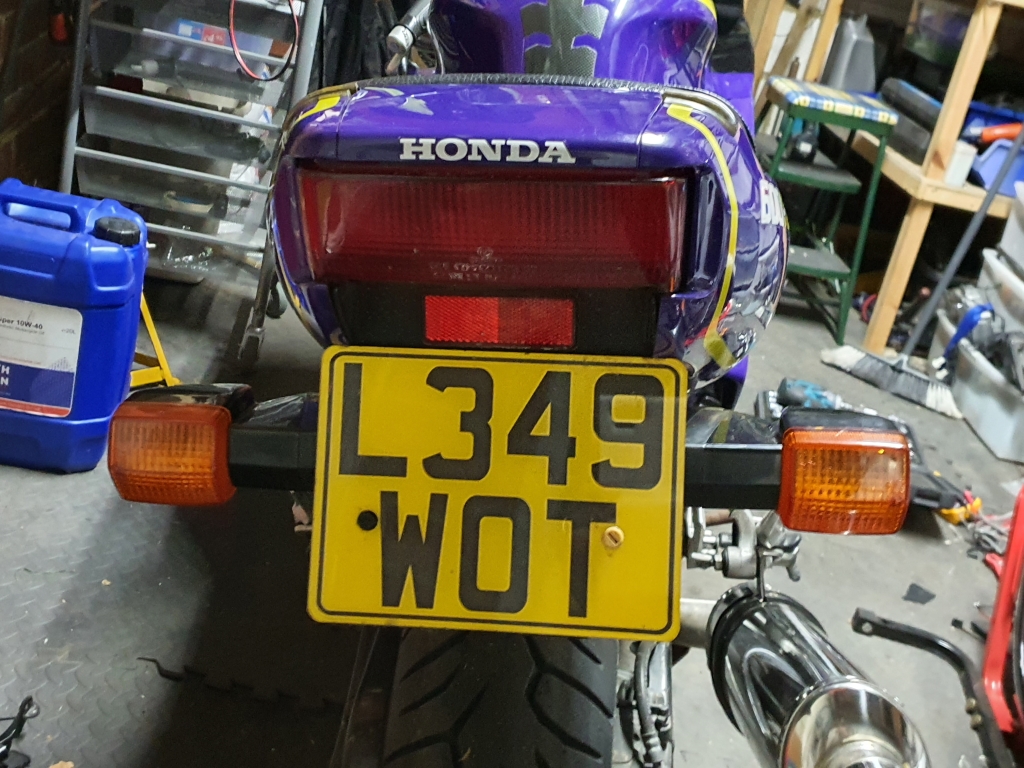
Whipped it into the "Van" and drove it back home. Here she is! Oh, and I love the plate!
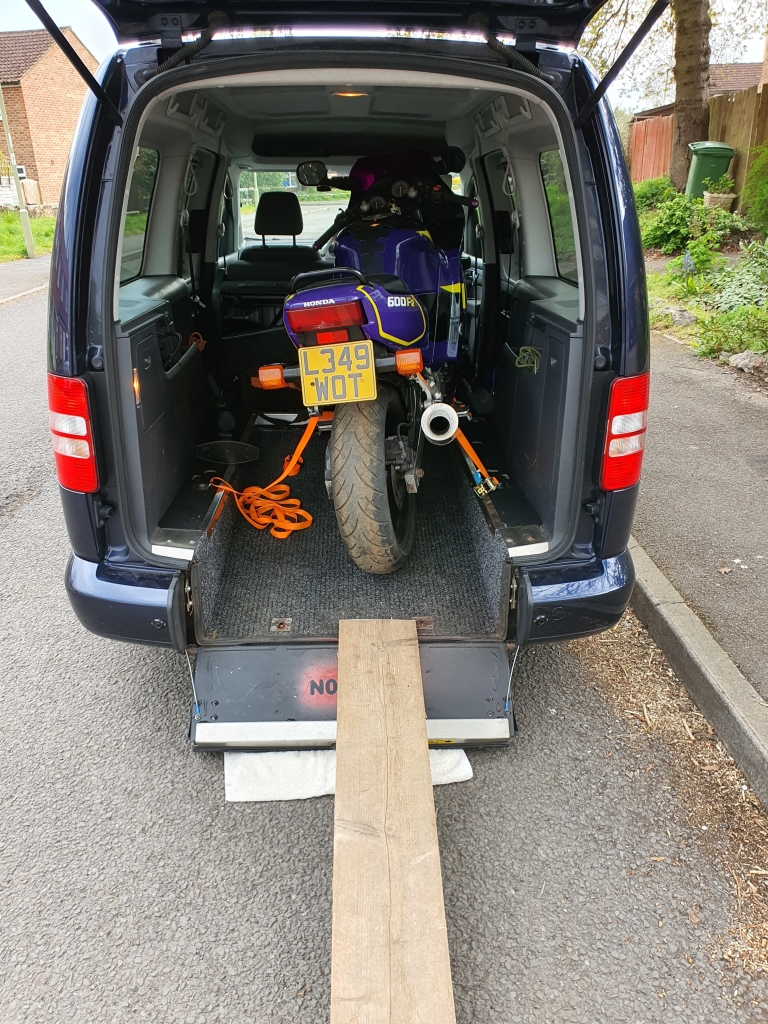
Some pics in the transport:
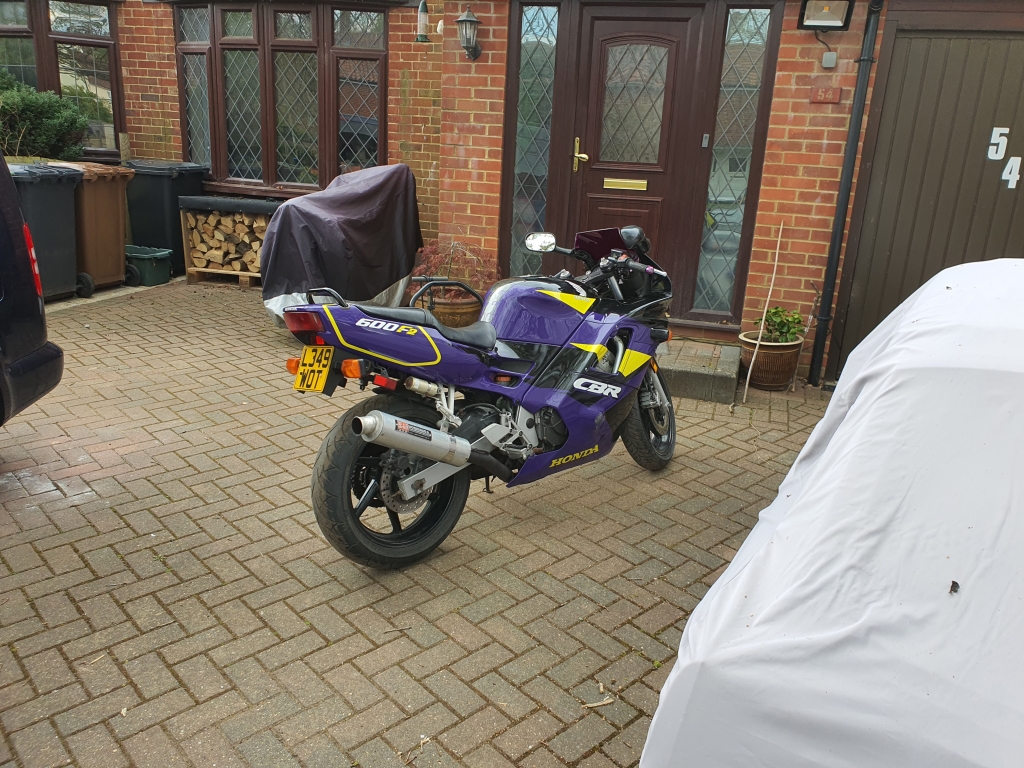
Unloaded!
I added some fresh fuel drained the carb bowls, checked all the connections. Fuel was coming through, and it sounded right, but just would not start! I started to whip the fairings off, and had a good look through, check the timing chain was still hooked up/etc.
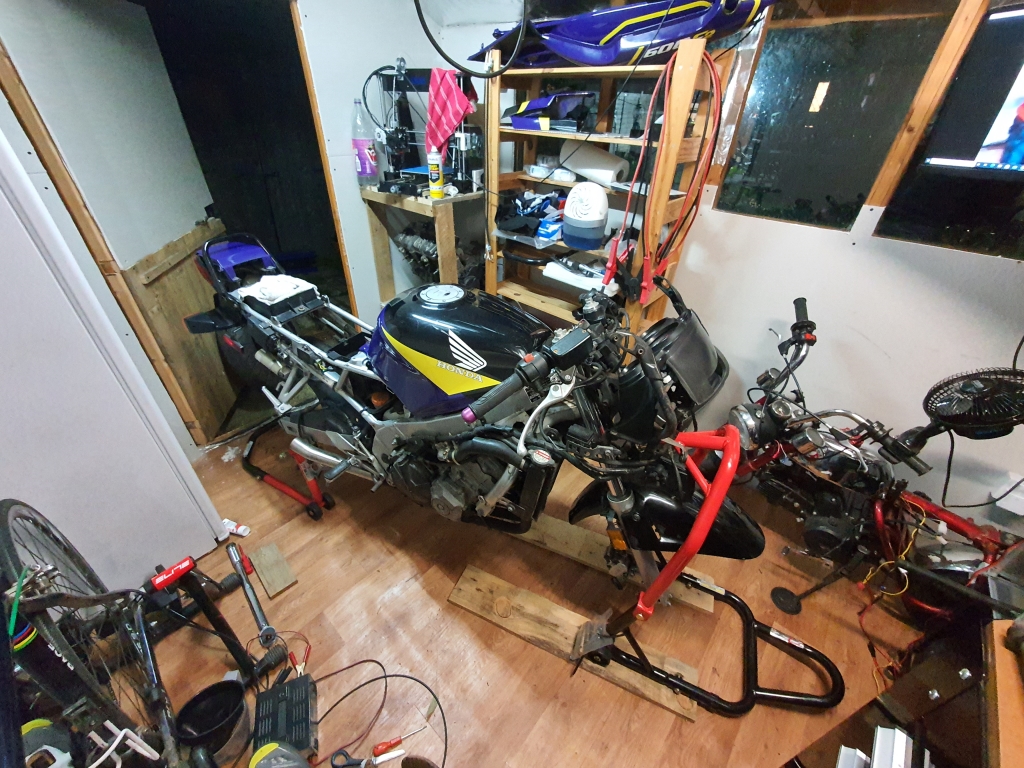
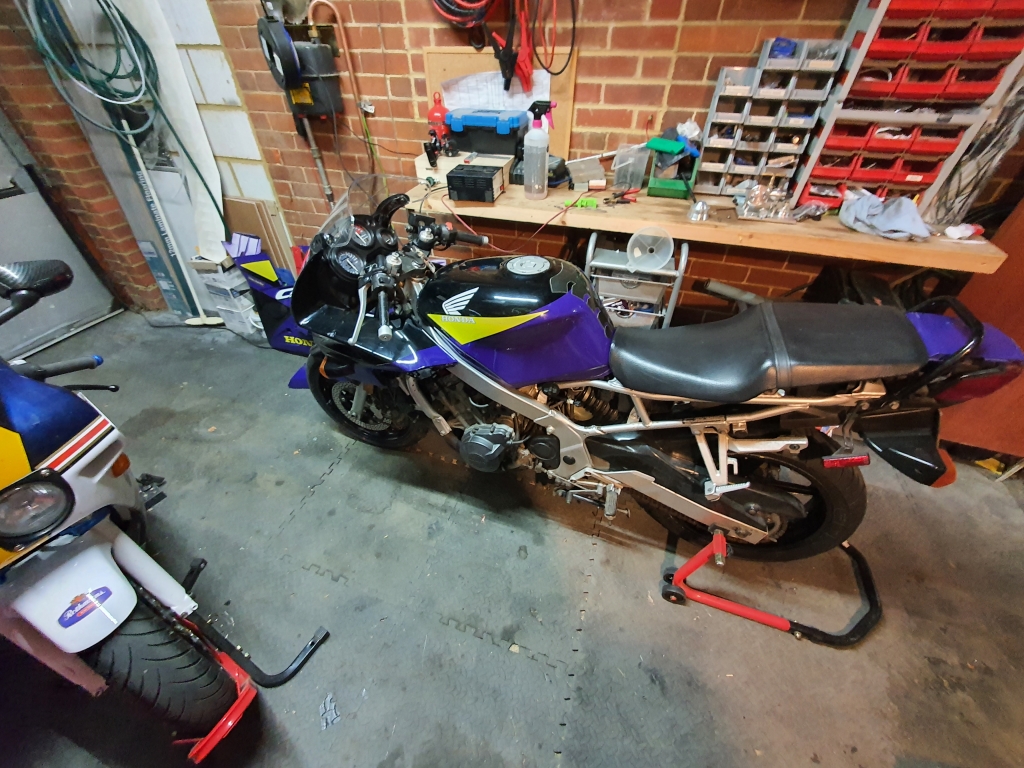
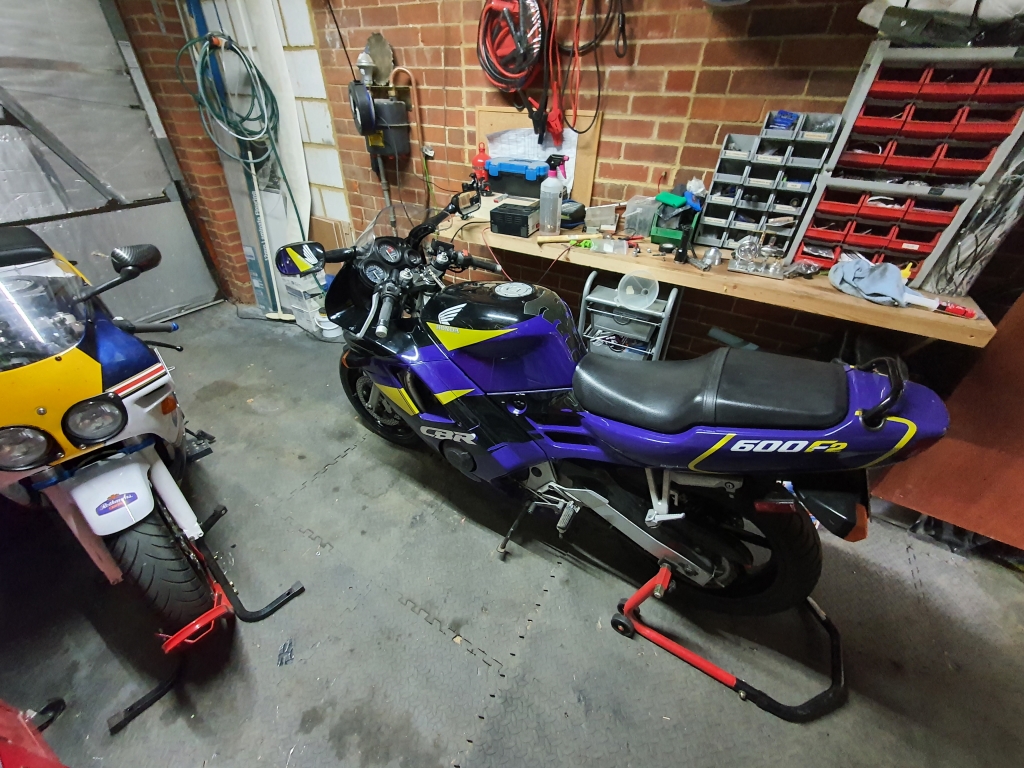
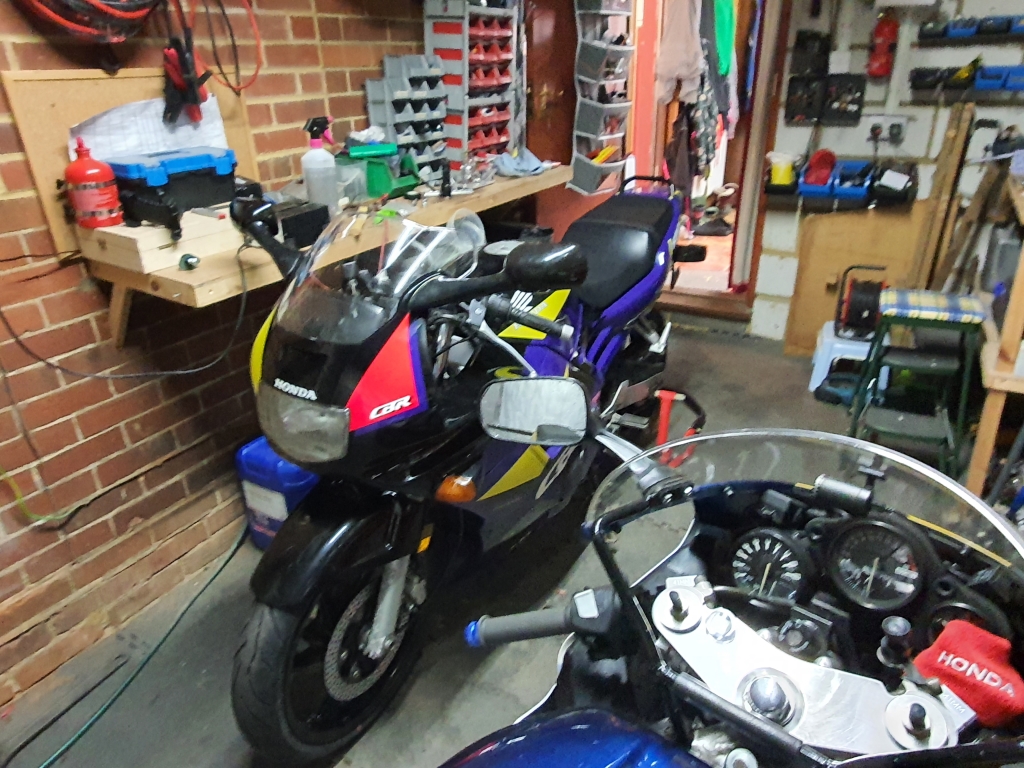
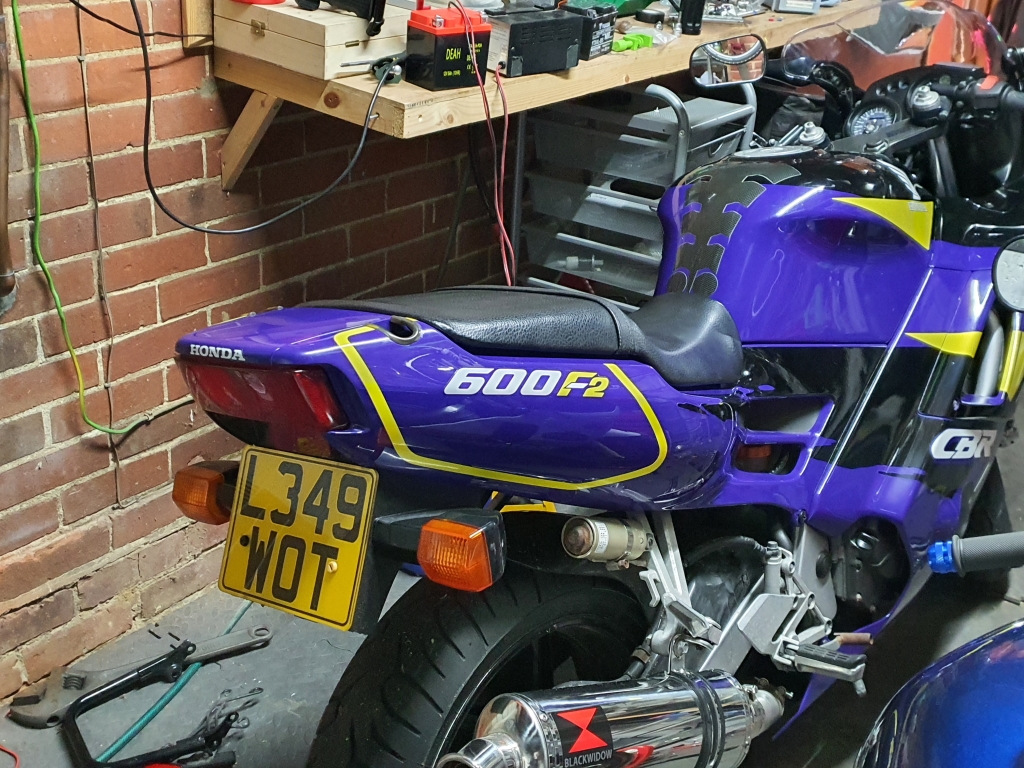
I gave up, and wheeled it through to the shed for further examinations, in a nicer environment.
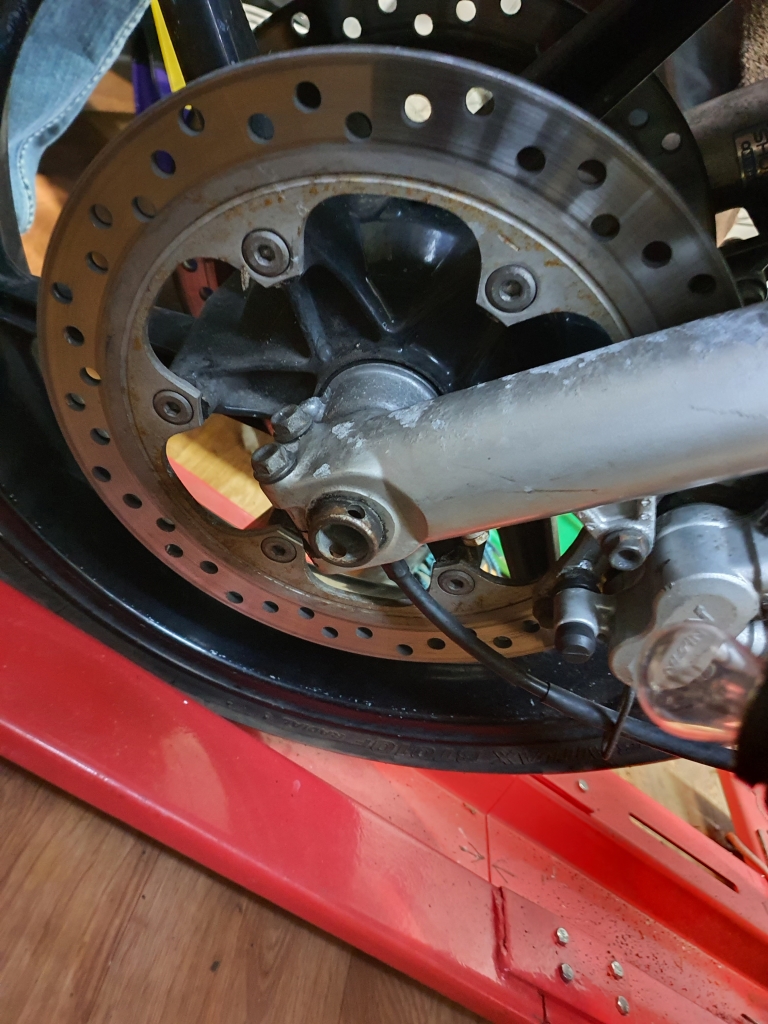
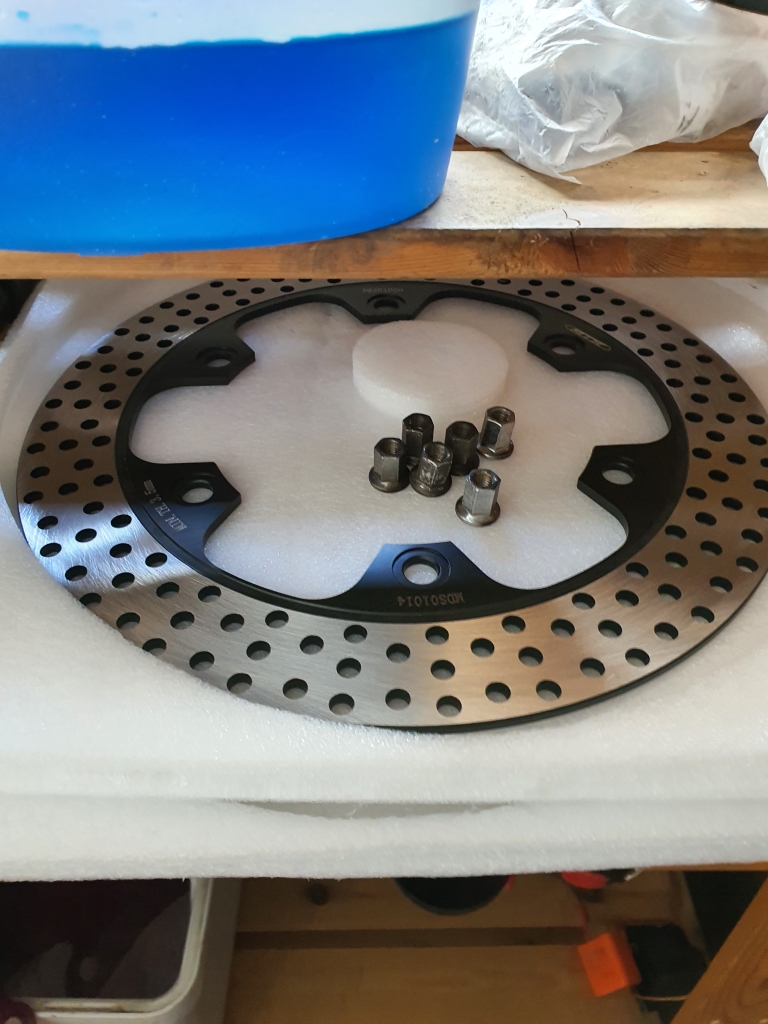
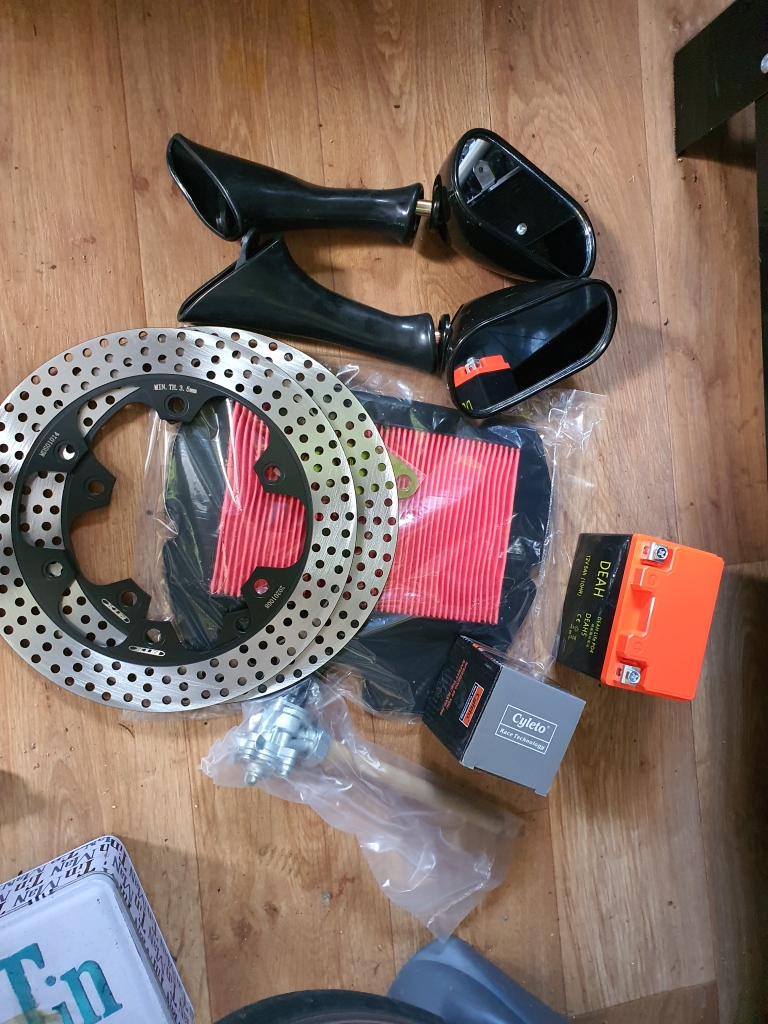
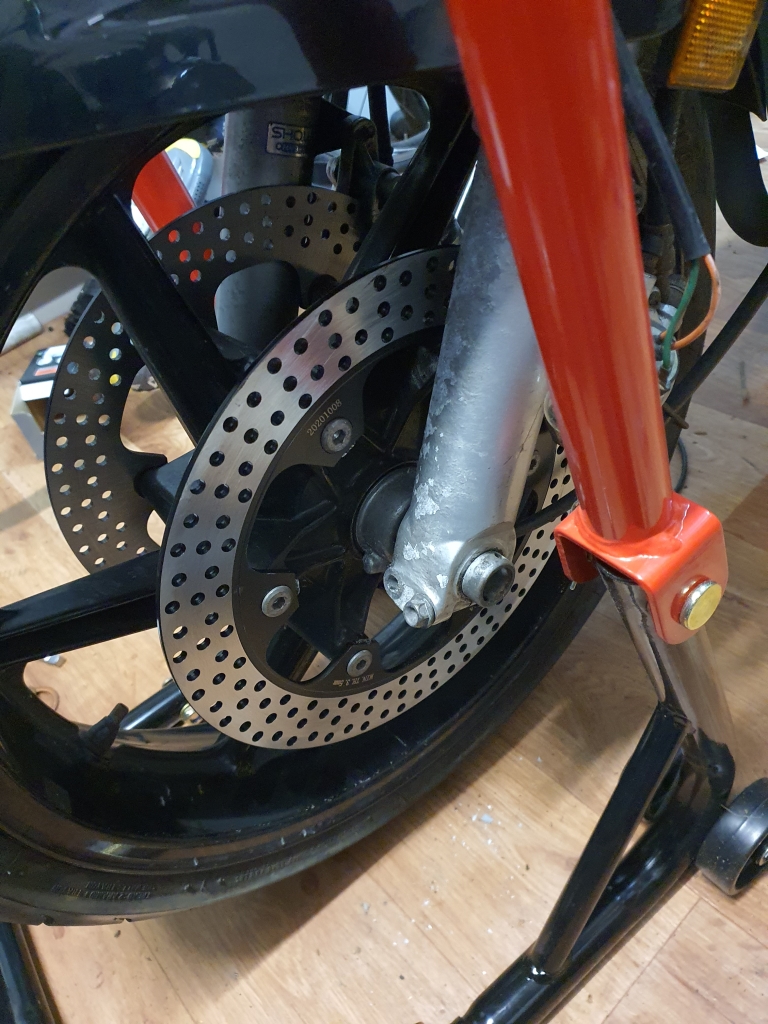
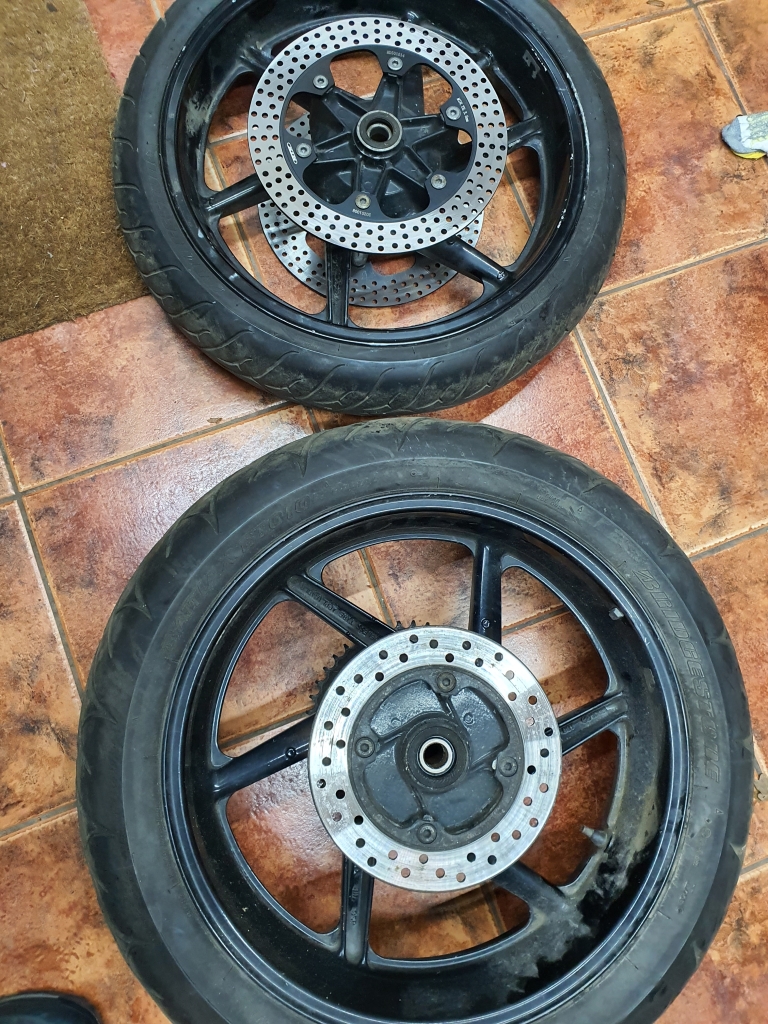
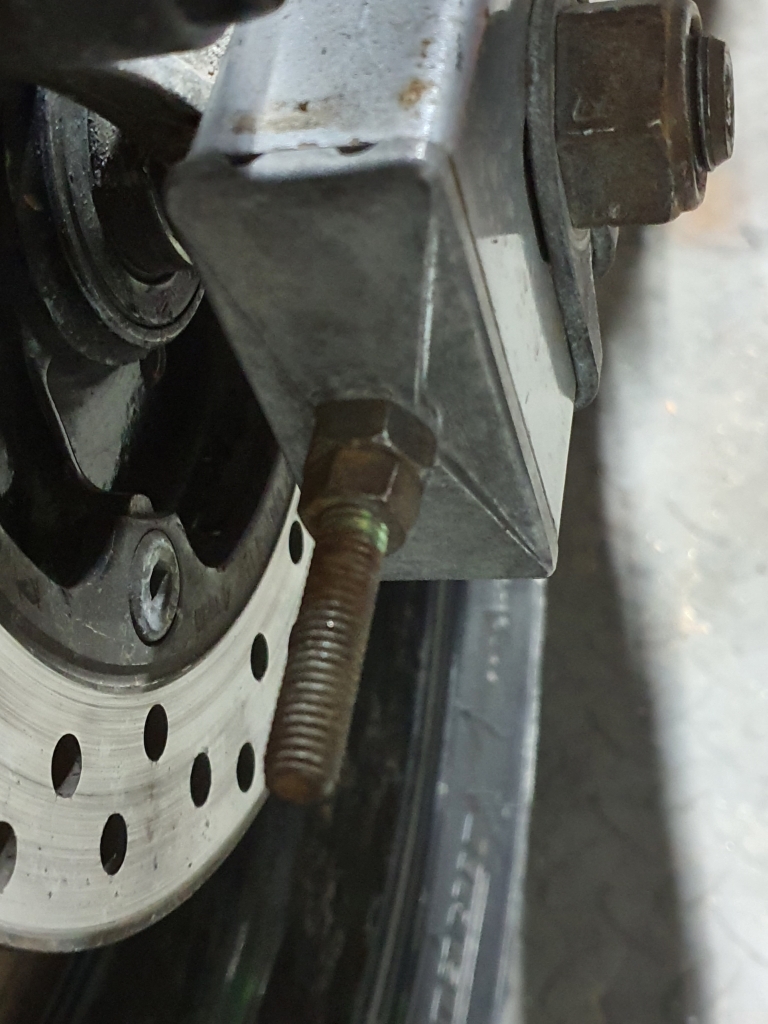
So, what else needs doing? The right disk is knackered, full of cracks/chips/damage. So I have ordered a full new set (even though one side is ok) as it felt like a bad idea to change only 1!
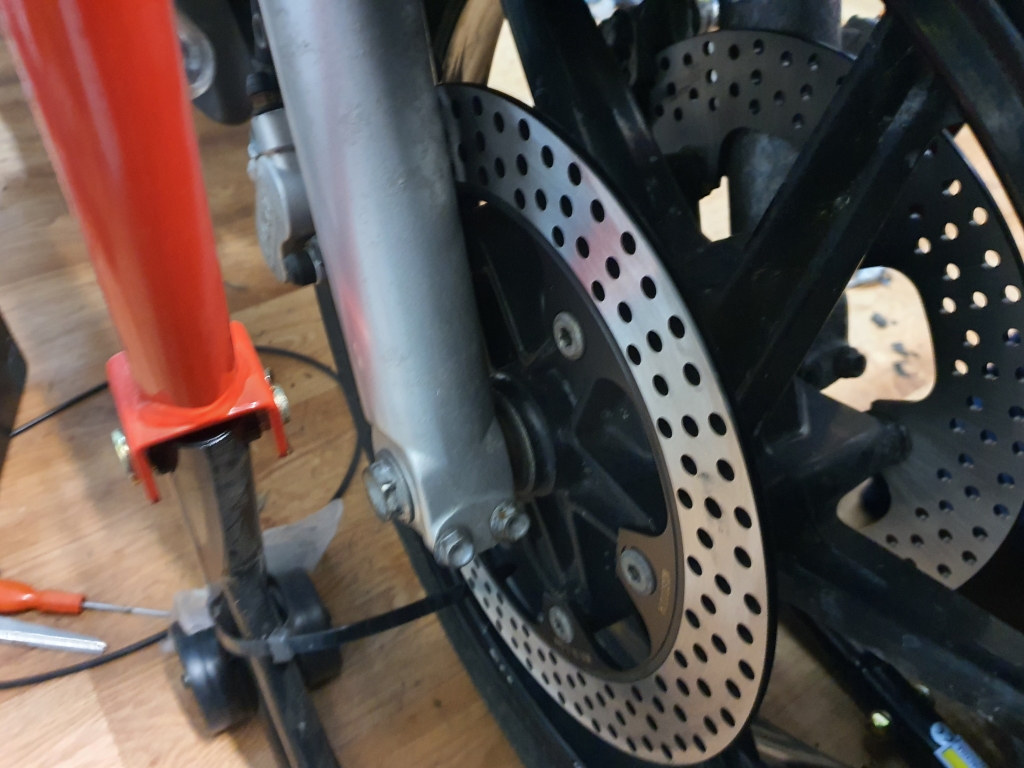
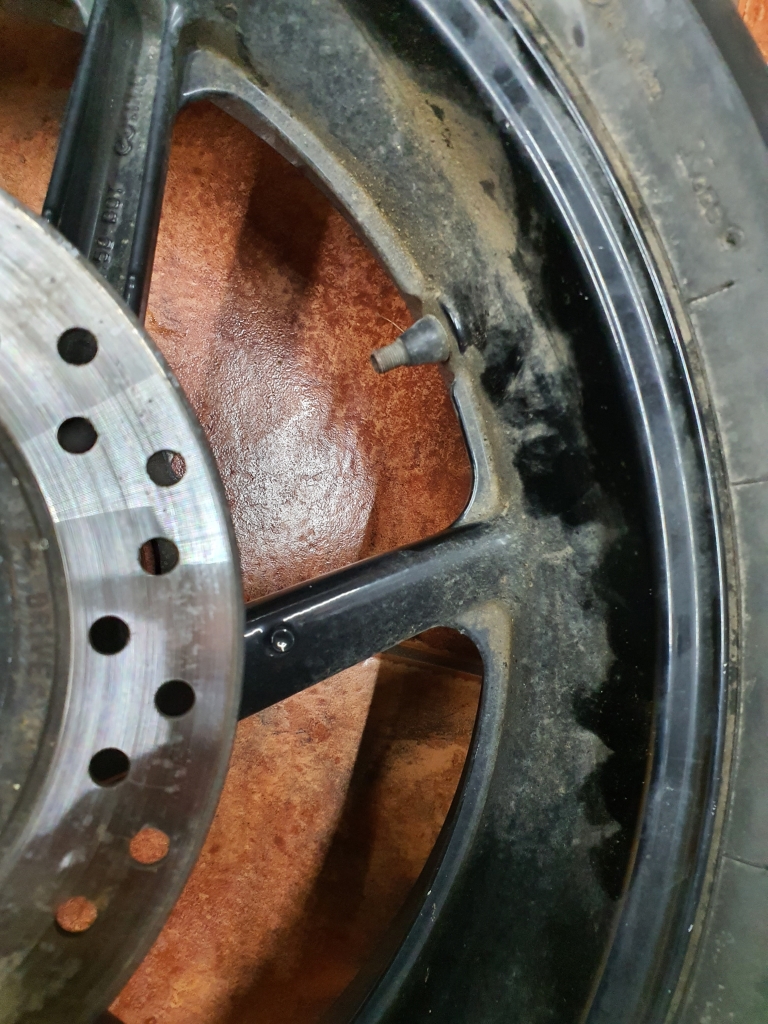
Other side - Passable, but worth changing together I feel:
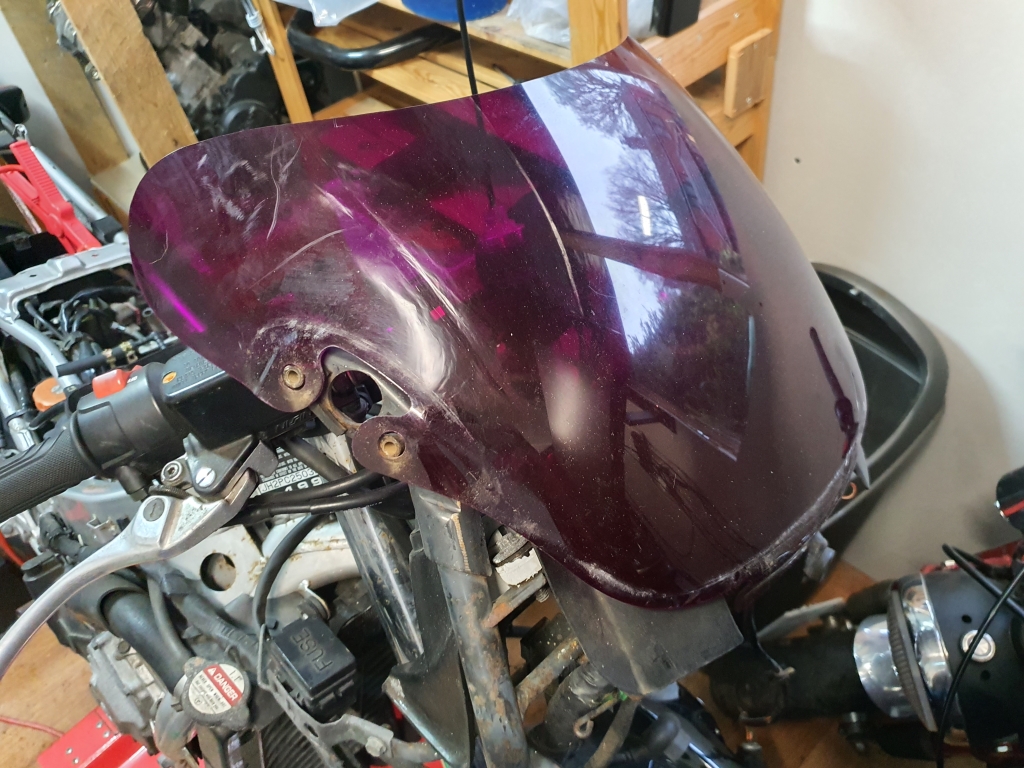
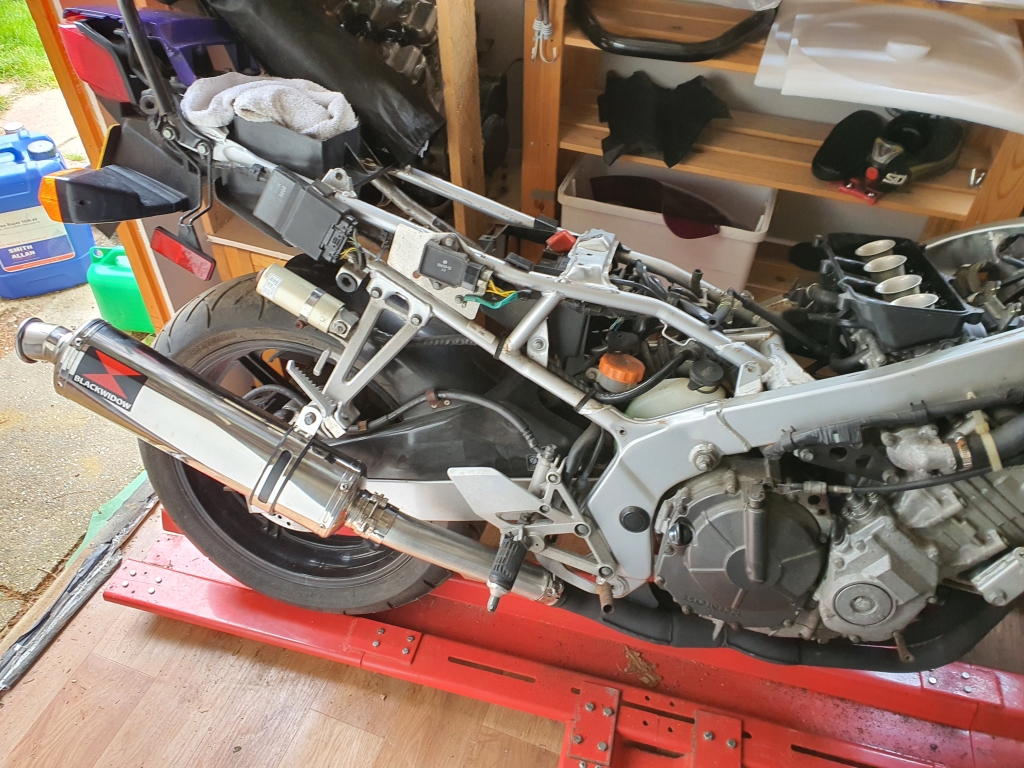
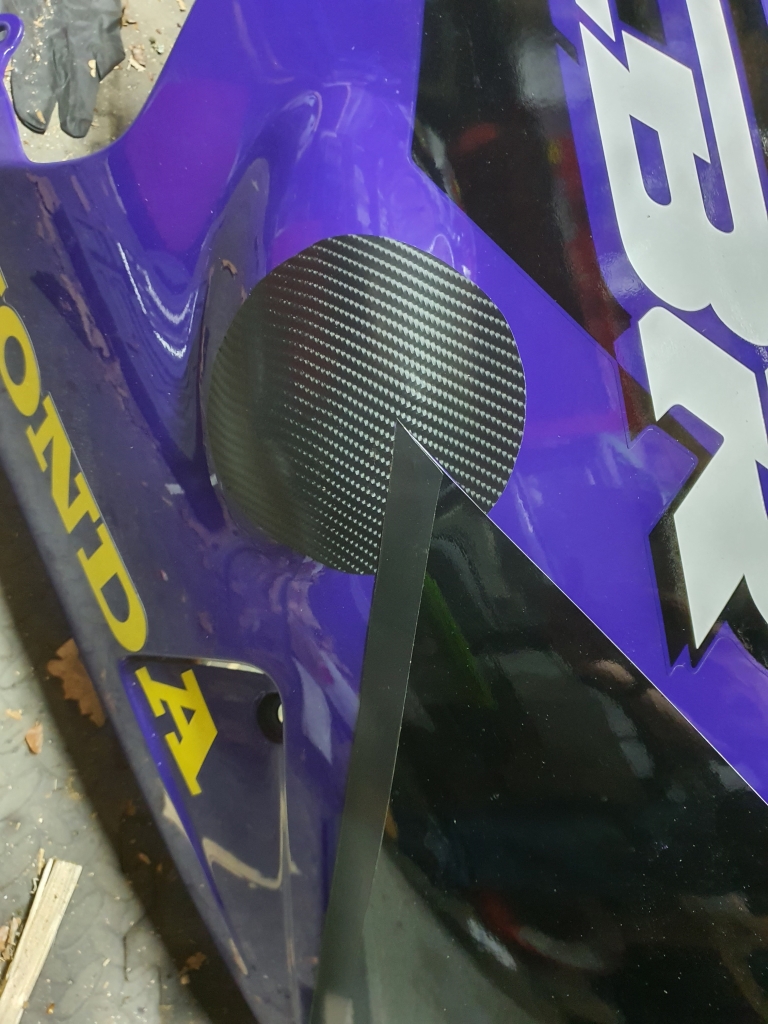
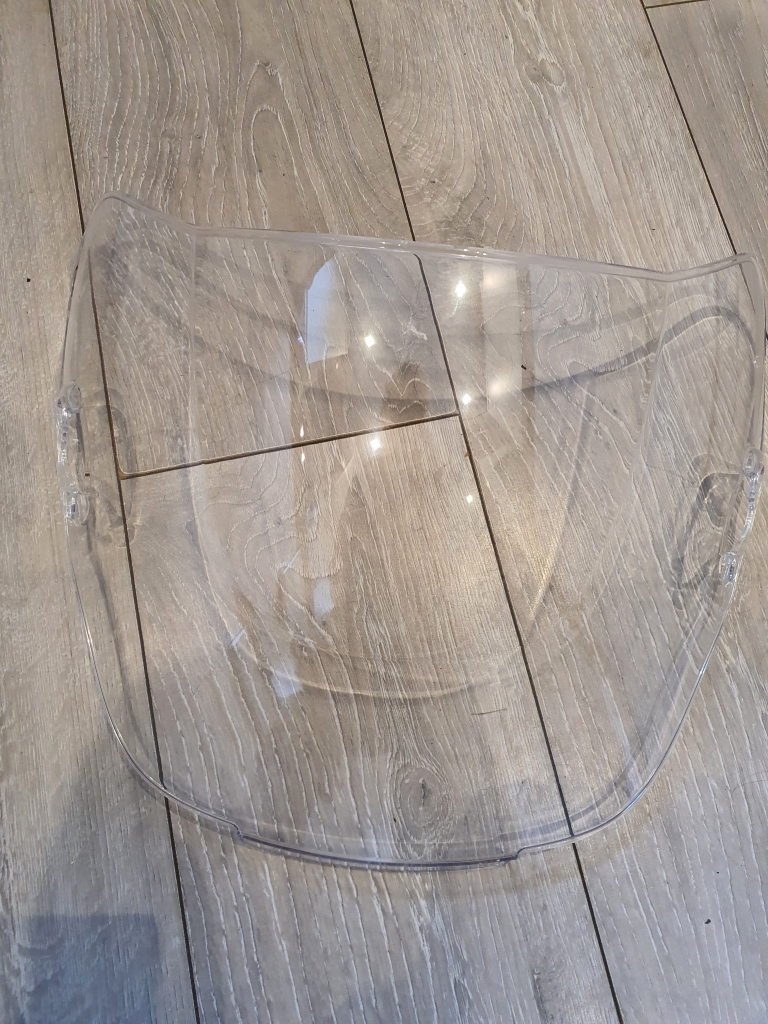
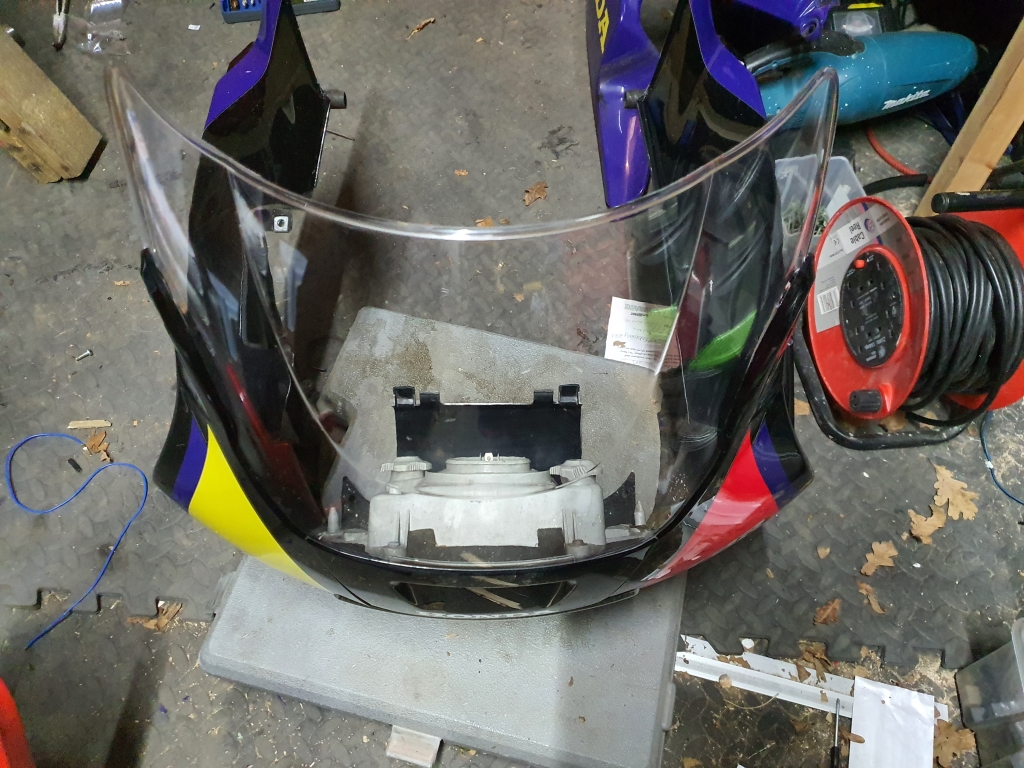
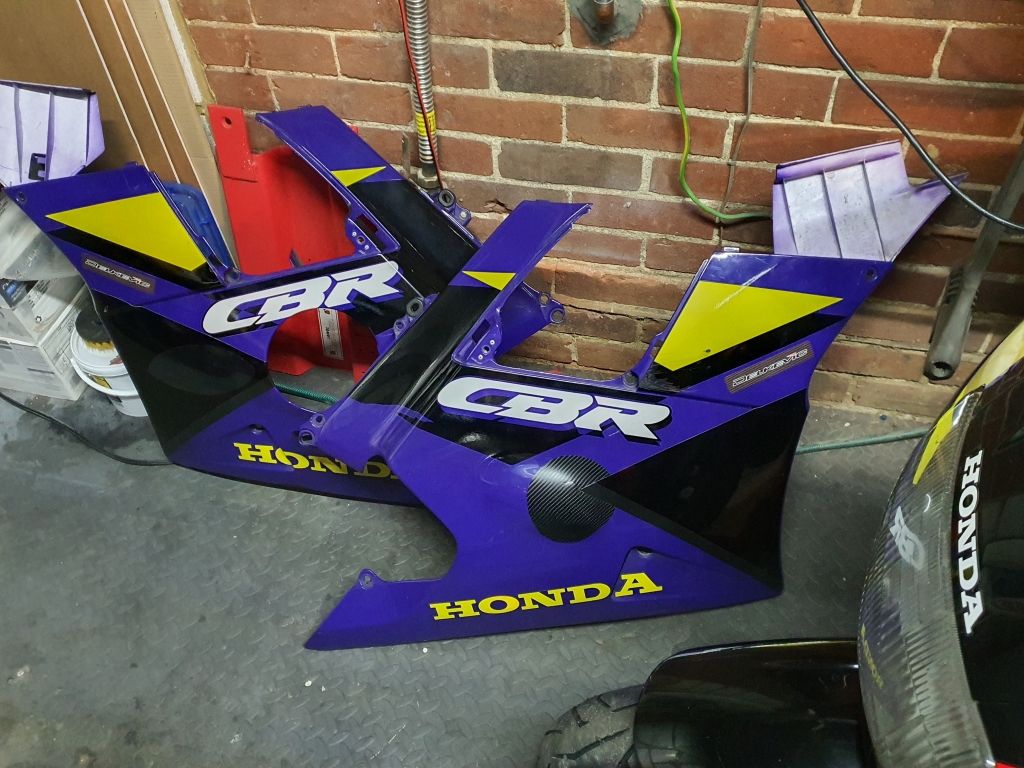
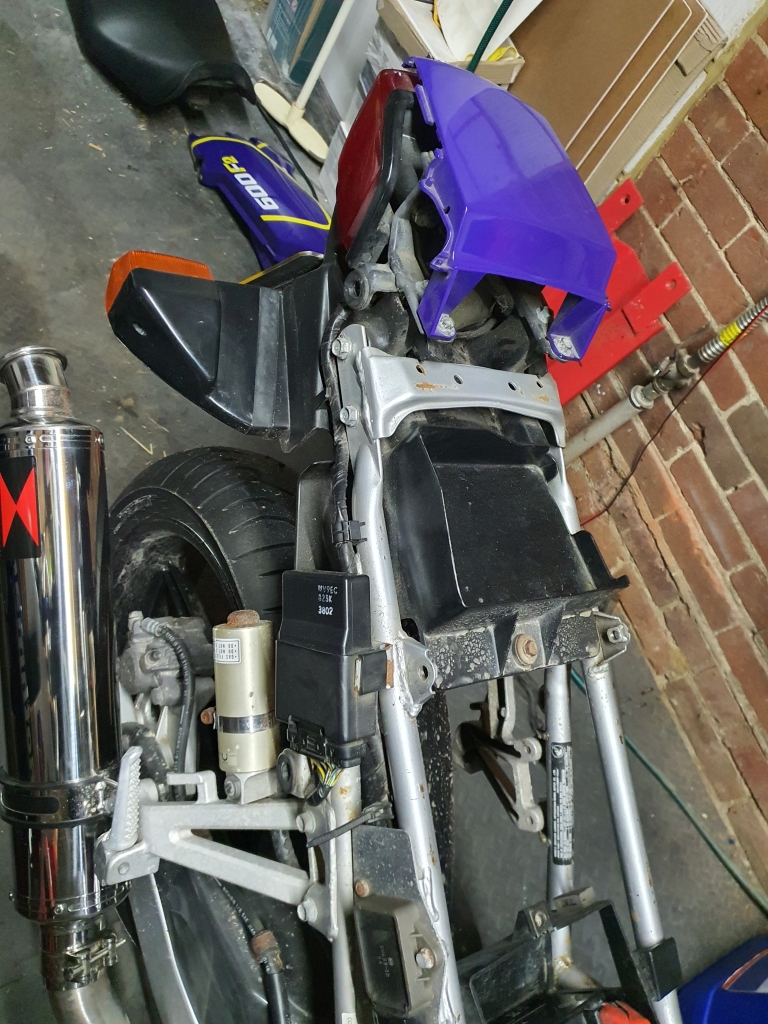
Fairings off, everything is laid bare, the screen is horrible, broken in the corner, and I have a replacement ordered in clear (STANDARD!):
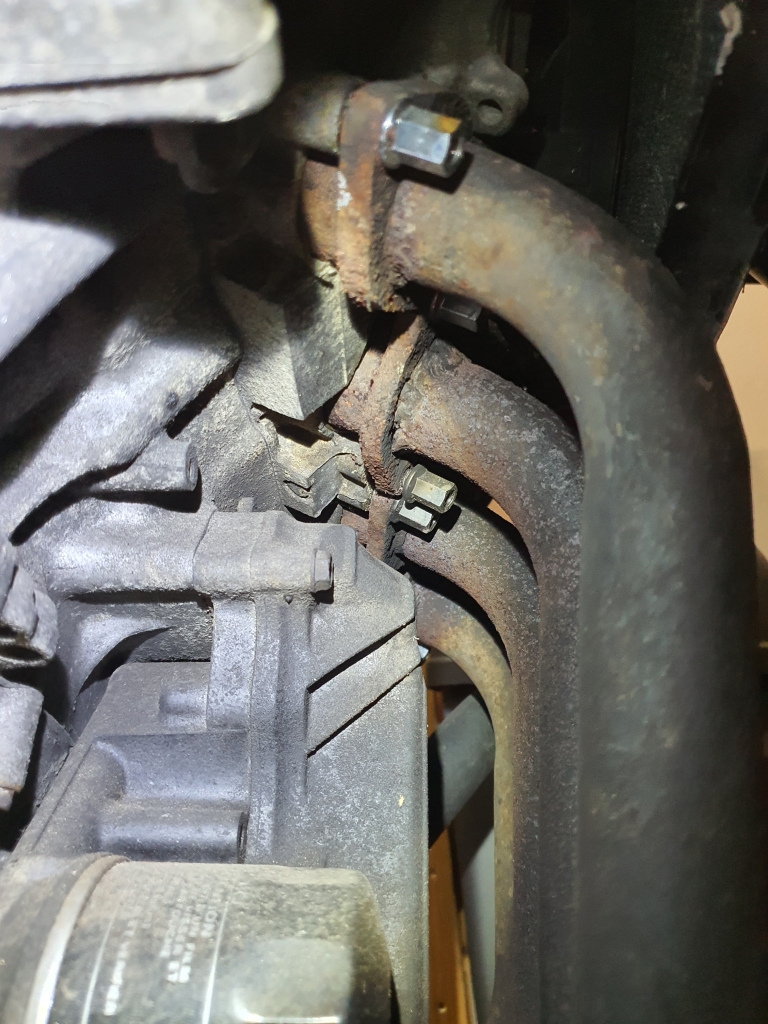
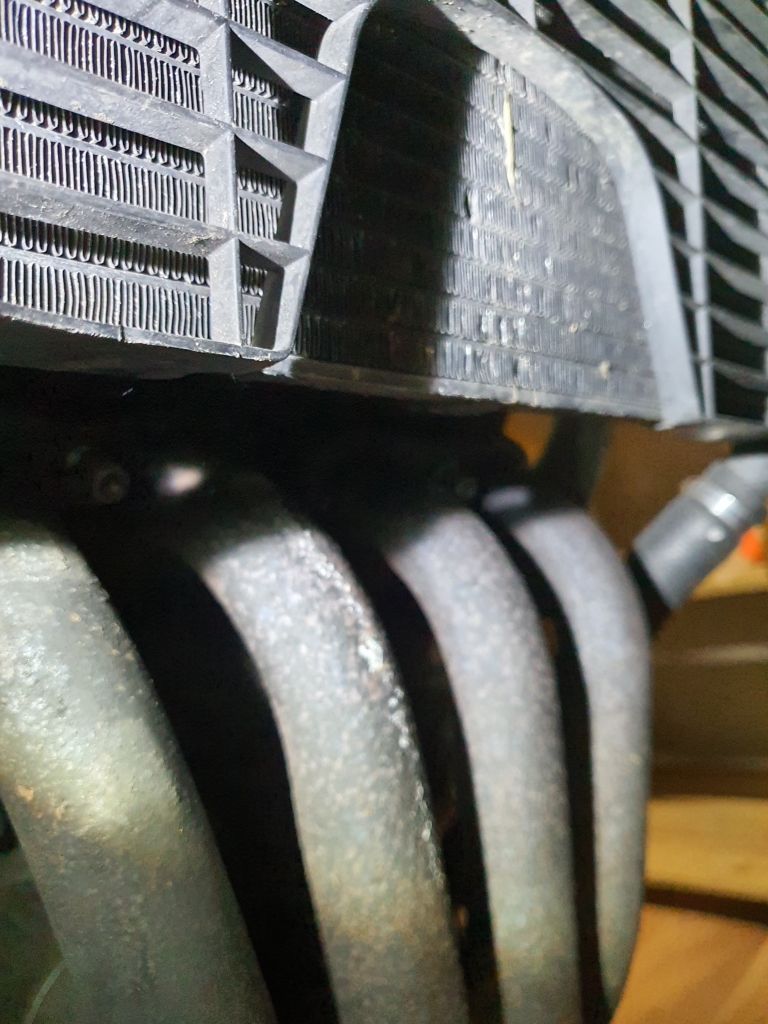
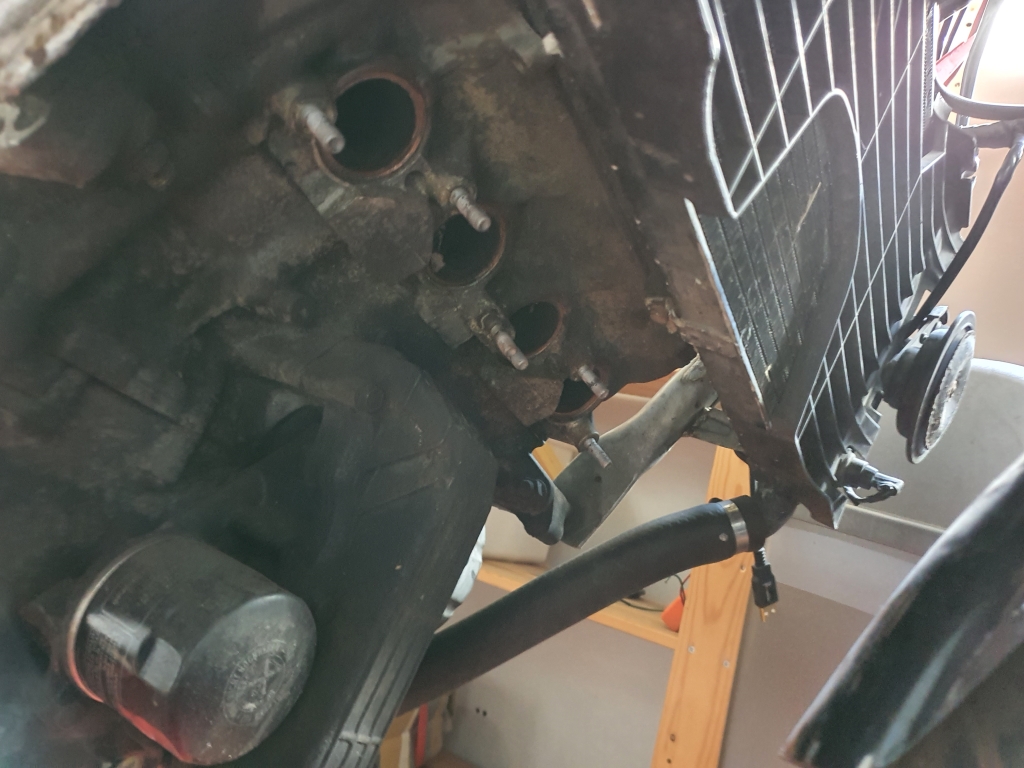
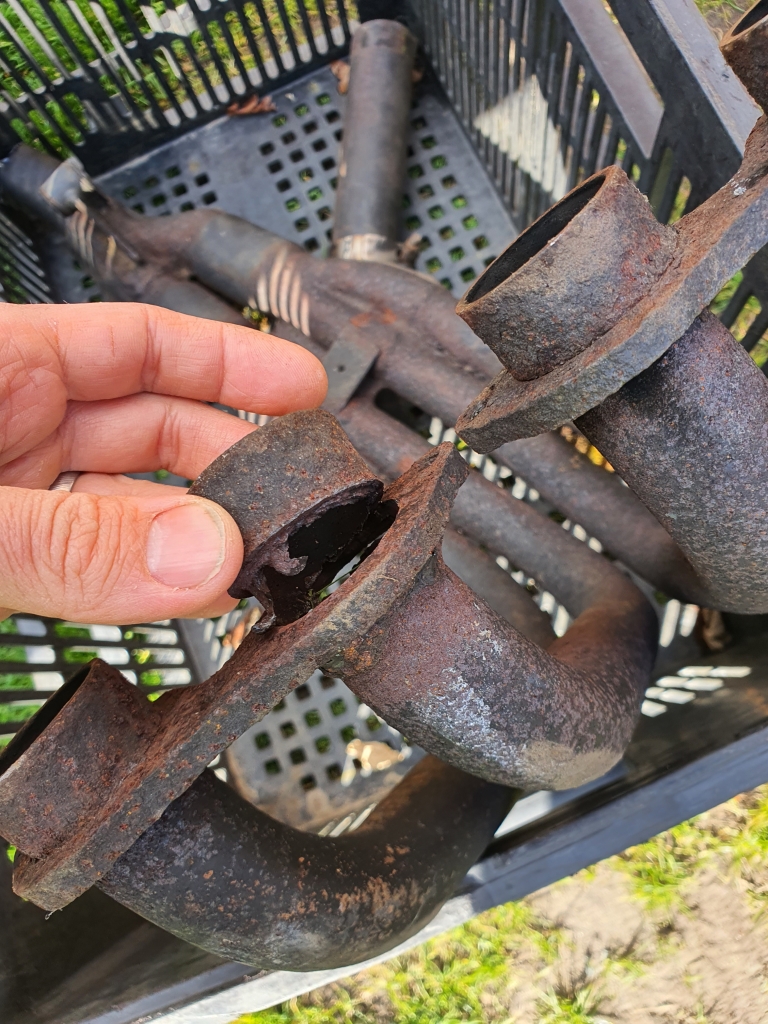
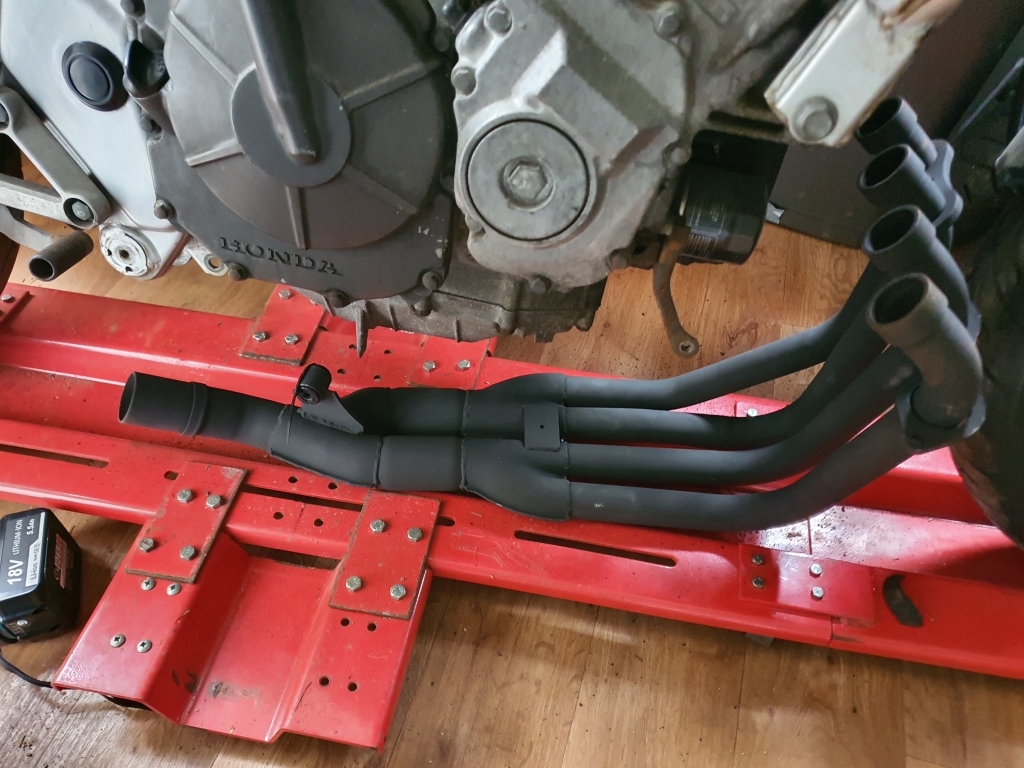
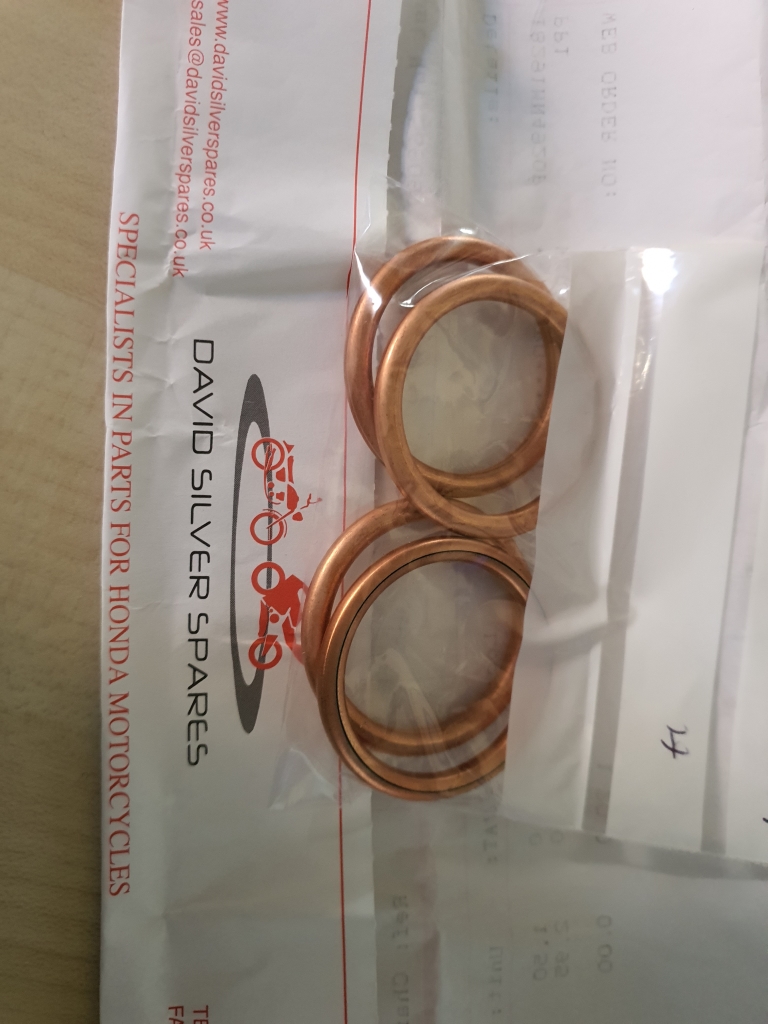
Manifold with a little bit of the paste that was used to hide the crappy welding/holes fallen into the pipes down below. No good - Ordered a new one!
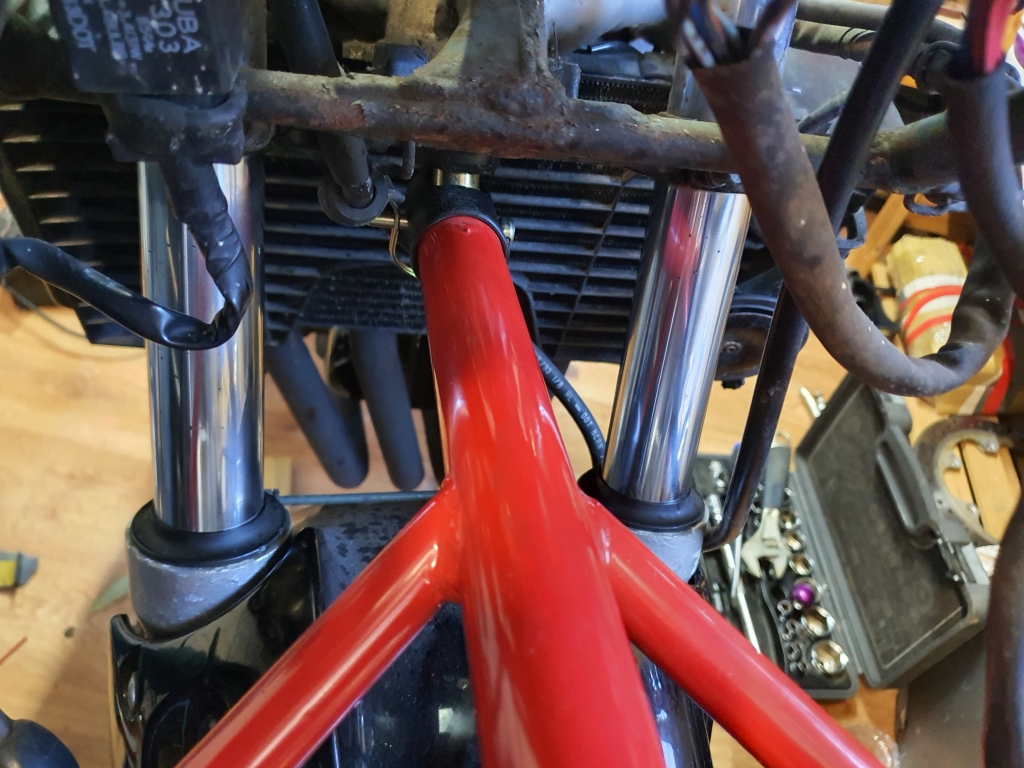
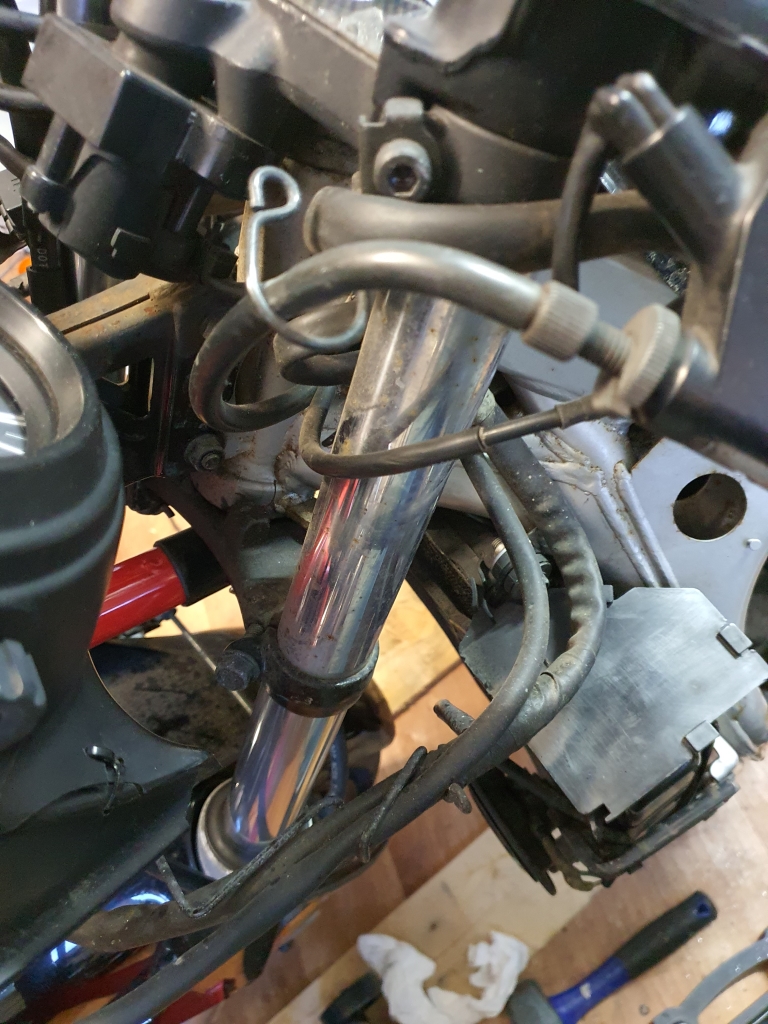
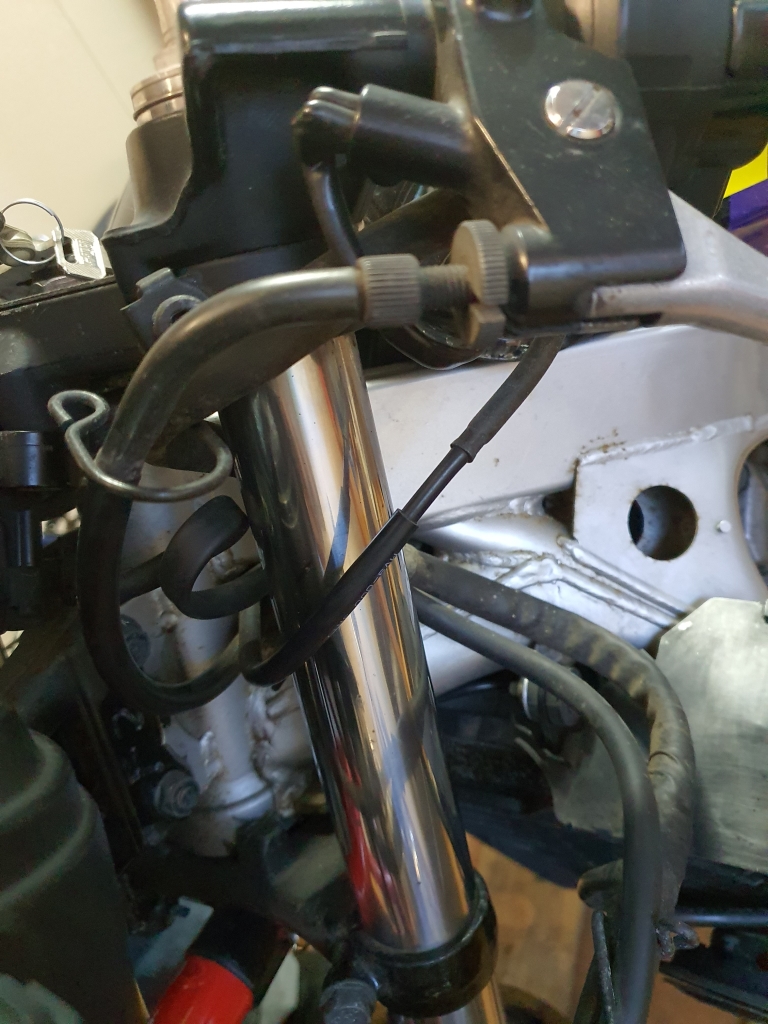
Little bit of surface rust some of the inner frame sections:
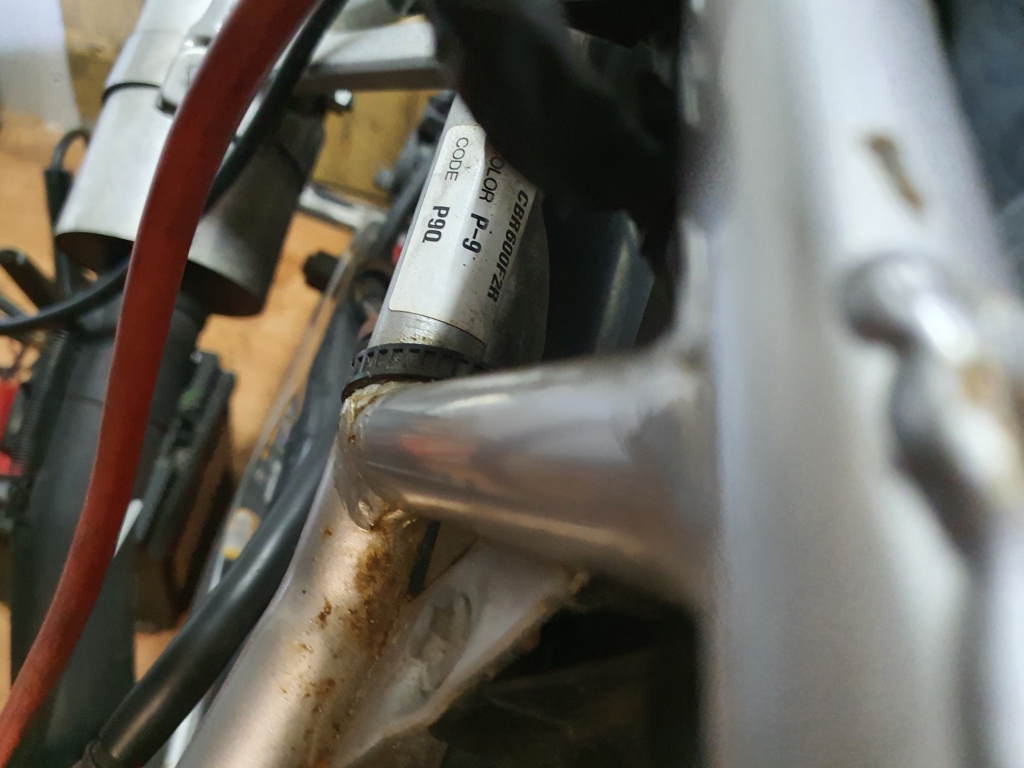
Most of the bike is sort of dusty/watermarked like this:
Should all clean up pretty well.
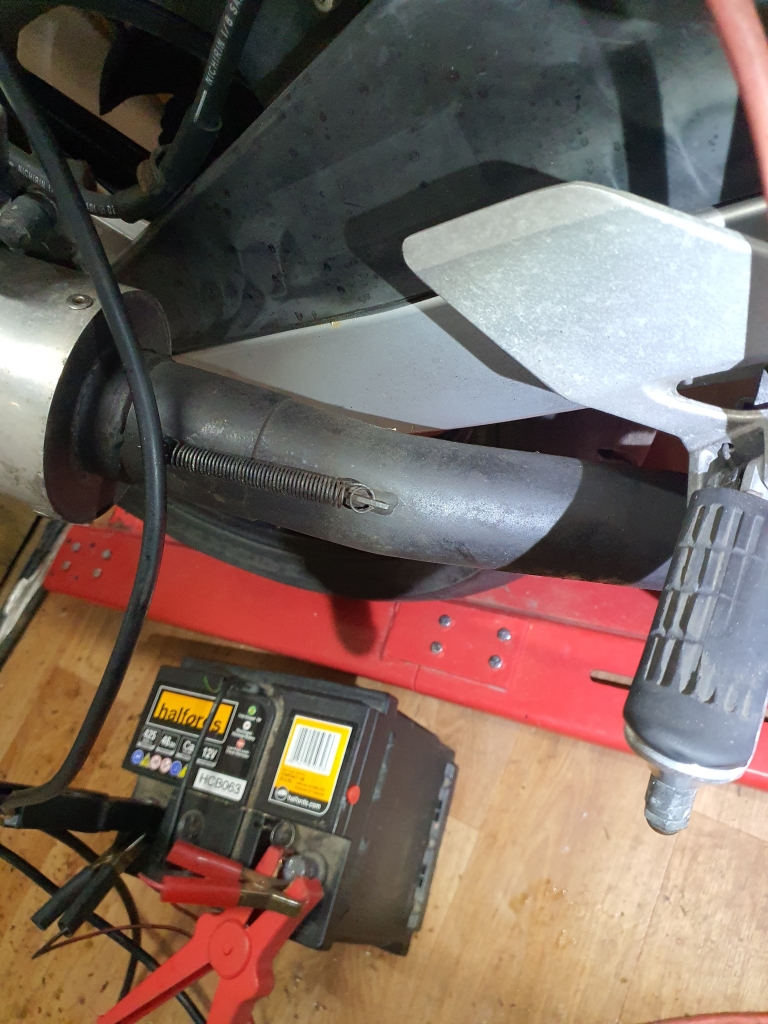
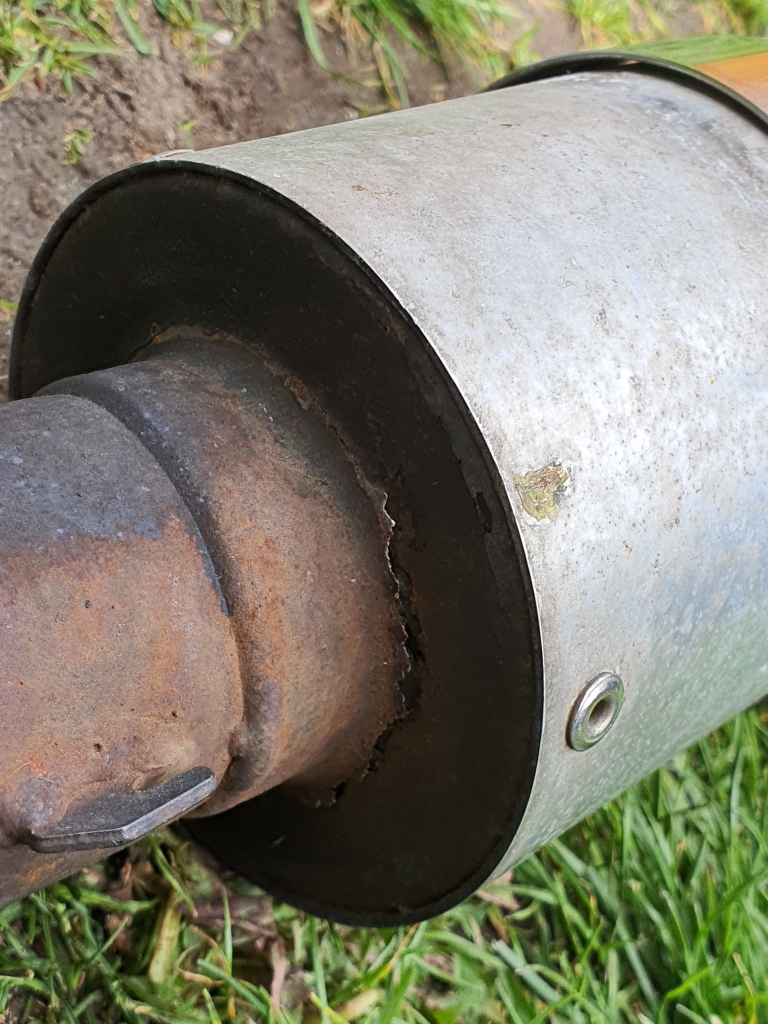
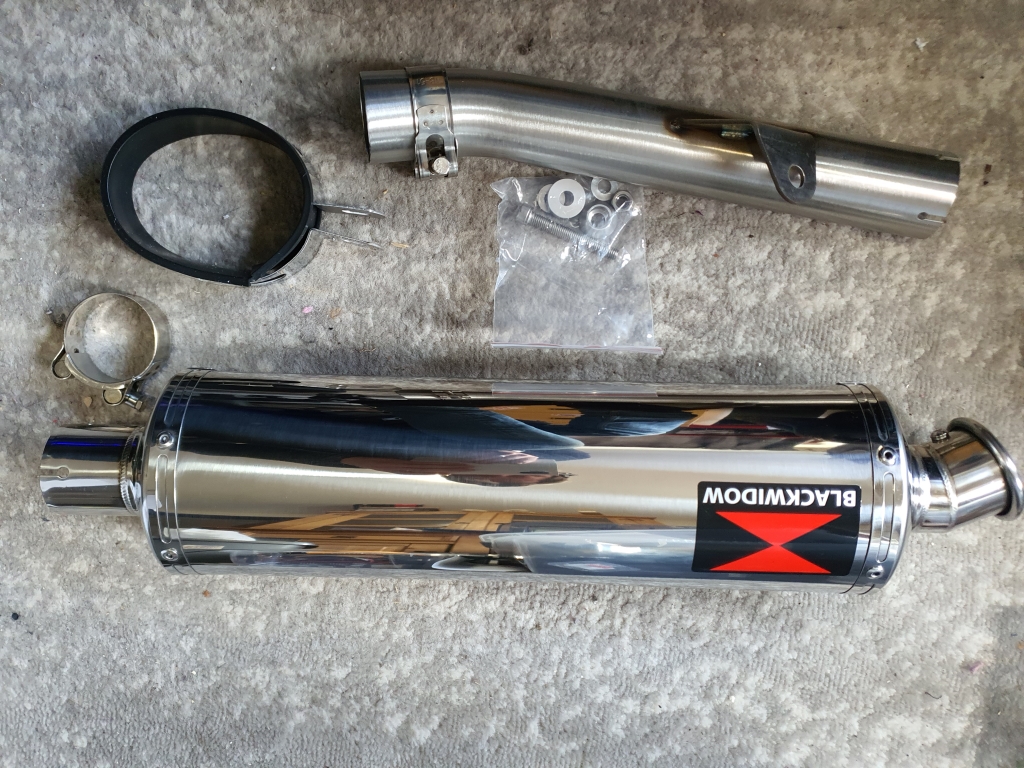
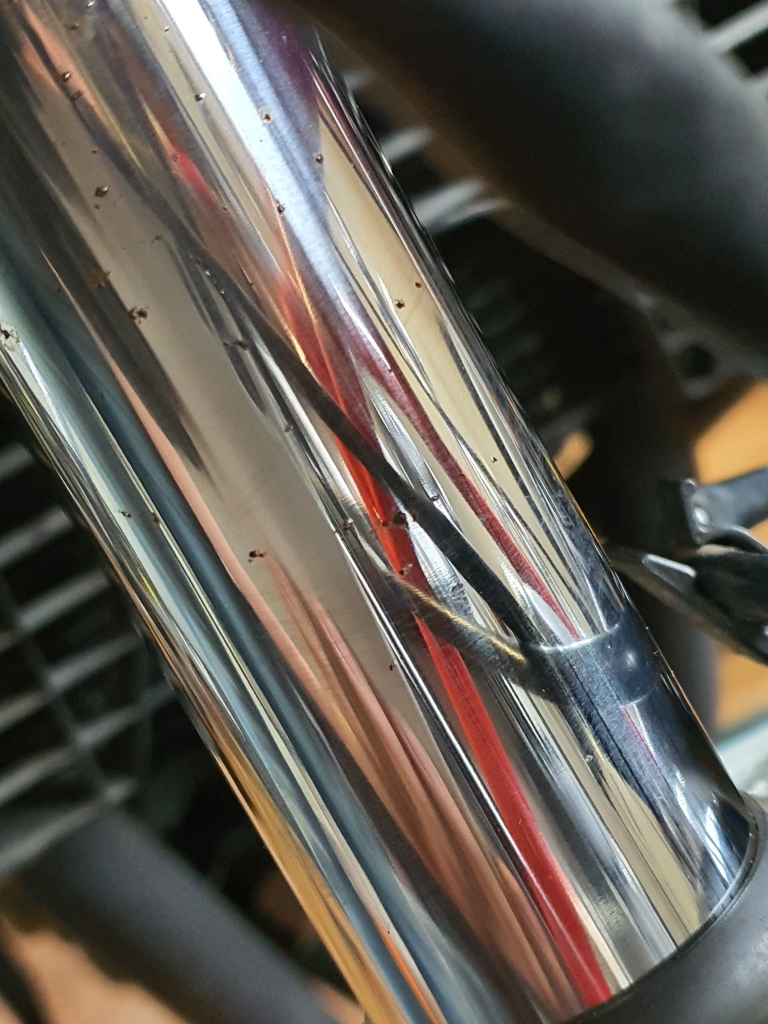
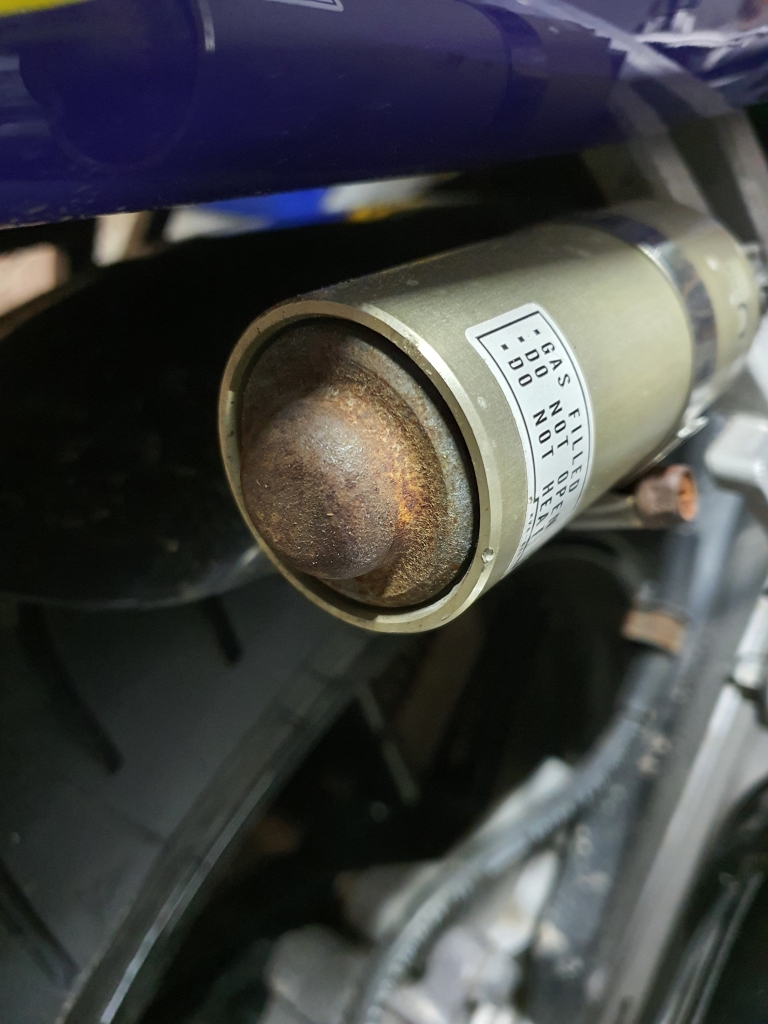
The Yoshimura exhaust looks in great nick all over, and should bolt up nicely to the new manifold when it turns up!
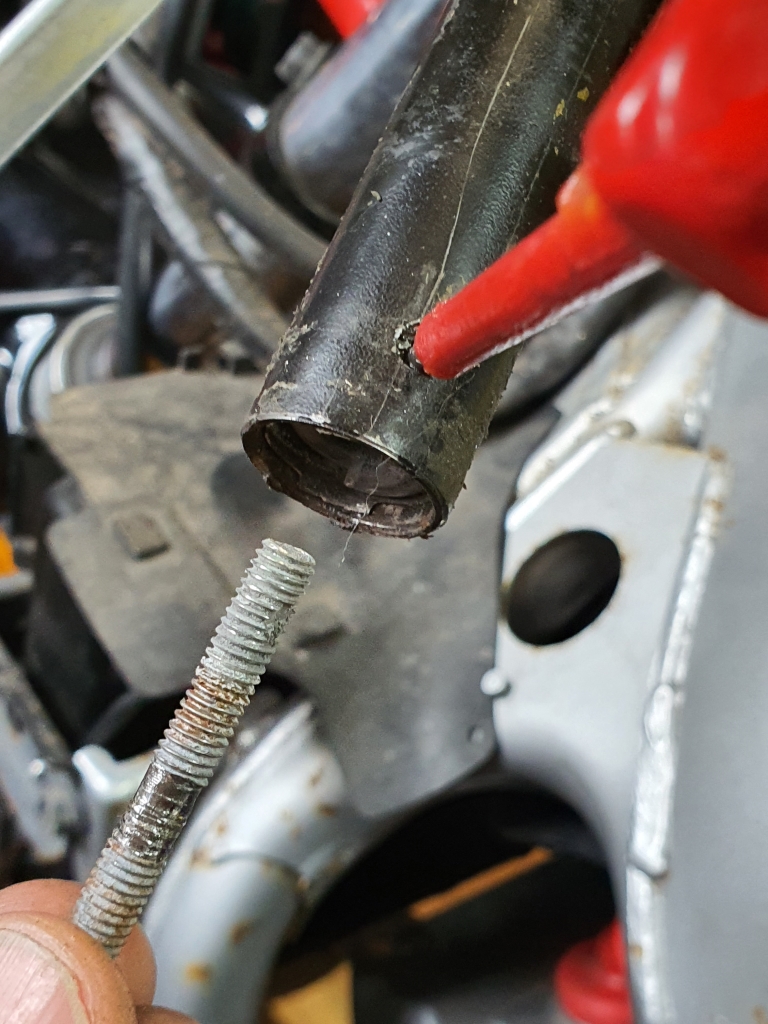
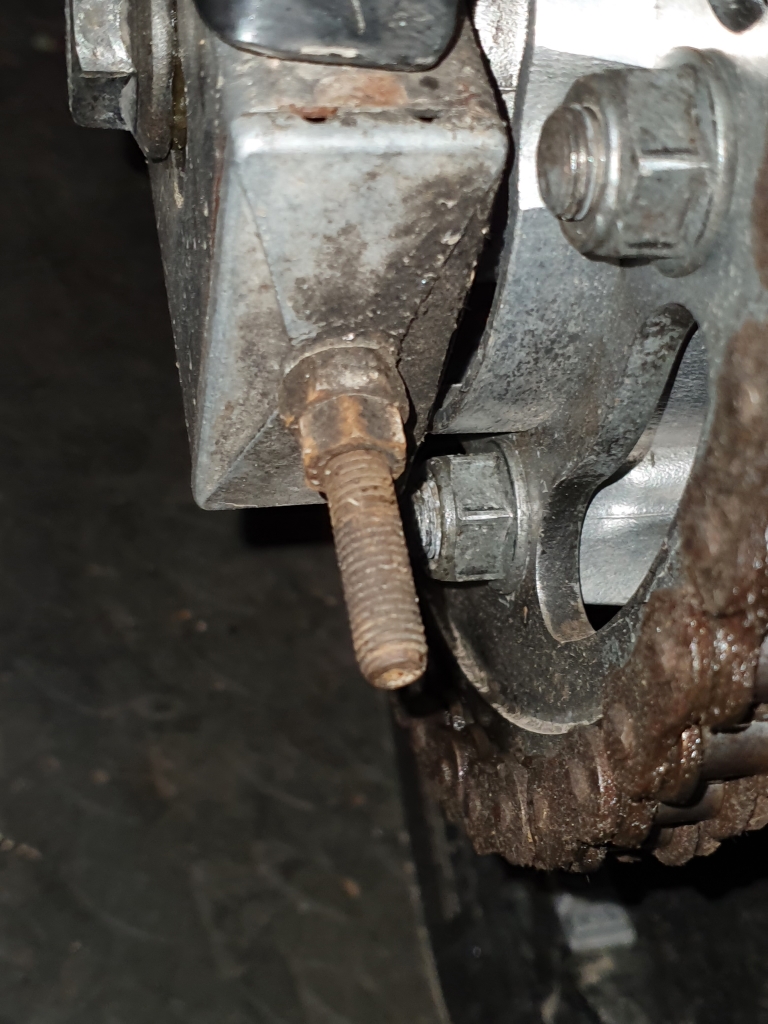
Top of the manifold is a mess, but the new bolts/studs should really help with the replacement
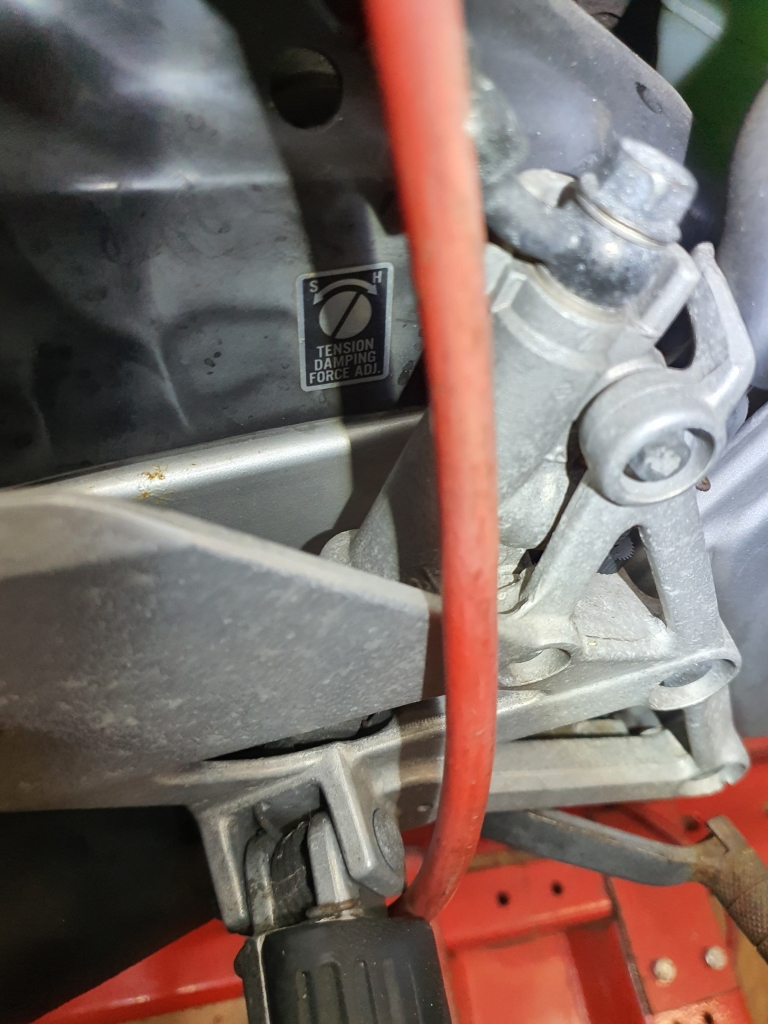
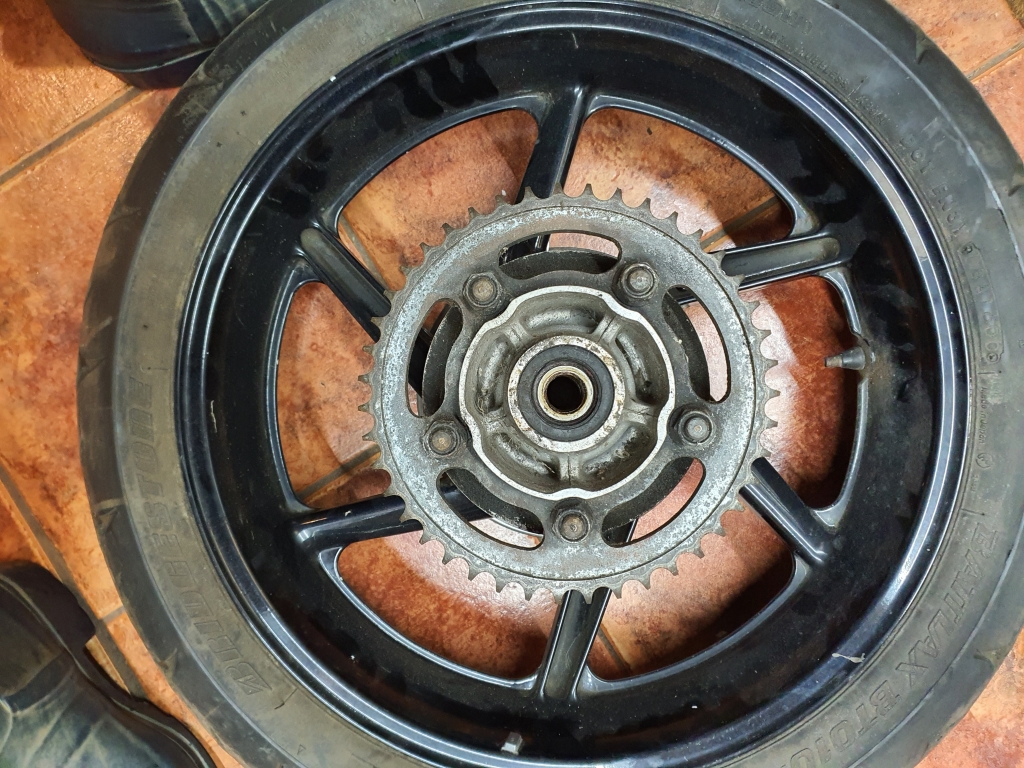
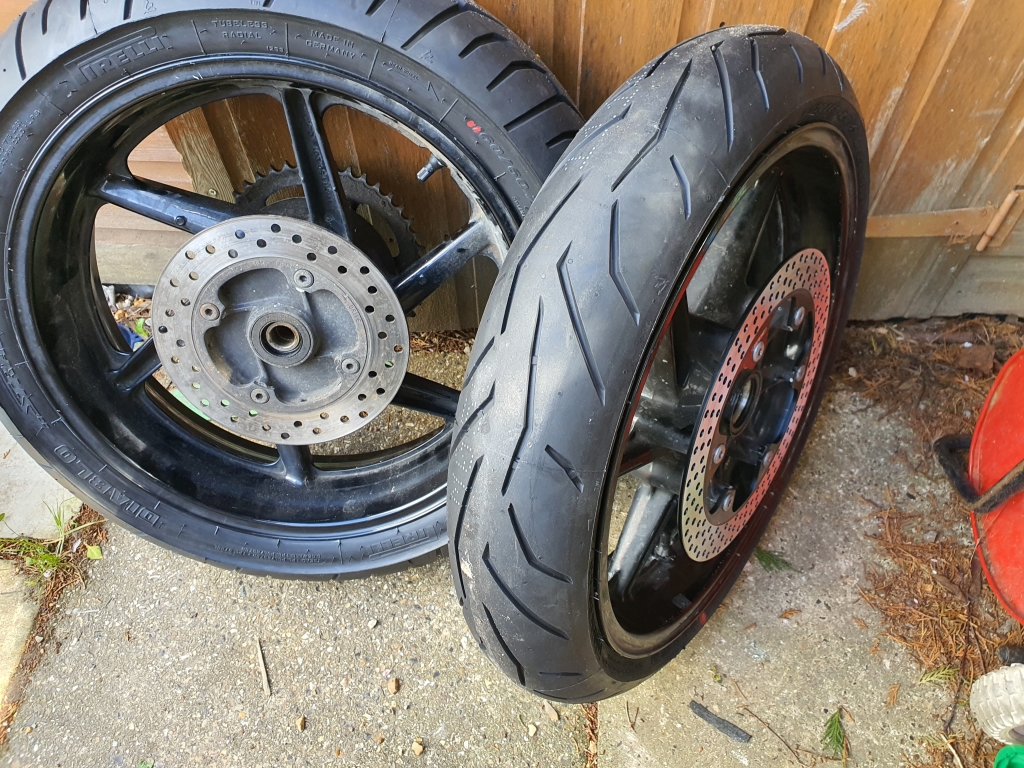
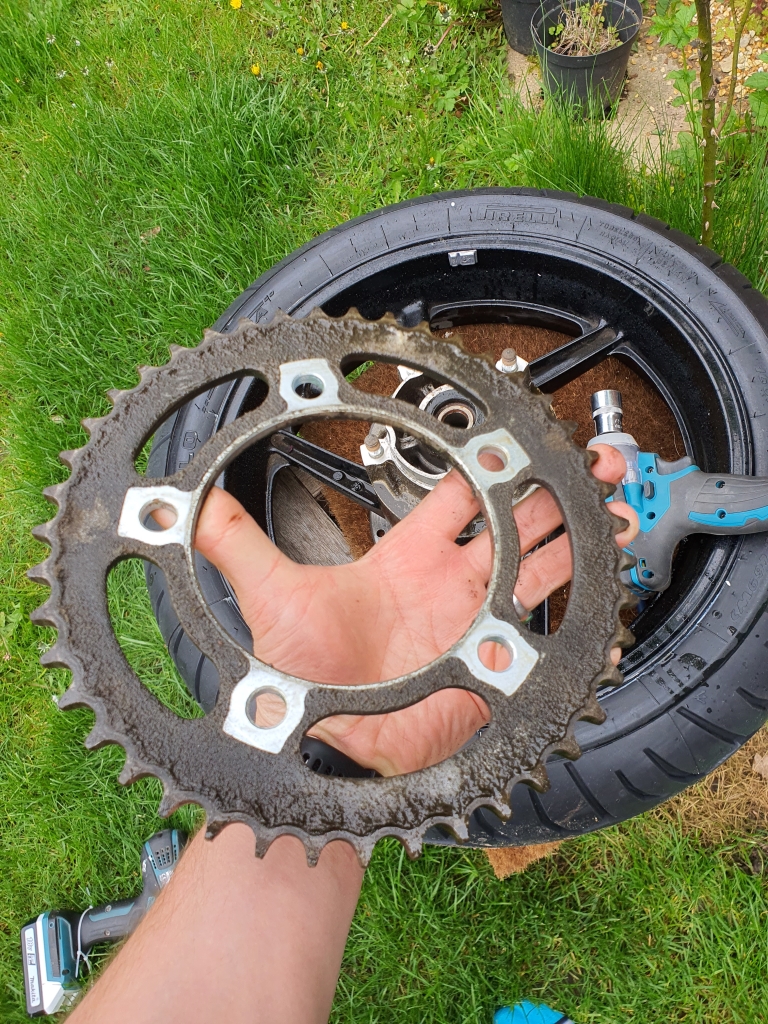
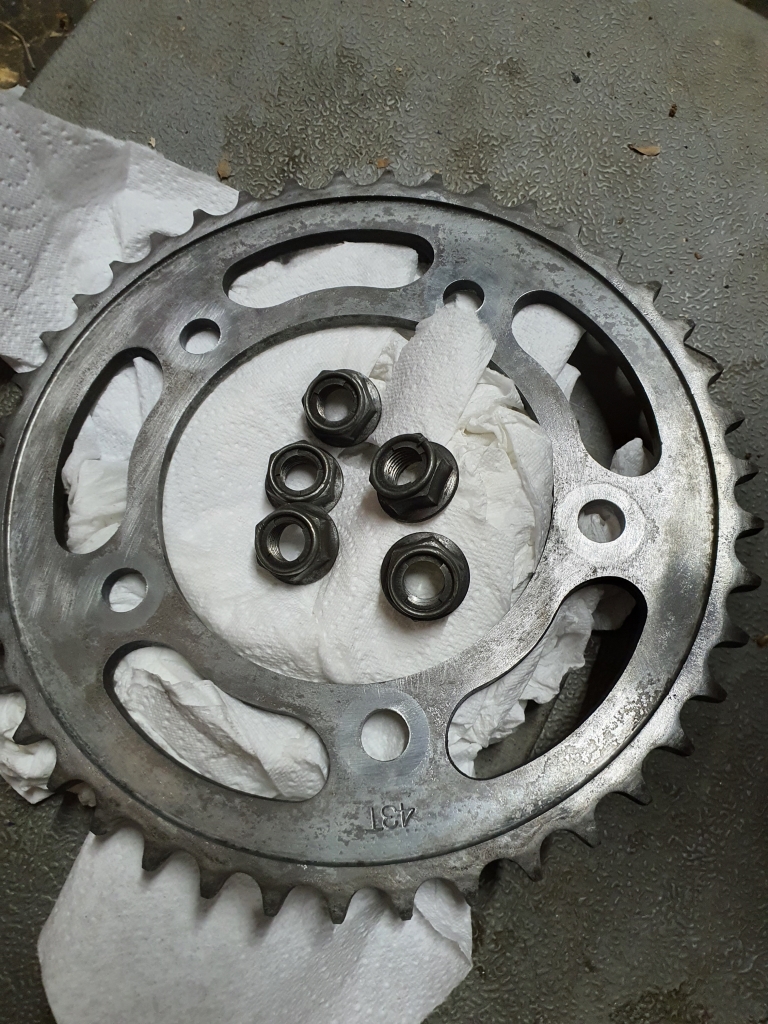
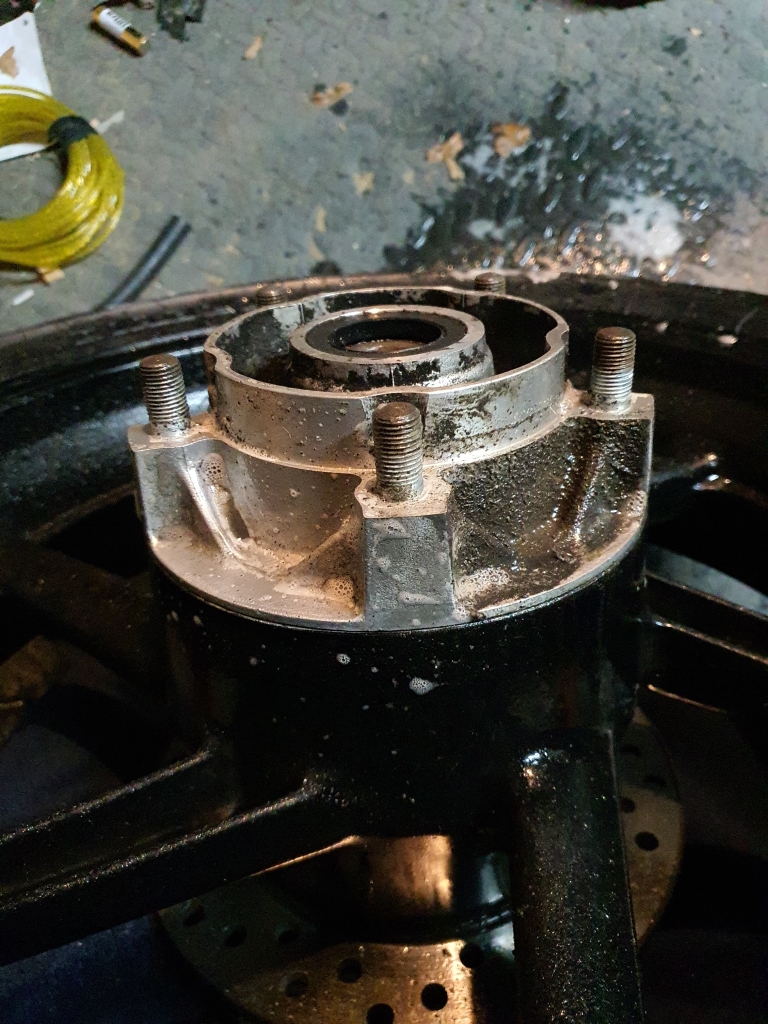
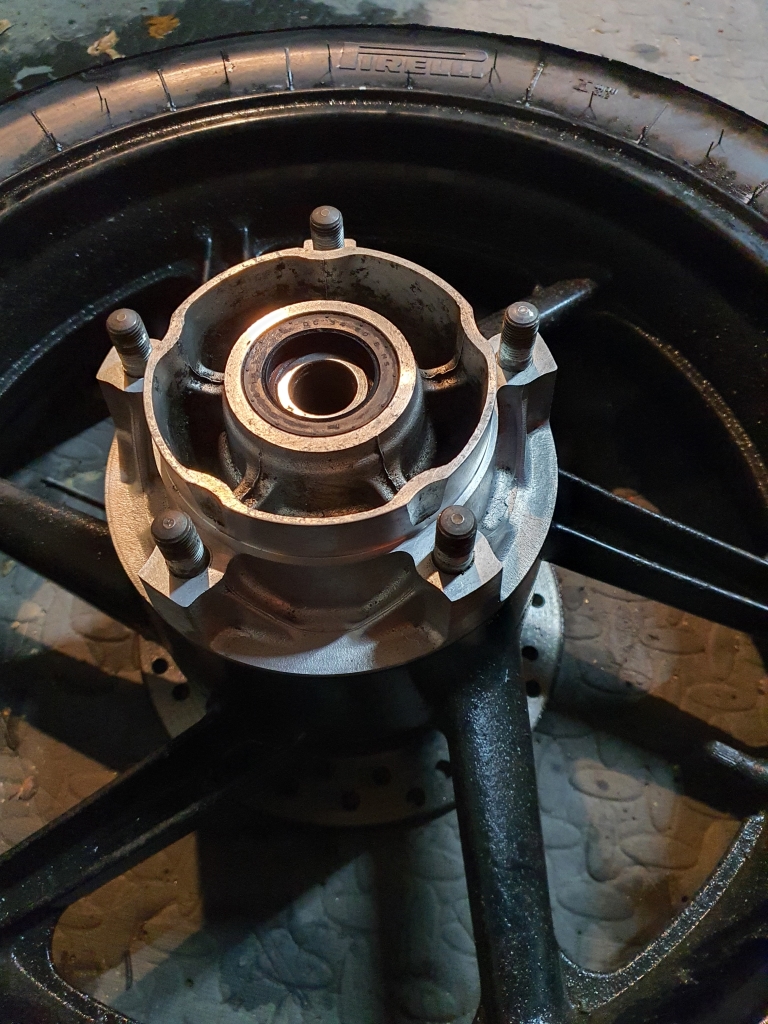
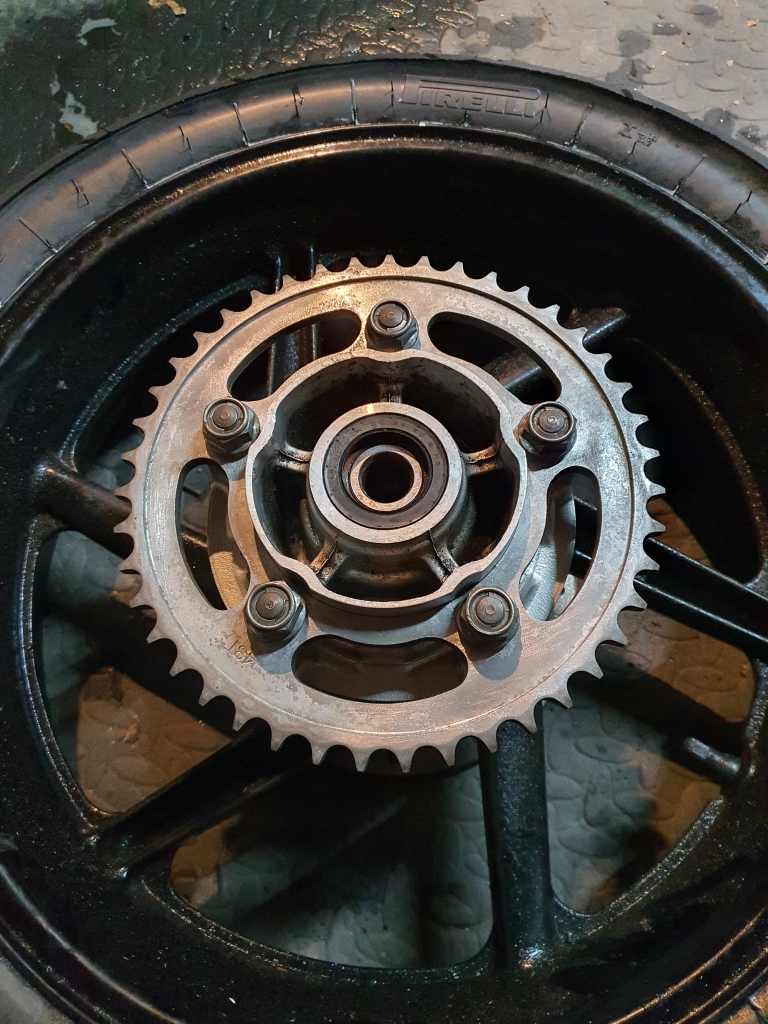
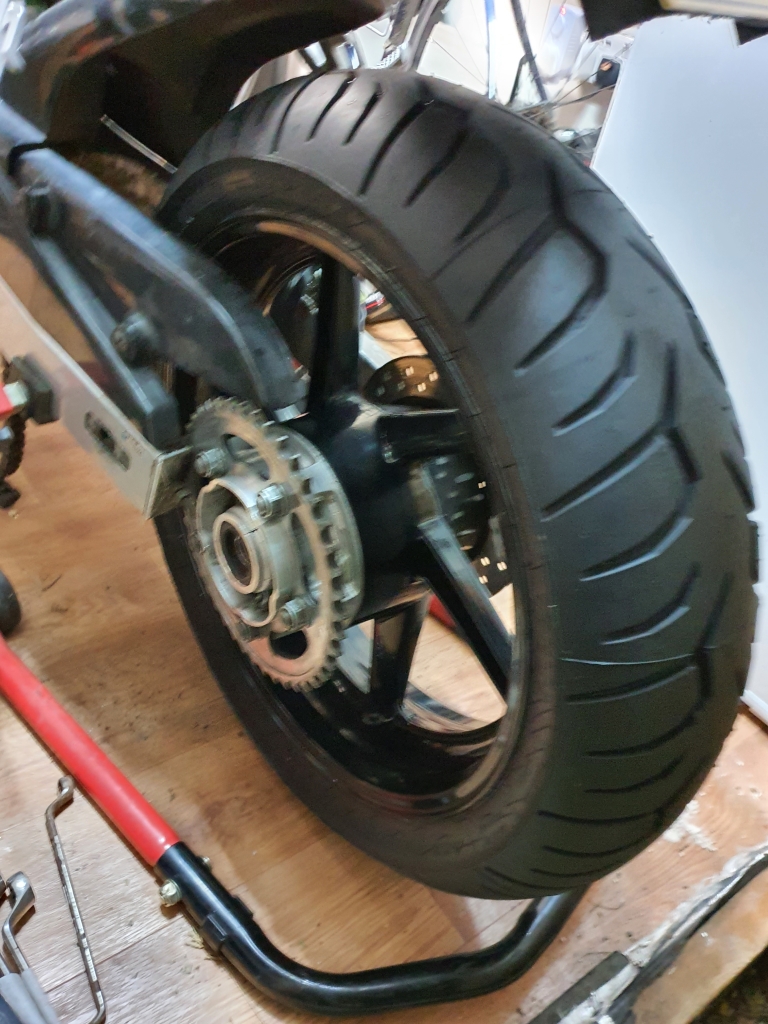
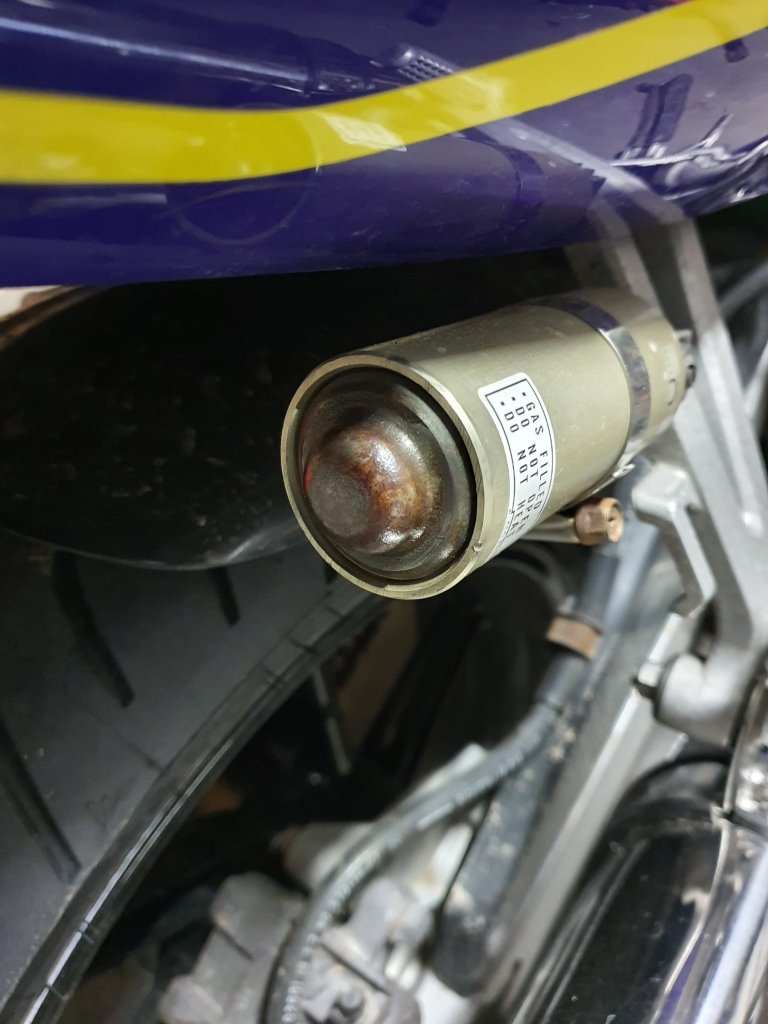
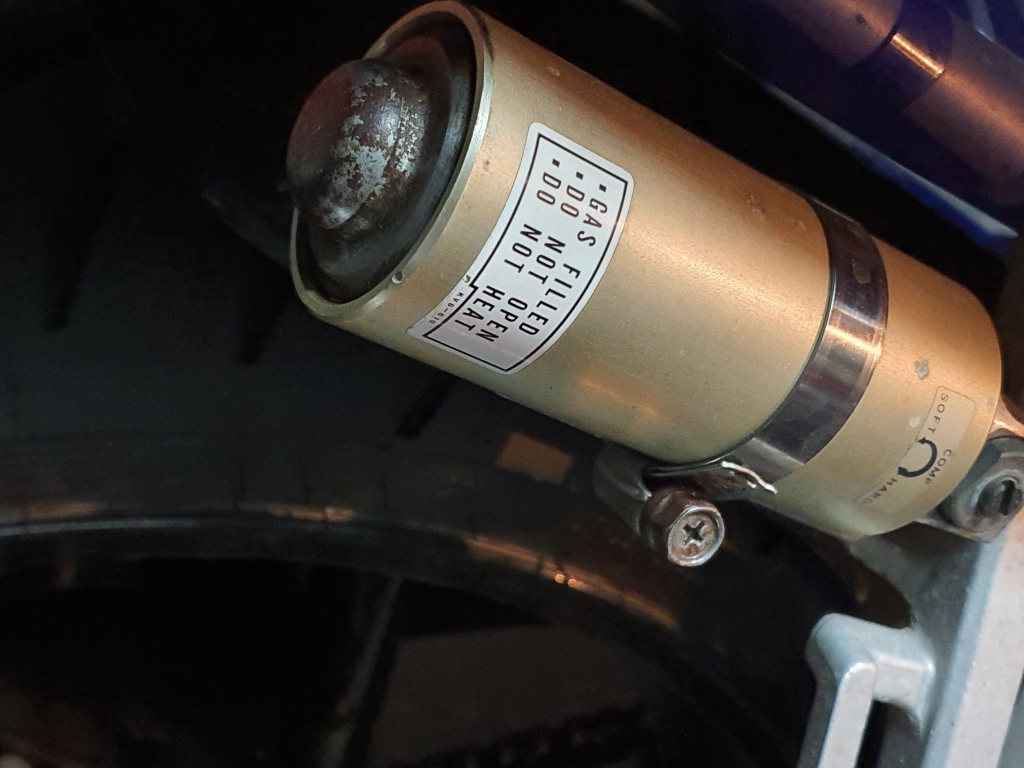
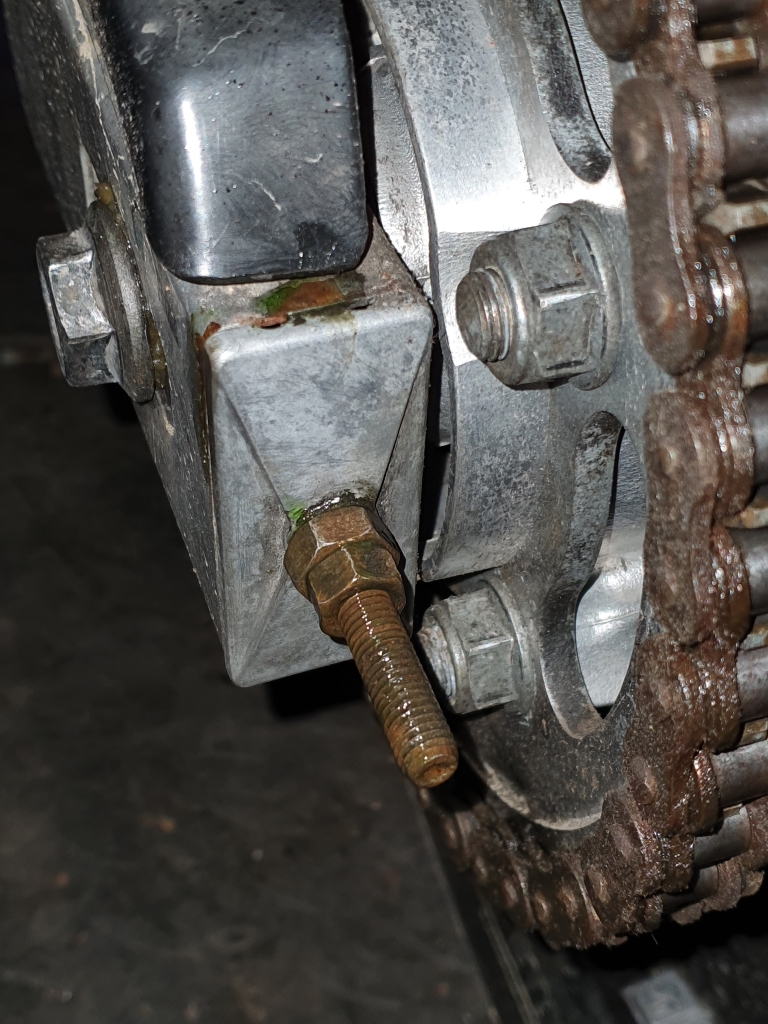
Rear end looks in pretty good nick too:
Ordered load of consumables and extras to replace the tatty stuff:
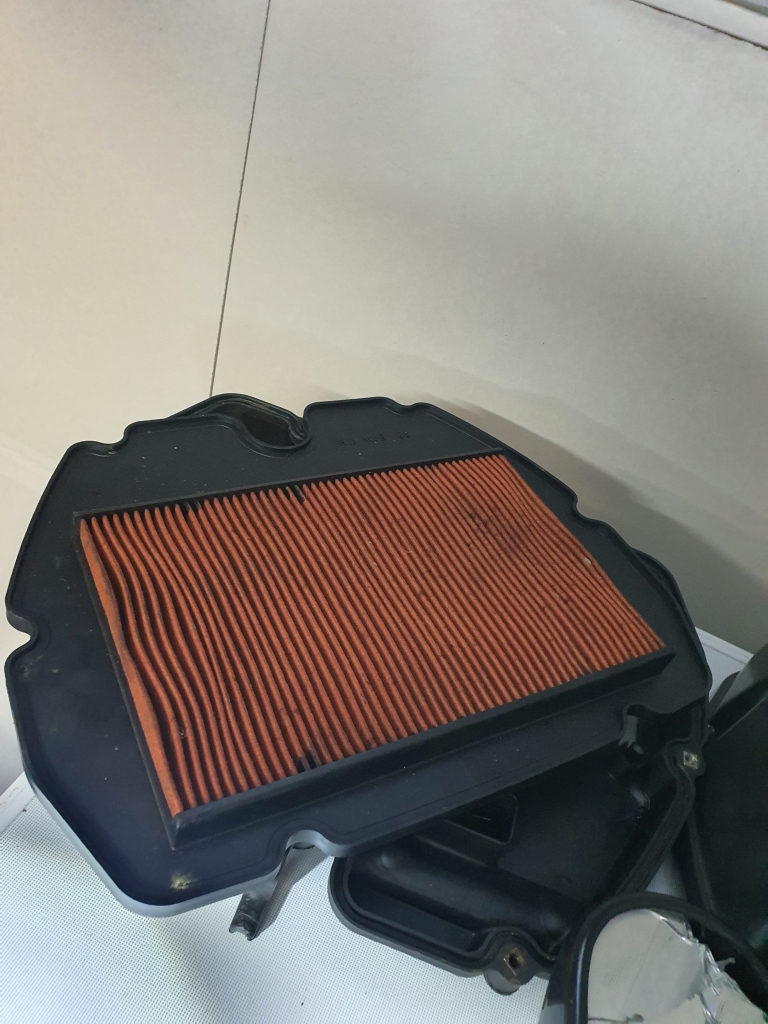
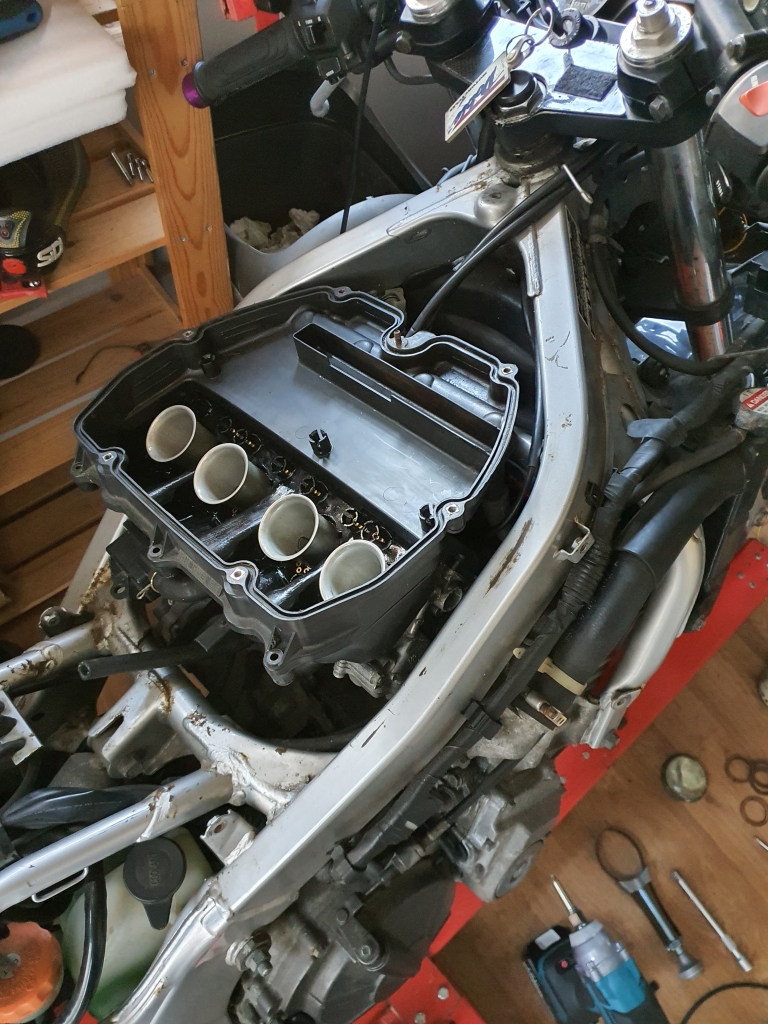
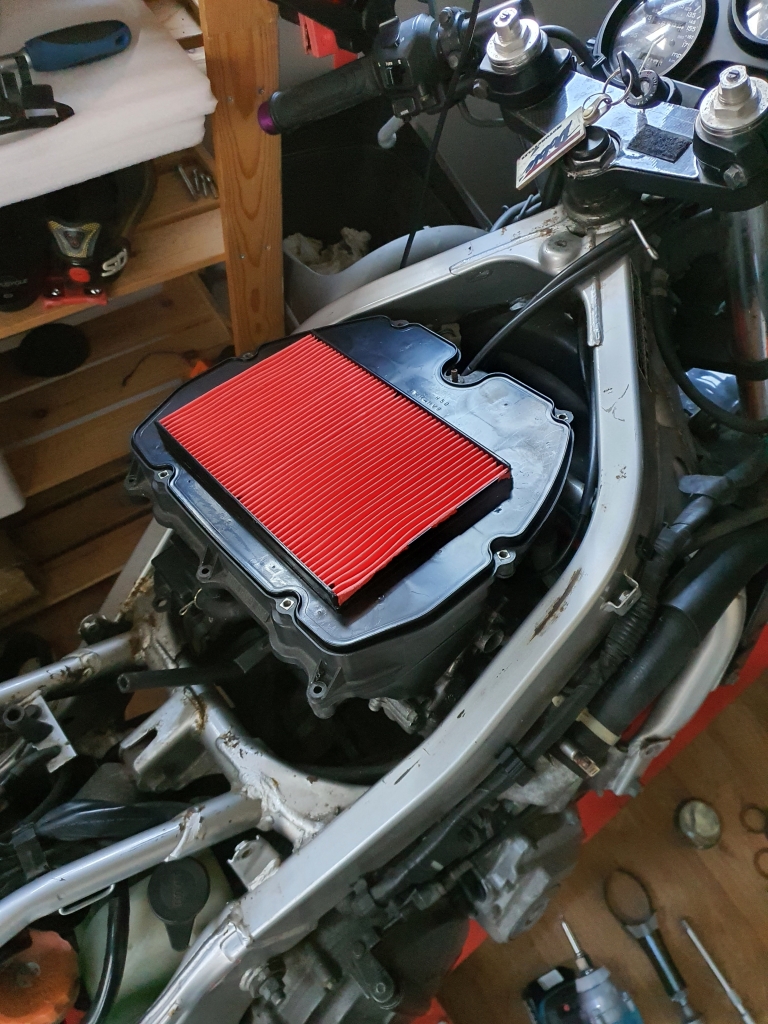
Air filter - on order
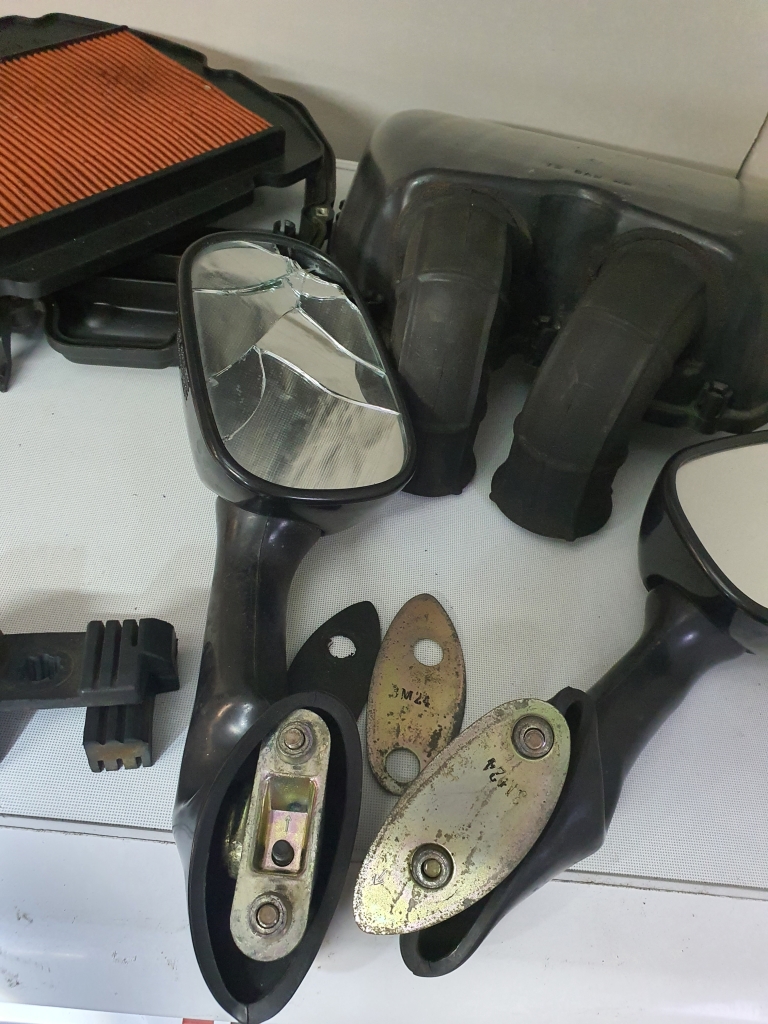
Ordered new mirrors, as I figured a single replacement might not match up anyway!
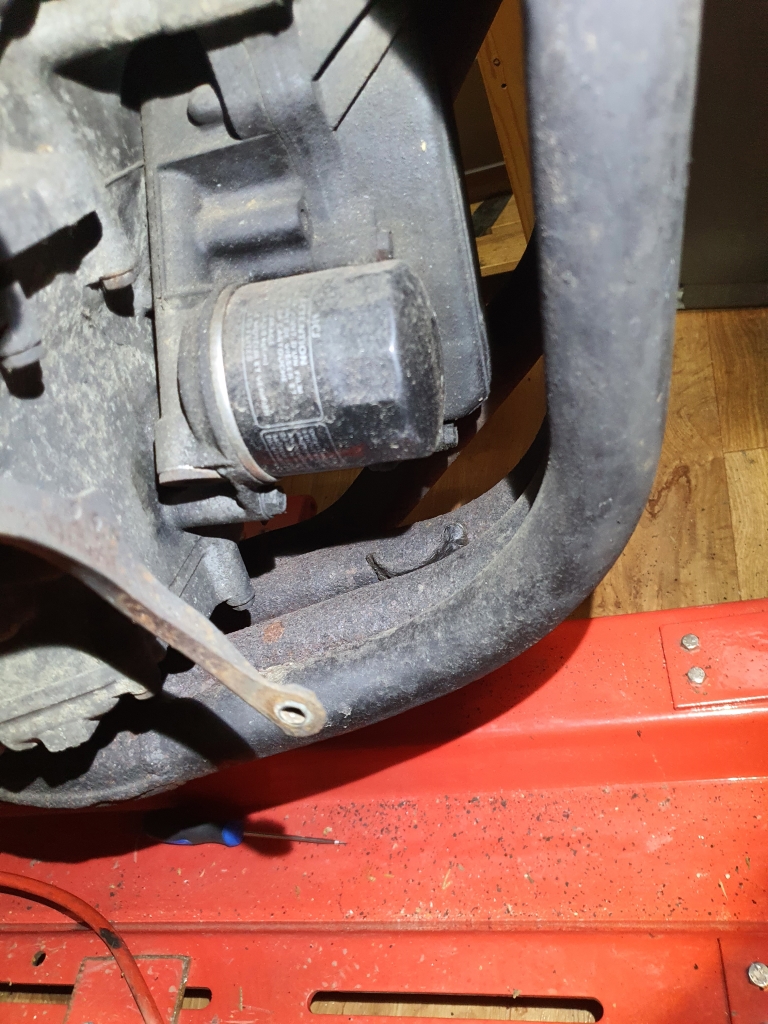
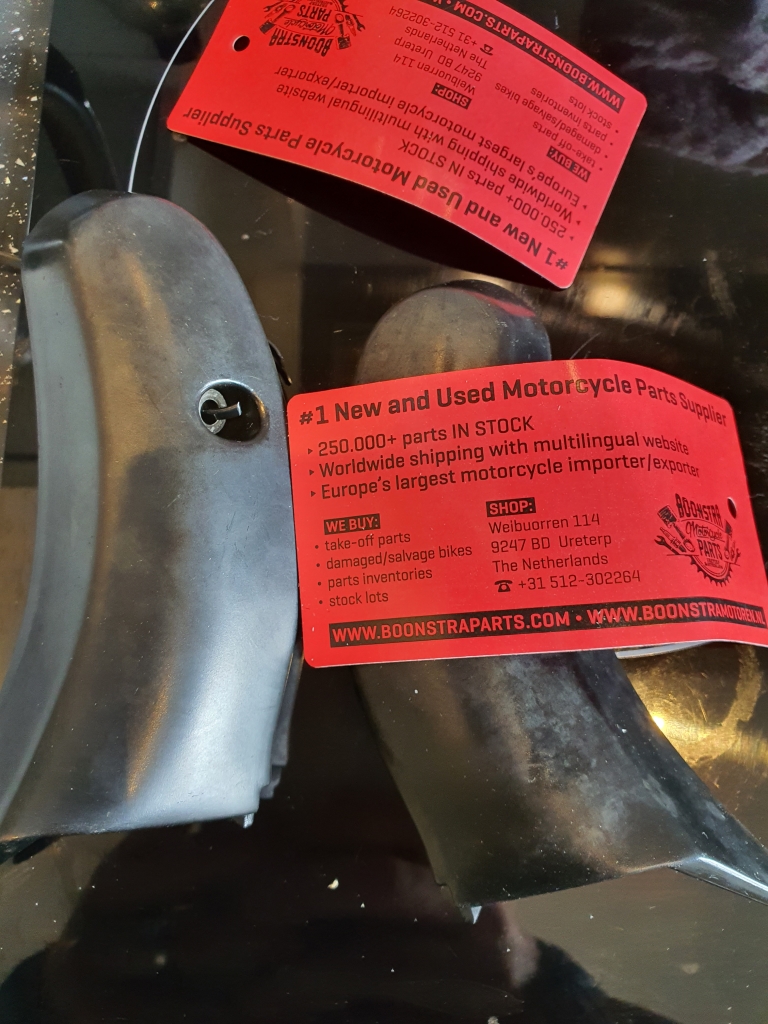
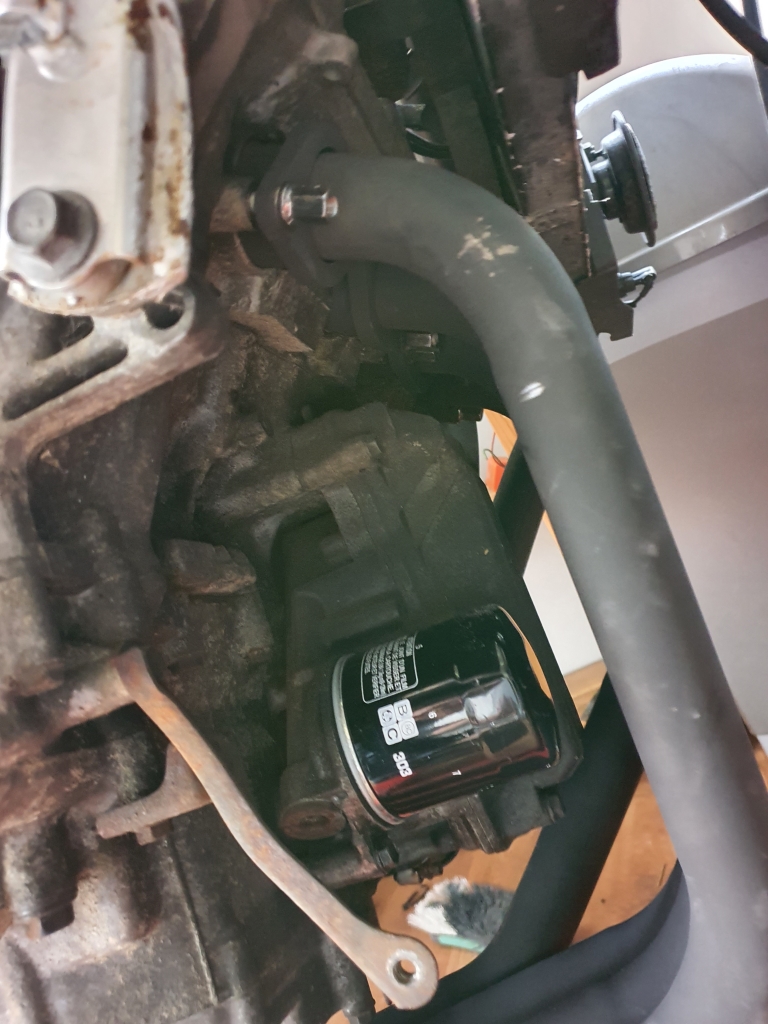
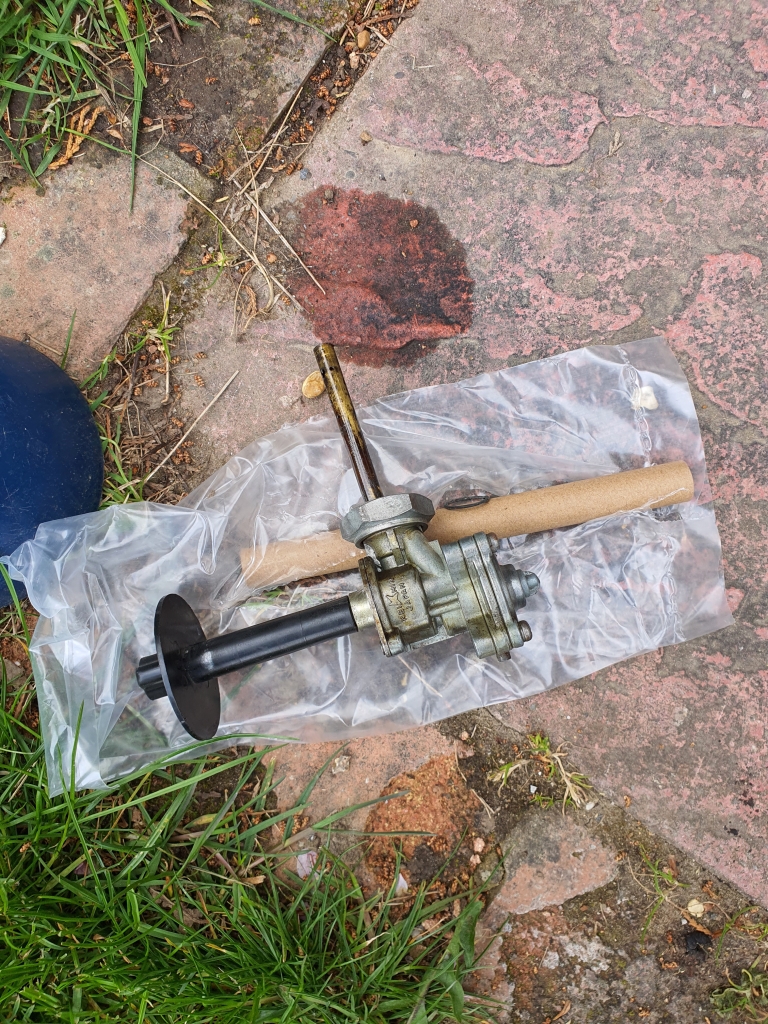
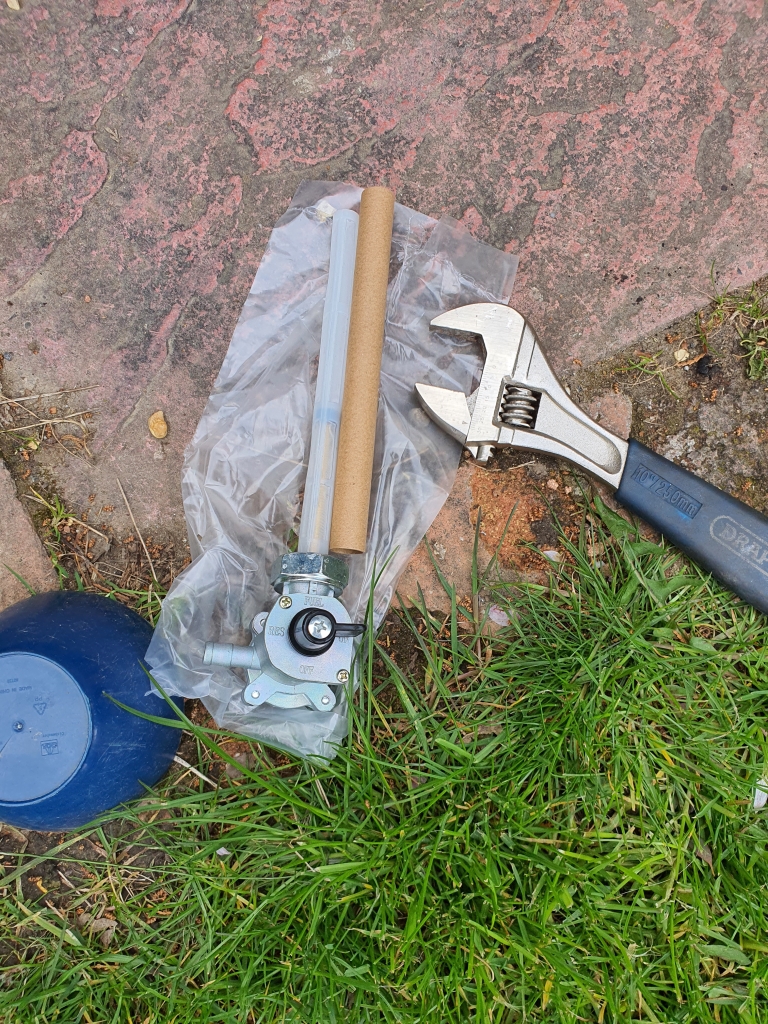
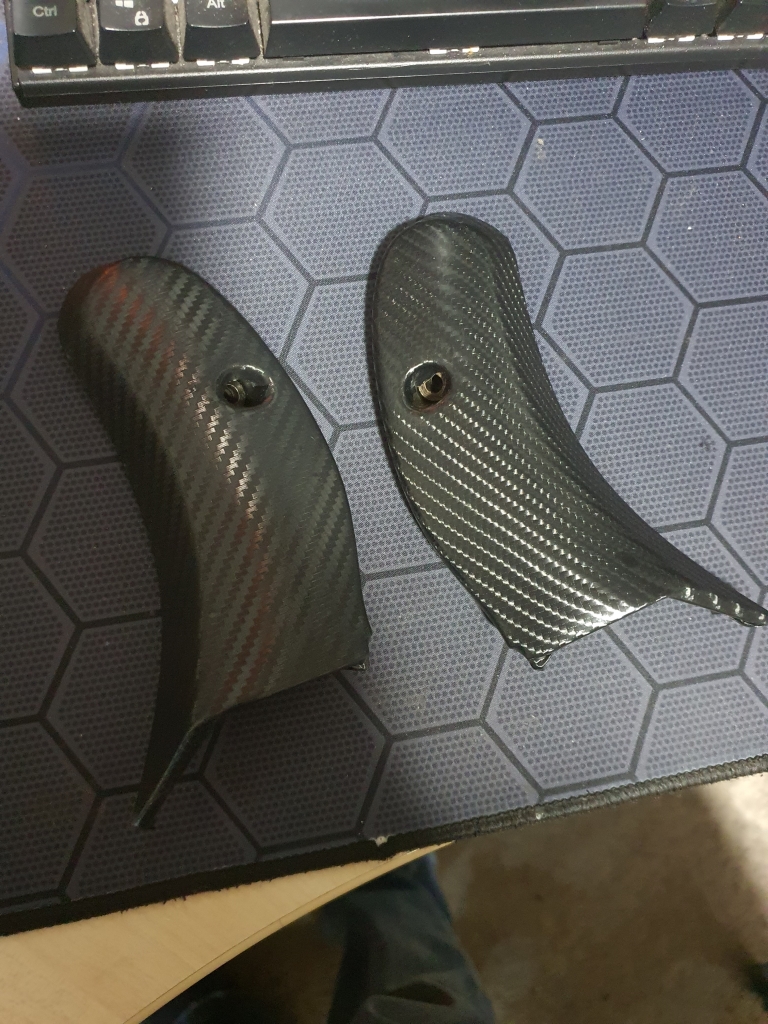
I also grabbed a few other little missing bits, some infill vanity panels, oil filter, some oil. I also noticed the fuel tap did not have the filter sock on the top, so ordered a new tap also, with all the pre-filter stuff on it also.
So, I went looking about at CBR600F(x) (of varying eras) and looking at prices, decided an F2/F3 would be the sweet spot to find a cheap project that I could likely fix and make into a reliable "hack", that will replace the Hornet when I sell it on.
I spent a few weeks looking about, and kept going back to an F2 import that had been up for a few weeks (5 weeks) at £1000 on facebook marketplace. It listed as a non-runner, but looked to be in pretty tidy condition.
HOWEVER, there was a spanner in the works. First issue was the location (about an hour away), and it had no MOT, and was apparently not rideable. So, my had recently gained access to a vehicle that I thought would make a perfect bike transport vehicle! An ex disability equipped VW caddy high top thingy, with a split tail, and winch already built in...
Very fortuitously, a guy in my village asked if anyone could move a CBR600F4i a few miles from a garage to his house so he could get it running in the summer! Bingo! The bike is almost identical dimensions to my proposed F2 unit. So we had a go, and Boom:
It fitted like it was made for it! I learnt a few things transporting it the few miles, and the unload/reload was success. Had to make some tweaks to the dropped tail to let it drop further to make using a ram a lot easier, but ultimately, it did a great job, and the game was on.
Arranged to pop over on the Bank Holiday weekend (Sunday) and upon seeing the bike, it would not start (which they thought it would), the manifold was shot, but it had had new manifold stud/bolts done very recently. I also found the disc on the front right was badly cracked/damaged. Managed to get the price down to £650 in the end.
Whipped it into the "Van" and drove it back home. Here she is! Oh, and I love the plate!
Some pics in the transport:
Unloaded!
I added some fresh fuel drained the carb bowls, checked all the connections. Fuel was coming through, and it sounded right, but just would not start! I started to whip the fairings off, and had a good look through, check the timing chain was still hooked up/etc.
I gave up, and wheeled it through to the shed for further examinations, in a nicer environment.
So, what else needs doing? The right disk is knackered, full of cracks/chips/damage. So I have ordered a full new set (even though one side is ok) as it felt like a bad idea to change only 1!
Other side - Passable, but worth changing together I feel:
Fairings off, everything is laid bare, the screen is horrible, broken in the corner, and I have a replacement ordered in clear (STANDARD!):
Manifold with a little bit of the paste that was used to hide the crappy welding/holes fallen into the pipes down below. No good - Ordered a new one!
Little bit of surface rust some of the inner frame sections:
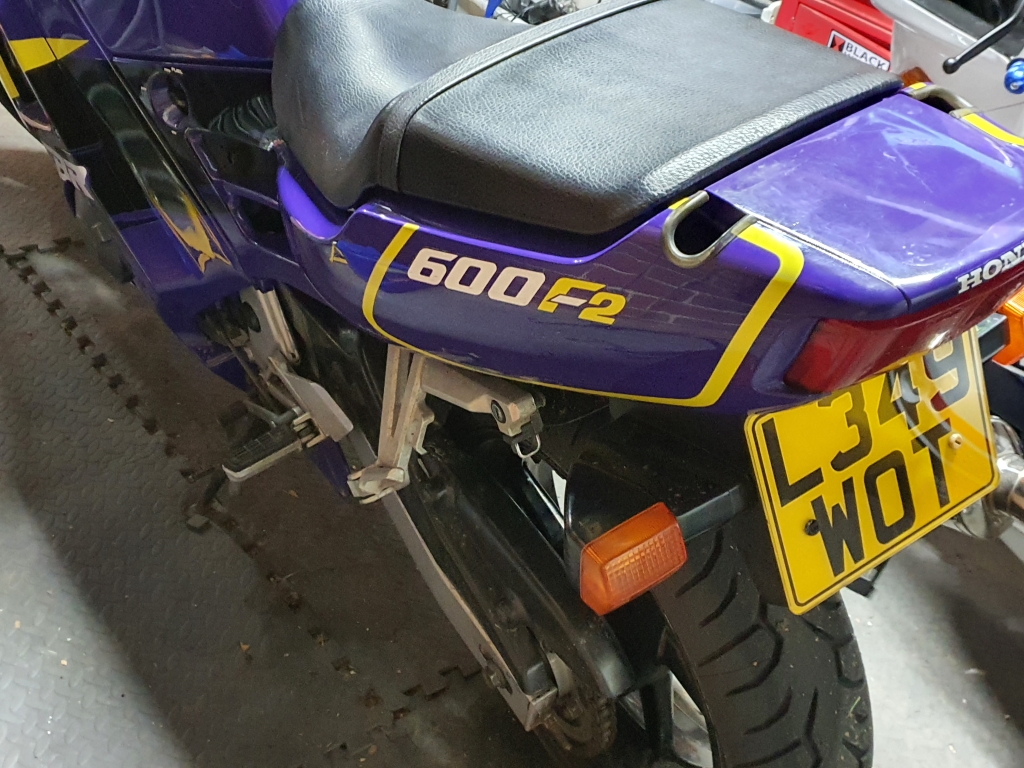
Most of the bike is sort of dusty/watermarked like this:
Should all clean up pretty well.
The Yoshimura exhaust looks in great nick all over, and should bolt up nicely to the new manifold when it turns up!
Top of the manifold is a mess, but the new bolts/studs should really help with the replacement
Rear end looks in pretty good nick too:
Ordered load of consumables and extras to replace the tatty stuff:
Air filter - on order
Ordered new mirrors, as I figured a single replacement might not match up anyway!
I also grabbed a few other little missing bits, some infill vanity panels, oil filter, some oil. I also noticed the fuel tap did not have the filter sock on the top, so ordered a new tap also, with all the pre-filter stuff on it also.
Last edited:
") Will edit the OP to show that, forgot to add it!
Will edit the OP to show that, forgot to add it!


 Some things have happened... Update to follow