
As one of the most vital components of your gaming PC, it can be a stressful experience when your graphics card stops performing as it should. However, figuring out the right way to troubleshoot can become an even bigger and sometimes costly task.
That’s where the OcUK Academy comes in. As the experts on building gaming PCs, we’ve compiled this helpful tutorial on how to reseat or install your GPU to fix or improve performance. The aim of this guide is to save you time and money by reducing the need for a hardware replacement or submitting an RMA with us.

Why Would I Need to Reseat or Install My GPU
If your PC has a display error, a way to troubleshoot this issue is to reseat your graphics card. Such a simple process can potentially save you a lot of time and stress. If you’ve just received your brand-new PC or have recently transported your precious system, there’s a chance that the GPU has become loose during shipping. This isn’t always the case, but if it does happen, the fix is quick and easy.
Alternatively, you might have recently purchased yourself a cheeky GPU upgrade. If this is you, our guide will also help if you’re struggling to install a brand-new graphics card upgrade.
Watch How to Reseat or Install a GPU
Our Step by Step Guide:
Graphics Card Removal
- Remove the side panel and identify the video card. Most gaming PCs will come with a dedicated graphics card (GPU) and it’s pretty easy to spot! It’s the large component right in the middle of your case and will likely have several fans and power cables sticking out of it.

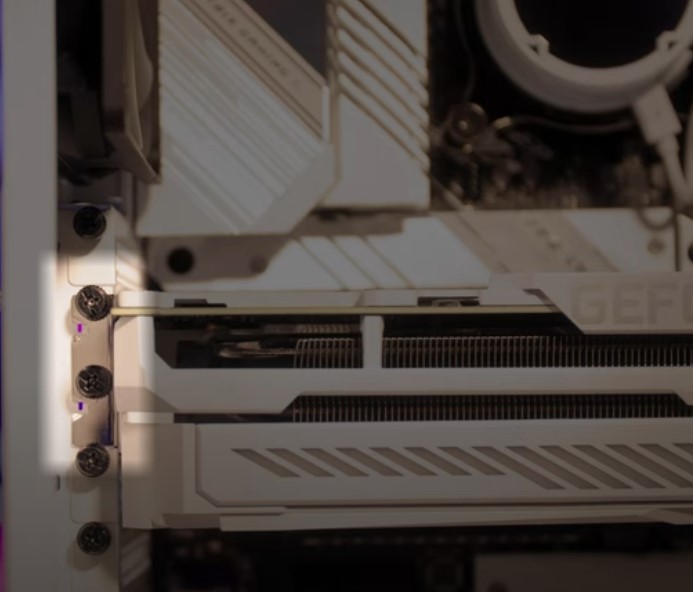
2. Next, you will want to remove the screws holding the GPU in its place. Depending on your case, these screws will either be inside or outside the case. They could even be under a cover. However, they will always be at the left of the graphics card. You might see other screws holding the PCI slot covers – ignore those and focus on the screws holding onto the metal bracket at the back of the GPU. Slowly undo them while supporting the weight of your graphics card.
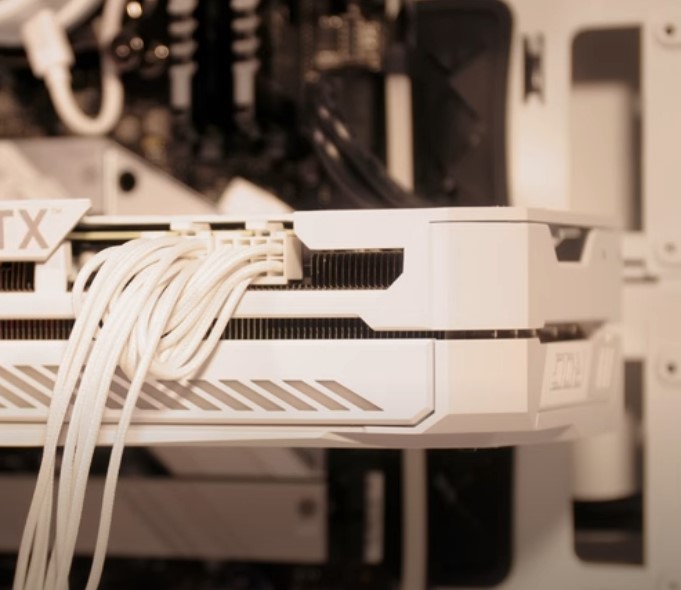
3. Most modern graphics cards will have external power connectors from your PSU. These are called PCIe power cables and can have either 6 or 8 pins. If you are reseating the GPU, you can leave these in if there is enough slack. However, if you are upgrading or if everything is tight and nicely cable managed, you will want to remove the power cables before unseating the card. Look for the small clip on the top of the power connector and push this down as you pull the cable out. Often this connector can be stiff and it can help to give it a gentle wiggle from side to side.
4. After this, the only thing holding your graphics card in its place is the small clip on the PCIe slot on your motherboard. If you look at your GPU top side down, you’ll be able to see it and if you have smaller hands, you can push it down with your finger. However, you can also gently push on the clip with a screwdriver until you hear it click and release. You can now safely remove your GPU! If it feels as if it’s stuck, double-check that the clip is all the way down.
Graphics Card Installation
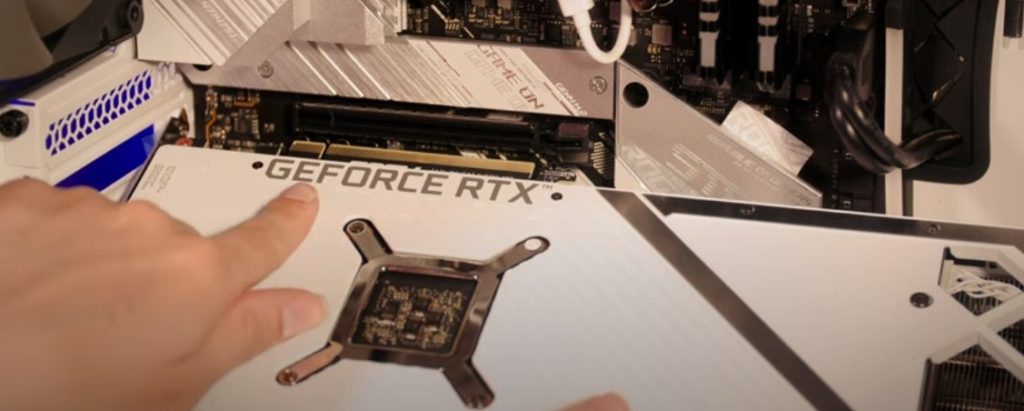
- To reinstall your graphics card or insert a brand new one, line it up with the PCIe slot on your motherboard and the slots on the back of the case. Ensure that the metal bracket will safely slide down the side of your motherboard before you reinstall the GPU. If your new graphics card is larger, you might need to remove additional PCI covers – make sure you check this before you push it into place! Firmly push the GPU into the slot on the motherboard until you hear it click into place.
2. Finally, it’s time to redo the screws and plug in the power cables. Start with the screws to give your GPU extra support. Lastly, the power cables could either be a 6 pin or 8 pin, meaning you need to ensure you have the correct cables lined up to the corresponding slots. What’s more, sometimes the PSU will have a 6 pin with the additional extra two pins on the side – make sure those are all lined up correctly and held together when you plug them back into your graphics card.
After Reseating or Reinstalling your Graphics Card:
After you’ve successfully completed the final step, reinstall the side panel and plug all the cables back into your PC. Hopefully, this has fixed your display problem or you finally installed your brand-new powerful GPU! Before enjoying your new GPU it’s worth checking the manufacturer website for driver updates. You can find them HERE for NVIDIA, or HERE for AMD graphics cards.
However, if you are still experiencing issues check our dedicated pages for information on how to contact us or set up a return with us.
In the mood to upgrade?
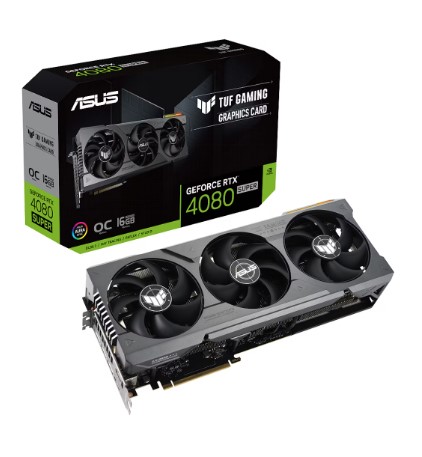
If this has sparked the inspiration to upgrade your GPU, check out the wide range of graphics cards available on the Overclockers UK website. With both NVIDIA and AMD GPUs, manufactured by partners such as ASUS, Gigabyte, or MSI – you are sure to find the GPU that will take your gaming performance to the next level!
Graphics cards from Nvidia
- NVIDIA RTX 40 Series utilise Ada Lovelace GPU architecture
- Cutting-edge RT and Tensor cores deliver next-level ray tracing and DLSS
- Performance boost in creative apps thanks to AI acceleration.
- Utilises the latest, low power GDDR6X memory
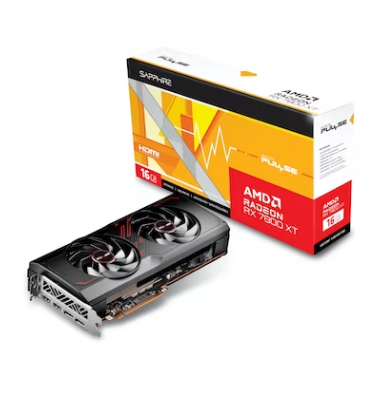
Graphics cards from AMD
- Radeon RX 7000 Series utilise powerful AMD RDNA 3 architecture
- Unique chiplet design to deliver up to 54% more performance per watt than RDNA 2
- Equipped with support for plenty of tech to enhance your gaming such as AMD FSR 3.0 and Infinity Cache
The Overclockers UK Academy
Dedicated to helping you troubleshoot simple PC issues, check out our range of OcUK Academy articles and videos for more!
Building your own gaming PC can be a daunting task. That’s why we’ve put together the Overclockers UK Ultimate PC Building Guide.
- 6 min read
Ruth Rowley
Author
Ruth has been with Overclockers UK for over a year and has gone on to write about everything ranging from in-depth hardware guides to monthly game releases.
Outside of writing blog posts, she can be found wrapped in a blanket with her black cat, engrossed in a book or playing life-simulation games such as The Sims, Stardew Valley, and Animal Crossing.
Read More >>