
After you’ve finished building your dream gaming PC, there’s one last thing to do – install the operating system! If it’s your first time doing this, the process might not be clear to you. Luckily, it’s not as complex as it first seems.
We’ve put together this step-by-step guide to walk you through how you can install an OS on your freshly built PC. From purchasing the right software to watching your machine come to life for the first time, we’ve got you covered.
Why Do I Need to Install an Operating System?
The short answer is that you can’t use your computer without an operating system. The slightly longer answer is that an OS is what makes it possible for you to use your PC in all the ways that you want to. The OS will help manage resources such as your CPU, memory, and disk drives. It forms the user interface you need to navigate and run programs, as well as creating a foundation for all kinds of software.
Which Should I Choose?
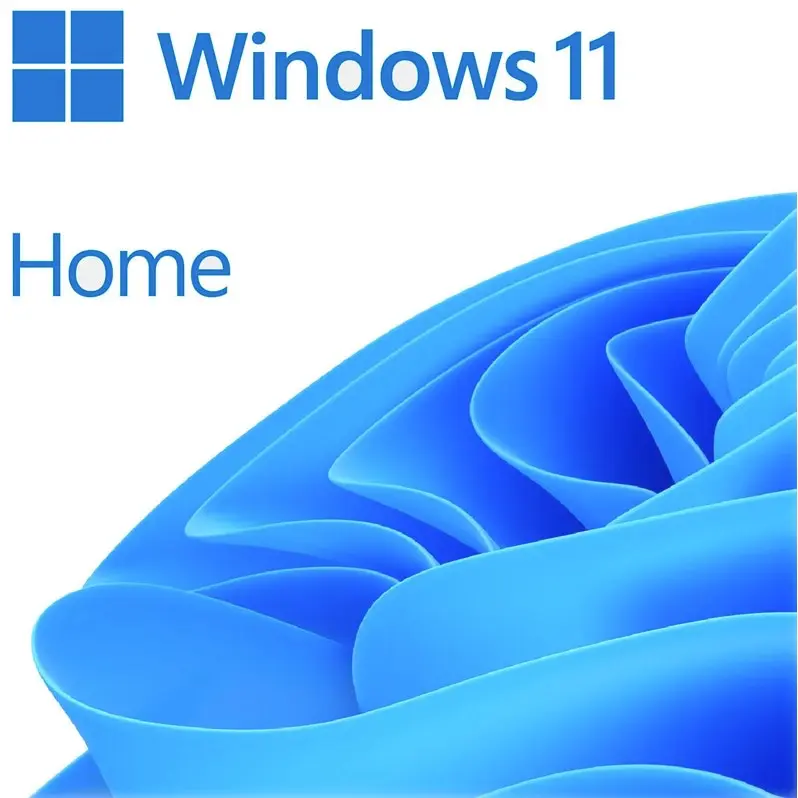
First and foremost, you need to decide which operating system you want to run. We’ve broken down the key differences between Windows 10 and 11 to help you decide. After that, it’s a simple matter of purchasing your OS of choice. We have plenty for you to pick up here at Overlockers UK.
Microsoft Windows 11 Home 64-Bit DVD (KW9-00632)
Available to purchase now for £106.99
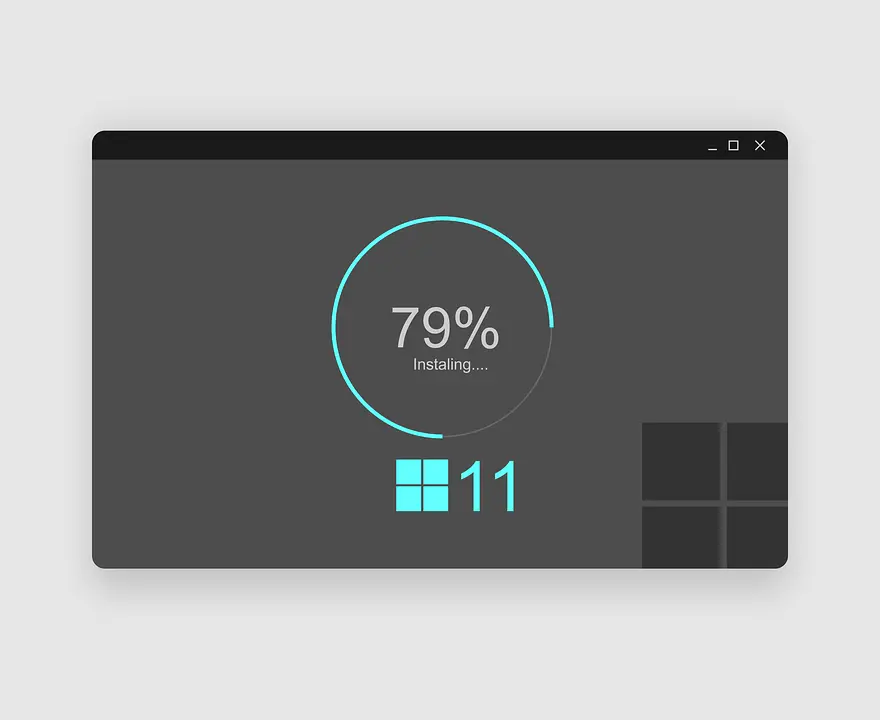
Installing Your Operating System
One thing to note is that the process we are about to outline is for PCs that do not have an operating system currently installed. If you already have Windows 10 installed and want to upgrade, you can follow Microsoft’s Windows 11 Upgrade Guide.
Step One
Make sure your system is switched off. Then, insert your installation disk into the DVD drive. If you are restoring a backed-up OS using a USB, connect it to your PC while it’s shut down just the same.
Step Two
Now’s the time to switch on your computer. When you do, your manufacturer’s logo should come on the screen. Depending on the manufacturer, you’ll need to hit F2 or F12 to jump to the boot menu. This is where you can tell your PC to boot from the install disk/drive.
Step Three
From the boot menu, select either the USB or DVD to boot from (depending on your installation media) and hit enter. You’ll be prompted to select your language settings, keyboard input, and time zone. After that you can select your region and then begin the installation. With one more big hurdle that is…
Step Four
You will need to enter your product key. This will have been included in your physical purchase, or via email if you got one digitally. You must enter this to validate your installation.
Step Five
We’re on the home stretch! After agreeing to the license terms, you’ll be asked to pick an installation type. Since you are not upgrading, you will want to pick “Custom: Install Windows only (advanced)” to proceed. You can then pick your drive or partition to install the operating system on. Keep in mind this will erase all data on said drive.
Step Six
Once you have selected a drive to install on, the process will begin in earnest. How long it takes depends on your hardware. But once it is over, your PC will automatically restart. Be sure to remove the USB or DVD at this point to stop the process from repeating. Then, once you’ve set up Windows, you’re good to go!
The Best Drive for the Job
We recommend installing your operating system on a solid-state drive. SSDs can load data up to five times faster than if it was stored on a standard hard drive. That means if you install your OS on one, it will boot up significantly faster. Check out our full range to find one that fits with your system.
- 4 min read
Jacob Smith
Author
Jacob is a passionate gamer, plus a noted Pokemon and LEGO nutjob, who emerges only when doing the words here at Overclockers UK. Since starting at the tail end of 2021, Jacob has gone on to write dozens of blogs on everything from the latest games to whimsical Dickens-inspired poetry. Outside of creating content and being the one person in the office daring to champion Nintendo, he is often found fawning over his Pokemon card collection and his trio of lovely doggos.
Read More >>