In this guide, we are going to move away from the world of PC hardware and show you how you can upgrade your PlayStation 5 storage.
Did you know that only 646GB of 825GB of the internal storage in the PS5 console is available for games, apps, saved data and screenshots? This means despite the next-gen compression technology, you can only store around six to ten major titles. It’s no wonder that it feels like the inbuilt storage gets full, very quickly!
If you enjoy replaying PS4 games with faster loading times, these games are much larger and can take up even more space on your console. This means you need to juggle between uninstalling and redownloading all your favourite games on the PlayStation 5. To avoid this, the best thing to do is upgrade the console’s storage.

That’s where the OcUK Academy comes in! Our team of tech experts have complied all our knowledge into this handy tutorial and video guide on how to upgrade your PS5 storage!
Watch How to Upgrade Your PS5 Storage:
Our Step-by-Step Guide:
- To begin with, ensure you have grounded yourself and your PS5 is turned off and the AC power cord is unplugged. After which, wait until the PS5 cools down.
- Once it’s cool, place the console on a flat surface with a protective covering and remove the base. Position your PS5 so that the PS logo is facing down and the power button is facing away from you.
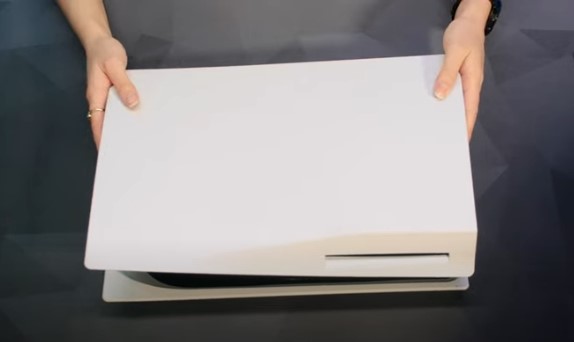
3. Next, use your right hand to grip the edge of the bottom right corner and your left to grip the top left corner of the cover. Gently lift the cover up with your right hand and slide the cover off with your left thumb, while using the fingers on your left hand to stabilise the PS5.
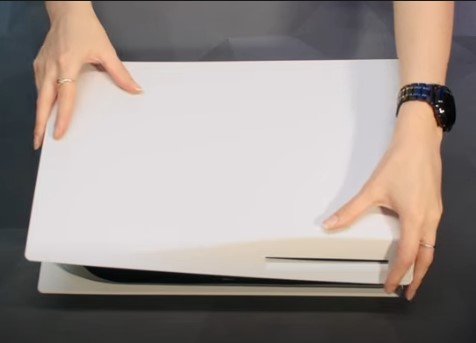
4. Remove the PS5 console cover.
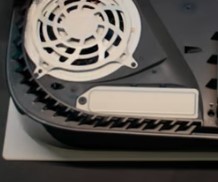
5. Now, you will want to identify the expansion slot. There will be a long rectangular cover secured with a screw at the top. You need to remove the screw from the expansion slot cover, and then the cover.
6. Inside, there will a small black screw. You will need to remove this and then move the spacer to correspond with the size of your M.2 SSD. E.g. for an 80mm drive, you will need to move the spacer into the 80mm slot.
7. Next, carefully remove your M.2 SSD from the packaging. You will want to hold the edge of your M.2 SSD and align it with the notch on the expansion connector. Then, starting from diagonally upward, firmly insert the SSD all the way in.
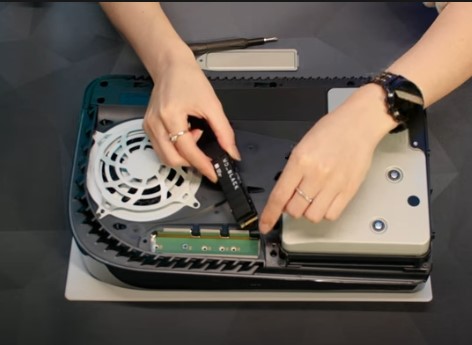
8. Ensure that your M.2 SSD circuit board is resting flush on the spacer, without any obstruction from the cooling structure. If your M.2 SSD is installed incorrectly, you risk damaging the terminal and your PS5 console.
9. Once you’ve ensured your M.2 SSD is in the correct space, use the small black screw that you removed earlier to fasten the M.2.
10. Reattach the expansion slot cover and fasten the screw.
11. Replace the console cover by positioning it slightly away (about 2cm) from the top edge and slide it back into place. You will hear it click when the cover is secured.
12. Now you can reconnect the AC power cable, cables, base, and turn your PS5 console safely back on.
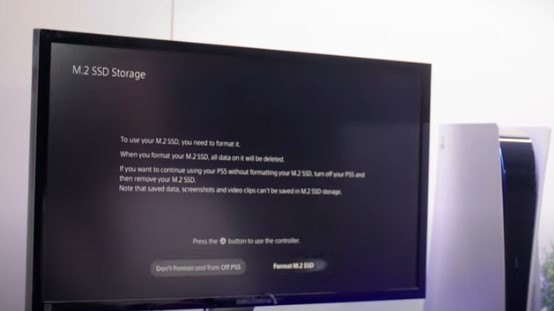
When your PlayStation 5 console has turned on, you will need to follow the on-screen instructions to format your M.2 SSD drive.
Once installed in the PS5 console, your additional M.2 SSD can be used to download, copy, and launch PS5 and PS4 games, as well as media apps. The additional storage will function exactly like inbuilt storage.
How to Transfer Your Game Files:
Now you have the space, you can finally organise all your game files!
To move a PS5 or PS4 game that was installed in the console storage or USB extended storage to the M.2 SSD, go into your game library.
- You will want to press the options button and then select ‘Move Games and Apps’.
- Then select the game you want to move and press ‘Move’.
If you wish to install games onto the M.2 SSD by default, go into settings > storage > installation location.
- Next you will want to select ‘PS5 Games and Apps’ or ‘PS4 Games and Apps’ and choose your M.2 SSD as the default installation location.
PlayStation 5 Approved Storage Solutions
It’s important to note – you need to ensure that your PS5 has the latest system software update before you install a compatible M.2 SSD drive.
The table below details the specifications your M.2 SSD drive need to meet in order to be compatible with the PS5 console.
| Interface | PCI-Express Gen 4 x 4 supported M/2 NVMe SSD (Key M) |
| Storage | 250GB – 4TB |
| Supported sizes | 2230, 2242, 2260, 2280 or 22110 |
| Size including heat-dissipation mechanism | Width: up to 25mm Length: 30/40/60/80/110mm Thickness: up to 11.25mm (up to 8.0mm from above the board/up to 2.45mm from below the board) |
| Sequential read speed | 5,500MB/s or faster is recommended |
| Socket type | Socket 3 (Key M) |
Why not Treat Yourself to Additional Storage?
If our handy tutorial has inspired you to try out upgrading your PlayStation 5 storage, Overclockers UK has plenty of compatible M.2 SDD drives on offer for you to choose from!
I’ve selected some of my favourites, including the one used in the video tutorial and a bundled version where you can select your own heatsink!
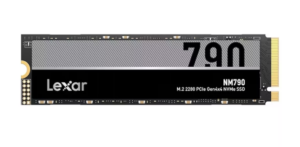
Lexar NM790 1TB NVMe PCIe 4.0 M.2 SSD
- 1TB M.2 SSD Drive
- Read 7400MB/s
- Write 6500MB/s
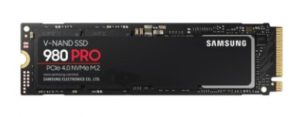
Samsung 980 Pro 1TB M.2 SSD Drive
- 1TB M.2 SSD Drive
- Read 7000MB/s
- Write 5000MB/s
The Overclockers UK Academy
Dedicated to helping you troubleshoot simple PC issues, check out our range of OcUK Academy articles and videos for more!
- 6 min read
Ruth Rowley
Author
Ruth has been with Overclockers UK for over a year and has gone on to write about everything ranging from in-depth hardware guides to monthly game releases.
Outside of writing blog posts, she can be found wrapped in a blanket with her black cat, engrossed in a book or playing life-simulation games such as The Sims, Stardew Valley, and Animal Crossing.
Read More >>