The Steam Deck is great for portable gaming. You can boot up your current play through wherever you are, all without having to lug a whole computer about! But their limited storage can lead to issues.
We’ve all been there. We want to download a great Indie chart-topping Steam game, but there’s not enough storage space! Do you uninstall another game? Do you delete a few saves? What can you sacrifice in the name of unexplored gaming territory? There is another way. You can install a compatible SSD with higher byte capacity to boost your overall storage space. This article is here to guide you through the steps.
Why Do I Need to Increase My Steam Deck’s Storage?
The primary benefit of increasing your Steam Deck’s storage is simple. More space, more games. With extra storage, you can install Windows as well as all your favourite gaming titles. Plus, if your budget only initially allows for a mid-range model, increasing the storage is an easy upgrade to make down the line, once the funds are available.

The Right SSD
Installing an SSD into your Steam Deck isn’t a simple matter of bunging in any ol’ drive. You need to make sure you pick a compatible model and it’s recommended that you pair it with a suitable heatsink, too. Currently, the 2230 M.2 NVMe SSD is the only form factor compatible with the Steam Deck. (And the ASUS ROG Ally if anyone uses one of those!)
The 2230 M.2 SSD is a compact drive, designed to be used in consoles or slimline laptops. They still use the same connector as more standard M.2 NVMe drives, and all the high-speed storage tech which make SSDs so great for gaming.
As a relatively new piece of kit, there are limited models available. We have a product to showcase here, or you can explore the full range at Overclockers UK with the click of a button.
WD Black SN770M 1TB SSD
- M.2 2230 SSD
- 1TB capacity
- NVMe PCIe 4.0 connectivity
- 5150MB/s read and 4900MB/s write speeds
- 600TBW

Get Your Deck Ready
You’ve picked a drive, fabulous. Now, you need to get your Steam Deck ready. Cracking open the casing without doing the proper prep first could lead to damage and things not working properly. Not what you want for your expensive tech.
First of all, you need to make sure that your Steam Deck is all up to date and running the latest software. To verify this, you need to go into Settings > System > Software Updates and press the Check for Updates button. If you’re an update or two behind, get them installed. Once you’re all updated, shut down the device.
At this point, if you have a microSD card, remove it.
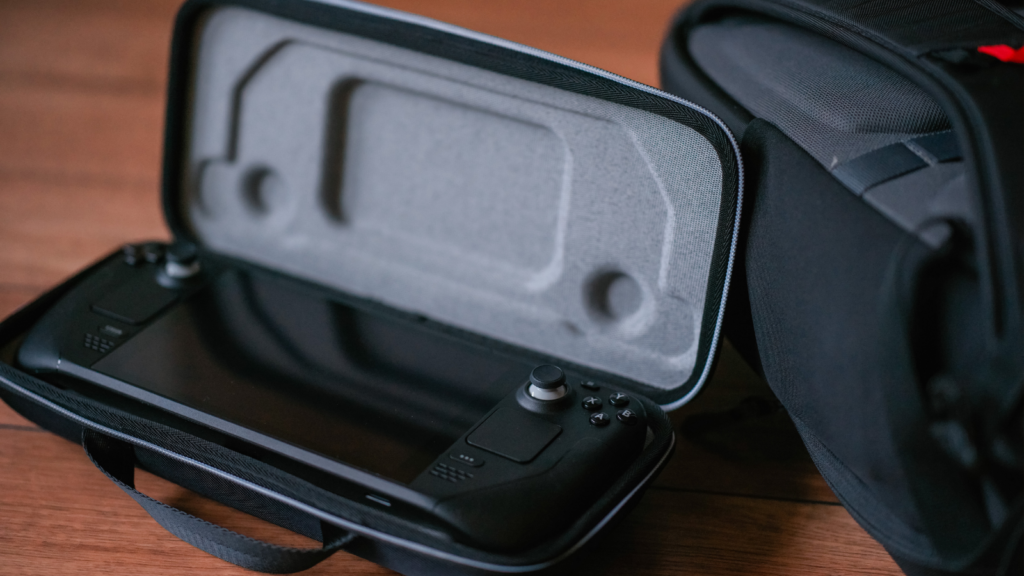
Obviously, with the joysticks and screen, you don’t want to put your Steam Deck face down on a hard surface. That’s just asking for things to move about and scratches on the screen. Instead, simply place it face-down into its case. You’re working from an even keel, and everything is protected.
Prep Your Space
We’re nearly ready to start unscrewing. Next, you have to make sure the area you’re working in is clean and properly lit. Why clean? You’re opening up an expensive piece of electrical kit, you don’t want to expose it to dust, grime, or pet hair.

It’s generally good practise to keep your gaming environment clean and tidy anyway. We’ve compiled some great guides on how to keep this space spick and span.
Proper lighting will ensure you can see what you’re doing and help keep track of any fiddly bits you remove from the Steam Deck. Speaking of which, you will be undoing lots of tiny screws. Have a pot nearby where you can keep them all safe. The last thing you want is to get to the final screw and realise it has rolled off into the abyss. You will never find it again. (Unless you’re barefoot and walking in the dark, but who wants that?)
Once the SSD is installed, you’ll need a few other things on standby to load it with the proper software. This is a computer, flash drive, wired keyboard, and USB hub.

Of course, you’ll also need to make sure you are equipped with the proper tools. If your toolbox is lacking, be sure to browse the iFixit range. These tools are specialised to work with electrical items, such as computers, phones, and tablets.
One Final Thing
It’s important to remember whenever you’re working with anything electrical to ground yourself. Grounding ensures that you discharge the static electricity from your body into a metal item that is touching the ground instead of the electronics you’re working with. This essentially prevents any accidental static electricity from discharging and damaging your components.
You can get anti-static wrist straps or even folding anti-static mats from iFixit. Alternatively, you can ground yourself with items you already have.
How to Install an SSD
Finally, we are ready to install the shiny new SSD into our Steam Deck. All you have to do now is follow this step by step guide.
- Remove the eight screws on the back of your Steam Deck. Please note, they are two different sizes – the outer screws are longer. Be mindful of this for when you need to screw them back in.
- Once all the screws are out, pry away the back cover. You’ll need a prying tool or something with a similar thickness to a chonky guitar pick for this. There are clips keeping the back in place, so expect some resistance. It’s recommended you start in a corner with a button bumper and work from there.
- Set aside the back cover once it’s off. The next few steps will differ if you have a pre-2023 Steam Deck or an OLED Steam Deck. We’ll split the instructions here, so follow the column for the model you have.
Pre-2023 Model:
- Remove the little square of metal on the motherboard cover to reveal a screw. Undo this and the two on the left side of the cover, then take the motherboard cover out and set it aside.
- Disconnect the battery by carefully pulling the tab or using your cover removal tool to help.
- You should now be able to access the original SSD. Remove the screw holding it to the motherboard and it will pop up at an angle. Gently pull it out.
OLED Model:
- Before unscrewing the motherboard cover, unplug the ribbon that runs along the bottom. Be very careful with this. There is a white tab at the end of the lefthand side. Flip this up and gently pull the ribbon down, out of its holder.
- Undo the two screws in the left corners on the motherboard cover and pry the cover away. This should reveal the battery tab to the right of the motherboard. Disconnect the battery.
- Without removing the motherboard cover, pry up the bottom left corner to reveal the existing SSD. Undo the screw holding it in place and it should pop up at an angle. Gently pull it out.
- Gently remove the thermal tape from the old SSD and affix it to your new one.
- If you purchased a compatible heatsink, this should be installed now. Be sure to remove any plastic covers or packaging left on the component. Ensure it is correctly orientated and firmly adhered in place.
- Click the new SSD into place, at the same angle you removed the original device. Press down gently until it lies flat and replace the screw, tightening it so it holds the drive in place.
- Reconnect the battery with care.
- It’s now a case of repeating steps 4 and 5, but in reverse. Replace the motherboard cover, being careful of any wiring and making sure they don’t get trapped. Screw the cover back into place.
On the OLED model, remember to reconnect the ribbon and flip the white holder back down.
- Snap the Steam Deck’s back cover into place and put the screws back in. Remember – the outer screws are longer!
That is the physical part done. You have successfully replaced the SSD. Now, you need to download and install the Steam operating system.
Loading the Proper Software
Remember when I said you’d need a computer, flash drive, wired keyboard, and USB hub for this? Now is the moment for all these extras. They are needed for installing the Steam operating system onto your new SSD.
The computer, or laptop, is for sourcing the Steam operating system, from the Steam Deck Recovery page. Download this onto the flash drive, which needs to have at least 8GB capacity. The USB hub needs to support USB-A but connect via USB-C, as this is what will directly interface with the Steam Deck. Make sure there are enough ports for the keyboard too, as this needs to be plugged in at the same time!
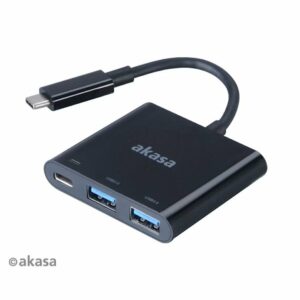
Akasa Type-C USB 3.0 Adapter
- USB-C adapter
- Features USB 3.0 and USB-C ports
- Charging on USB-C
- Up to 5Gbps data transfer
- Backwards compatible with USB 2.0
How to Install the Steam Operating System
- Download the OS from the Steam Deck Recovery page, linked before. Depending on your own PC’s operating system, download the appropriate writing software. This will all be detailed on the recovery page.
- Once both are downloaded, use the software to write the OS onto the flash drive.
- Next, plug your flash drive into the USB hub and connect that to the Steam Deck. To start the boot drive, hold down the lower volume button and press the power button. You should hear a chime, stop holding the volume button when you do.
- Once the program has loaded, plug your keyboard into the USB hub, so you can choose the option to boot from flash drive. This will load into the desktop OS.
- From here, you have four choices. To install the Steam OS onto the new SSD, choose Re-image Steam Deck. This will run a coding prompt and let you know when it’s done.
- Once finished, turn off the Steam Deck and turn it back on again. It will take a hot minute, but don’t panic! When it boots up, it will automatically load into Steam.
You can now start on re-installing all your favourite Steam games – even the ones you like to hide from your public profile!

Too Technical For You?
Now, if reading all of that has got your head spinning, don’t worry. We have a solution for you, too. The Steam Deck has a microSD port which can also be used to bump up your storage. Without the fiddly task of replacing any internal hardware, to boot. Naturally, we have a model to showcase and a handy link that will take you to our full collection.
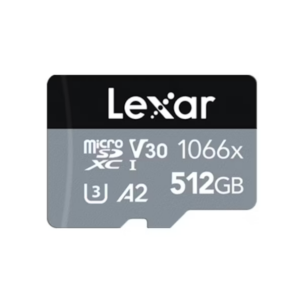
Lexar Professional 1066x 512GB microSDXC
- UHS-I flash memory card
- 512GB capacity
- Read speeds up to 160MB/s
- Write speeds up to 130MB/s
- Professional-grade
More Steam Deck Content
Want to know more about the Steam Deck? We’ve got a growing collection of articles on the console, here are just a few of our faves.


Time to Boost Your Storage
You should now be ready to upgrade your storage and enjoy gaming on your Steam Deck without worrying about sacrificing saves. What will you be downloading first?
- 10 min read
Emily Haylock
Author
Emily is a board and cosy gamer, keyboard obsessive, and content copywriter for Overclockers UK. She has been with Overclockers UK for two years, writing about everything from noblechairs to 8Pack PCs. She writes from within her desk nest with a foster pup at her feet. (What, a desk duvet is a totally normal thing!) In her downtime, she likes to play board games, farming sims, and old-school Final Fantasy. IX to be specific. It is the best, and that is a hill she will die on.
Read More >>