 Finance available from
 I love it end of.
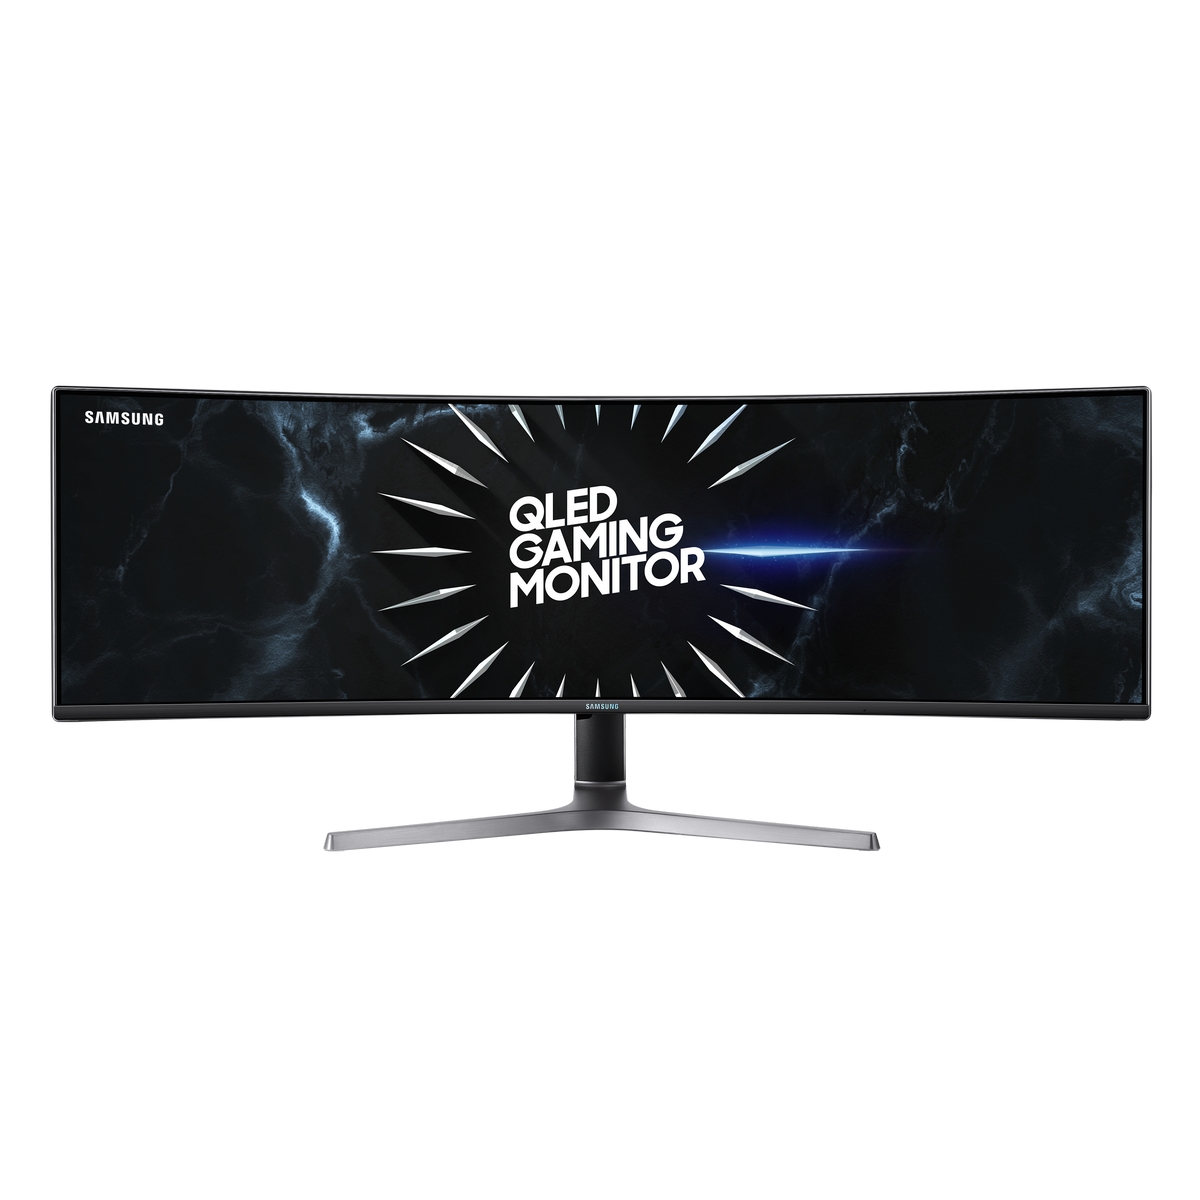
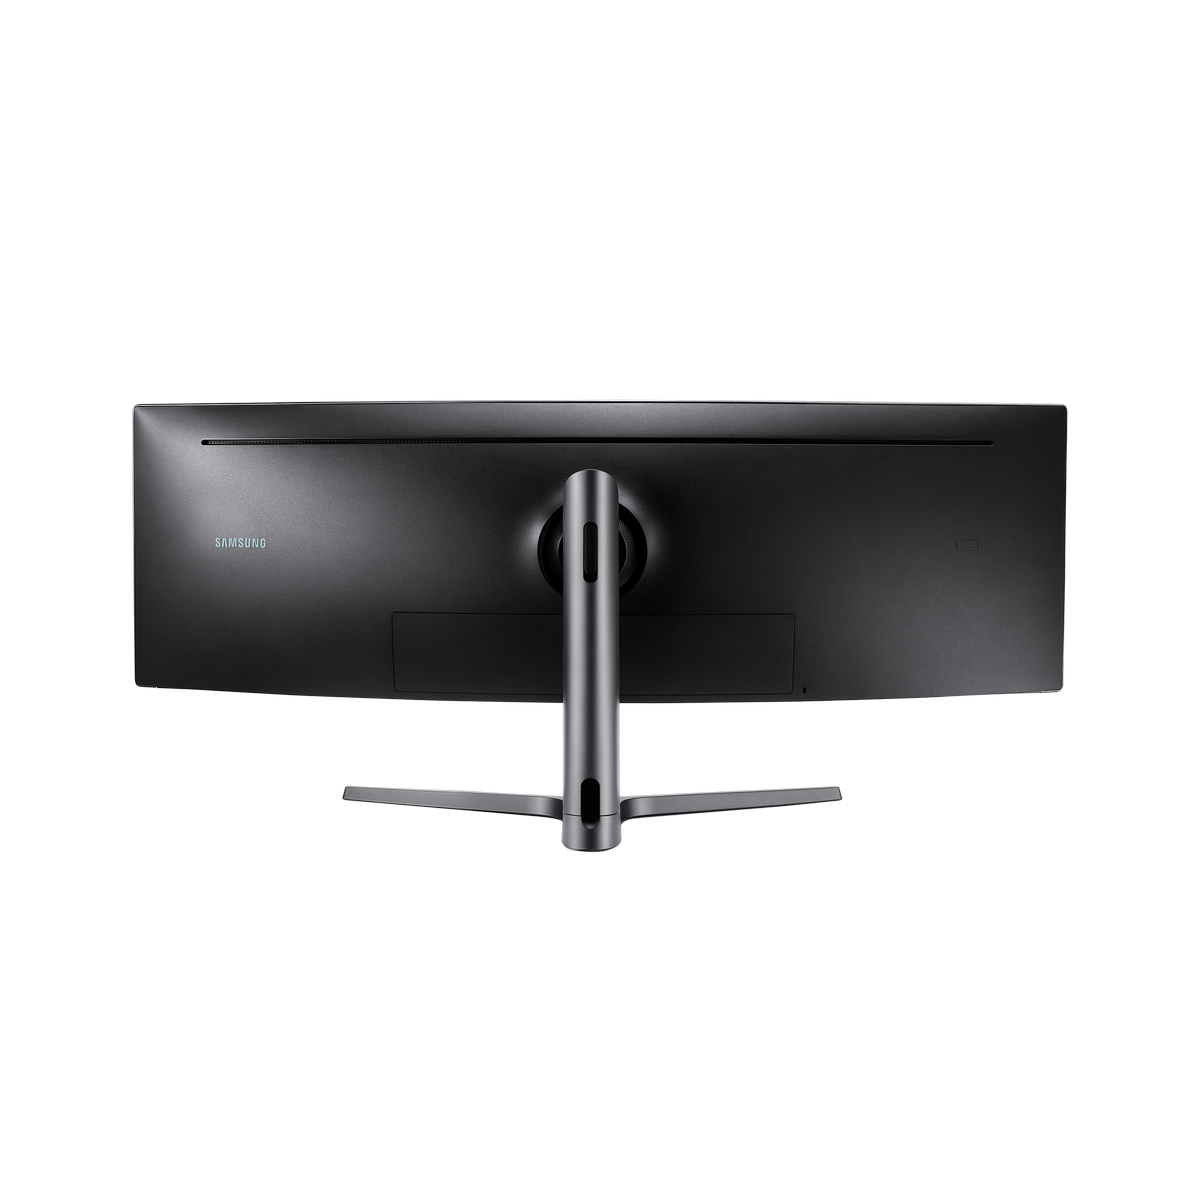
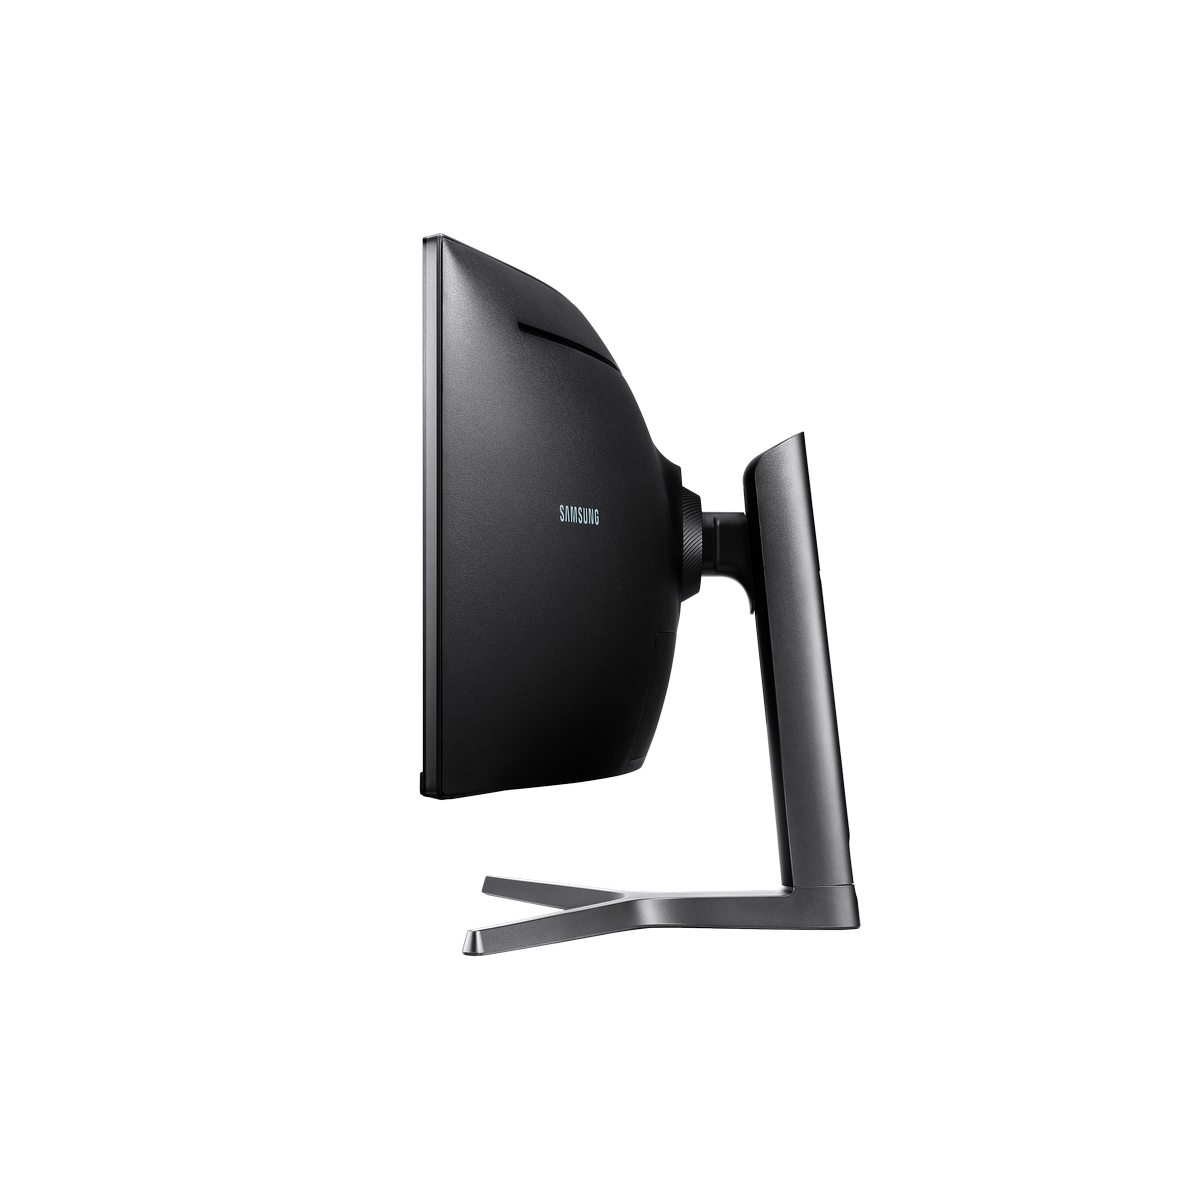
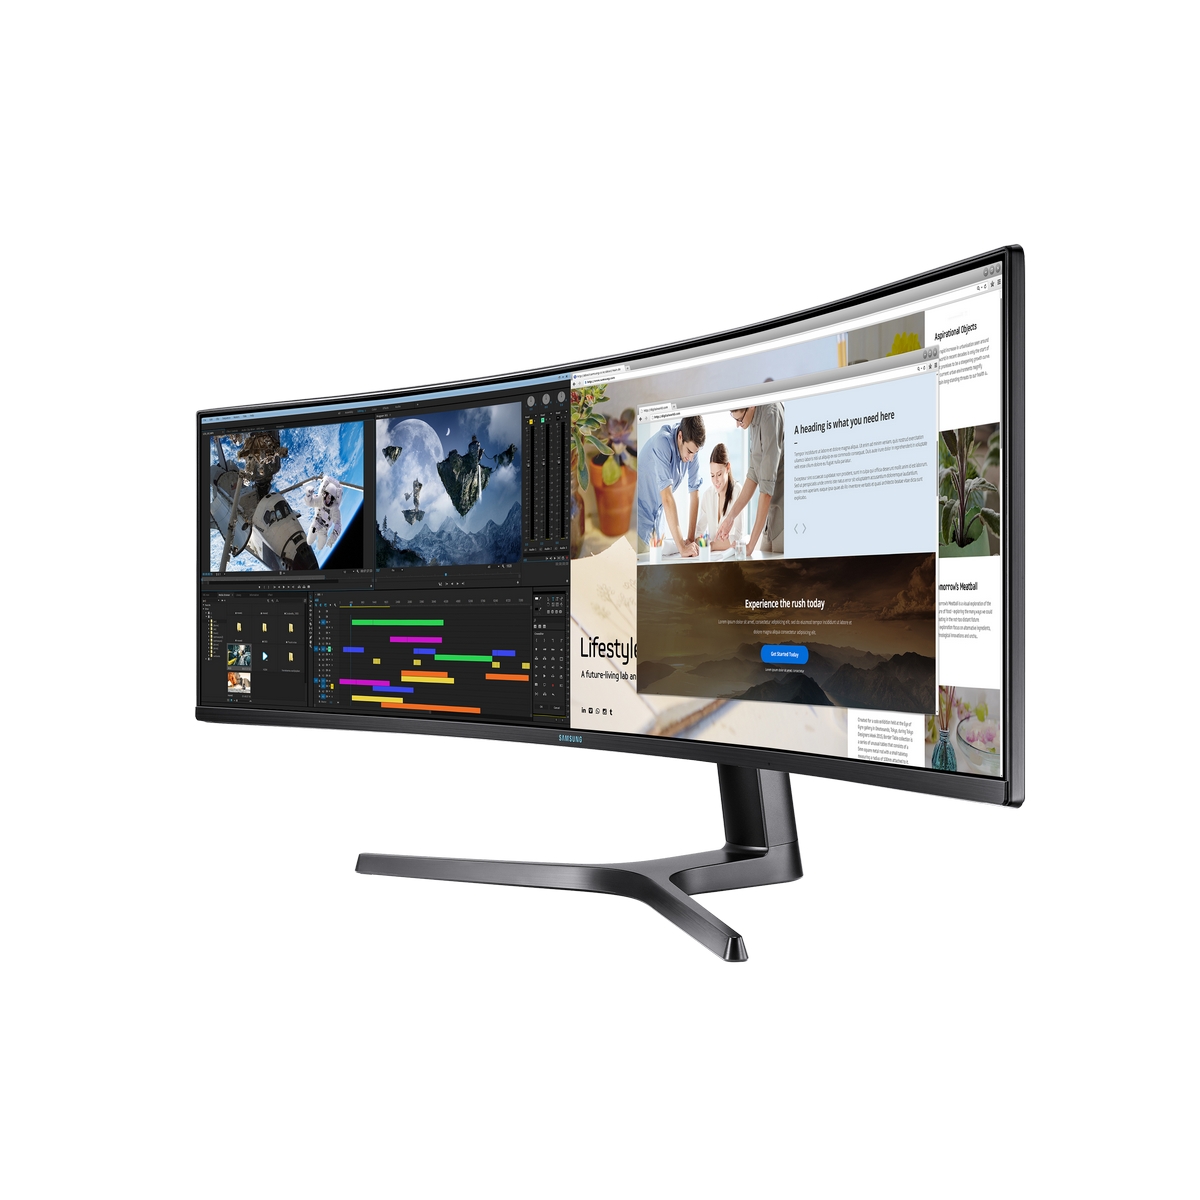
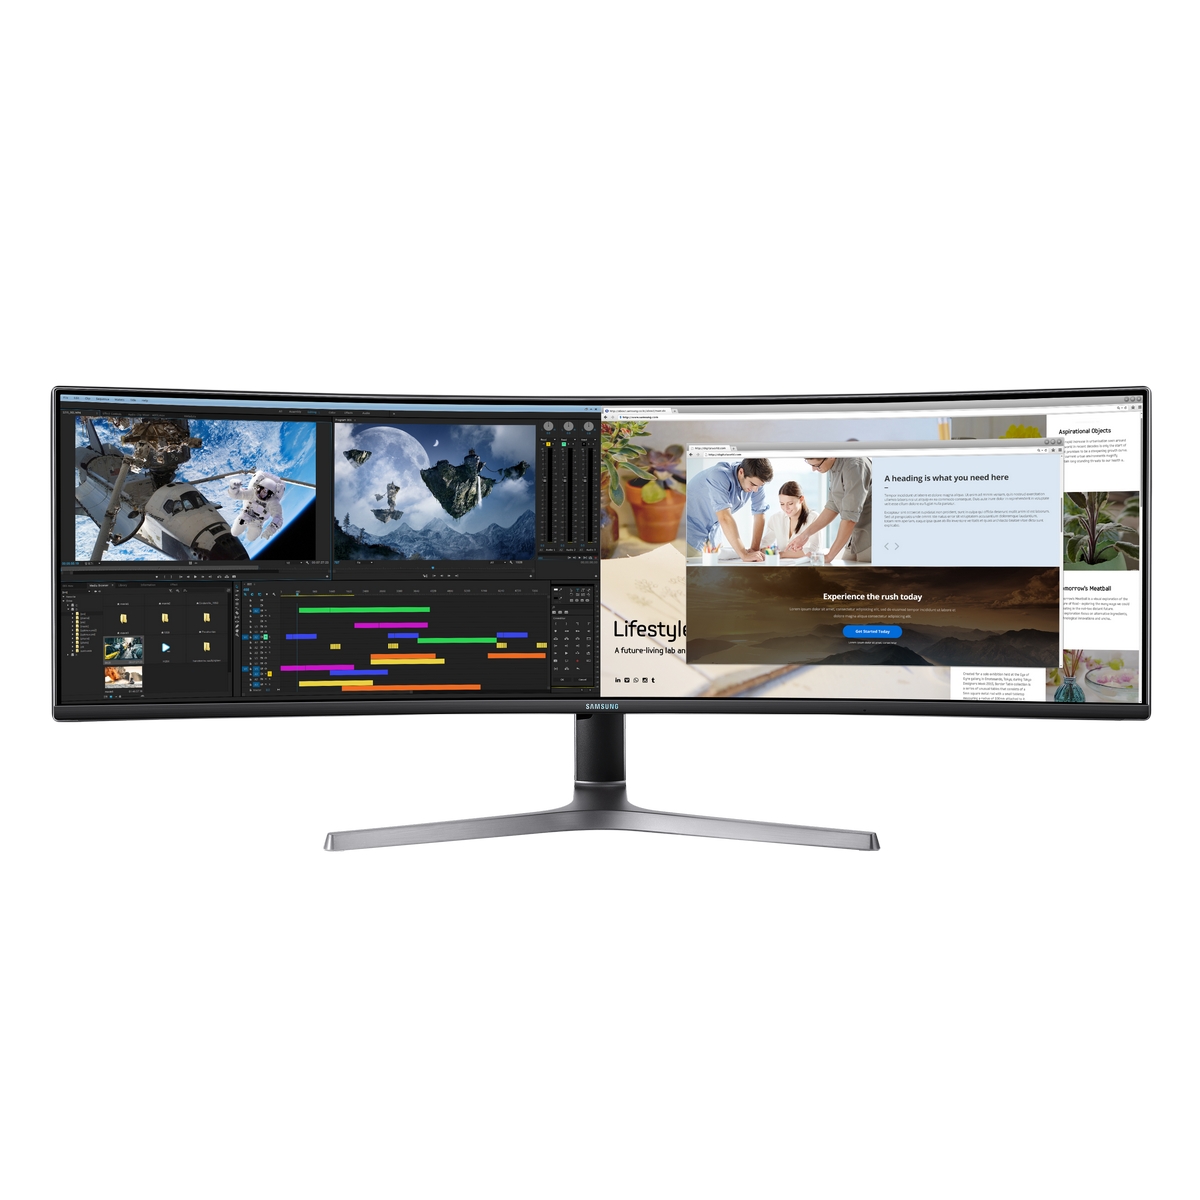
by John HansfordHi everybody I would like to start this review on the Samsung CRG9 super ultra-wide screen monitor with the box, because when you see it for the first time and absorb in the size of this beast you know you have something that is that bit more special hidden away inside. I was like a kid who just had the best Christmas ever just looking at this thing before me. After cutting through the tape and opening the box lid you are greeted with printed instructions on both sides for fixing the leg to the monitor and for getting the monitor out of the box. What did I tell you, what an amazing box with its useful build instructions. Now we get to the admire the contents, parts to be added or used with the monitor. They are all laid out on the top half of the polystyrene encasement. Ok that was for dramatic effect its all wrapped in polythene to protect it. I have added a photo of the contents unwrapped of cause so I dont have to list them here.If your one of those people that dont read the manual, youre in luck you dont get any. Well not the paper type anyway, the manual comes on a mini CD. Remember you do get the instructions on the box lid and a brief open out sheet with some on too. Ok now we have unboxed everything we need to stop ourselves from grabbing the screen and pulling it out like we did with our new television when we got it, Its a big no no due to the curve in the screen. Simply put it will not lay down flat so dont do it.You first need to build the leg then fit the leg while the monitor is still in the box.The leg of the monitor is a heavy and well-built bit of kit that you know is going to hold the monitors weight well. The leg is built from metal then a plastic shroud is fixed over this, Solid bit of kit indeed. Building the leg is so easy, you simply put the two parts together then using the two wing nuts on the bottom to tighten them up by hand, you can then use a screwdriver to just give them a nip. A lot of force is not required. Once you have the two bits together you fit the leg with the four screws which are pre fitted to the body of the monitor. Having fitted the leg to the monitor you now get the disk in two halves. These get cupped around the neck of the leg and then pressed into the monitor. The role of this is to defuse the blue LEDs that encircle the top of the leg support.So far I have managed to complete the tasks myself but now I need to call on the good wife. Because when I went to lift the monitor out the box using only the leg of the monitor using two hands as stated in the instructions, I found this beast heavy, very heavy. One thing to note this thing is front heavy and until flat on the table it wanted to tip forward. Once the monitor is flat on the table you need to remove the plastic shroud off the leg by sliding it up just a little. Once removed this gives you access to the channels for the wiring to be embedded behind the shroud, so you see no ugly wires hanging down. There is also a cover to hide the sockets on the monitor Wow that was the unboxing and loved every minute, now I can look at this beast in all its glory. What a thing of beauty, well kind of. I say this because its kind of saying I am solid. And solid it does feel. Its dark colour also adds to is solid look over beauty. The monitor looks so slim from the front but look around the sides and you think bugger you put some weight on. In a day and age when everything else is getting thinner this beast is big and proud. That said when you fire the monitor up it just busts out in glorious colour, but we will talk about that later.The monitor needs a lot of real estate to tame its size. It measures 120cm across end to end, it also stands 50cm from the top of the monitor screen case to the tabletop.The monitor hides at its back blue LED lights that encircles the top of the leg. You will also find the Power in socket, HDMI in, 2 DisplayPorts, Headphone jack, Service jack, Microphone Jack, Microphone out jack, PC in USB 3.0 or lower, 2 USB 3.0 one giving you superfast charging, 2 USB 2.0.All these ports are hidden behind a plastic cover that follows the contours of the monitor beautifully, it has a hole at the top to let you feed the wires out keeping everything nice a tidy as mentioned before. You will also find a slot for an anti-theft lock to keep your new prized possession where you left it. The lock is an extra purchase, such is life so dont go looking for it. Also has the words SAMSUNG in small metallic blue letters emblazoned on the back. On the front you will see a thin metal bezel top and sides of the monitors screen. The screen image has a 1cm border around the top and sides, so image is very close to the edge but not quite. The bottom of the monitor has a brushed metal front same colour as the edge bezel 2cm in height. Samsung is written in the same metallic blue letters that are emblazoned on the back. To the right of the screen on the bottom edge you find a tiny blue light thats illuminates when powered on. The power ON multi directional JOG button is hidden under the monitor beneath the blue light and printed icon. To the left of that you will see three printed circular icons pinpointing you to more buttons hidden under the monitor. These three buttons are shortcut keys to access custom games settings that you have saved to the monitors menu.There is so much information in the menus that it would be difficult to approach in detail here, that said in a nutshell you press the power ON multi directional JOG button. This gives you five options to choose from. They include MENU, this allows you to access the On-Screen Display (OSD) your monitors features. SOURCE allows you to change the input signal. PBP (Picture by Picture), allows you to split the screen between two sources. POWER OFF, I am guessing here that this turns the monitor off.The dual QHD screen on the Samsung CRG9 pops when fired up, its like being at a surround screen cinema. That said if you do play DVDs on this monitor you do get a black border each side. But thats understandable, when did you last see a cinema screen this wide. But the important thing here is the image quality is crystal clear and text is easy to read. I dont play too many games but with a decent graphics card this monitor will blow the gamers mind as they immerse themselves deep in the game scene. This due to the Samsungs super ultra-wide 1800R curve that can put out a 5120x1440 resolution on a crisp QHD display, all helped by the brightness rating of 1,000 nits giving you a fantastic true high dynamic range (HDR). Pros Samsung really hit the mark with the CRG9, its great for gamers with its 120hz screen refresh. they would find it difficult to go back to a standard monitor after playing their favourite first person game on this beast of a monitor. What this monitor does, it does it very well. A pleasure to use in every way. For people out there like me who use computers for productivity, the Samsung CRG9 wipes all other monitors away. The working area is fantastic for running multiple programs or windows. Seeing your productivity software stretching from one side of the screen to the other just made your working day get so much easier, its as simple as that it just does things better. Cons Cons with the Samsung CRG9 are in my opinion just nit-picking. For instance I kept wanting it to be higher, but then I would need it longer so it still looked super ultra-wide, then I would need wheels on my chair so I can move to one side of the monitor to the other and the list would go on.So lets leave it there. two words of advice Buy it.

